tomcat运行需要内存,请确保内存足够,否则可能会导致xwiki访问过慢甚至出错
1.安装 java
https://www.cnblogs.com/gudanaimei/p/12525325.html
2.安装tomcat
https://www.cnblogs.com/gudanaimei/p/12525588.html
tomcat若已启动,请务必关闭tomcat(后面要修改tomcat的配置文件,可能会导致tomcat无法正常启停)
3.安装mysql并授权
https://www.cnblogs.com/gudanaimei/p/12206596.html
登录mysql后

创建xwiki库
create database xwiki character set utf8 collate utf8_general_ci;

创建xwiki用户并授权
create user 'xwiki'@'%' identified with mysql_native_password by 'xwiki123';

grant all privileges on xwiki.* to 'xwiki';
4.安装xiwiki
1)下载xwiki包
http://download.forge.ow2.org/xwiki/
2)解压xwiki包到tomcat安装目录的webapps下(tomcat安装目录为/app/tomcat-8.5.53)
mkdir /app/tomcat-8.5.53/webapps/xwiki
unzip xwiki-9.11.5.war -d /app/tomcat-8.5.53/webapps/xwiki
3)mysql-connector-java-5.1.47.jar
下载链接
https://downloads.mysql.com/archives/c-j/
解压下载的包
unzip  mysql-connector-java-5.1.47.zip

拷贝.jar
cp mysql-connector-java-5.1.47/mysql-connector-java-5.1.47.jar /app/tomcat-8.5.53/webapps/xwiki/WEB-INF/lib
4)修改xwiki配置
vi /app/tomcat-8.5.53/webapps/xwiki/WEB-INF/hibernate.cfg.xml

注释默认的hsql段
<!-- Configuration for the default database.
Comment out this section and uncomment other sections below if you want to use another database.
Note that the database tables will be created automatically if they don't already exist.
If you want the main wiki database to be different than "xwiki" (or the default schema for schema based engines)
you will also have to set the property xwiki.db in xwiki.cfg file
<property name="connection.url">jdbc:hsqldb:file:${environment.permanentDirectory}/database/xwiki_db;shutdown=true</property>
<property name="connection.username">sa</property>
<property name="connection.password"></property>
<property name="connection.driver_class">org.hsqldb.jdbcDriver</property>
<property name="dialect">org.hibernate.dialect.HSQLDialect</property>
<property name="hibernate.connection.charSet">UTF-8</property>
<property name="hibernate.connection.useUnicode">true</property>
<property name="hibernate.connection.characterEncoding">utf8</property>
<mapping resource="xwiki.hbm.xml"/>
<mapping resource="feeds.hbm.xml"/>
<mapping resource="activitystream.hbm.xml"/>
<mapping resource="instance.hbm.xml"/>
<mapping resource="mailsender.hbm.xml"/>
-->
打开mysql段
<!-- MySQL configuration.
Uncomment if you want to use MySQL and comment out other database configurations.
Notes:
- if you want the main wiki database to be different than "xwiki"
you will also have to set the property xwiki.db in xwiki.cfg file
-->
<property name="connection.url">jdbc:mysql://mysqlIP:port/xwiki?useSSL=false</property>
<property name="connection.username">xwiki(连接mysql的用户)</property>
<property name="connection.password">xwiki123(连接mysql用户的密码)</property>
<property name="connection.driver_class">com.mysql.jdbc.Driver</property>
<property name="dialect">org.hibernate.dialect.MySQL5InnoDBDialect</property>
新增下面三行:
<property name="connection.charSet">UTF-8</property>
<property name="connection.characterEncoding">UTF-8</property>
<property name="connection.useUnicode">true</property>
<property name="dbcp.poolPreparedStatements">true</property>
<property name="dbcp.maxOpenPreparedStatements">20</property>
<mapping resource="xwiki.hbm.xml"/>
<mapping resource="feeds.hbm.xml"/>
<mapping resource="activitystream.hbm.xml"/>
<mapping resource="instance.hbm.xml"/>
<mapping resource="mailsender.hbm.xml"/>
5.配置xwiki离线flavor页面
下载
https://nexus.xwiki.org/nexus/content/repositories/releases/org/xwiki/platform/xwiki-platform-distribution-flavor-xip/

重命名
mv  xwiki-platform-distribution-flavor-xip-9.11.5.xip  ./xwiki-platform-distribution-flavor-xip-9.11.5.zip

vi /app/tomcat-8.5.53/webapps/xwiki/WEB-INF/xwiki.properties

打开注释,根据要求修改路径(flavor页面路径)
environment.permanentDirectory=/var/local/xwiki/

创建flavor路径
mkdir /var/local/xwiki/extension/repository -p

解压
unzip  xwiki-platform-distribution-flavor-xip-9.11.5.zip -d   /var/local/xwiki/extension/repository
6.修改tomcat配置文件
vi /app/tomcat-8.5.53/conf/server.xml
<Connector port="8080" protocol="HTTP/1.1"
connectionTimeout="20000"
redirectPort="8443"
加入以下内容:
URIEncoding="UTF-8"
compression="on"
compressionMinSize="2048"
compressableMimeType="text/html,text/xml,text/css,text/javascript,application/x-javascript"/>
7.启动tomcat访问xwiki
启动tomcat
/app/tomcat-8.5.53/bin/start.sh

浏览器访问xwiki(启动之后需要等一会才能正常访问)
在浏览器中输入 IP:8080/xwiki出现xwiki初始化界面
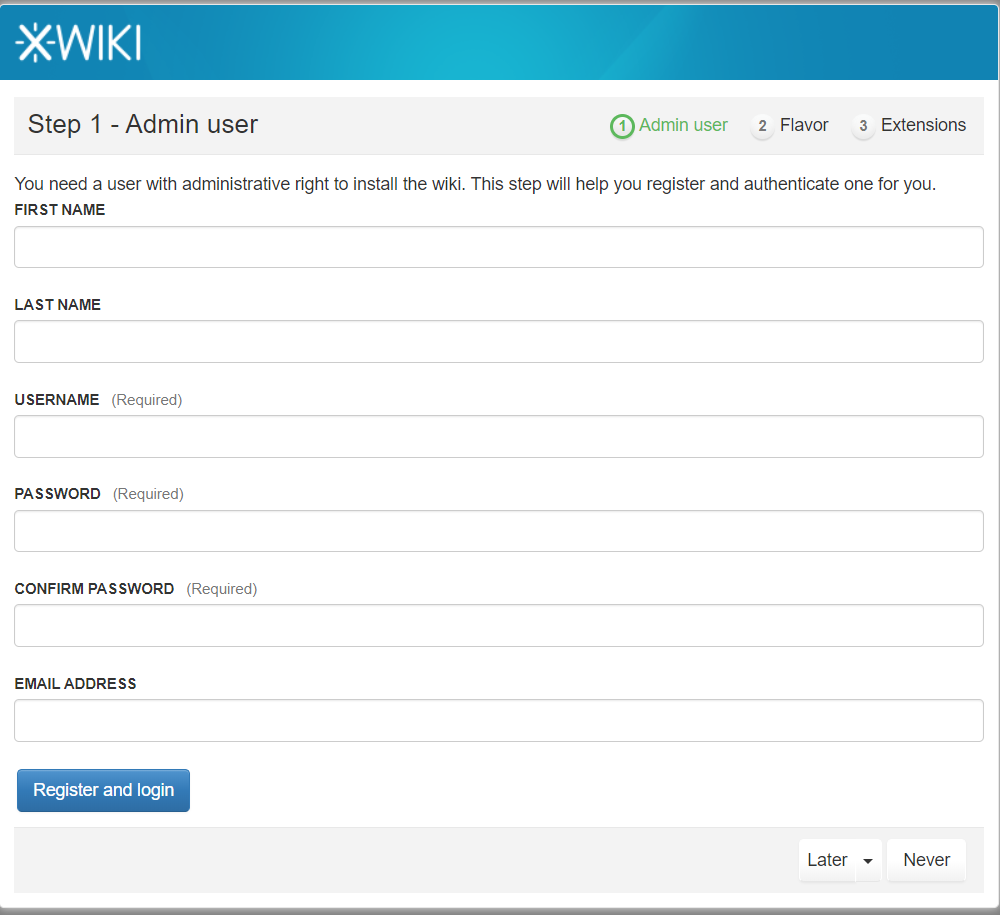
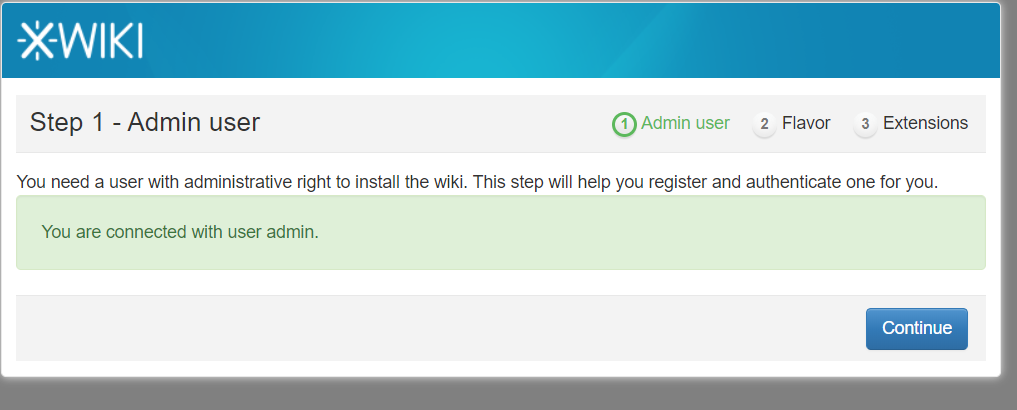
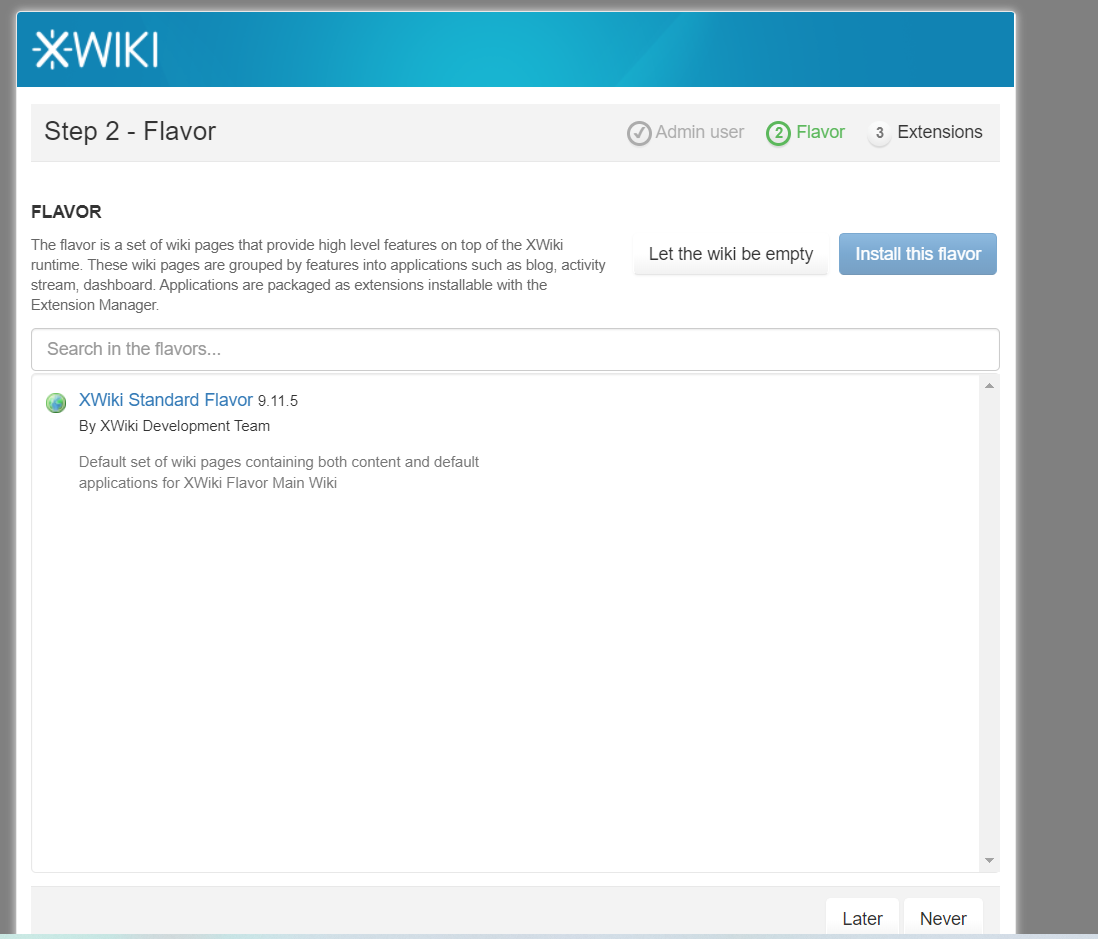
8.xwiki初始化过程

填写带有Required的字段即可
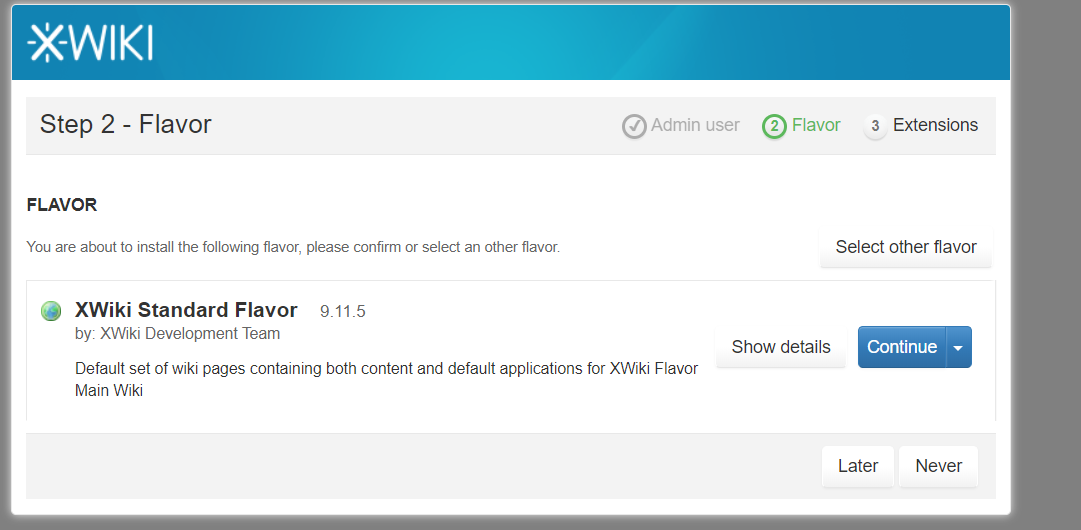
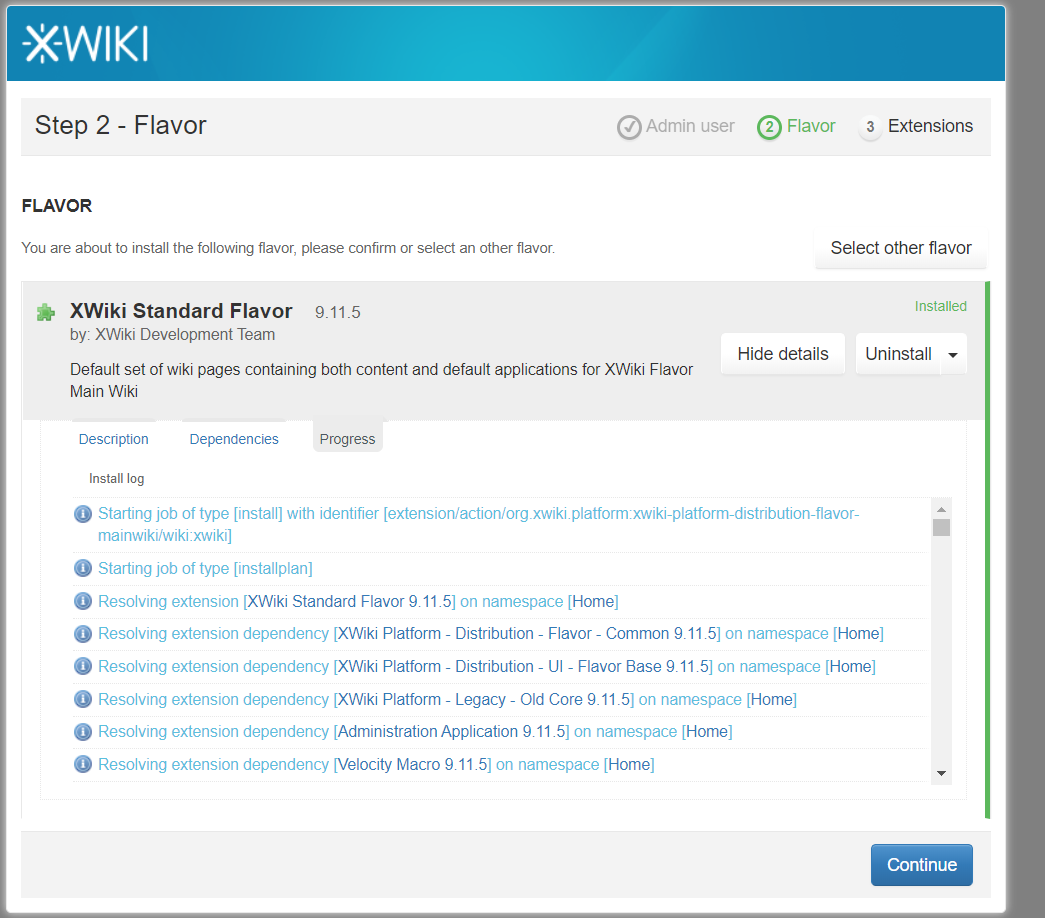
如果没有下载离线flavor,该步会很慢(预计一个小时),选中flavor,点击Install this flavor
点击Continue