原文链接:http://ardupilot.org/dev/docs/building-ardupilot-onwindows10.html
翻译水平有限,如有错误请指出!
在Windows上使用waf和Bash编译ArduPilot
警告:
这个编译方法仅适用于Windows10 X64并且没有描述编译不推荐的给予Arduino的飞行控制器(APM1.x,2.x)。支持大多数使用者,但是你可能需要或者更喜欢备用的windows编译过程:http://ardupilot.org/dev/docs/building-px4-with-make.html
微软有介绍WSL-the Windows Subsytem for Linux(Linux的Windows子系统)-对Win10.这个教程描写“在Windows上的Ubuntu的Bash”,因为他是目前唯一由WSL支持的发行版本。其他Linux版本比如Fedora,可能在未来可以使用然而将稍微需要不同的设置去编译ArduPilot。
警告:
这个教程预期作为一个“复制粘贴”引导,只要按照这个步骤一步步来就好。
小窍门:
网上有很多安装Linux的Windows子系统。这是一个例子:https://www.howtogeek.com/249966/how-to-install-and-use-the-linux-bash-shell-on-windows-10/
小窍门:
随着Windows10更新的“秋季推送”从WSL到Windows的文件夹访问被破坏。貌似如果你把Ardupilot的源代码放到一个windows驱动下从WSL经过/mnt/<drive>文件夹编译,最终会有随机的包含(include)错误。为了成功编译源代码,你必须把源码放到一个本地的WSL文件系统下或者放到Windows下面共享它,并通过drvfs驱动程序挂载,如:
mount -t drvfs '\127.0.0.1ardupilot' /devel/ardupilot
通过Windows10上的Ubuntu bash安装Ardupilot开发环境
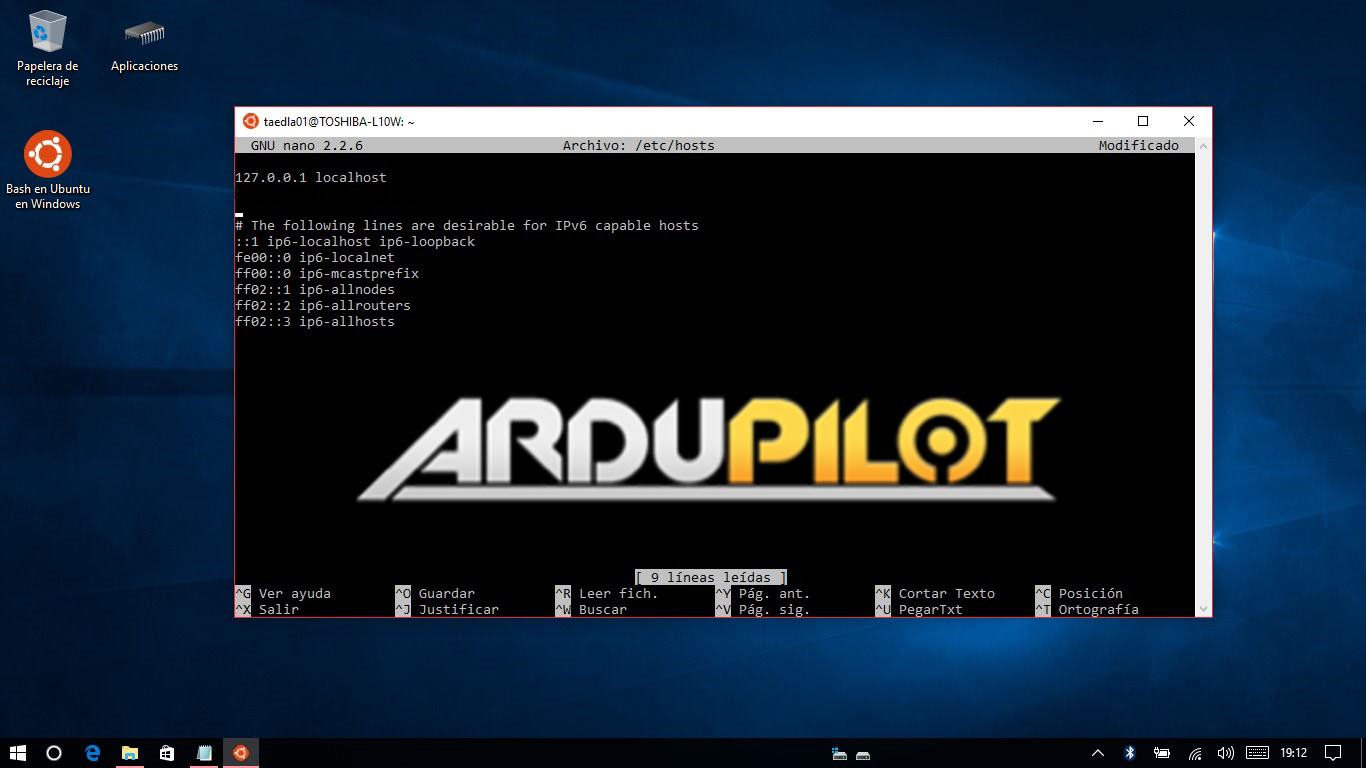
1.第一步,你必须将你的本地主机写入到/etc/hosts文件:
sudo nano /etc/hosts
2.插入到第一行的下面:
127.0.0.1 "hostname"
(“hostname”是指PC名称)
3.然后使用root账户操作终端:
sudo passwd root
su root
4.返回主目录
cd
5.安装git:
sudo apt-get install git
6.为将来的参考做一个新文件夹(可选):
mkdir GitHub
cd GitHub
7.Clone ardupilot git
git clone https://github.com/ArduPilot/ardupilot.git
8.当WSL的root路径下没有“opt”文件夹的时候创建一个新的文件夹:
sudo mkdir /opt
9.运行 install-prereqs-ubuntu.sh 脚本:
./ardupilot/Tools/scripts/install-prereqs-ubuntu.sh

10.我们同时需要安装一些外部工具,以便我们能够编译各种各样的Ardupilot目标:
cd

sudo add-apt-repository ppa:george-edison55/cmake-3.x -y
sudo apt-get update
sudo apt-get install cmake

sudo add-apt-repository ppa:ubuntu-toolchain-r/test
sudo apt-get update
sudo apt-get install g++-4.9

sudo add-apt-repository ppa:terry.guo/gcc-arm-embedded
sudo apt-get update
sudo apt-get install gcc-arm-none-eabi=4.9.3.2015q3-1trusty1

sudo apt-get update
sudo apt-get upgrade
编译ArduPilot源码
1.“waf”是首选的Ardupilot编译工具,他在windows和Ubuntu Bash下性能优异。首先gitArdupilot软件:
cd
cd GitHub/ardupilot/
2.使用下面的命令能够获得ArduPilot的支持板卡列表:
./waf list_boards
3.设置你的板卡
./waf configure --board target
(“target”可以是px4-v2,navio,pxf...从上述提到的支持板卡中选择)

4.编译你的目标:
./waf vehicle
(“vehicle”能够是 copter,plane,rover...)

5.当你到了这里,你已经编译成功了!
笔记:
已发布的WSL无法访问USB串行外设,因此waf中的上传选项无法通过USB工作。编译生成的二进制文件必须通过其他工具上传到你的飞控,比如使用MissionPlanner作为一个“自制固件”。如果你想要通过waf上传,在写USB串行访问时,只能在Windows子系统Linux版(WSL)的Windows内部版本中使用,这需要你加入Windows内部人员程序。https://insider.windows.com/GettingStarted 对于有网络连接的飞行器管理者,Linu targets,上传的功能描述如下:https://github.com/ArduPilot/ardupilot/blob/master/BUILD.md
小窍门:
如果你想取消隐藏Windows系统上的Ubuntu系统文件夹,以管理员身份打开命令提示符,导航到Ubuntu系统路径(C:UsersusernameAppDataLocal)并更改文件夹属性。所以(“username”是你的用户名):
cd C:UsersusernameAppDataLocal
attrib -s -h lxss
你可以建立一个快捷方式在你的桌面方便快捷导航到“lxss”。
如果事情没有按照计划进行,你可能需要一些东西
sudo apt-get install python
git submodule update --recursive --init modules/uavcan
pip install future
pip install lxml
sudo apt-get install genromfs
sudo apt-get install unzip
sudo apt-get install zip
apt-get install python-empy