[js高手之路]深入浅出webpack教程系列索引目录:
- [js高手之路]深入浅出webpack教程系列1-安装与基本打包用法和命令参数
- [js高手之路]深入浅出webpack教程系列2-配置文件webpack.config.js详解(上)
- [js高手之路]深入浅出webpack教程系列3-配置文件webpack.config.js详解(下)
- [js高手之路]深入浅出webpack教程系列4-插件使用之html-webpack-plugin配置(上)
- [js高手之路]深入浅出webpack教程系列5-插件使用之html-webpack-plugin配置(中)
- [js高手之路]深入浅出webpack教程系列6-插件使用之html-webpack-plugin配置(下)
- [js高手之路]深入浅出webpack教程系列7-( babel-loader,css-loader,style-loader)的用法
- [js高手之路]深入浅出webpack教程系列8-(postcss-loader,autoprefixer,html-loader,less-loader,ejs-loader)用法
- [js高手之路]深入浅出webpack教程系列9-打包图片(file-loader)用法
还记得我们上文中的index.html文件吗? 那里面的script标签还是写死的index.bundle.js文件,那么怎么把他们变成动态的index.html文件,这个动态生成的index.html文件会动态引入我们打包后生成的js文件呢?,我们可以使用插件html-webpack-plugin,首先安装这个插件npm install html-webpack-plugin --save-dev,好的,接下来就开始用这个插件了
官方参考文档:
插件通用用法:https://webpack.js.org/configuration/plugins/#plugins
html-webpack-plugin插件用法:https://webpack.js.org/plugins/html-webpack-plugin/
html-webpack-plugin插件配置:https://github.com/jantimon/html-webpack-plugin#configuration
一、首先,我们需要在配置文件webpack.dev.config.js中,引入插件
 1 var HtmlWebpackPlugin = require('html-webpack-plugin');
 2 module.exports = {
 3     entry : {
 4         main : './src/js/main.js',
 5         calc : './src/js/calc.js'
 6     },
 7     output : {
 8         //__dirname,就是当前webpack.config.js文件所在的绝对路径
 9         path : __dirname + '/dist', //输出路径,要用绝对路径
10         filename : '[name]-[hash].bundle.js' //打包之后输出的文件名
11     },
12     plugins: [new HtmlWebpackPlugin()]
13 };
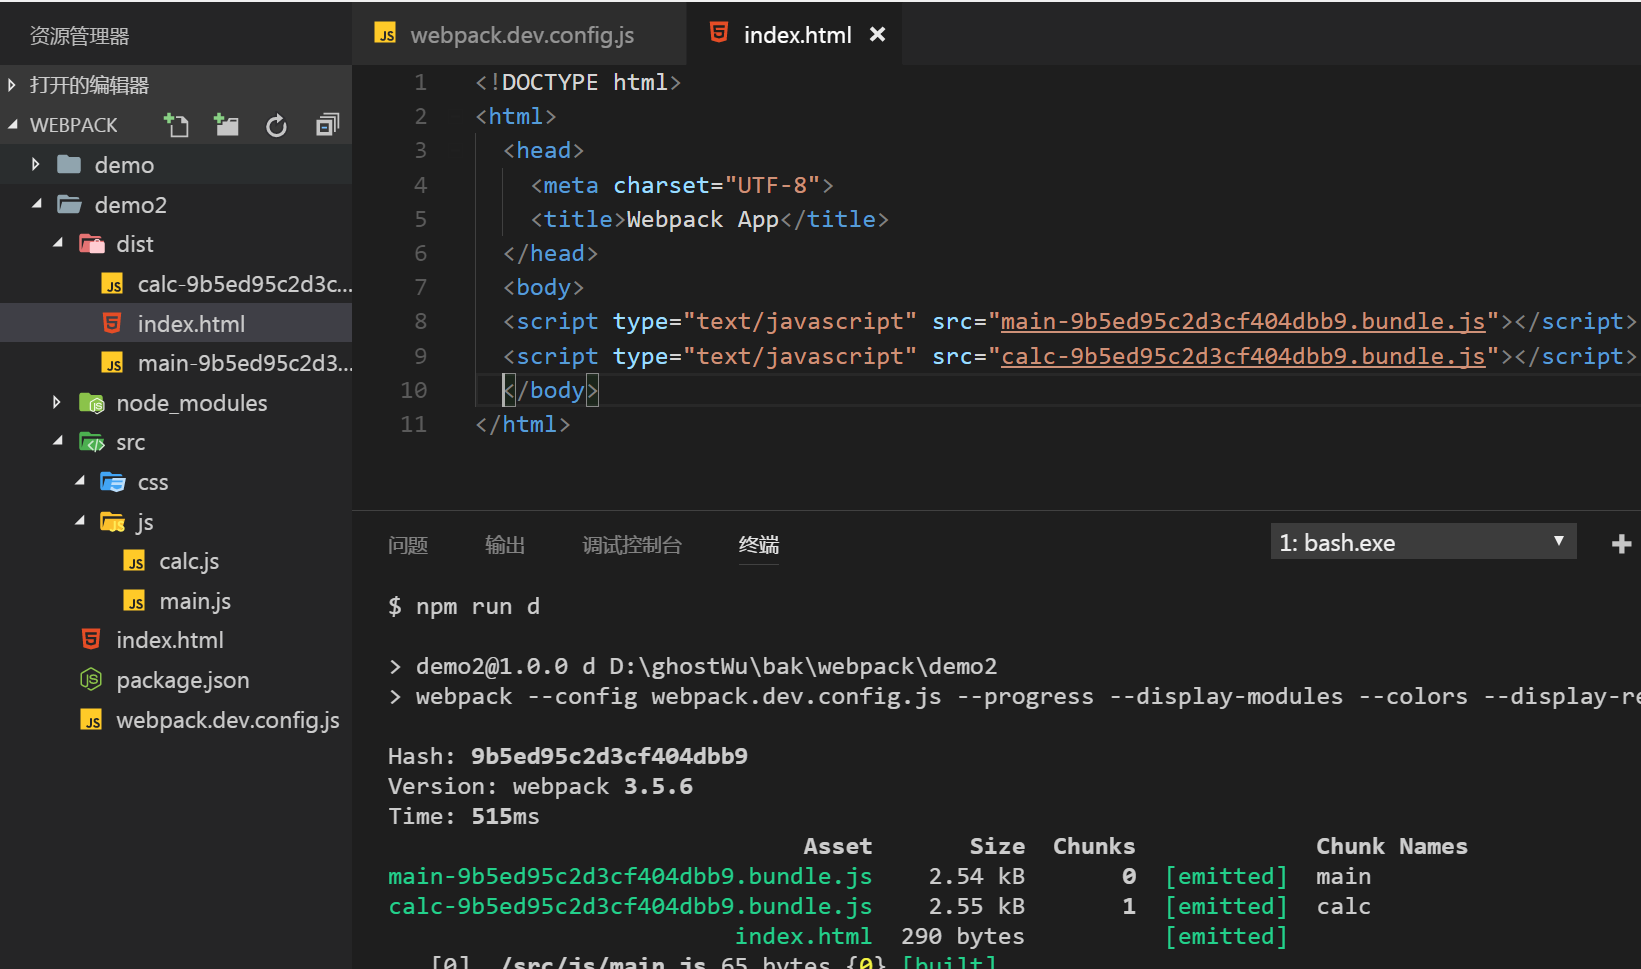
然后执行npm run d打包命令,就能在dist目录下动态生成index.html文件,而且引入了2个动态打包生成的js文件,这个时候刷新index.html文件,就能看到js函数执行的结果了

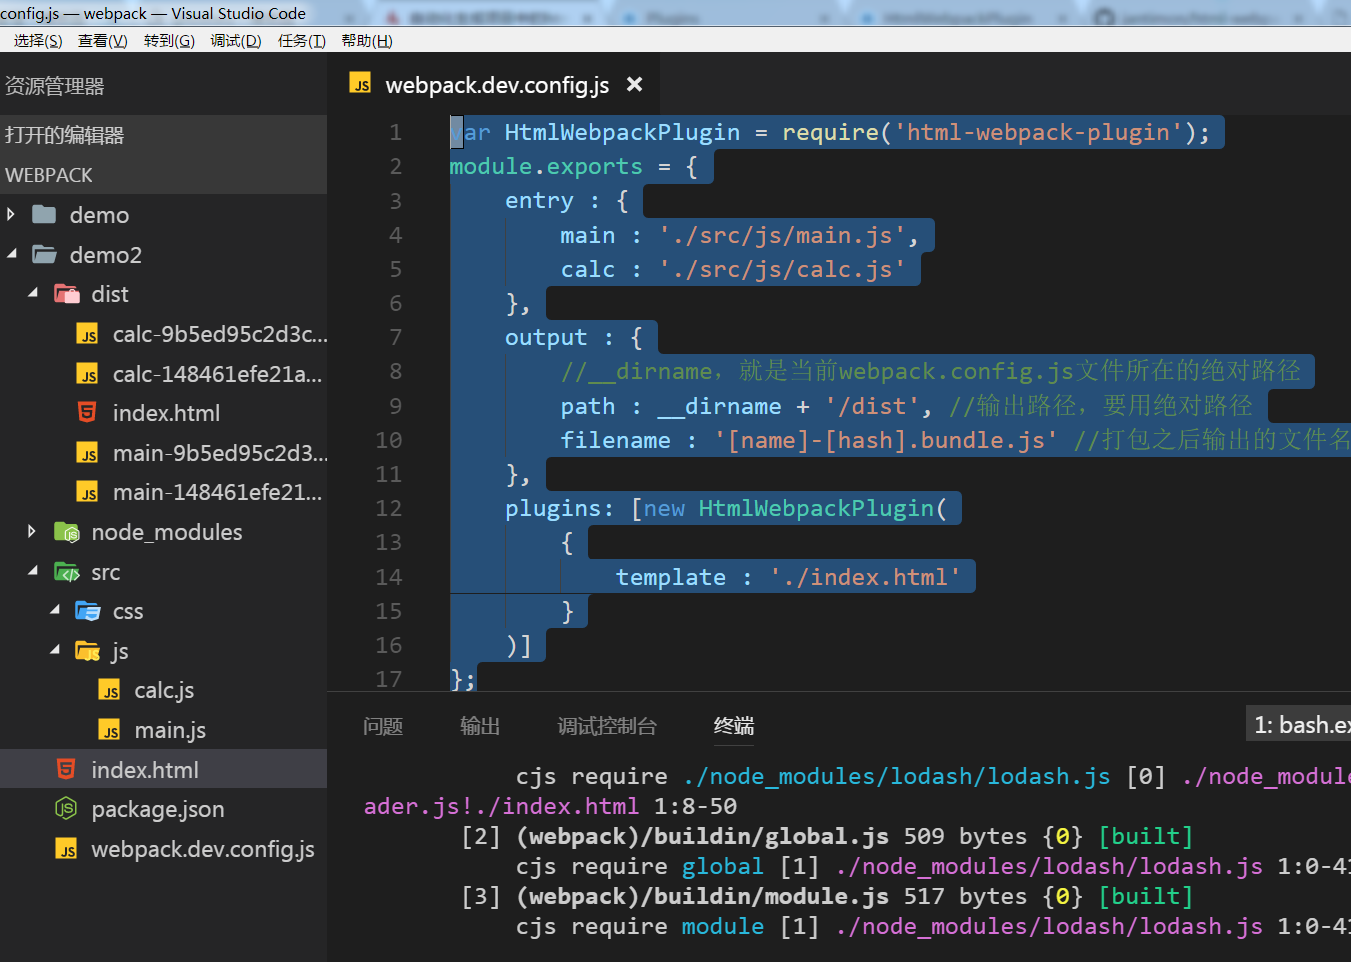
二、但是,这个在dist目录下面新生成的html文件,跟我们的项目目录(demo2)下面的index.html文件并没有任何关联, 显然不符合实际的项目需求,那我们想要的结果应该是根据demo2下面的index.html这个文件,为模板生成dist目录下面的index.html文件,这样就把两个文件建立起了关联,我们只需要在配置文件webpack.dev.config.js中,给html-webpack-plugin的构造函数传入template模板即可
 1 var HtmlWebpackPlugin = require('html-webpack-plugin');
 2 module.exports = {
 3     entry : {
 4         main : './src/js/main.js',
 5         calc : './src/js/calc.js'
 6     },
 7     output : {
 8         //__dirname,就是当前webpack.config.js文件所在的绝对路径
 9         path : __dirname + '/dist', //输出路径,要用绝对路径
10         filename : '[name]-[hash].bundle.js' //打包之后输出的文件名
11     },
12     plugins: [new HtmlWebpackPlugin(
13         {
14             template : './index.html'
15         }
16     )]
17 };
template:就是以demo目录下的这个index.html文件为模板生成dist/index.html文件,然后执行npm run d打包命令就能重新生成了

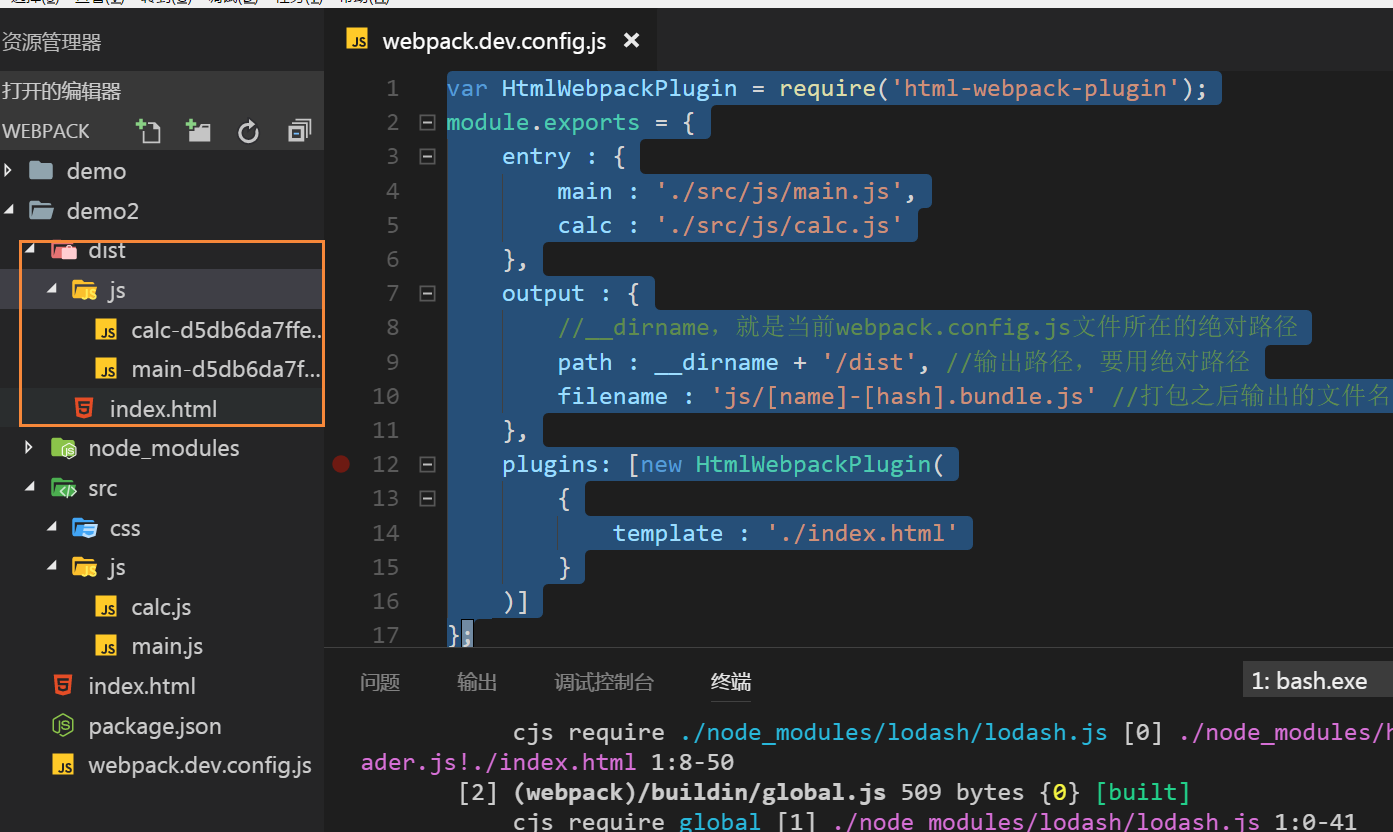
三、但是还有个小问题,我们上面打包生成的index.html文件和js文件是在同一个目录,在大型项目里面管理肯定很混乱,我们希望生成的.html文件和js文件分开存放,我们可以在webpack.dev.config.js文件中的filename配置中,加一个目录js(js文件放在这个目录下面),把他们分开就可以了,配置完了,不要忘记执行打包命令(npm run d)
 1 var HtmlWebpackPlugin = require('html-webpack-plugin');
 2 module.exports = {
 3     entry : {
 4         main : './src/js/main.js',
 5         calc : './src/js/calc.js'
 6     },
 7     output : {
 8         //__dirname,就是当前webpack.config.js文件所在的绝对路径
 9         path : __dirname + '/dist', //输出路径,要用绝对路径
10         filename : 'js/[name]-[hash].bundle.js' //打包之后输出的文件名
11     },
12     plugins: [new HtmlWebpackPlugin(
13         {
14             template : './index.html'
15         }
16     )]
17 };

四、插件的配置选项:inject与filename
webpack.dev.config.js配置文件:
 1 var HtmlWebpackPlugin = require('html-webpack-plugin');
 2 module.exports = {
 3     entry : {
 4         main : './src/js/main.js',
 5         calc : './src/js/calc.js'
 6     },
 7     output : {
 8         //__dirname,就是当前webpack.config.js文件所在的绝对路径
 9         path : __dirname + '/dist', //输出路径,要用绝对路径
10         filename : 'js/[name]-[hash].bundle.js' //打包之后输出的文件名
11     },
12     plugins: [new HtmlWebpackPlugin(
13         {
14             template : './index.html',
15             filename : 'index-[hash].html',
16             inject : 'head'
17         }
18     )]
19 };
filename:打包生成的文件名,还可以加目录,默认没有写的时候是index.html
inject:有4个值: true | 'head' | 'body' | false
如果设置为head, 就是把js引入放在head标签里面, 如果设置为body,就是把js引入放在body里面, false: 不会引入js文件 true:引入js文件
五、插件的选项:title
title: 模板的标题
webpack.dev.config.js配置文件代码:
 1 var HtmlWebpackPlugin = require('html-webpack-plugin');
 2 module.exports = {
 3     entry : {
 4         main : './src/js/main.js',
 5         calc : './src/js/calc.js'
 6     },
 7     output : {
 8         //__dirname,就是当前webpack.config.js文件所在的绝对路径
 9         path : __dirname + '/dist', //输出路径,要用绝对路径
10         filename : 'js/[name]-[hash].bundle.js' //打包之后输出的文件名
11     },
12     plugins: [
13         new HtmlWebpackPlugin({
14             template : './index.html',
15             title : 'ghostwu教你学webpack',
16             inject : true
17         })
18     ]
19 };
然后,在demo2目录下面的index.html文件中用ejs模板语法引入title
 1 <!DOCTYPE html>
 2 <html lang="en">
 3 <head>
 4     <meta charset="UTF-8">
 5     <meta name="viewport" content="width=device-width, initial-scale=1.0">
 6     <meta http-equiv="X-UA-Compatible" content="ie=edge">
 7     <title><%= htmlWebpackPlugin.options.title %></title>
 8 </head>
 9 <body>
10 </body>
11 </html>
注意是:htmlWebpackPlugin.options.title,不要把html的h大写, 千万注意,我在这里踩了好久的坑