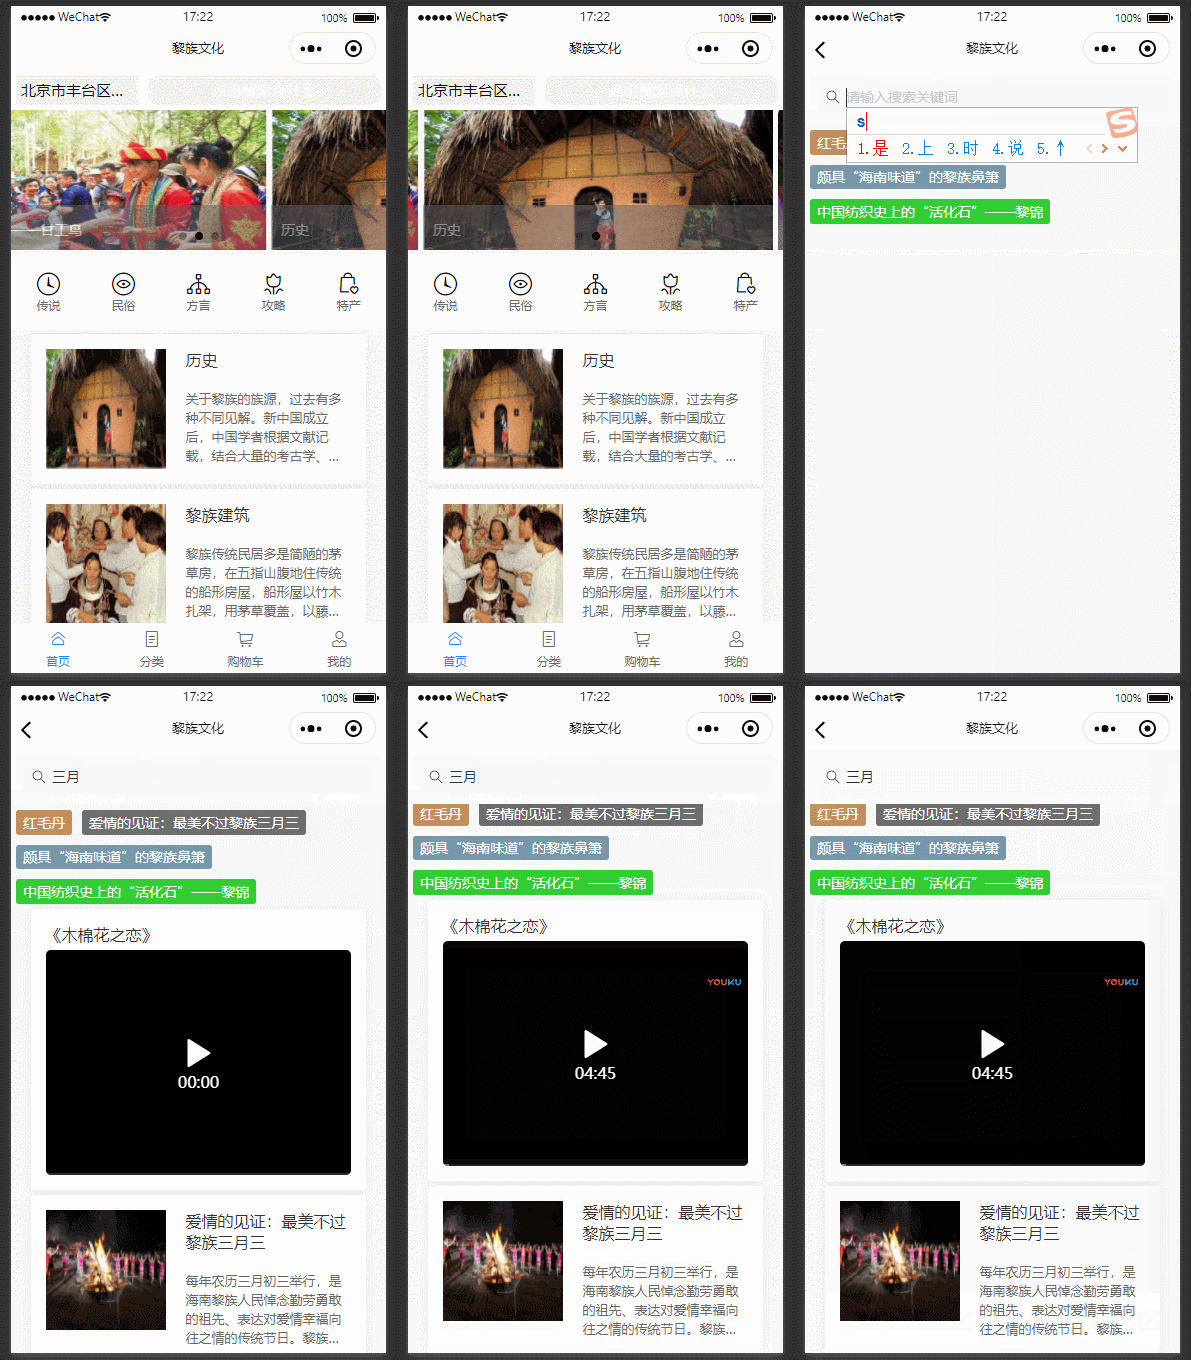
效果图
从首页的搜索入口进入到搜索页面,展示热搜。
再根据用户的输入内容模糊搜索,返回数据显示在热搜下方。

实现分析
主要由三部分组成
- 搜索框
- 热搜标签云
- 搜索结果列表
搜索框
搜索框使用 vant-weapp 的 Search 组件
根据文档,导入组件即可。
search:index.wxml 如下:
<van-search
	value="{{ value }}"
	placeholder="请输入搜索关键词"
	bind:search="onSearch"
	custom-class="search-style" />
我这里为了将搜索框悬浮顶部,增加了自定义的样式search-style。
也就是当列表足够长,往上滑动的时候搜索框固定顶部。
search:index.wxss 如下:
.search-style {
  display: flex;
   100%;
  padding: 10rpx;
  background-color: white;
  position: fixed;
  top: 0;
  z-index: 100;
}
主要就是下面三个属性:
- position: fixed; 指定元素(这里一般指
view)的定位方法,fixed表示相对于浏览器窗口进行固定定位,需要配置"left", "top", "right" 以及 "bottom"属性。 - top: 0; 表示距离顶部为
0处固定 - z-index: 100; 指定元素(这里一般指
view)的堆叠顺序,数值越大约在上方显示。
布局写完就该处理搜索逻辑了,在布局中我们声明的搜索回调方法是onSearch,
所以我们在search index.js中处理搜索逻辑即可
onSearch(e) {
   // 获取用户输入的搜索关键字
   let key = e.detail
   that.data.key = key

   // 模糊搜索请求数据库并分页返回结果
   that.getSearchData(0, 5)

 },
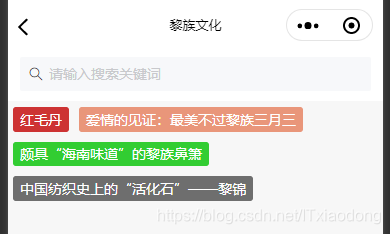
标签云
标签云效果如下:

主要实现逻辑是:
- 查询数据库中
is_hot=true的字段,返回前10条结果 - 根据返回的结果构建标签云对象:包含
id,title,color - 展示标签云
获取数据并构建标签云对象如下:
getHotSearchsData: function (e) {
    db.collection(Constant.tableName.home_list)
      .where({
        is_hot: true
      })
      .limit(10)
      .get().then(res => {

        let colorLength = that.data.colorArray.length
        let colors= that.data.colorArray
        let list = res.data

        if (list.length > 0) {
          for (let i = 0; i < list.length; i++) {
            let hotSearchInfo = {}
            hotSearchInfo['id'] = list[i].id
            hotSearchInfo['title'] = list[i].title
            let randomColor = colors[Math.floor(Math.random() * colorLength)];
            hotSearchInfo['color'] = randomColor
            that.data.hotSearchs.push(hotSearchInfo);
          }
          that.setData({
            hotSearchs: that.data.hotSearchs,
          });
        }
      })
  },
解释一下获取随机数的代码:
let randomColor = colors[Math.floor(Math.random() * colorLength)];
Math.floor(Math.random() * colorLength):获取随机数下标,Math.random()会返回0-1之间的随机数而Math.floor会返回小于或等于其参数的最大整数,这么看大概能理解了吧。
接下来就是布局文件的实现了,这里使用了van-tag组件
search-index.wxml的内容如下:
<block wx:for="{{hotSearchs}}" wx:key="key">
	<van-tag
		color="{{item.color}}"
		style="margin:10rpx;float: left;" size="large"
		catchtap='onHotTagCatchTap'
		data-id='{{item.id}}'>
		{{item.title}}
	</van-tag>
</block>
这里的重点是样式部分,其他的内容的就不多说了。
float: left;让元素向左浮动。简单一个属性就实现了标签云效果
参考:
搜索列表
从效果图上可以看出,搜索列表是根据不同的类型显示不同的布局,篇幅有限,下篇再写列表的实现。
上车
佛系原创号主,主要分享 Flutter、微信小程序、Android相关知识点。
