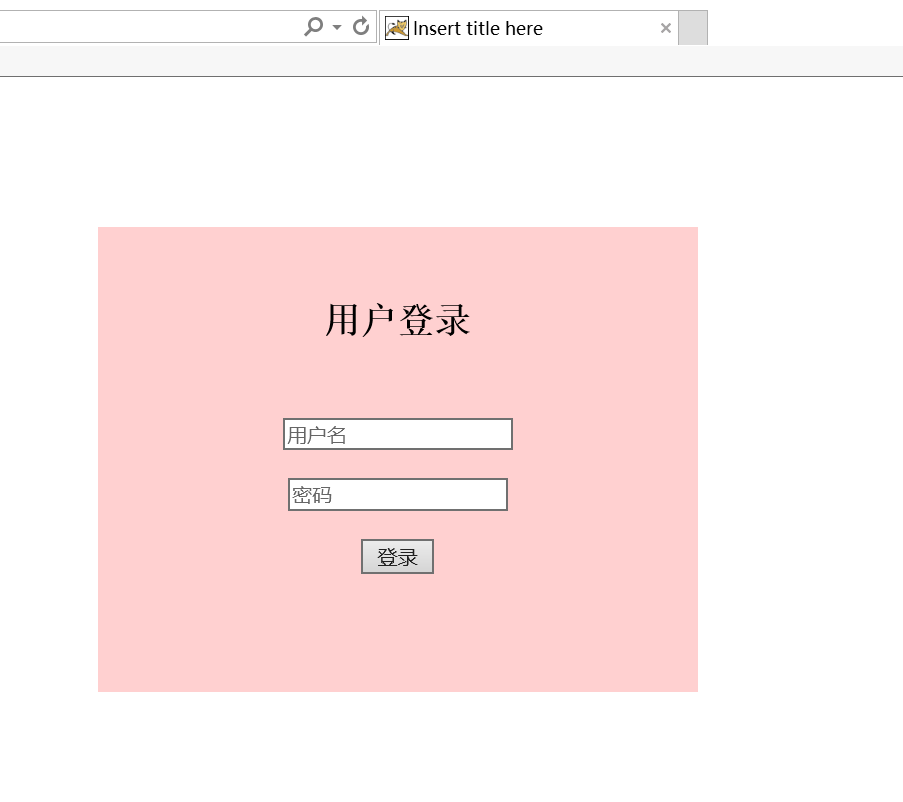
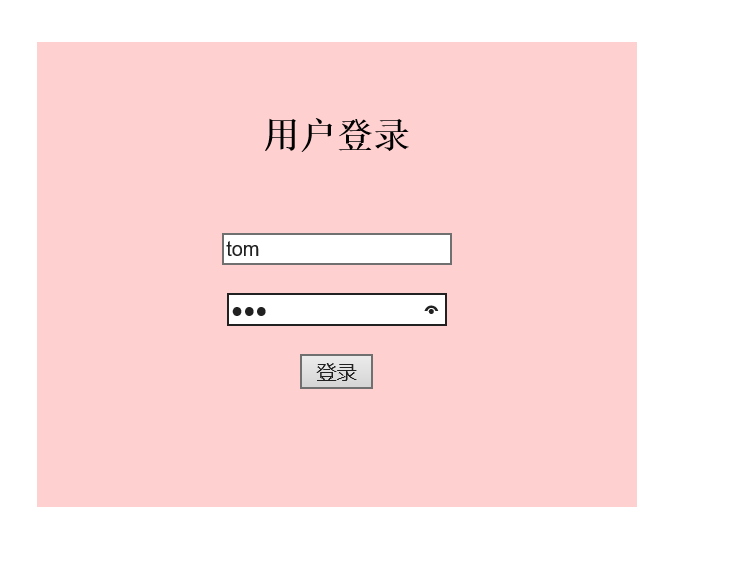
一、界面展示
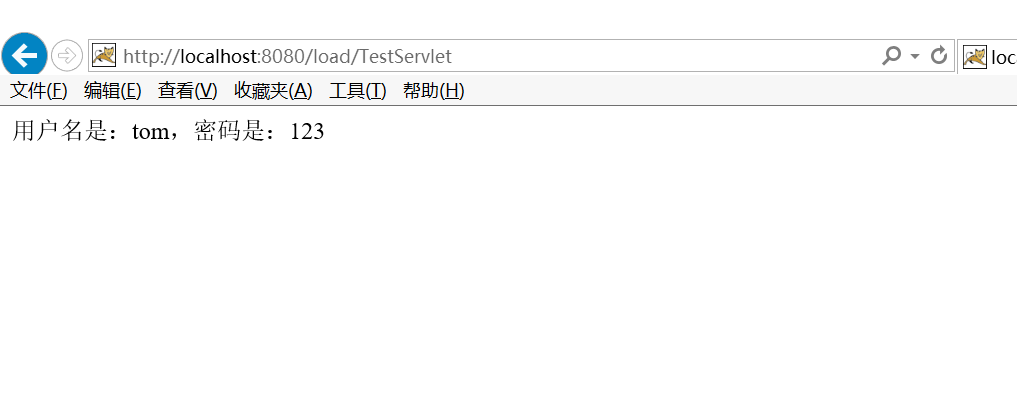
二、登录成功显示
三、代码
html


 1 <!DOCTYPE html>
 2 <html>
 3 <head>
 4 <meta charset="UTF-8">
 5 <title>Insert title here</title>
 6    <link rel="stylesheet" type="text/css" href="NewStyle.css">
 7 </head>
 8 <body>
 9 <div class="content">
10 <h2 >用户登录</h2>
11 <div class="box">
12 <form action="/load/TestServlet" id="loading" method="post">
13 <input type="text" placeholder="用户名" id="name" name="username"><br><br>
14 <input type="password" placeholder="密码" id="pwd" name="password"><br><br>
15 <button type="submit" id="btn">登录</button>
16 </form>
17 </div>
18 </div>
19 </body>
20 </html>
css
 1 @charset "UTF-8";
 2 .content{
 3     400px;
 4     height:280px;
 5     margin-left:35%;
 6     margin-top:100px;
 7     background-color:#ffd0d0;
 8     text-align:center;
 9     padding-top:30px;
10 }
11 .box{
12     200px;
13     height:200px;
14     margin-top:50px;
15     text-align:center;
16     margin-left:25%;
17 }
servlet
 1 package load;
 2
 3 import java.io.IOException;
 4 import java.io.PrintWriter;
 5
 6 import javax.servlet.ServletException;
 7 import javax.servlet.annotation.WebServlet;
 8 import javax.servlet.http.HttpServlet;
 9 import javax.servlet.http.HttpServletRequest;
10 import javax.servlet.http.HttpServletResponse;
11
12 /**
13  * Servlet implementation class TestServlet
14  */
15 @WebServlet("/TestServlet")
16 public class TestServlet extends HttpServlet {
17     private static final long serialVersionUID = 1L;
18
19     /**
20      * @see HttpServlet#HttpServlet()
21      */
22     public TestServlet() {
23         super();
24         // TODO Auto-generated constructor stub
25     }
26
27     /**
28      * @see HttpServlet#doGet(HttpServletRequest request, HttpServletResponse response)
29      */
30     protected void doGet(HttpServletRequest request, HttpServletResponse response) throws ServletException, IOException {
31         // TODO Auto-generated method stub
32         //response.getWriter().append("Served at: ").append(request.getContextPath());
33         request.setCharacterEncoding("UTF-8");
34         response.setContentType("text/html;charset=utf-8");
35         String uname=request.getParameter("username");
36         String pwd=request.getParameter("password");
37         if(("tom").equals(uname)&&("123").equals(pwd)) {
38             //response.sendRedirect("/load/Welcome.html");
39             PrintWriter out=response.getWriter();
40             out.write("用户名是:"+uname+",密码是:"+pwd);
41         }
42         else {
43             response.sendRedirect("/load/NewFile.html");
44         }
45     }
46
47     /**
48      * @see HttpServlet#doPost(HttpServletRequest request, HttpServletResponse response)
49      */
50     protected void doPost(HttpServletRequest request, HttpServletResponse response) throws ServletException, IOException {
51         // TODO Auto-generated method stub
52         doGet(request, response);
53
54     }
55
56 }
总结:总结来说做的比较简单,还需要深入的了解。