爱编程爱分享,原创文章,转载请注明出处,谢谢!http://www.cnblogs.com/fozero/p/6170706.html
1、通过Script引入Vuejs框架
<script type="text/javascript" src="https://unpkg.com/vue@2.1.4/dist/vue.js"/>
2、实例化Vue并配置Vue选项
var vm = new Vue({
          el: '#app',
          data: {
              shops:''
          },
          created:function(){//实例创建时被调用
              this.getShopList();
          },
          methods:{
              getShopList:function(){//获取店铺列表
                  $.get(WEB_API_URL+"/Api/Shop",{
                    r:Math.random()
                },function(result){
//                    console.log(JSON.stringify(result));
                    if(result.errno==0){
                         $.each(result.data,function(index,item){
                             //数组对象添加imgurl元素
                             var img_url=shop_icons[Math.floor(Math.random()*shop_icons.length)];
                             item["imgurl"]=img_url;
                         });
                         vm.shops = result.data;
                    }else{
                        alert("服务器出错啦~");
                    }
                });
              }
          }

        });
说明:
选项中的el属性绑定页面中id为app的div
Vuejs框架提供一系列钩子函数 ,created方法在Vue实例创建时被调用
我们所有的方法定义在methods选项中,这里我们定义获取店铺列表的方法getShopList,然后在created方法中调用
最后数据请求成功之后进行数据绑定
3、使用v-for指定对列表渲染
<li v-for="shop in shops">
                    <a href="store_detail.html" v-bind:id="shop.ID" v-bind:baiduid="shop.baidu_id" v-bind:meituanid="shop.meituan_id">
                        <div class="left mend_img">
                            <img v-bind:src="shop.imgurl"/>
                        </div>
                        <div class="left name">
                            <h1>{{shop.shop_name}}</h1>
                            <label>{{shop.shop_address}}</label>
                        </div>
                        <div class="clearfix"></div>
                    </a>
                </li>
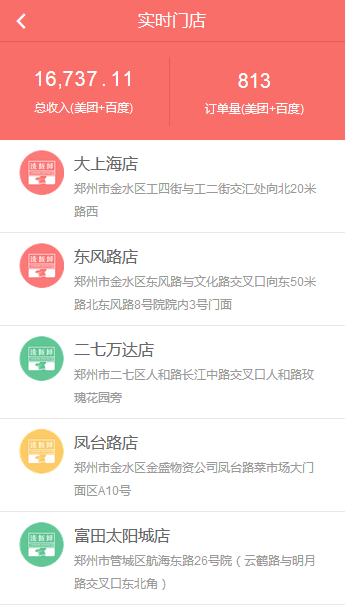
4、显示效果
