一jenkins启动命令:jenkins
查看端口号:
1、lsof -i:端口号
2、netstat -tunlp|grep 端口号
3 查看:ps -ef | grep -v grep |grep jenkins
Mac下尽量使用命令行安装 jenkins 方法
https://blog.csdn.net/u011537073/article/details/80025716
1、安装brew
/usr/bin/ruby -e "$(curl -fsSL https://raw.githubusercontent.com/Homebrew/install/master/install)" 1
2、安装jenkins
brew install jenkins
3、链接launchd配置文件
ln -sfv /usr/local/opt/jenkins/*.plist ~/Library/LaunchAgents
4、启动jenkins
launchctl load ~/Library/LaunchAgents/homebrew.mxcl.jenkins.plist
5、停止jenkins
launchctl unload ~/Library/LaunchAgents/homebrew.mxcl.jenkins.plist
卸载:
方法1:执行命令/Library/Application Support/Jenkins/Uninstall.command
方法2:前往文件夹:/Library/Application Support/Jenkins,双击Uninstall.command
完成
二: 登录:http://localhost:8080
输入:userName :****
password:*****

三 jenkins安装maven 插件
系统管理-插件管理-可选插件:maven Intergration 直接安装,然后重启jenkins;
可安装其他插件:git....
四 全局工具配置
1)maven 本地安装路径:
2)jdk 本地安装路径:
3)git 本地安装路径:

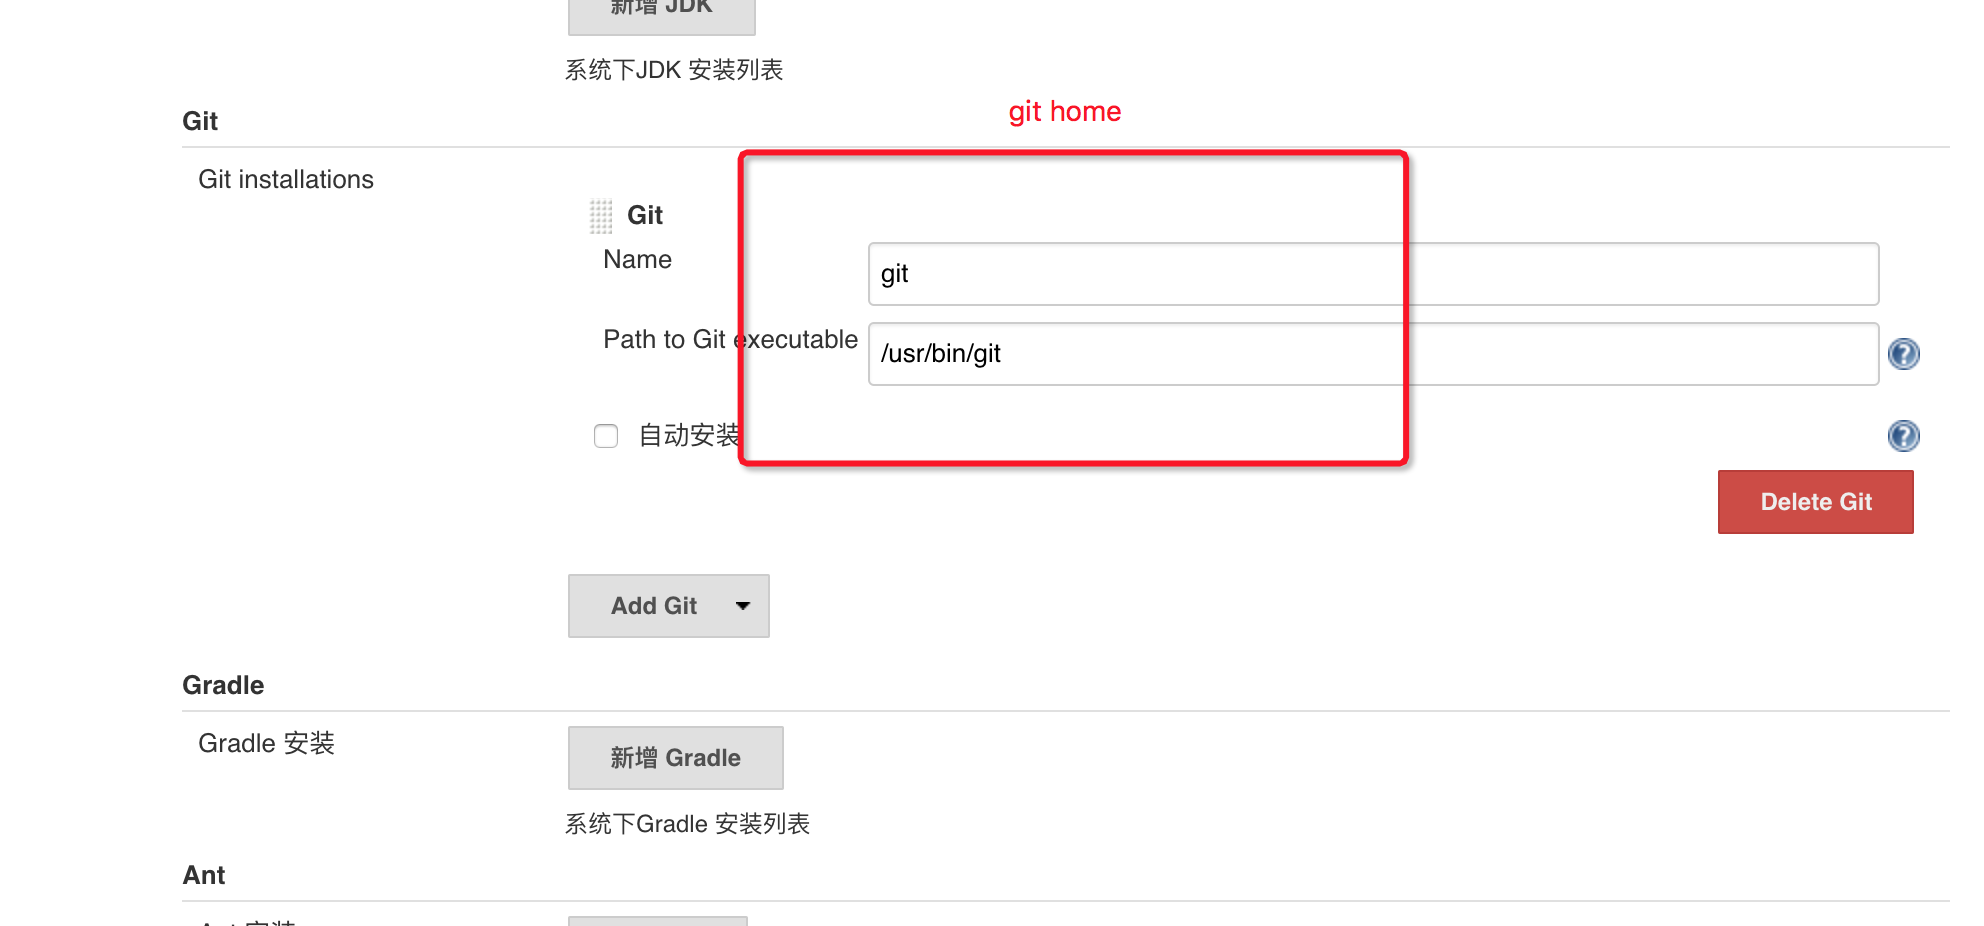
阿里邮箱:
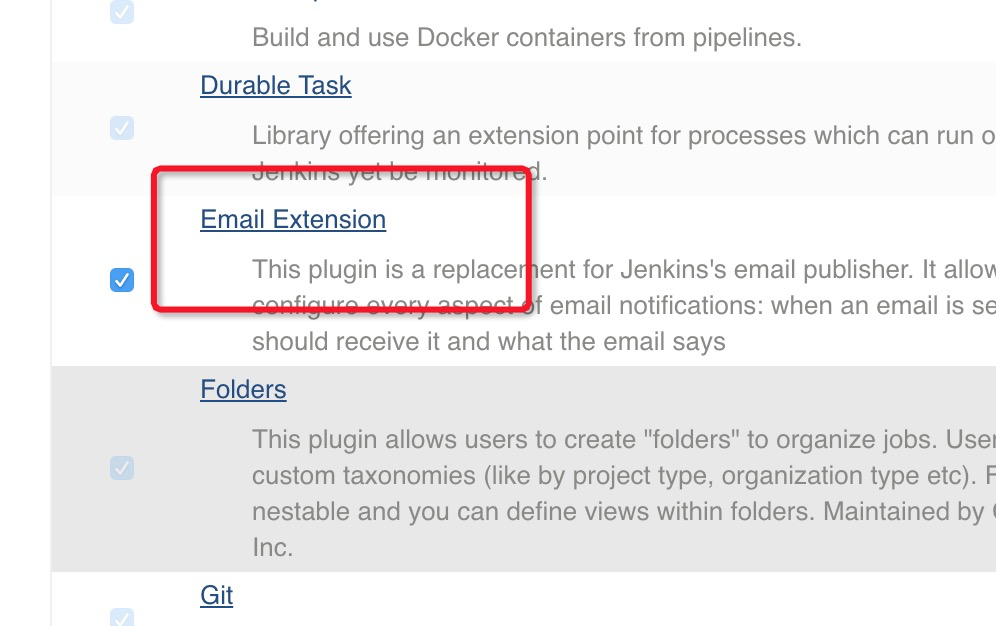
1)邮箱插件:
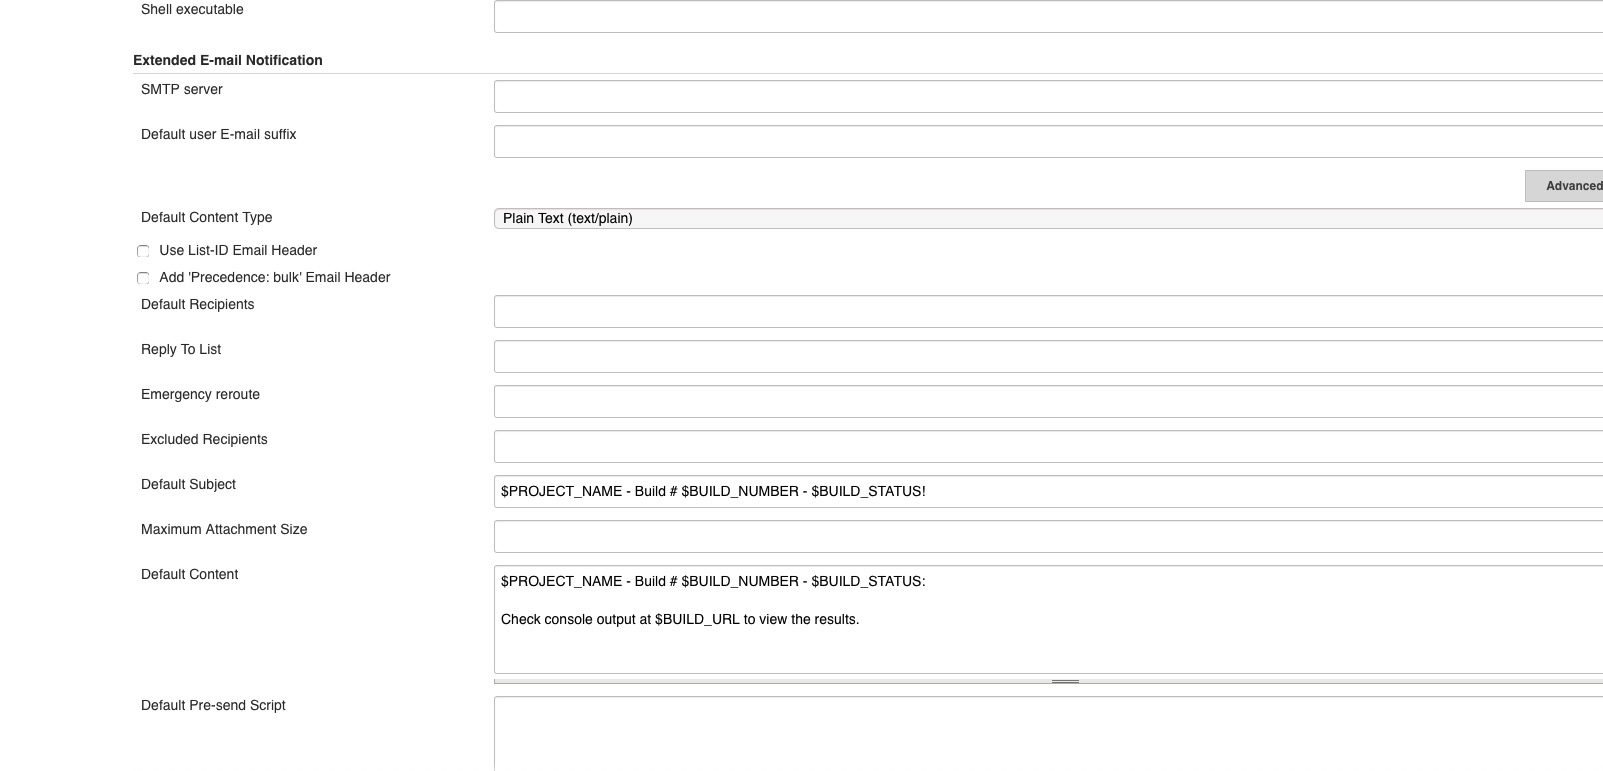
2)填写全局邮件配置:


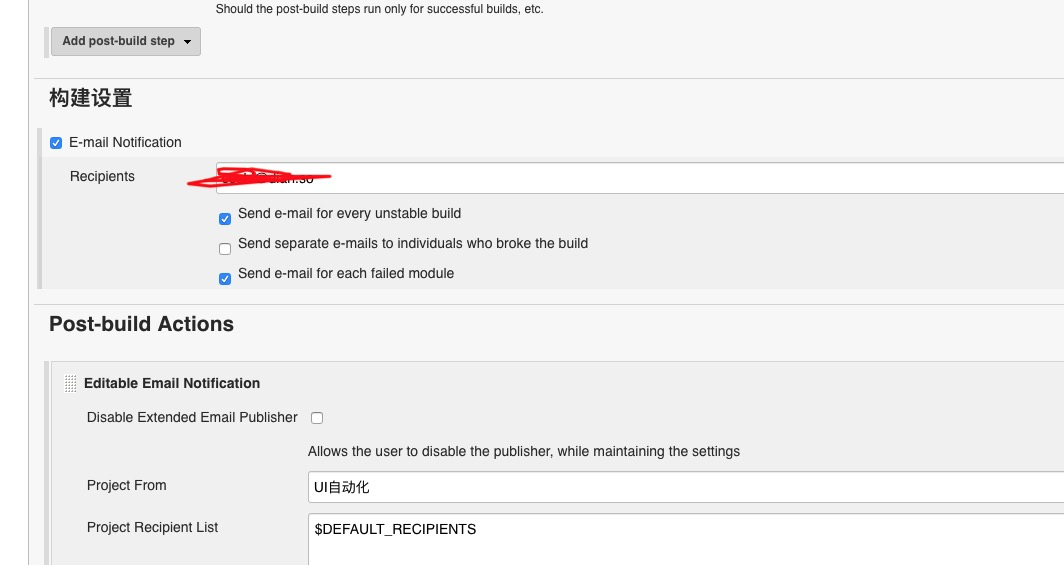
项目中配置接受人和模版:
五 git 账户设置
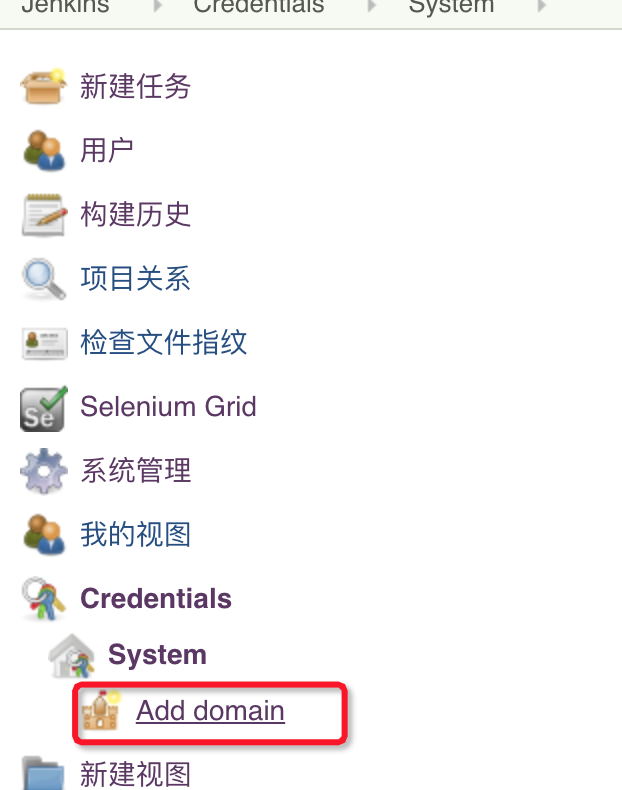
1) 进入Credentials -System(图一),进行新建add-domain;
2)填写git 相关信息(图二):
ssh-key 获取:cat /Users/***/.ssh/id_rsa.pub()

六 新建项目:
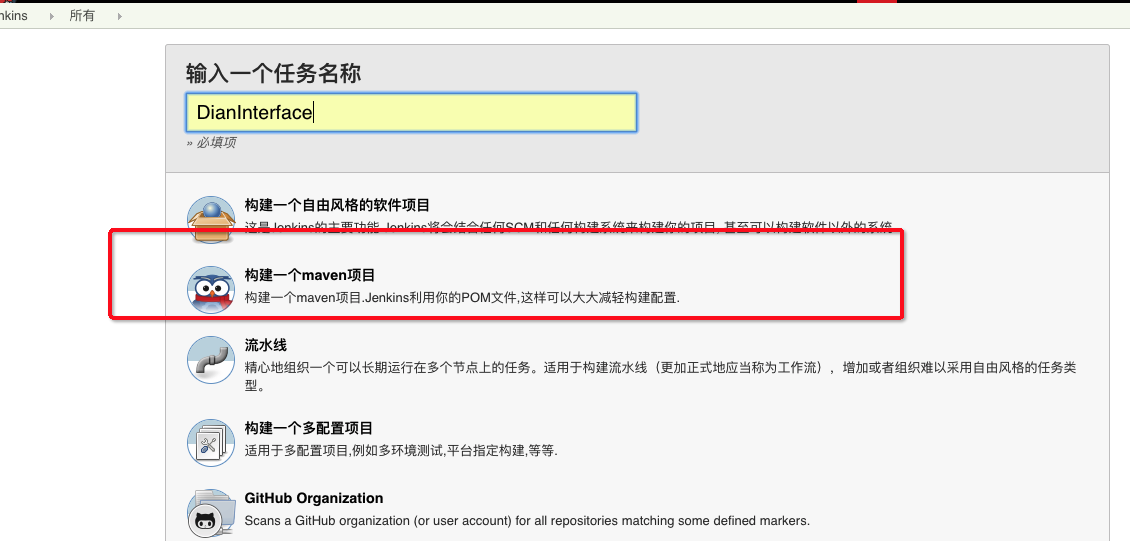
1)图一:输入项目名称,选择maven 构建
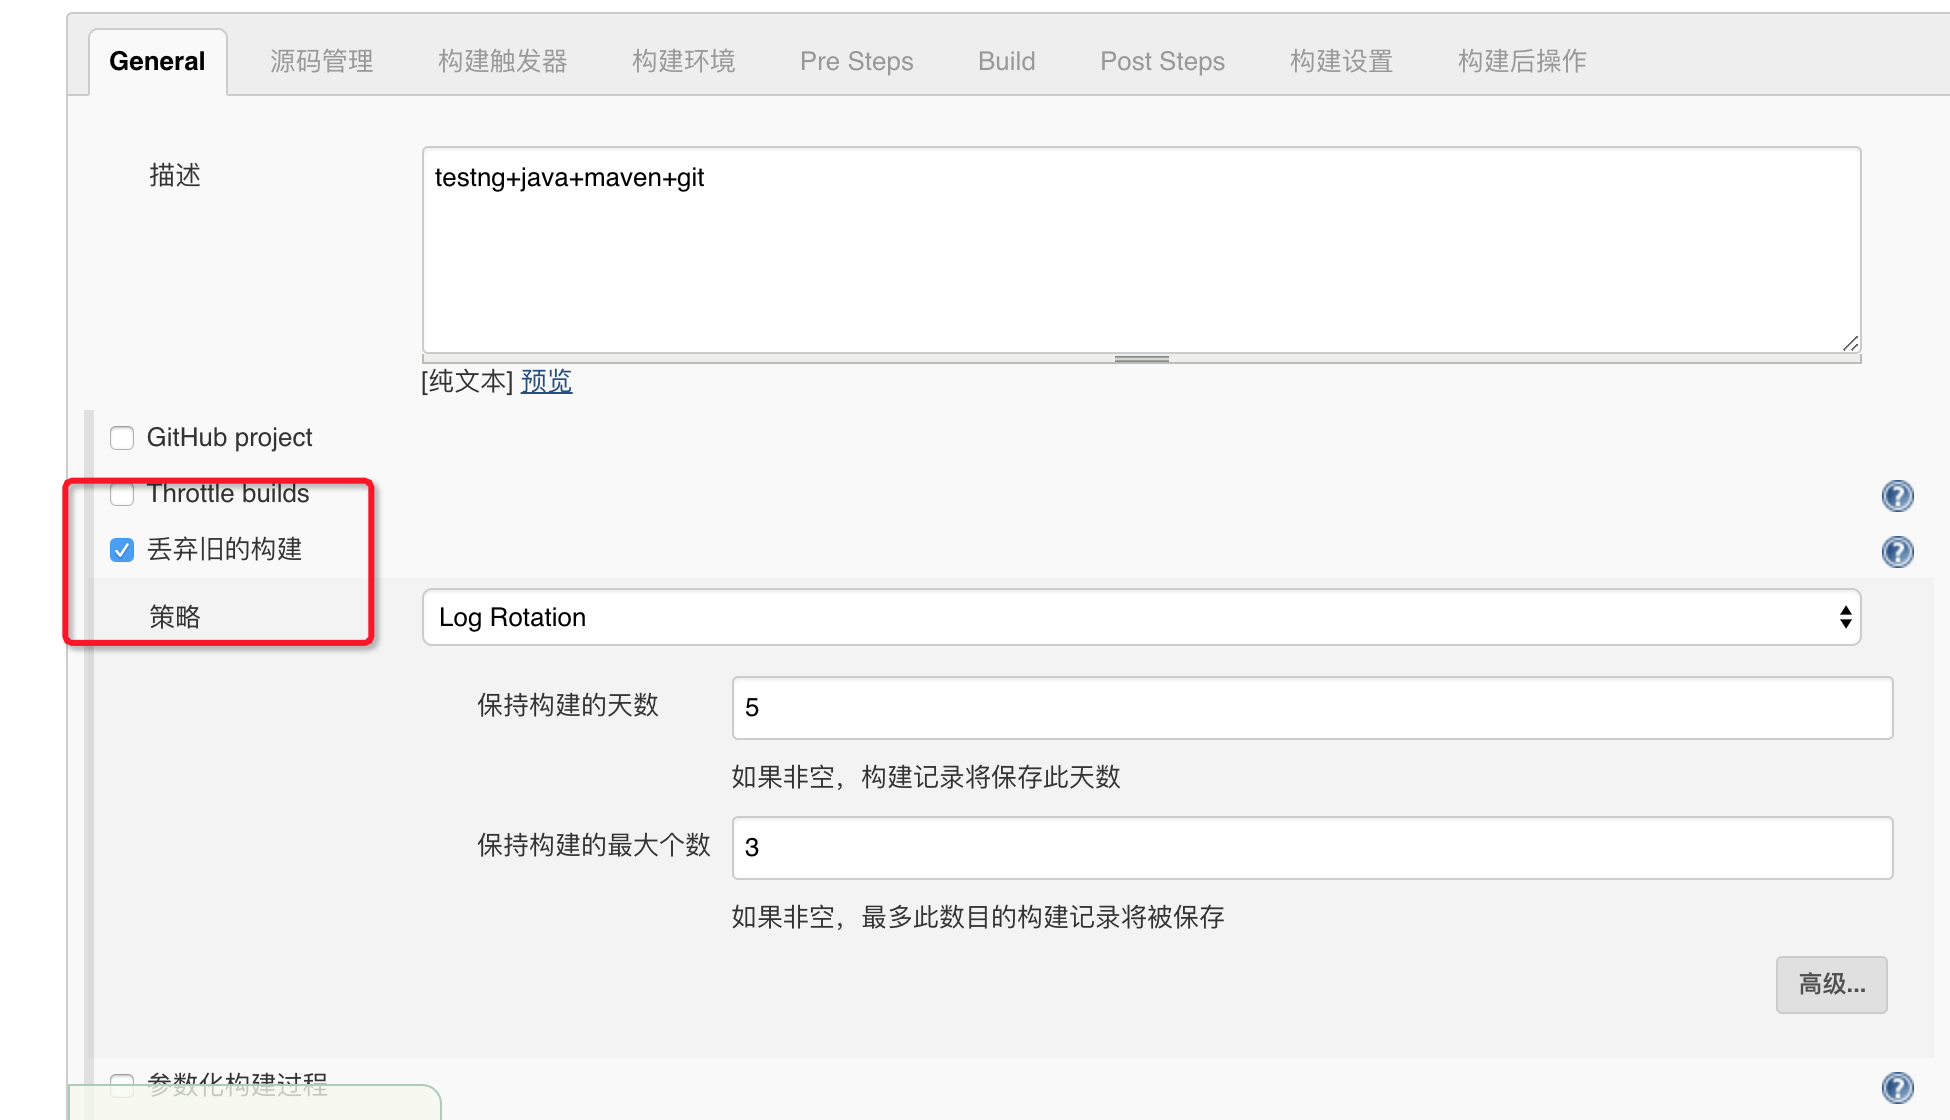
2) 选择“丢弃旧的构建”
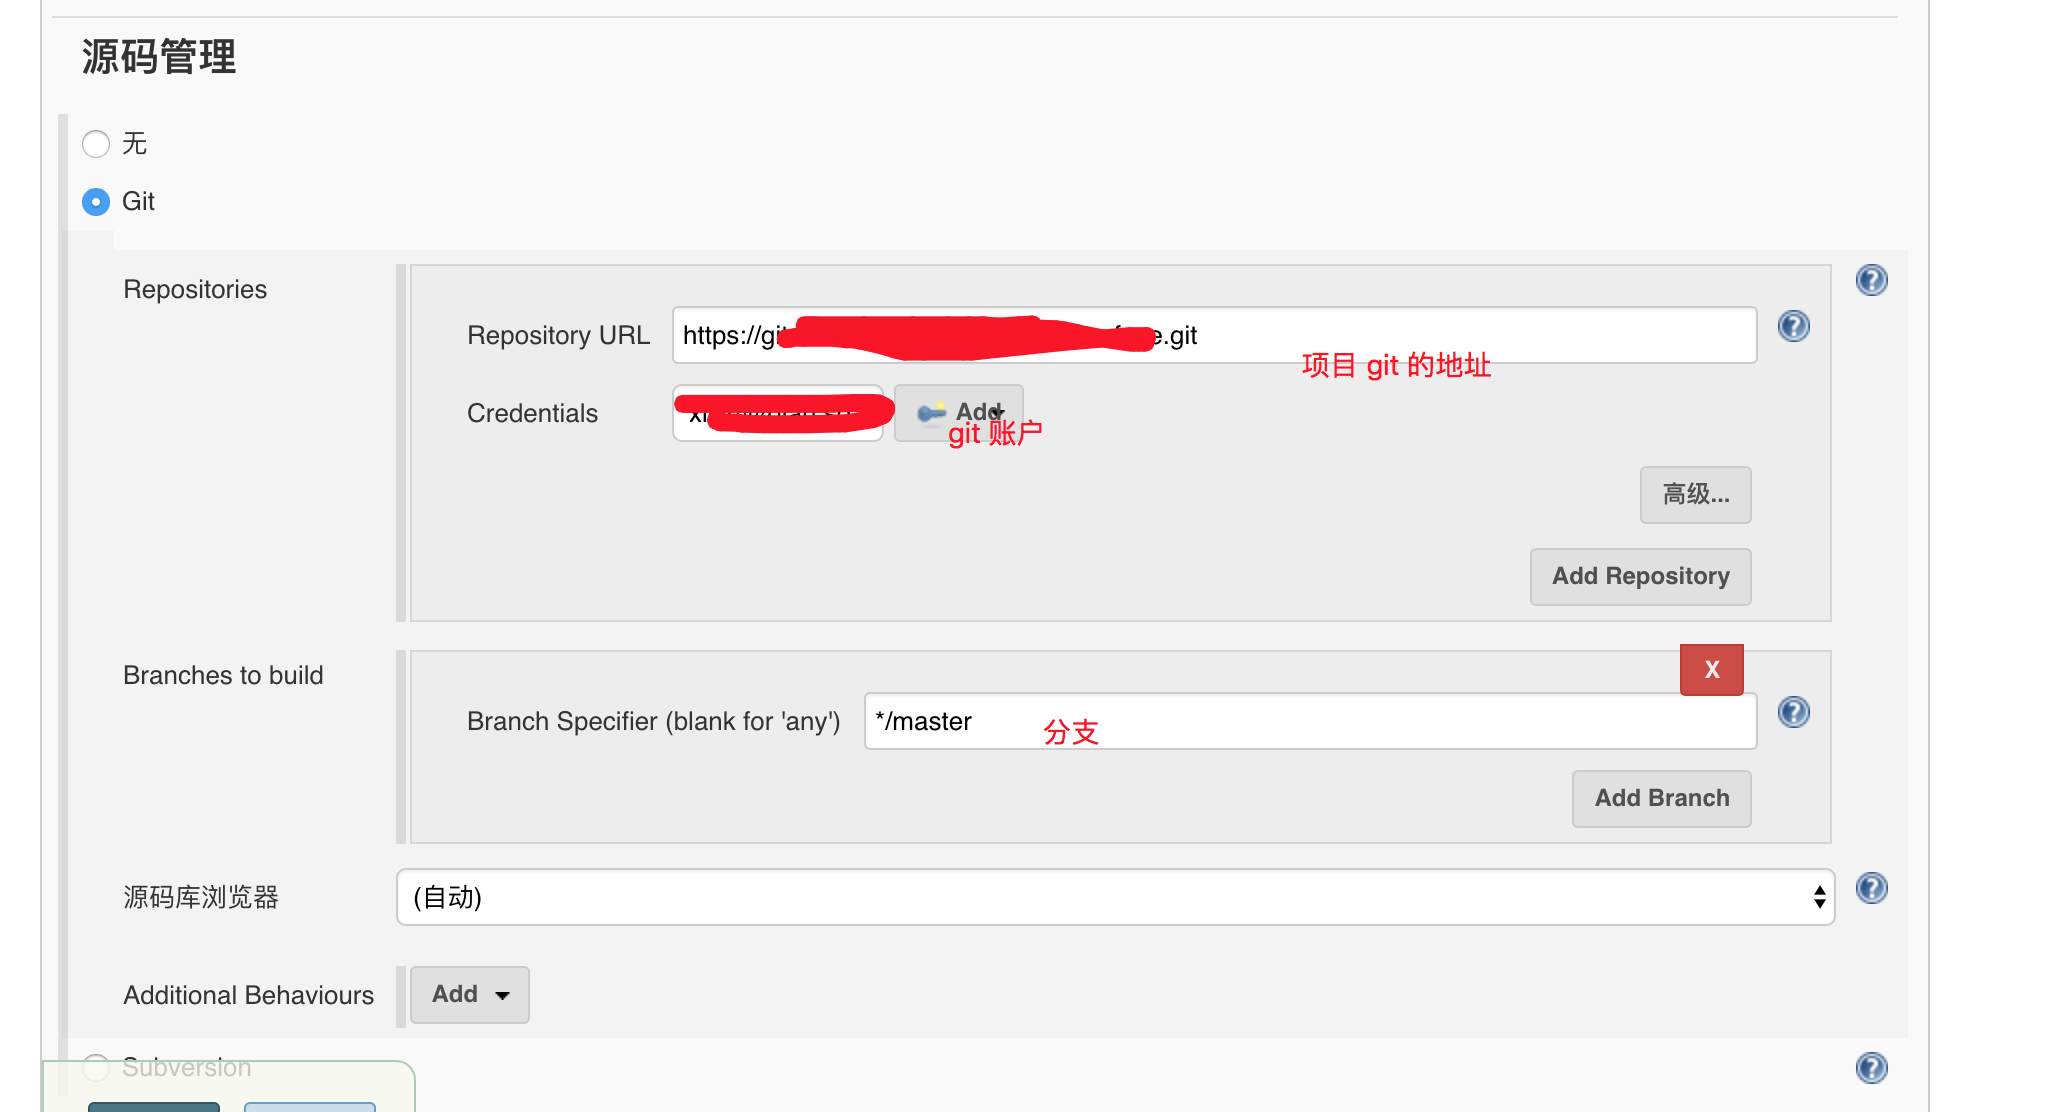
3)源码管理(图三):
1 配置git 项目路径
2 选择git 账户,无则添加
3 填写管理分支
4 )构建设置,然后保存/应用即可:
build 设置执行命令: clean test -DxmlFileName=testNG.xml
打包不执行test:mvn clean package -DskipTests
备注:此处不能添加mvn

5) 若有其他需要可进行添加