一、模块的安装
npm install axios --save
#--save可以不用写
如图:

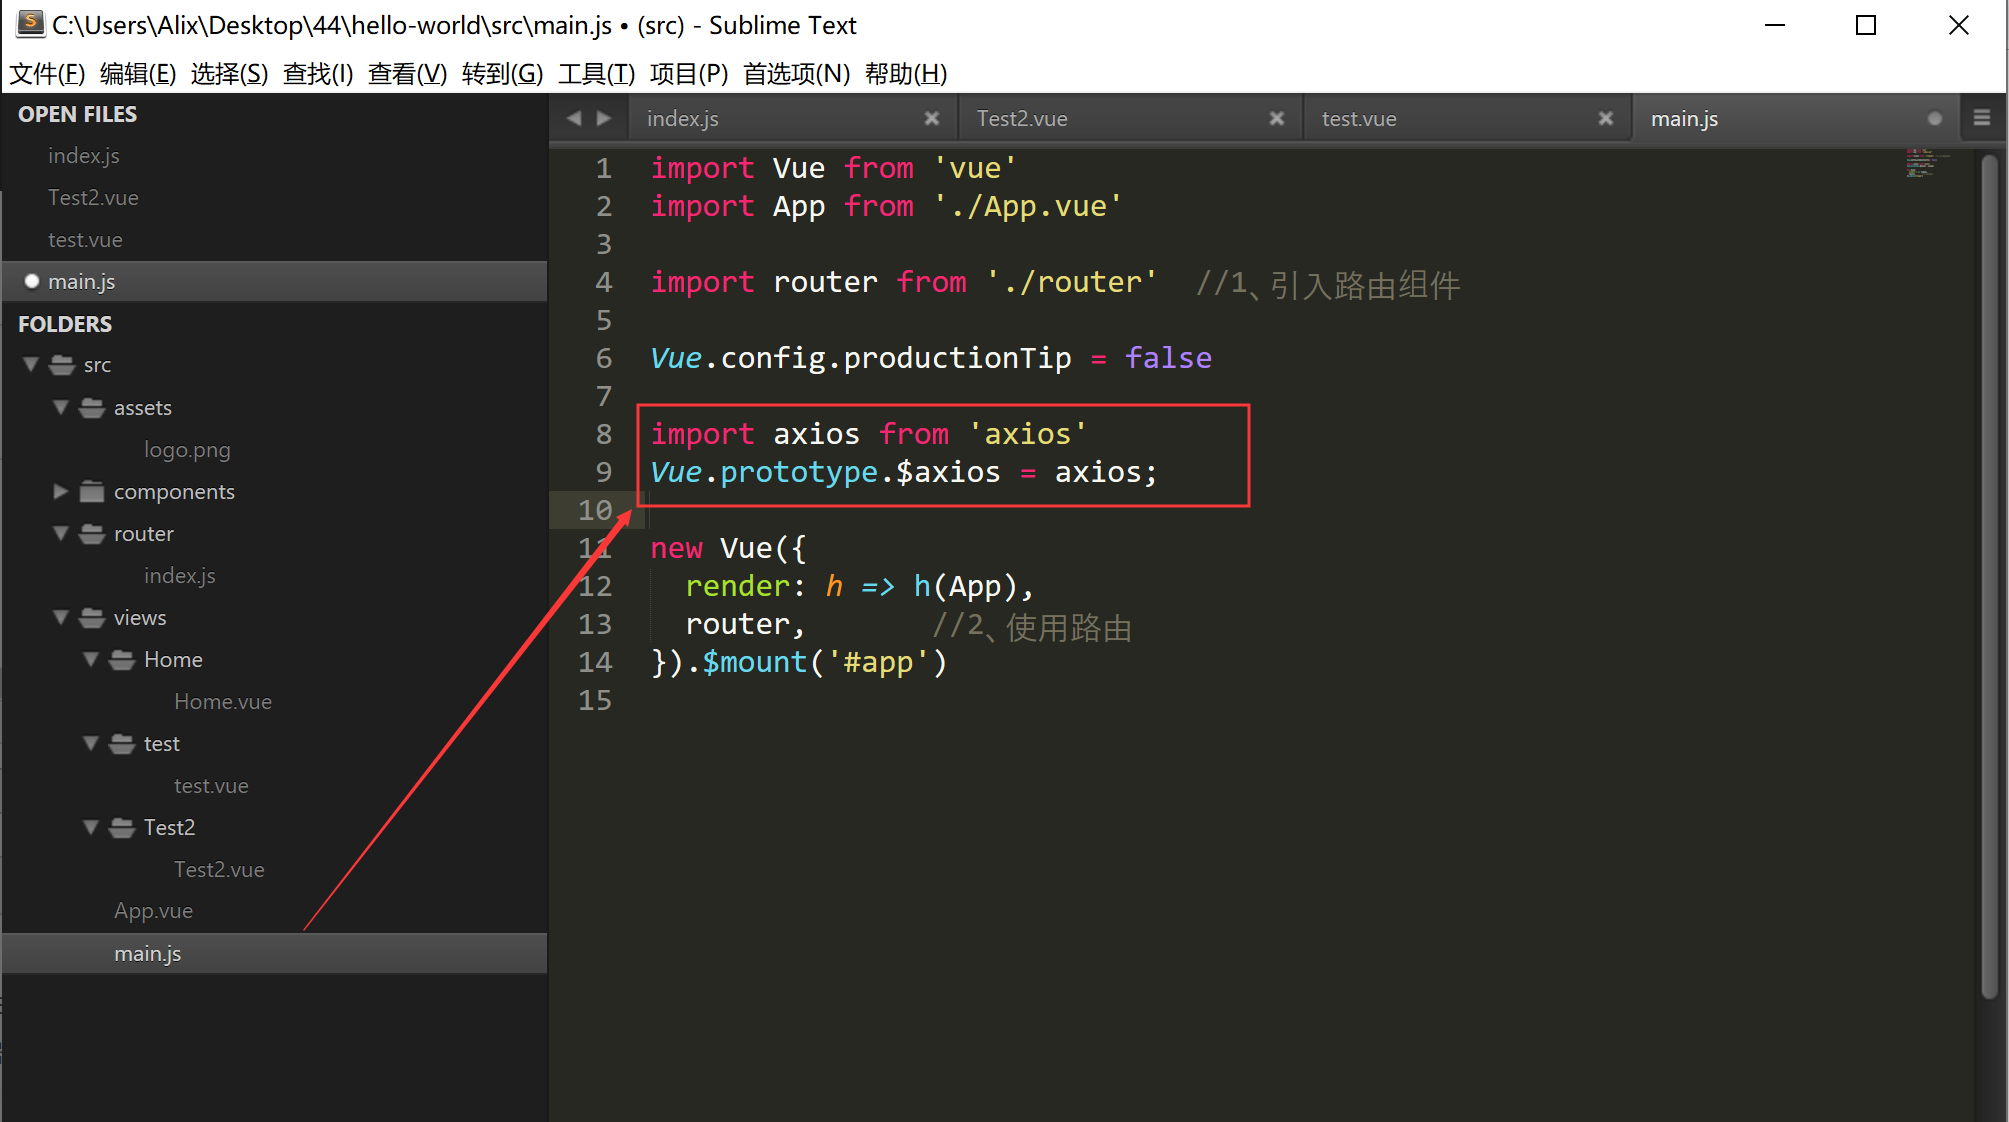
二、配置main.js
import axios from 'axios'
Vue.prototype.$axios = axios;
如图:
三、简单使用示例
页面加载时执行:
<template>
    <div class="header">{{title}}</div>
</template>

<script>
    //当前组件的脚本
    export default{
        // 当前组件的名称
        name:"test", //非必填项,则自动以文件名为主
        data(){
            return {//当前组件中所有的数据

                title:'猫眼电影'

            };
        },methods:{ //当前组件中所有的函数

            //普通的方法
            xx:function(){
                alert("调用普通方法");
            }

        },created()
        {
            window.console.log("页面加载完毕之前执行,执行顺序:父组件-子组件");
            this.xx();

        },mounted()
        {
            window.console.log("页面加载完毕之前执行,执行顺序:子组件-父组件");

        }
    }
</script>

<style>
    .header{
        height: 1.25rem;
        line-height: 2.5;
        background: #e54847;
        color: #fff;
        text-align: center;
        font-size: 0.5rem;
    }
</style>
点击按钮执行:
<template>
  <div>
    <div v-show="show">HelloWorld</div>
    <button @click="handleClick">Click</button>
    <ul>
      <li v-for="(item,index) of list" :key="index">{{item}}</li>
    </ul>
  </div>
</template>
<script>
export default {
  name: "test",
  data() {
    return {
      show: true,
      list: [1, 2, 3]
    };
  },
  methods: {
    handleClick: function() {
      this.show = !this.show;
    }
  }
};
</script>
异步请求的
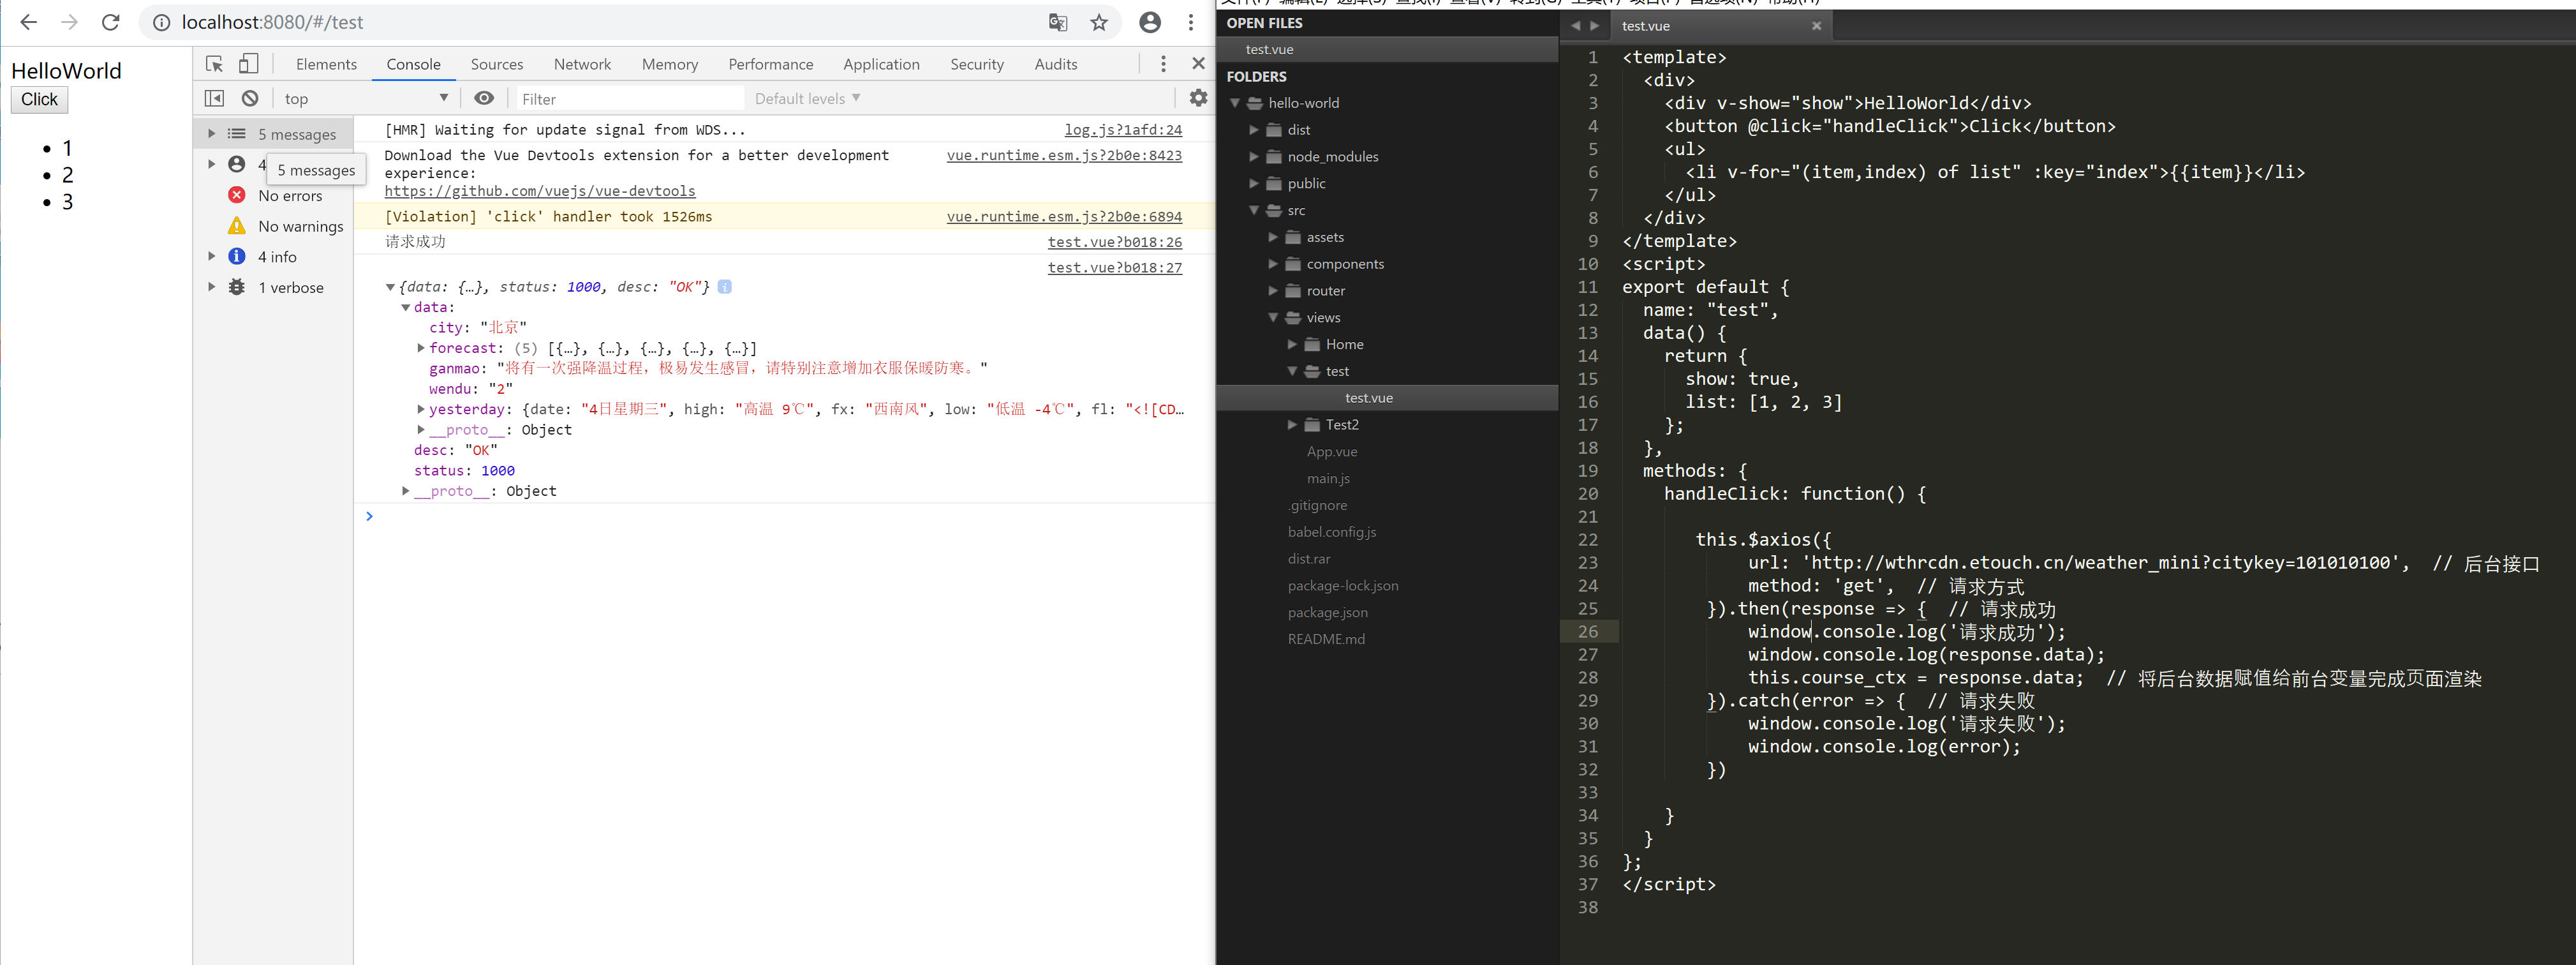
代码如下:
<template>
  <div>
    <div v-show="show">HelloWorld</div>
    <button @click="handleClick">Click</button>
    <ul>
      <li v-for="(item,index) of list" :key="index">{{item}}</li>
    </ul>
  </div>
</template>
<script>
export default {
  name: "test",
  data() {
    return {
      show: true,
      list: [1, 2, 3]
    };
  },
  methods: {
    handleClick: function() {

       this.$axios({
            url: 'http://wthrcdn.etouch.cn/weather_mini?citykey=101010100',  // 后台接口
            method: 'get',  // 请求方式
        }).then(response => {  // 请求成功
            window.console.log('请求成功');
            window.console.log(response.data);
            this.course_ctx = response.data;  // 将后台数据赋值给前台变量完成页面渲染
        }).catch(error => {  // 请求失败
            window.console.log('请求失败');
            window.console.log(error);
        })

    }
  }
};
</script>
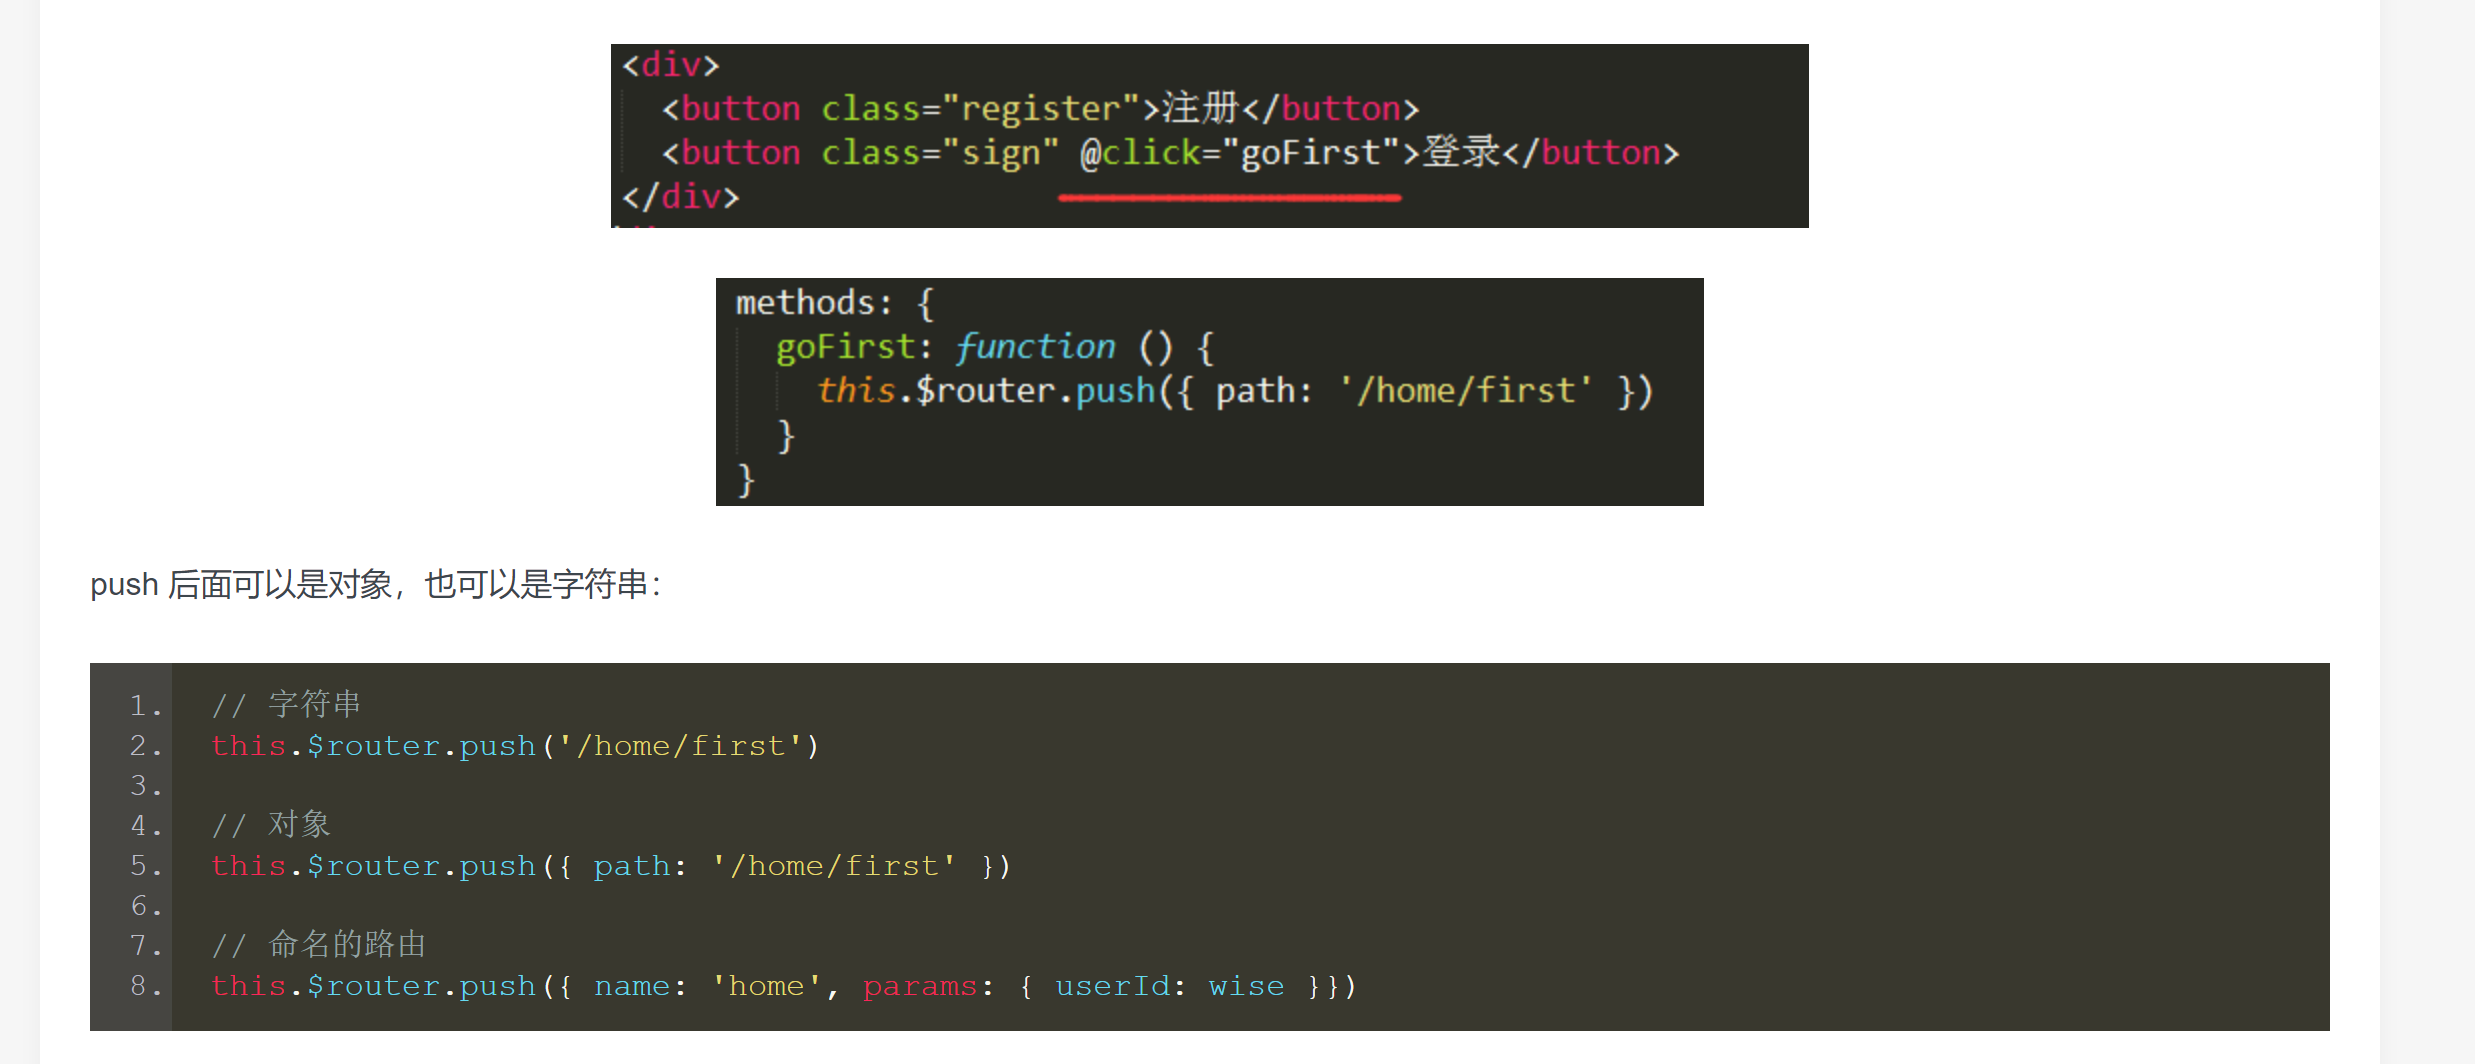
四、路由跳转与参数
可以使用 this.$router.push(location) 来更改url,完成跳转
代码如下:
接受页面:
<template>
<div>
    <div>Test2页面</div>
    <div>{{this.$route.params.user}}</div>
    <button @click="write">打印接收的参数</button>
</div>
</template>
<script>
export default {
    name:"test2",
    data(){
        return {
            status:true
        }
    },
    methods:{
        write(){
            window.console.log(this.$route.params.user);
        }
    }
}
</script>
<style>
</style>
点击跳转页面
<template>
  <div>
    <div v-show="show">HelloWorld</div>
    <button @click="handleClick">Click</button>
    <ul>
      <li v-for="(item,index) of list" :key="index">{{item}}</li>
    </ul>
  </div>
</template>
<script>
export default {
  name: "test",
  data() {
    return {
      show: true,
      list: [1, 2, 3]
    };
  },
  methods: {
    handleClick: function() {


            //this.$router.push('/test2')

            this.$router.push('/test2?user="wise"')    //接受页面 this.$route.query.user

            /*this.$router.push({
                name:'test2',
                params:{
                  user:"wise"
                }
            })*/


    }
  }
};
</script>