在上节课Windows10+VS2017 用GLFW+GLAD 搭建OpenGL开发环境 中,我们搭建好了OpenGL开发环境。这节课编写代码去测试开发环境。
还是用上节课创建的OpenGL项目,右击源文件->添加新建项CreateWindow.cpp。
编写代码:
#include <glad/glad.h> //GLAD的头文件包含了正确的OpenGL头文件(例如GL/gl.h),所以需要在其它依赖于OpenGL的头文件之前包含GLAD。
#include <GLFW/glfw3.h>
#include <iostream>
int main(int argc, char** argv[])
{
glfwInit(); //初始化GLFW
glfwWindowHint(GLFW_CONTEXT_VERSION_MAJOR, 3); //主版本号
glfwWindowHint(GLFW_CONTEXT_VERSION_MINOR, 3); //次版本号
glfwWindowHint(GLFW_OPENGL_PROFILE, GLFW_OPENGL_CORE_PROFILE);//
//glfwWindowHint(GLFW_OPENGL_FORWARD_COMPAT, GL_TRUE); //Mac OS X系统。该语句使上面的设置生效
GLFWwindow* window = glfwCreateWindow(800, 600, "LearnOpenGL", nullptr, nullptr);
if (window == nullptr)
{
cout << "Failed to create GLFW window" << endl;
glfwTerminate();
return -1;
}
glfwMakeContextCurrent(window);//指定当前窗口的上下文
//glad寻找opengl的函数地址,调用opengl的函数前需要初始化glad
if (!gladLoadGLLoader((GLADloadproc)glfwGetProcAddress))
{
std::cout << "Failed to initialize GLAD" << std::endl;
return -1;
}
while (!glfwWindowShouldClose(window))
{
glfwPollEvents();//处理事件
glClearColor(0.2f, 0.3f, 0.3f, 1.0f);
glClear(GL_COLOR_BUFFER_BIT);
glfwSwapBuffers(window);//交换颜色缓冲
}
glfwTerminate();
return 0;
}
F5运行:
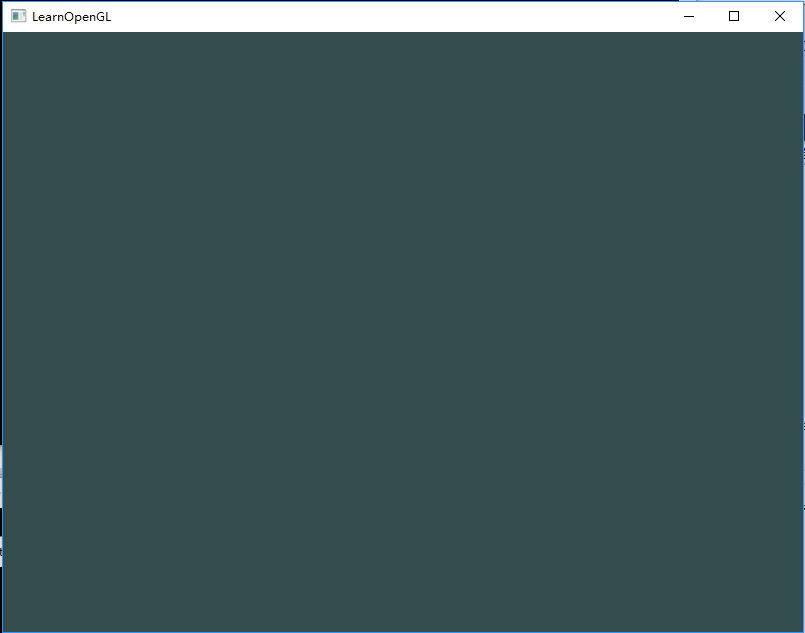
ok,我们成功绘制了一个窗口,说明我们成功搭建好了OpenGL的开发环境。