我们经常要实现类似省市联动一样的功能,常见的就是二个查找控件,一个选择了省后,另一个市的查找控件就自动过滤了,只显示当前省下的市,而不是所有的市。当然这是最简单的,实际工作中还有更复杂的功能要通过过滤查找控件来实现。本文主要介绍基本的查找控件过滤、多表关联的复杂过滤以及子表里实现查找控件的过滤。
一、简单的过滤
先看下需求:
按“Special GL Indicator” 来过滤 Posting
查找控件增加了preSearch事件。它发生在查找控件显示对话框供用户查找记录之前,与其他事件不同的是,不能使用界面来设定这个事件发生时执行的代码。只有通过Xrm.Page.getControl(arg).addPreSearch(handler) 和 Xrm.Page.getControl(arg).removePreSearch(handler) 来为该事件增加或者清除执行的代码。
实现方法很简单,在Form的OnLoad事件加上preFilterLookup
function preFilterLookup() {Xrm.Page.getControl("new_postingid").addPreSearch(function () { // child fieldaddPostingLookupFilter();});}
function addPostingLookupFilter() {var gl = Xrm.Page.getAttribute("new_special_gl_indicatorid").getValue(); // parent fieldvar fetchXml = "";if (gl != null) {fetchXml = "<filter type='and'><condition attribute='new_special_gl_indicatorid' operator='eq' value='" + gl[0].id + "' /></filter>";}else {fetchXml = "<filter type='and'><condition attribute='new_special_gl_indicatorid' operator='null' /></filter>";}Xrm.Page.getControl("new_postingid").addCustomFilter(fetchXml); // child field}
首先为要过滤的查找控件加上addPresearch方法,并用addCustomFilter来控制。 (这里好像只能inner关联)
二、复杂的过滤
上面我们实现了一个简单的过滤,下面我们来实现一个复杂点的过滤。上面用到的是addCustomFilter,也就是说用filter来过滤,如果关系复杂点,有多个关联表,filter就没办法实现了,这时就要用到addCustomView了。
如上图,先按“Company Code”过滤出来,再按“ Company Tax Procedure"(页面上没显示)来过滤 Tax Code。
首先在form OnLoad事件里加上一个新的方法 TaxCodeCustomView,其实现如下:
function TaxCodeCustomView() {var company = Xrm.Page.getAttribute("new_company_codeid").getValue();var viewId = "{00000000-0000-0000-0000-000000000001}";var viewDisplayName = "Tax Code View ";var fetchXml = "<fetch mapping='logical'>" +"<entity name='new_taxprocedure_taxcode'>" +"<attribute name='new_taxprocedure_taxcodeid' />" +"<link-entity name='new_company_taxprocedure' to='new_tax_procedure' from='new_name' alias='ncb' link-type='inner' >";if (company != null) {fetchXml += "<filter><condition attribute='new_companyid' operator='eq' value='" + company[0].id + "' /></filter>";}fetchXml += "</link-entity>" +"</entity>" +"</fetch>";var layoutXml = "<grid name='resultSet' object='10024' jump='new_name' select='1' icon='1' preview='1'>" +"<row name='result' id='new_taxprocedure_taxcodeid'>" +"<cell name='new_tax_procedure' width='100' />" +"<cell name='new_name' width='300' />" +"</row></grid>";Xrm.Page.getControl("new_tax_codeid").addCustomView(viewId, "new_taxprocedure_taxcode", viewDisplayName, fetchXml, layoutXml, true);}
这里用到的是addCustomView配合fetchxml来实现复杂的关联过滤。
三、子表里用主表字段来过滤
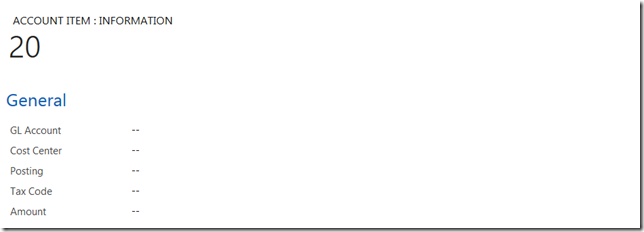
下图是上图的子表,也有Posting 及 Tax Code,也要像主表那样过滤,但子表上并没要过滤的字段“Special GL Indicator” ,“Company Code”
当然我们可以通过OData通过主表id来查询到主表上的这二个值,再来过滤,但这样做效率太低,而且上面的代码还不能重用。
这时可以通过主表上来新建1:N的关系把我们需要的主表上的这二个字段mapping到子表上
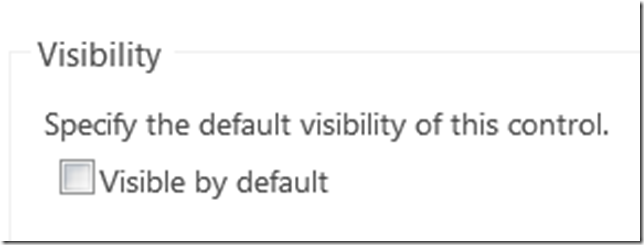
把这二个字段加到子表里,但不用显示出来
这样在子表里就可以重用主表里的js代码,也只用在form OnLoad事件上加上preFilterLookup就行了。


