一、starter的构成
xxx-starter----->xxx-starter-autoconfigurer
启动器----->自动配置模块
启动器只用来做依赖导入,专门写一个自动配置模块,启动器引用自动配置模块,别人只要引入启动器即可
二、创建starter
启动器模块是一个空JAR文件,仅提供辅助性依赖管理,这些依赖可能用于自动装配或者其他类库
命名规约
- 官方命名
前缀:spring-boot- starter-xxx
模式:spring-boot-starter-模块名
举例:spring-boot-starter-web
- 自定义命名
后缀:xxx-spring-boot-starter
模式:模块-spring-boot-starter
举例:mybatis-spring-boot-starter
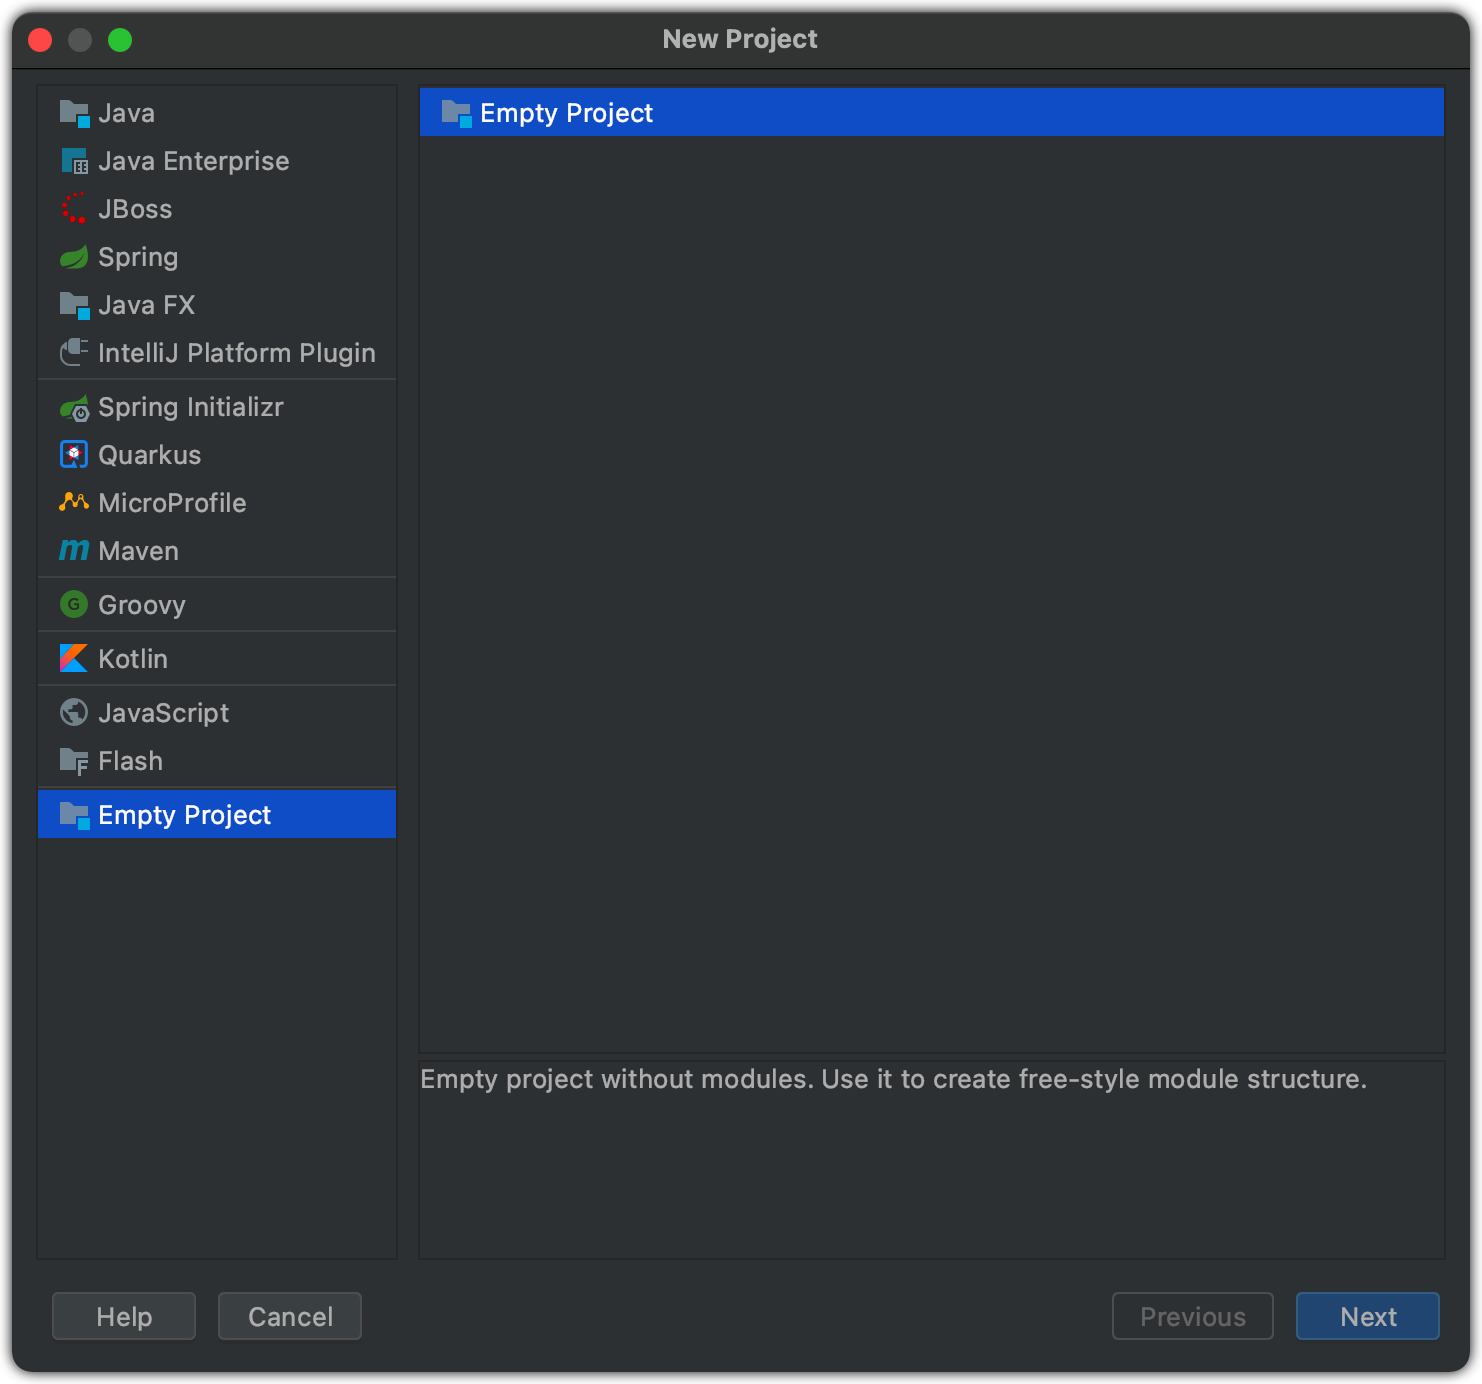
1.新建一个空工程
2.新工程创建之后会自动弹出项目配置窗口
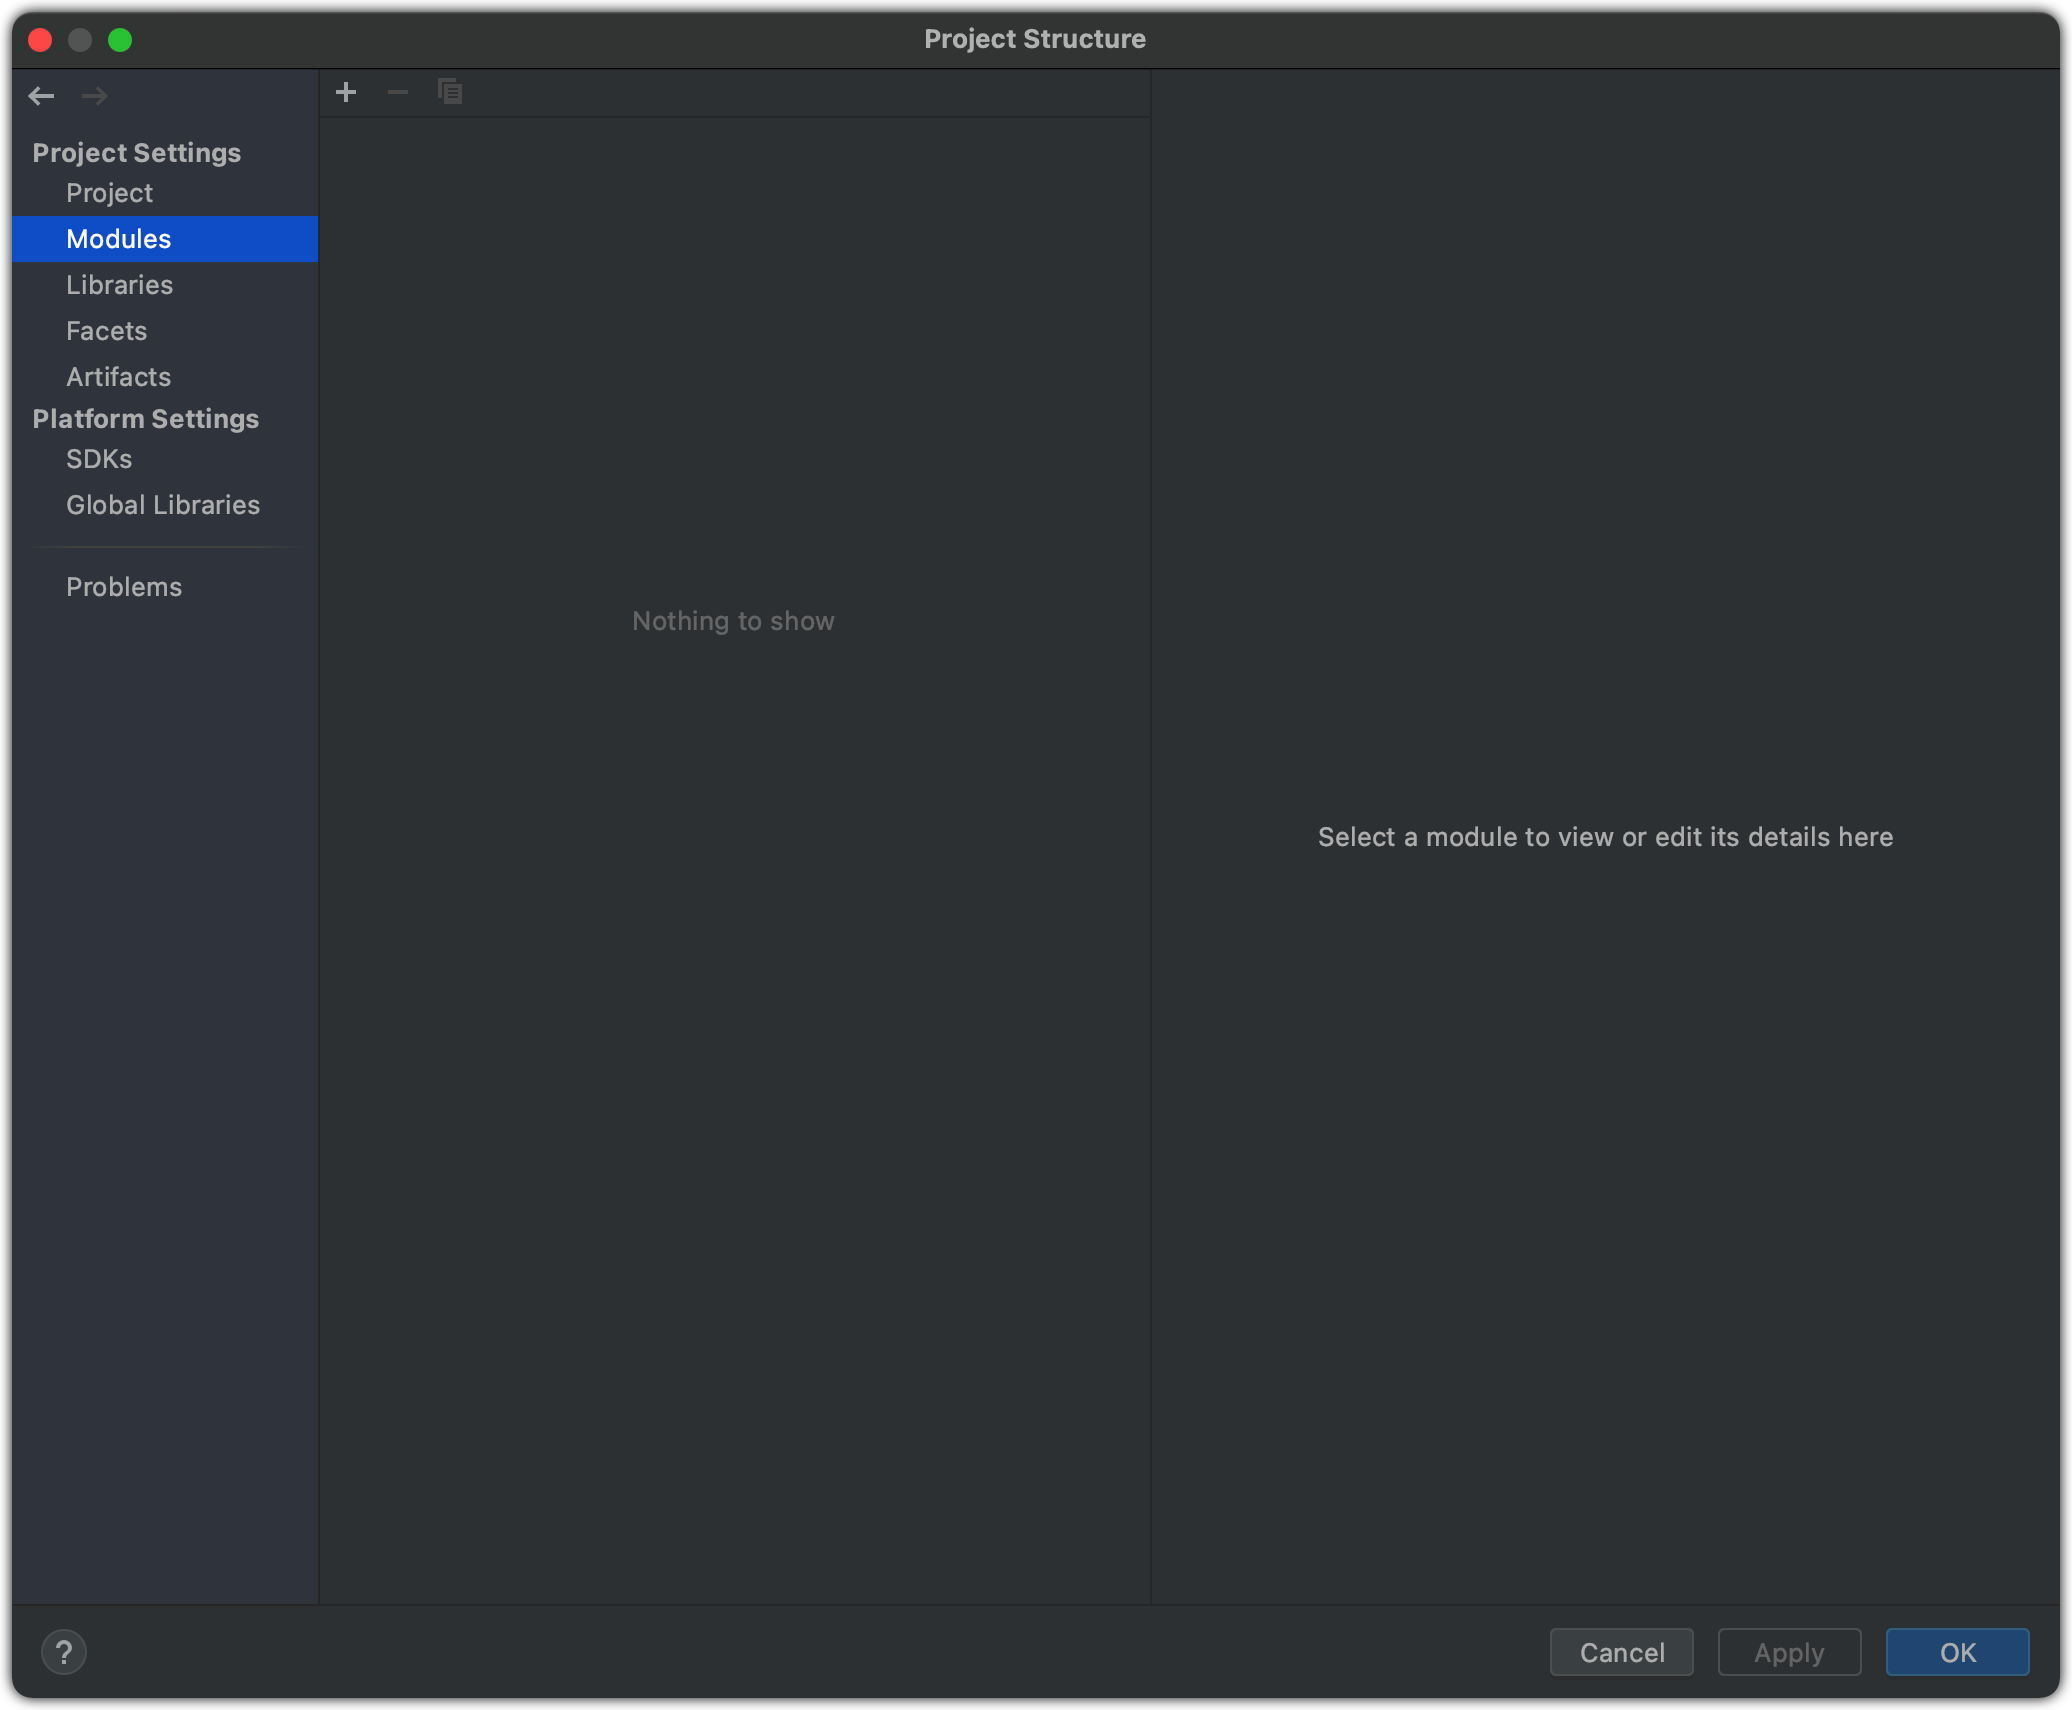
3.新建module,新建一个maven工程,作为启动器
4.新建一个maven工程,作为启动器
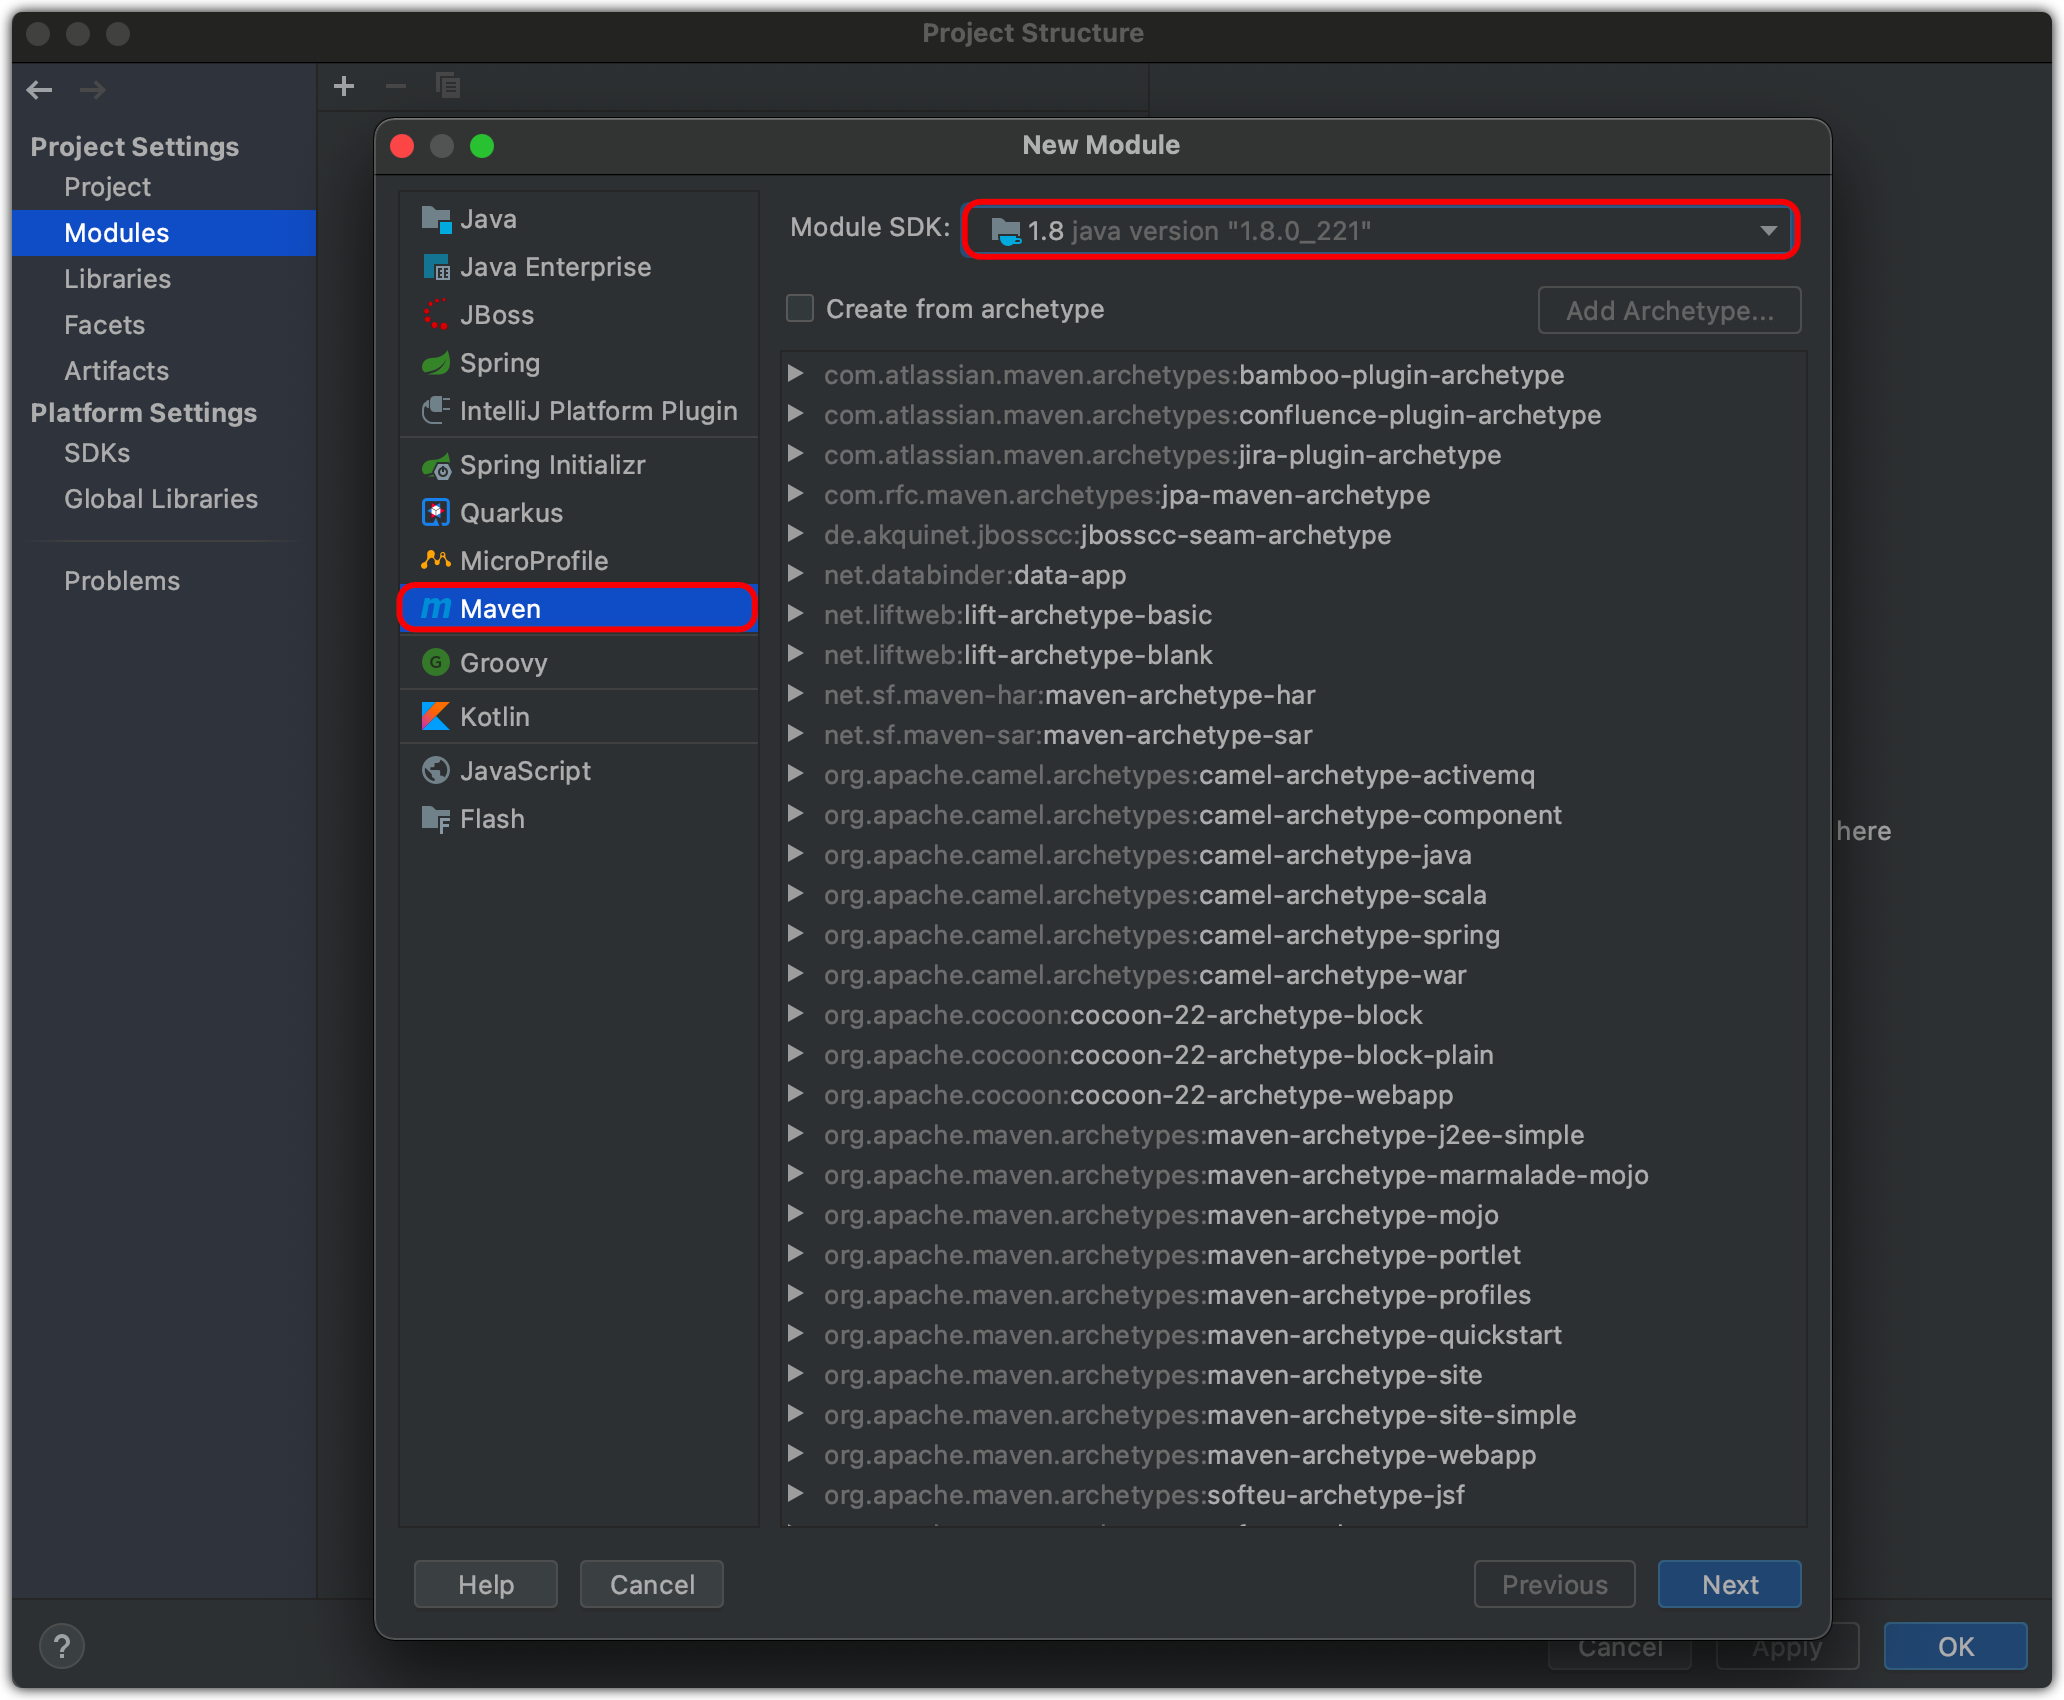
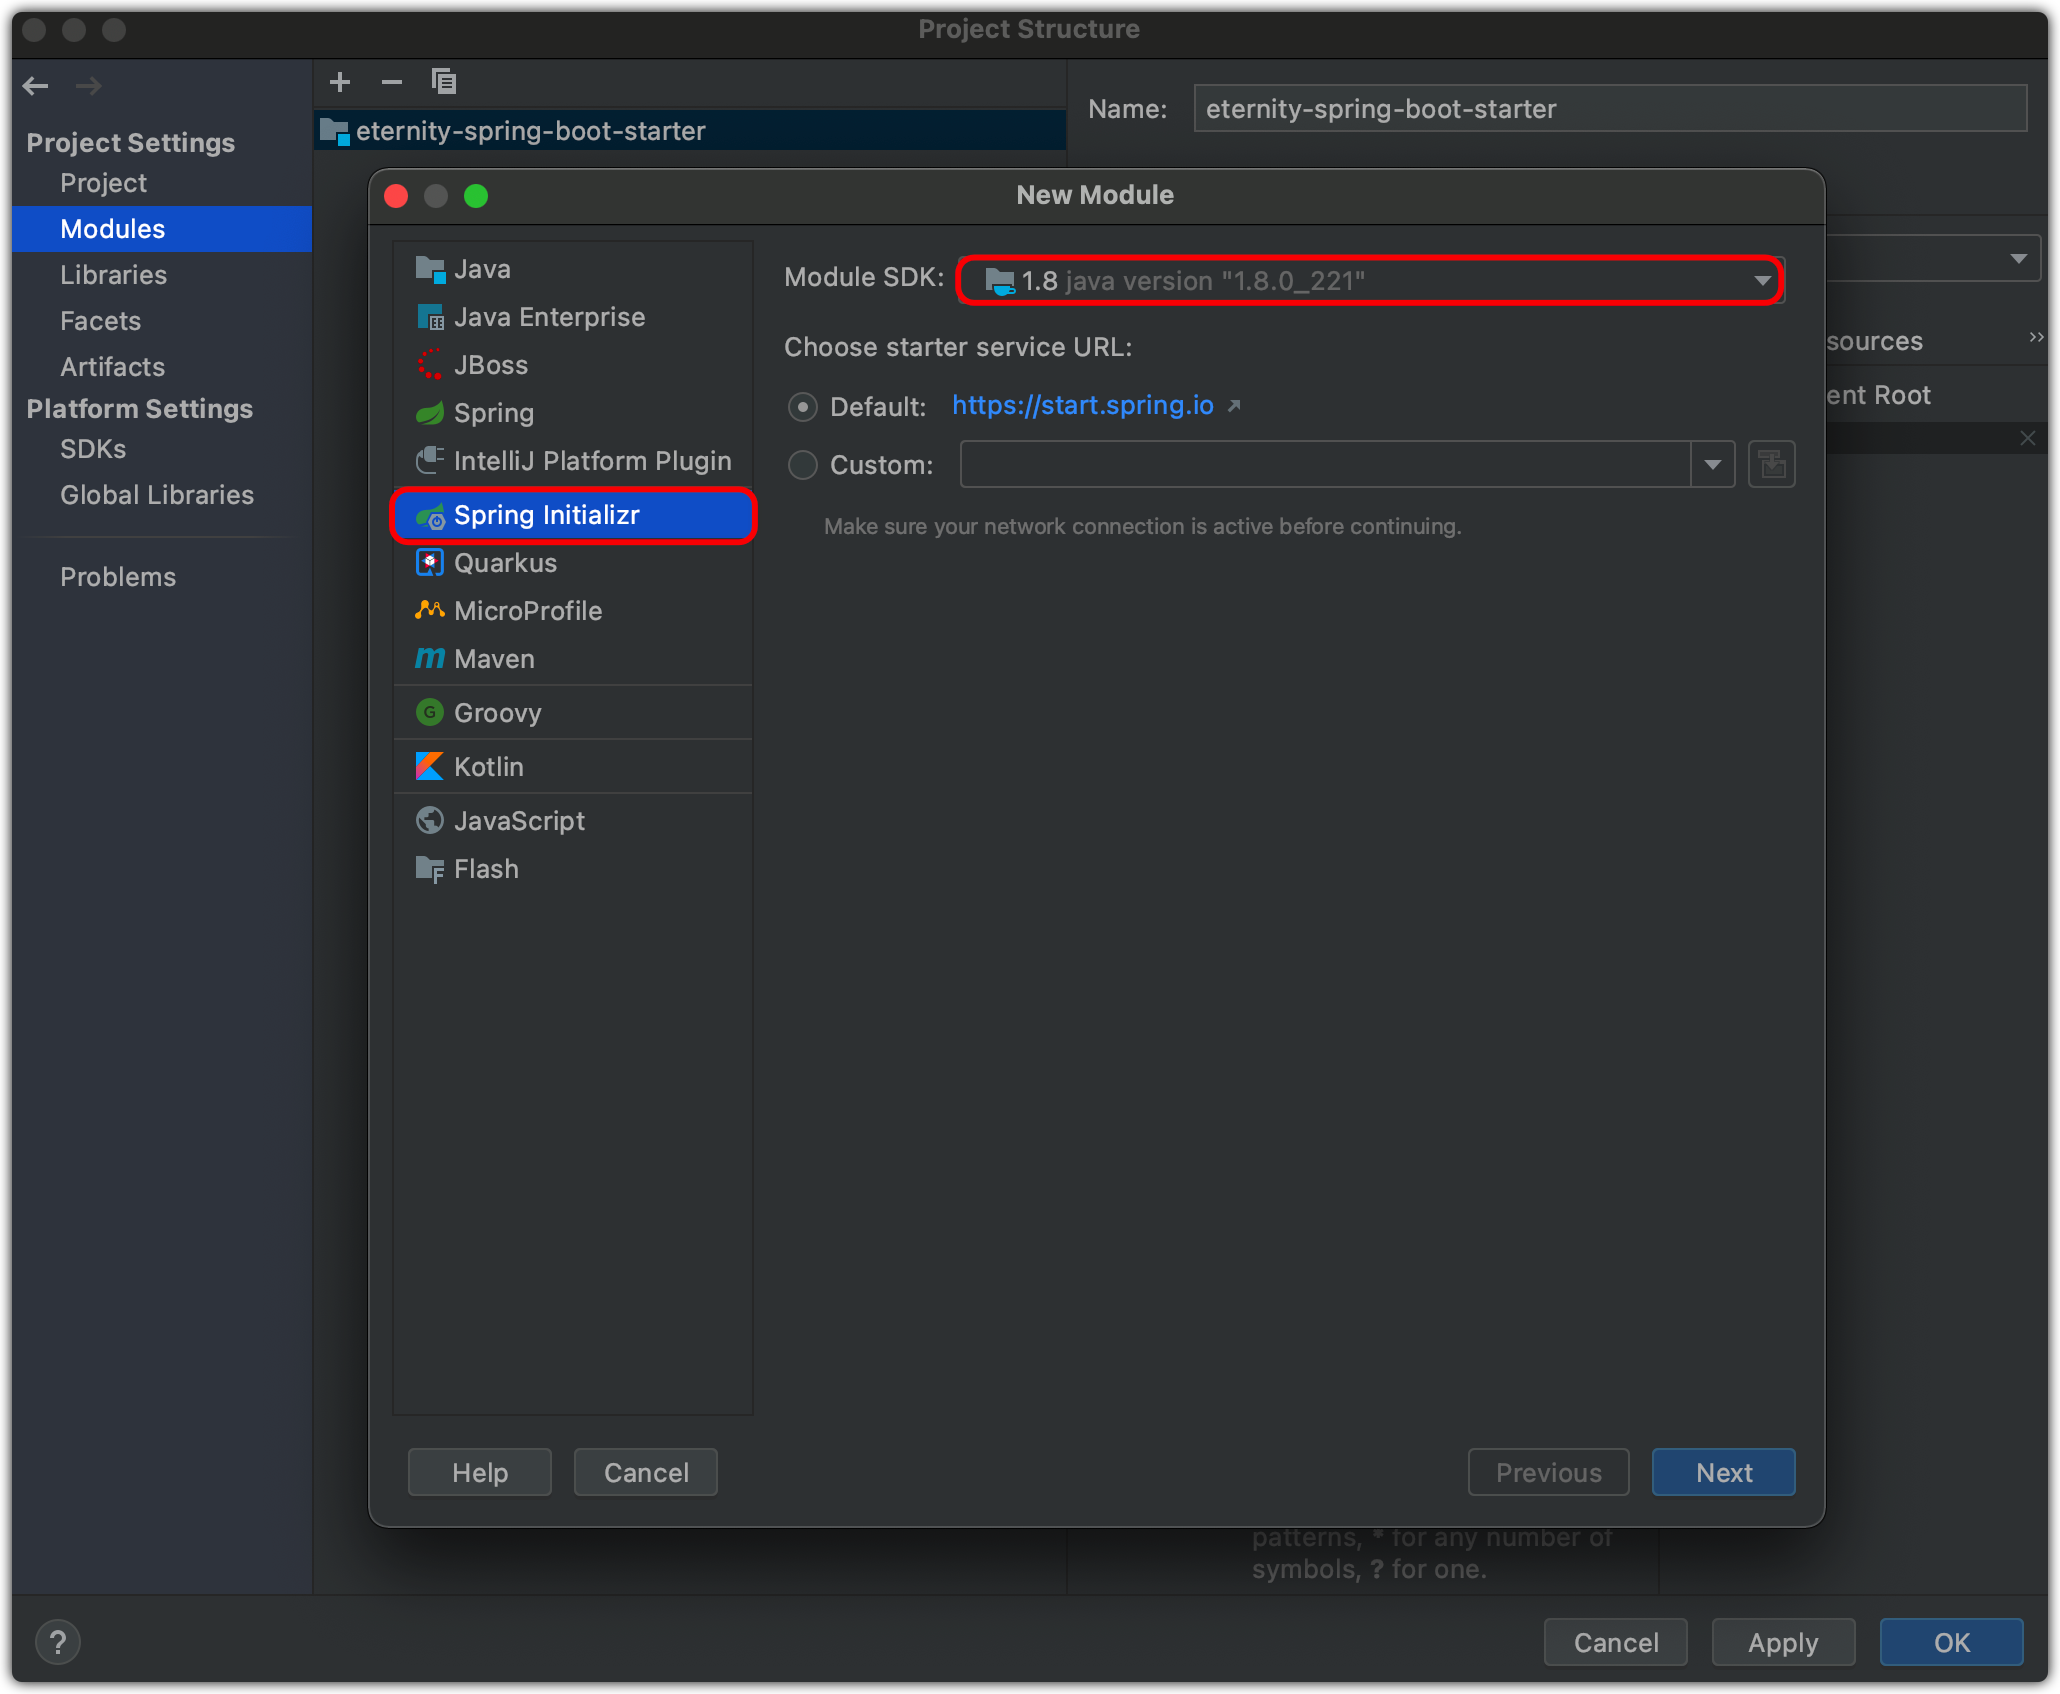
4.再次创建一个module,使用Spring Initializer创建,作为自动配置模块
5.创建完之后结构如下图,同时在启动器eternity-spring-boot-starter模块中引入自动配置模块,eternity-spring-boot-starter-autoconfigurer模块删除resource下的配置文件、启动类、pom下的spring-boot-starter-test依赖包和build模块
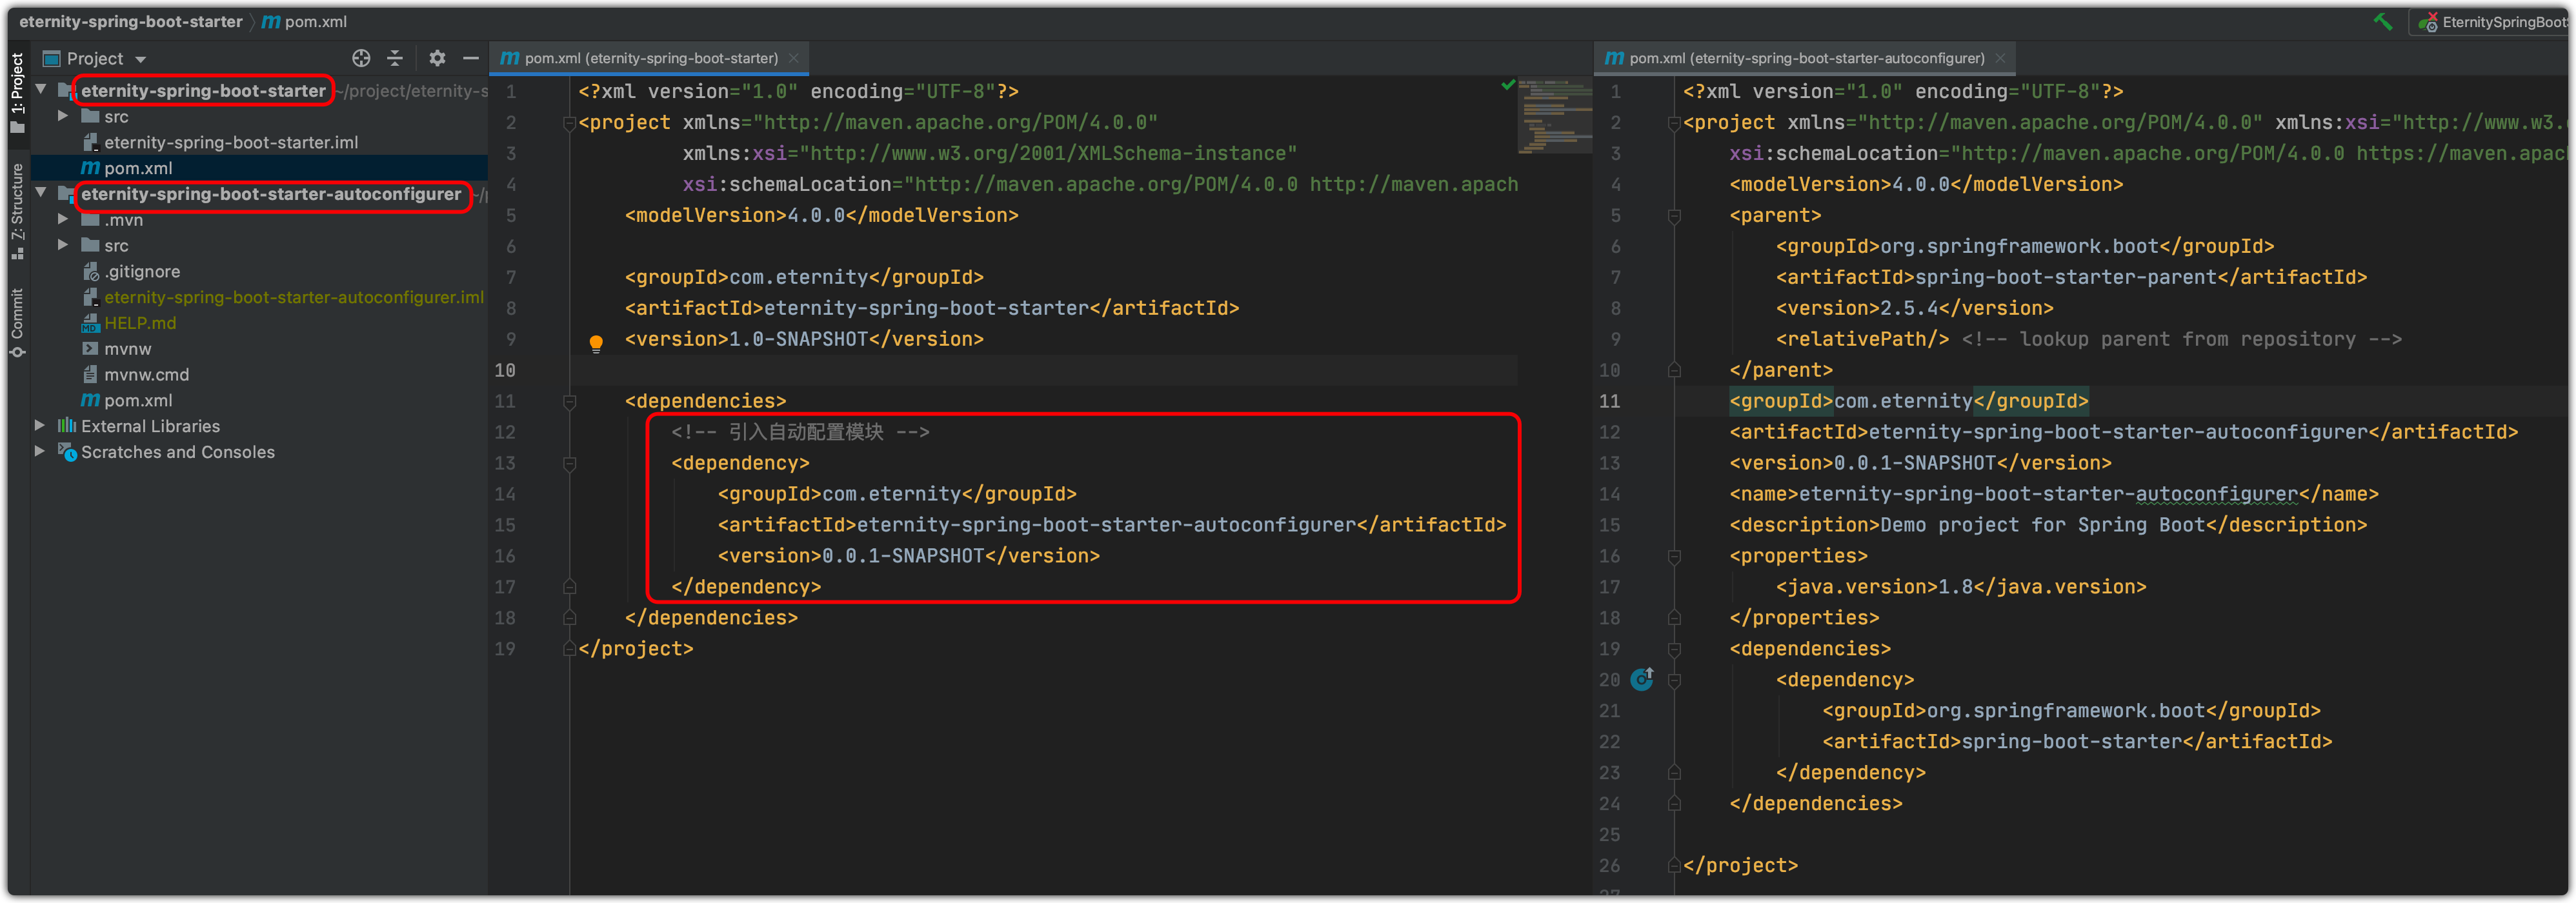
<dependencies>
    <!-- 引入自动配置模块 -->
    <dependency>
        <groupId>com.eternity</groupId>
        <artifactId>eternity-spring-boot-starter-autoconfigurer</artifactId>
        <version>0.0.1-SNAPSHOT</version>
    </dependency>
</dependencies>
6.在eternity-spring-boot-starter-autoconfigurer自动配置模块进行边写代码
HelloProperties类
package com.eternity.eternityspringbootstarterautoconfigurer;

import org.springframework.boot.context.properties.ConfigurationProperties;

//在引入此starter的项目的application.properties中进行配置
@ConfigurationProperties(prefix = "eternity.hello")
public class HelloProperties {

    private String prefix;

    private String suffix;

    public String getPrefix() {
        return prefix;
    }

    public void setPrefix(String prefix) {
        this.prefix = prefix;
    }

    public String getSuffix() {
        return suffix;
    }

    public void setSuffix(String suffix) {
        this.suffix = suffix;
    }
}
HelloService类
package com.eternity.eternityspringbootstarterautoconfigurer;

public class HelloService {
    HelloProperties helloProperties;

    public String sayHello(String name) {
        return helloProperties.getPrefix() + "-" + name + "-" + helloProperties.getSuffix();
    }

    public HelloProperties getHelloProperties() {
        return helloProperties;
    }

    public void setHelloProperties(HelloProperties helloProperties) {
        this.helloProperties = helloProperties;
    }
}
HelloServiceAutoConfiguration自动配置类
package com.eternity.eternityspringbootstarterautoconfigurer;

import org.springframework.beans.factory.annotation.Autowired;
import org.springframework.boot.autoconfigure.condition.ConditionalOnWebApplication;
import org.springframework.boot.context.properties.EnableConfigurationProperties;
import org.springframework.context.annotation.Bean;
import org.springframework.context.annotation.Configuration;


@Configuration
@ConditionalOnWebApplication//web应用才生效
@EnableConfigurationProperties(HelloProperties.class)//允许从配置文件自动注入变量值
public class HelloServiceAutoConfiguration {

    @Autowired
    HelloProperties helloProperties;

    @Bean
    public HelloService helloService() {
        HelloService helloService = new HelloService();
        helloService.setHelloProperties(helloProperties);
        return helloService;
    }
}
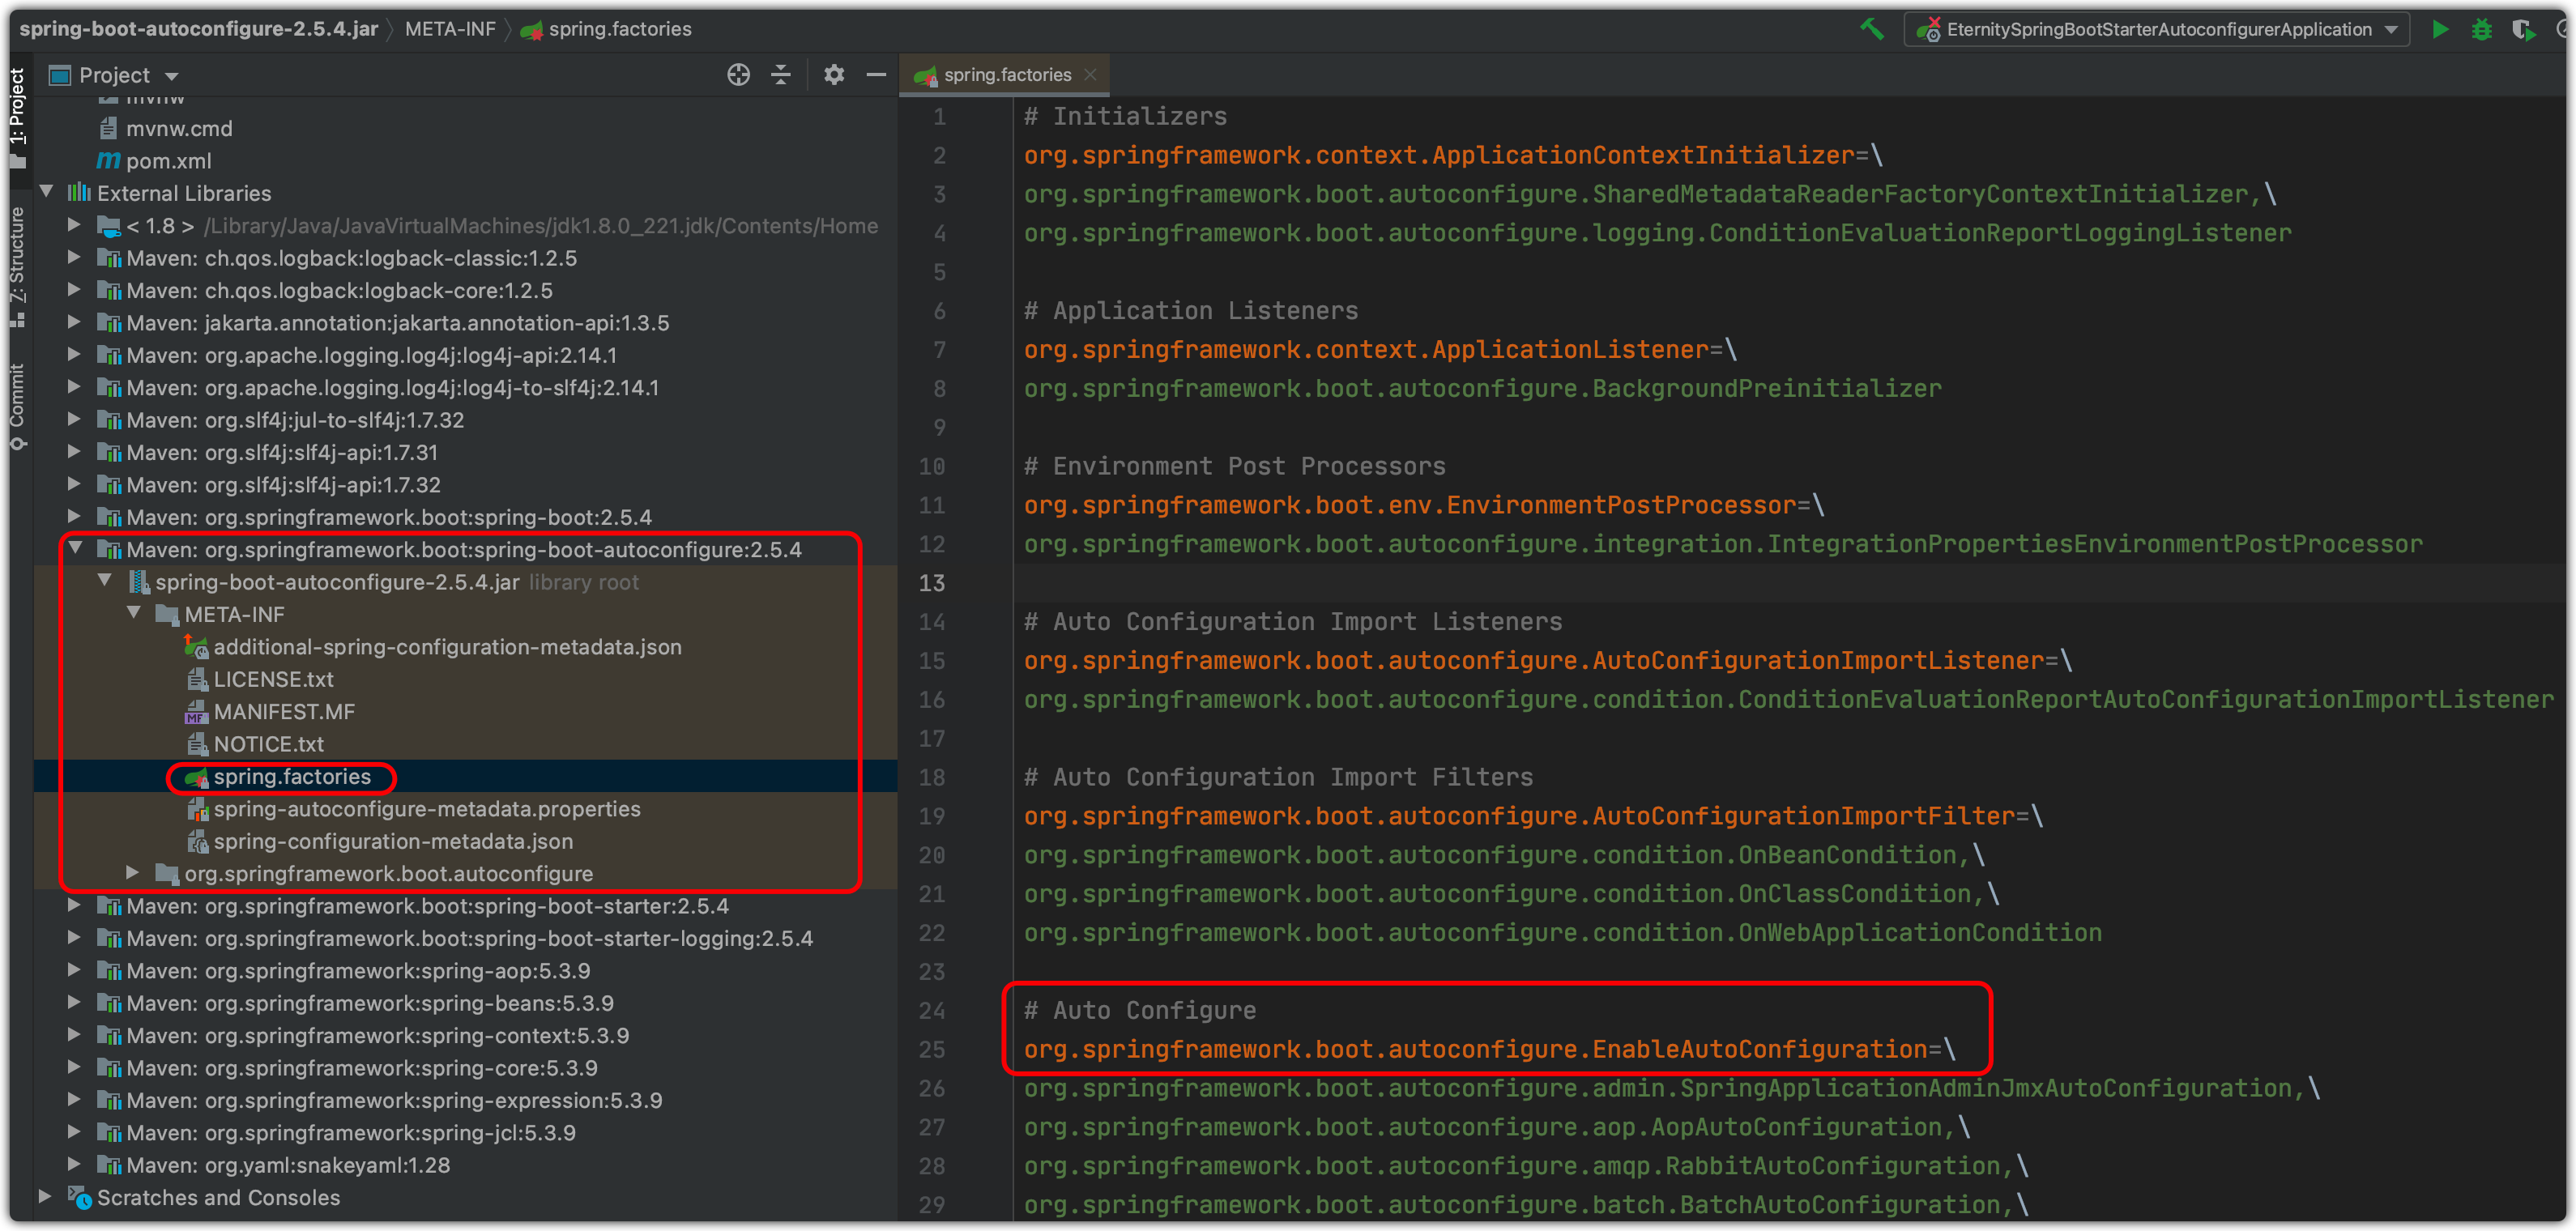
在resources文件夹新建META-INF文件夹,然后创建spring.factories文件,在文件中配置需要自动加载的类路径
# Auto Configure
org.springframework.boot.autoconfigure.EnableAutoConfiguration=
com.eternity.eternityspringbootstarterautoconfigurer.HelloServiceAutoConfiguration
上面的配置文件可以参考spring-boot-autoconfigure中META-INF下的spring.factories文件
7.分别把eternity-spring-boot-starter和eternity-spring-boot-starter-autoconfigurer模块通过maven插件install到本地仓库
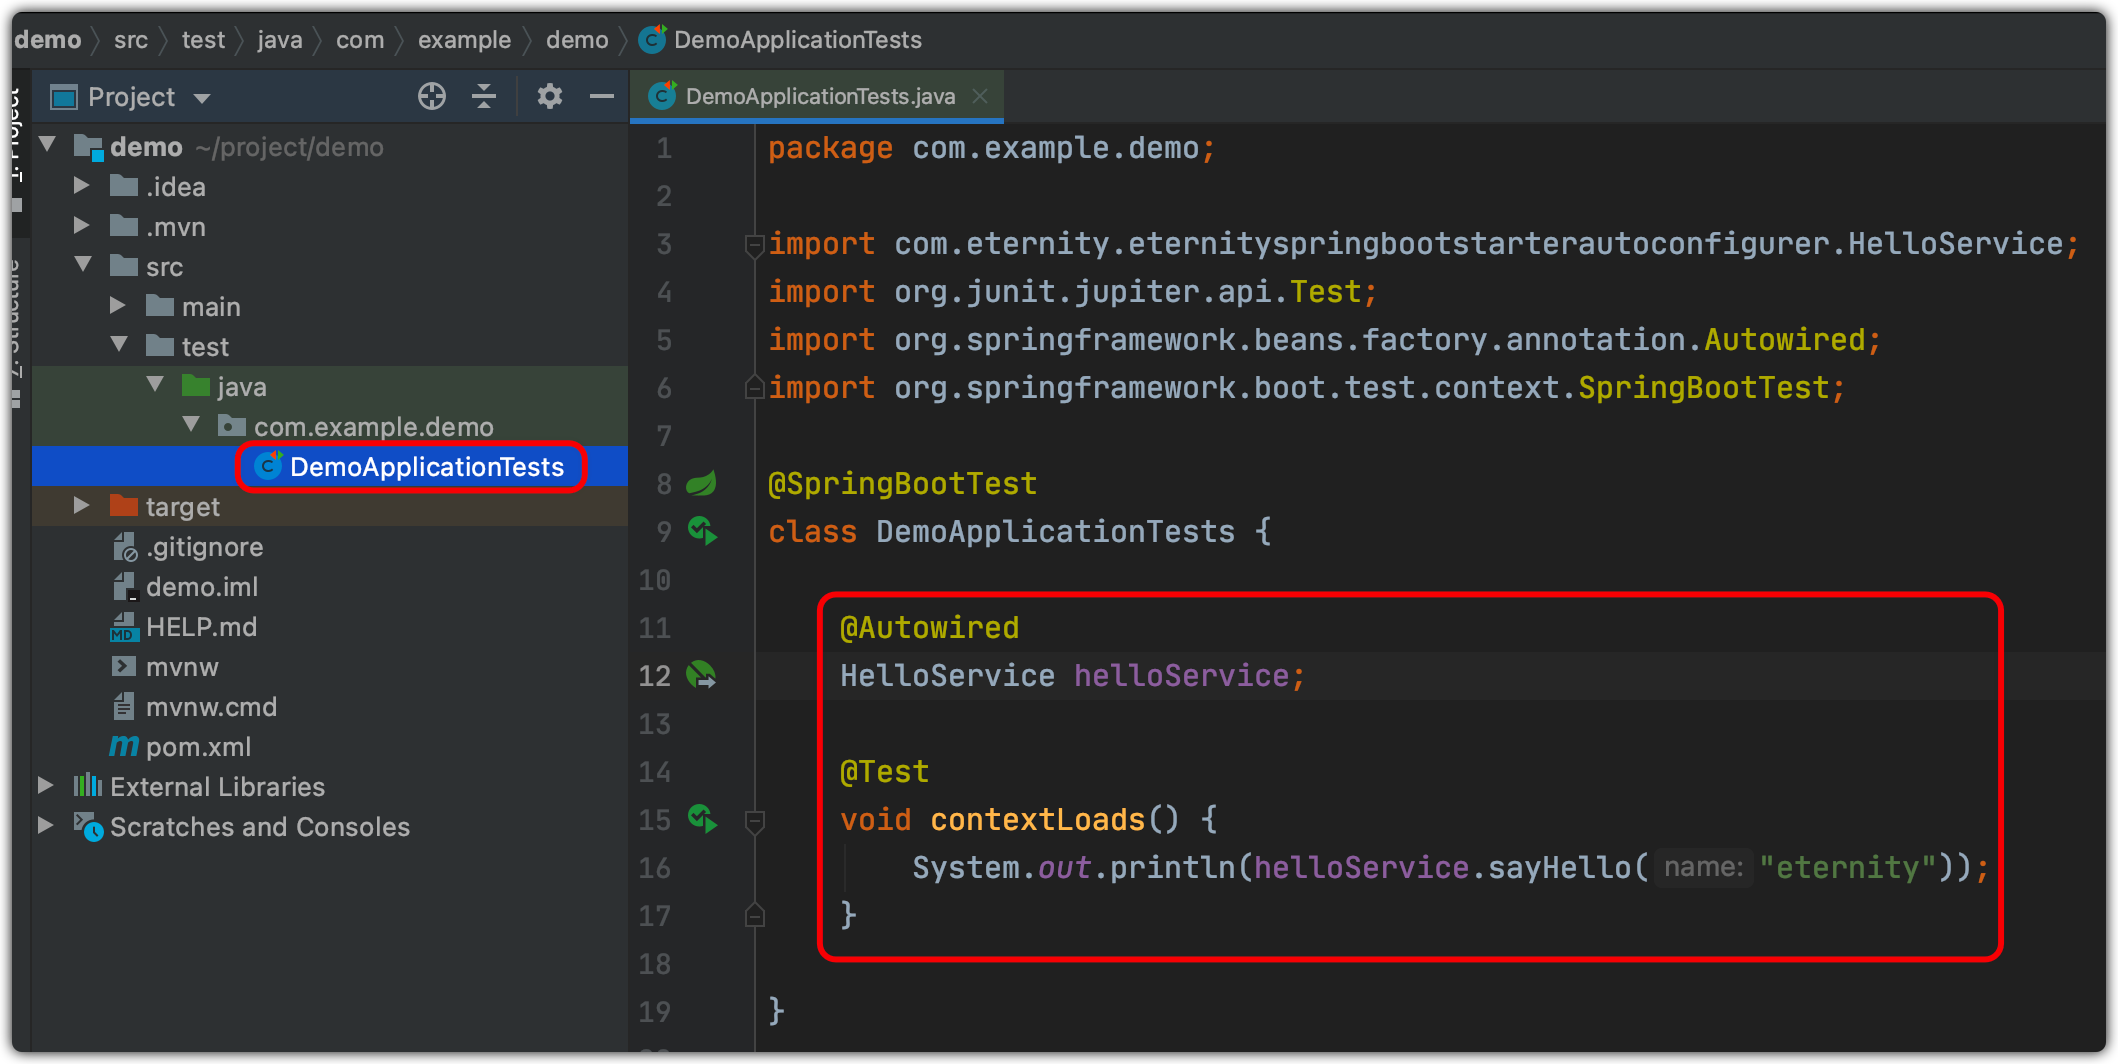
8.新建一个web项目,引入eternity-spring-boot-starter,并且在配置文件中配置需要的参数

9.在web项目下测试
测试结果
  .   ____          _            __ _ _
 /\ / ___'_ __ _ _(_)_ __  __ _
( ( )\___ | '_ | '_| | '_ / _` |
 \/  ___)| |_)| | | | | || (_| |  ) ) ) )
  '  |____| .__|_| |_|_| |_\__, | / / / /
 =========|_|==============|___/=/_/_/_/
 :: Spring Boot ::                (v2.5.4)

2021-09-03 14:16:57.175  INFO 3253 --- [           main] com.example.demo.DemoApplicationTests    : Starting DemoApplicationTests using Java 1.8.0_221 on TheEternitydeiMac.local with PID 3253 (started by admin in /Users/admin/project/demo)
2021-09-03 14:16:57.178  INFO 3253 --- [           main] com.example.demo.DemoApplicationTests    : No active profile set, falling back to default profiles: default
2021-09-03 14:16:59.512  INFO 3253 --- [           main] com.example.demo.DemoApplicationTests    : Started DemoApplicationTests in 2.881 seconds (JVM running for 5.116)

你好-eternity-加油
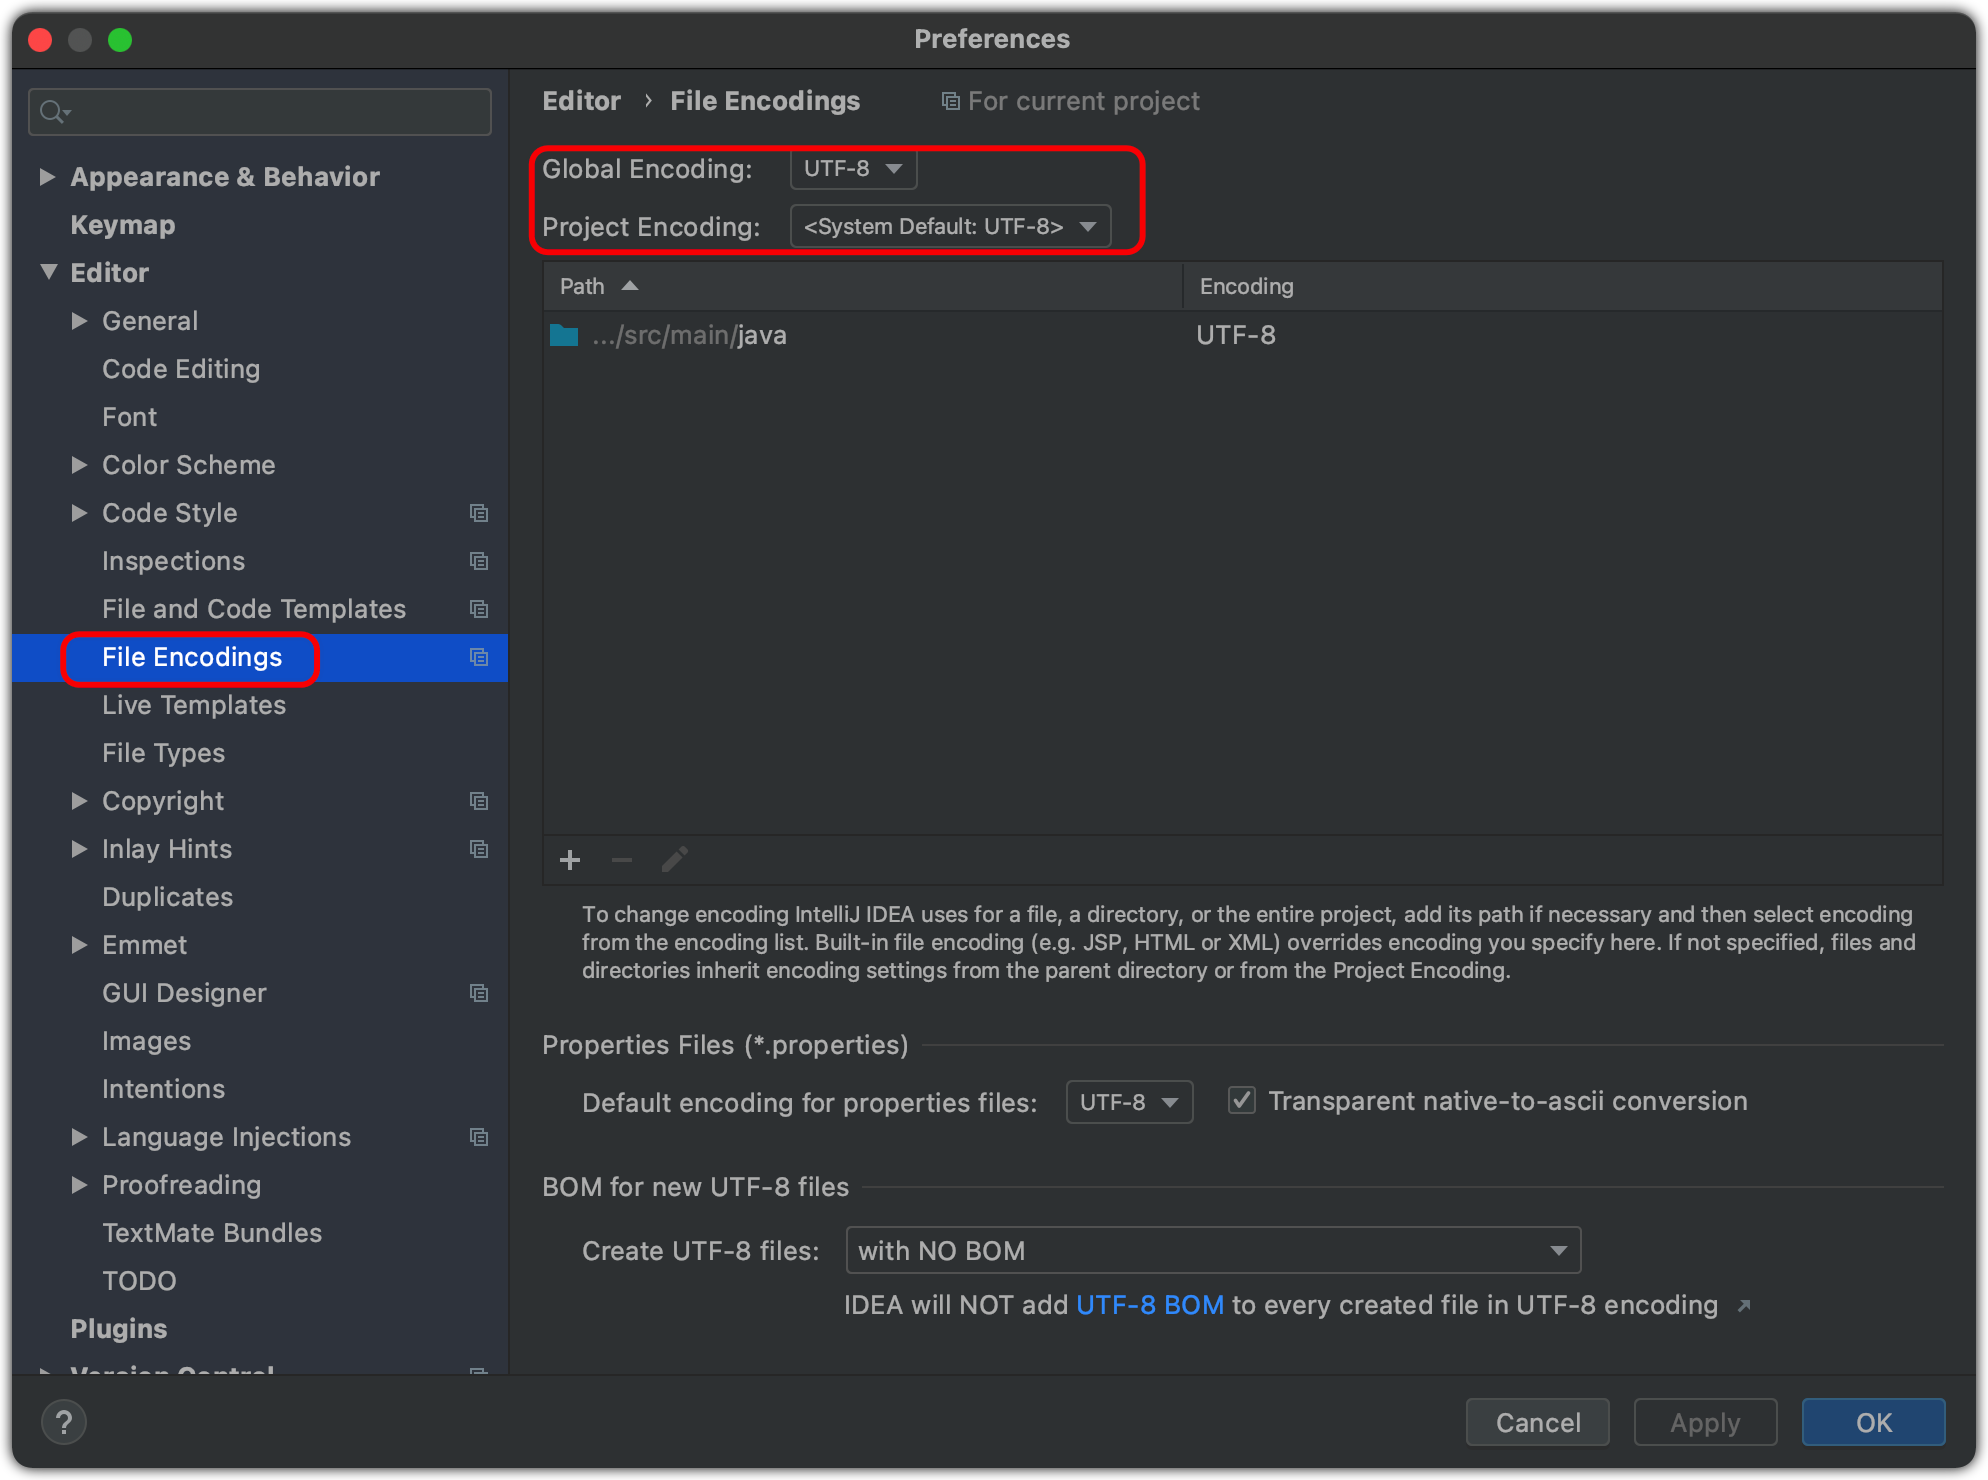
10.备注:如果控制台打印出来的中文是乱码解决方案,idea修改配置,然后拷贝application.properties中的内容后删除,新建application.properties,将内容重新复制到application.properties中
