1)下载nginx:http://nginx.org/en/download.html
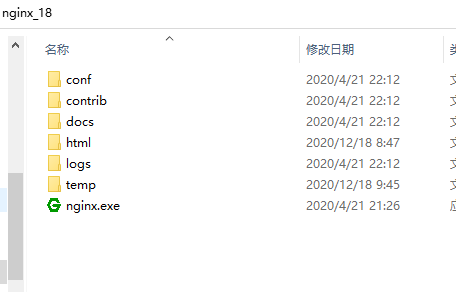
下载下来解压文件目录
2)准备好前端打包文件:打包命令 npm run build
打包后生成的dist文件夹中的目录
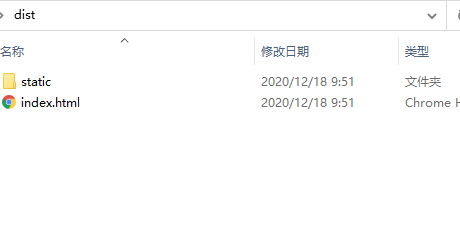
3)把static和index.html文件复制到nginx文件夹下的html文件夹下(有重复的文件直接覆盖就行)
4)打开nginx-->conf-->nginx.conf文件进行设置

#user  nobody;
worker_processes  1;

#error_log  logs/error.log;
#error_log  logs/error.log  notice;
#error_log  logs/error.log  info;

#pid        logs/nginx.pid;


events {
    worker_connections  1024;
}


http {
    include       mime.types;
    default_type  application/octet-stream;

    #log_format  main  '$remote_addr - $remote_user [$time_local] "$request" '
    #                  '$status $body_bytes_sent "$http_referer" '
    #                  '"$http_user_agent" "$http_x_forwarded_for"';

    #access_log  logs/access.log  main;

    sendfile        on;
    #tcp_nopush     on;

    #keepalive_timeout  0;
    keepalive_timeout  65;

    #gzip  on;

    server {
# 这里开始该---改的都有中文备注------------------------------------------------------------------------------
     #端口号默认80,若是端口冲突,可以更改端口号
        listen       8057;
        server_name  localhost;

        #charset koi8-r;

        #access_log  logs/host.access.log  main;
        location / {
            root   html;
            index  index.html index.htm;
            #前端Vue-router 设置为history模式----↓这行必须加
            try_files $uri $uri/ /index.html;
        }
        #配置跨域问题 ↓  跨域的后端地址(baseUrl)http://192.168.0.106:8001/info
     location /api {
      proxy_pass http://192.168.0.106:8001/info;
                 proxy_set_header Upgrade $http_upgrade;
              proxy_set_header Connection "Upgrade";
              proxy_set_header X-Real-IP $remote_addr;
}
# 更改到这里结束------------------------------------------------------------------------------
#error_page 404 /404.html; # redirect server error pages to the static page /50x.html # error_page 500 502 503 504 /50x.html; location = /50x.html { root html; } # proxy the PHP scripts to Apache listening on 127.0.0.1:80 # #location ~ .php$ { # proxy_pass http://127.0.0.1; #} # pass the PHP scripts to FastCGI server listening on 127.0.0.1:9000 # #location ~ .php$ { # root html; # fastcgi_pass 127.0.0.1:9000; # fastcgi_index index.php; # fastcgi_param SCRIPT_FILENAME /scripts$fastcgi_script_name; # include fastcgi_params; #} # deny access to .htaccess files, if Apache's document root # concurs with nginx's one # #location ~ /.ht { # deny all; #} } # another virtual host using mix of IP-, name-, and port-based configuration # #server { # listen 8000; # listen somename:8080; # server_name somename alias another.alias; # location / { # root html; # index index.html index.htm; # } #} # HTTPS server # #server { # listen 443 ssl; # server_name localhost; # ssl_certificate cert.pem; # ssl_certificate_key cert.key; # ssl_session_cache shared:SSL:1m; # ssl_session_timeout 5m; # ssl_ciphers HIGH:!aNULL:!MD5; # ssl_prefer_server_ciphers on; # location / { # root html; # index index.html index.htm; # } #} }
5)双击nginx文件夹下nginx.exe启动端服务。
6)在浏览器输入localhost:8057(端口号和配置文件nginx.conf一致)
7)完成
vue中关于跨域配合nginx更改
let baseUrl = "http://localhost:8057/api"  //nginx配置关联

aixos.get(baseUrl + '/login/cellphone')