Install Identity management Database
Installing Oracle Fusion Applications > Setting up Identity and Access Management Node > Install Oracle 11g Database (Identity management Database)
Previous: Install Fusion Applications Provisioning Framework on IDM Host
Fusion Applications 11.1.8 also ships with Oracle 11g (11.2.0.3.0) database. You can either install it separately (if you want to install RAC database) or use Fusion provisioning Wizard to create one.
Important Note: In future Identity Management provisioning wizard will have separate option to install Identity Management database but since currently that option is unavailable in IDM Wizard, we will use the the Fusion Provisioning Wizard only to create this database.
To install Applications Transactional Database we need to run Oracle Fusion Applications Provisioning Wizard from <framework_location>/provisioning/bin
<framework_location> is same where we installed the framework in previous post. i.e. /app/fusion
[fusion@idmhost ~]$ cd /app/fusion/provisioning/bin/
We need to temporarily set JAVA_HOME to jdk6 directory shipped with the installation media
[fusion@idmhost bin]$ export JAVA_HOME=/stage/jdk6
[fusion@fmwhost bin]$ ./provisioningWizard.sh
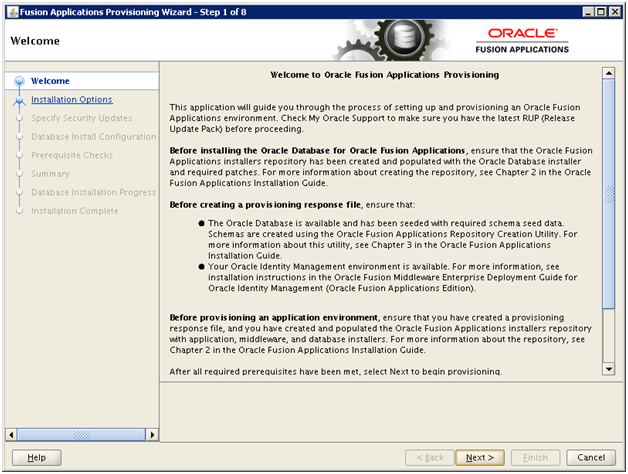
Click Next

Select “Install an Applications Transactional Database” option. Click Next

Deselect the checkbox if you wish and click Next
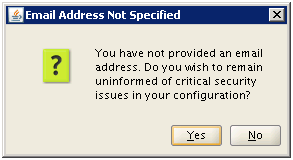
Click Yes

Enter values as mentioned here and click Next.
Port: 1531 (we have changed the default port to avoid port conflict if you want to move it in future to another database host)
Installers directory location: /stage (directory where we created the stage)
Oracle Base: /app/database
Software Location: Will be populated automatically
OSDBA group: dba
Global Database Name: idmdb (you can keep any name you want)
Password: Oracle123 (We have used Oracle123 for any passwords during the installation since it satisfies all requirements during this installation. You can keep any complex password you want)
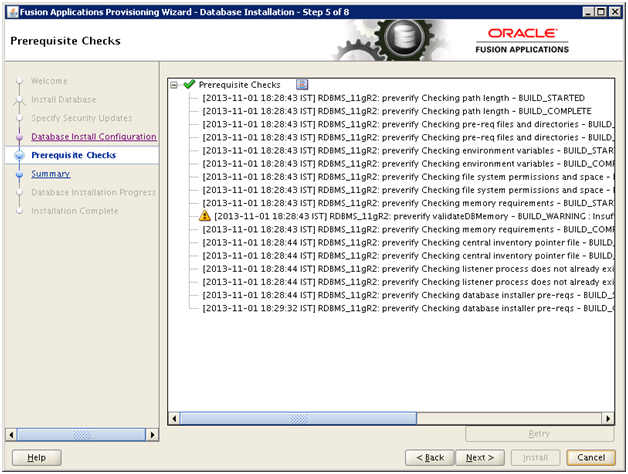
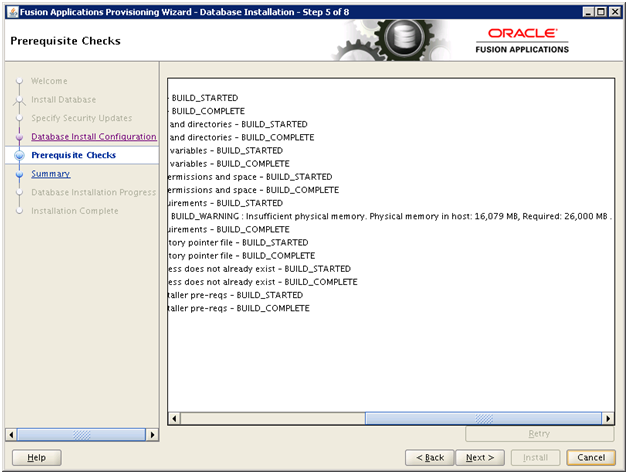
You might see some warning related to memory if you are using less than 26 GB memory for this host. You can ignore this since we are going to reduce the memory target after installation.
Click Next
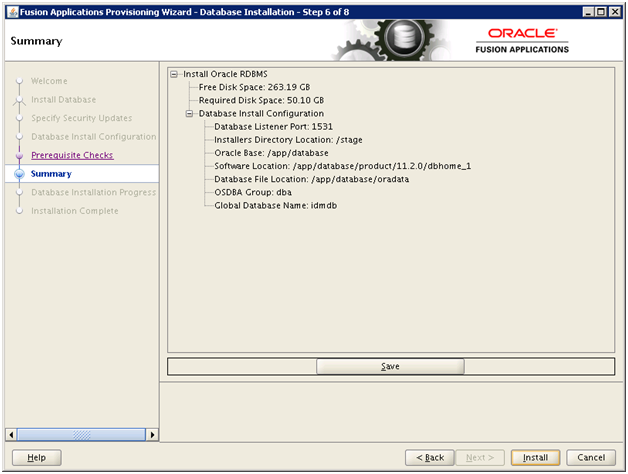
Once prerequisites check is successful, click Next. Save summary if required
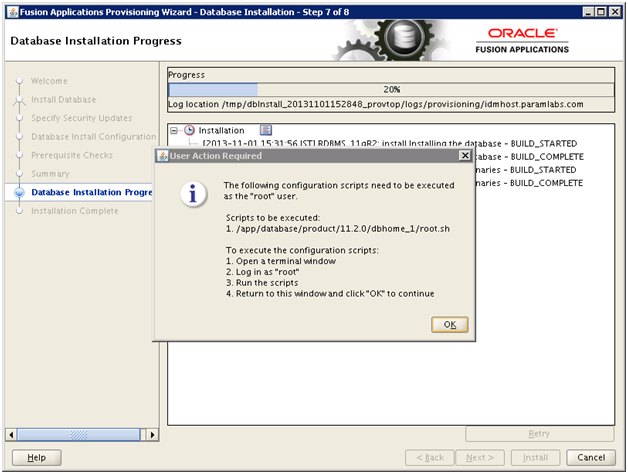
Once Installation completes (20% progress), it will prompt as follows.
Open another window and run the following script as root user.
[root@idmhost ~]# /app/database/product/11.2.0/dbhome_1/root.sh
Check /app/database/product/11.2.0/dbhome_1/install/root_idmhost.paramlabs.com_2013-11-01_18-46-02.log for the output of root script
[root@idmhost ~]# more /app/database/product/11.2.0/dbhome_1/install/root_idmhost.paramlabs.com_2013-11-01_18-46-02.log
Performing root user operation for Oracle 11g
The following environment variables are set as:
ORACLE_OWNER= fusion
ORACLE_HOME= /app/database/product/11.2.0/dbhome_1
Creating /etc/oratab file…
Entries will be added to the /etc/oratab file as needed by
Database Configuration Assistant when a database is created
Finished running generic part of root script.
Now product-specific root actions will be performed.
Finished product-specific root actions.
Click OK
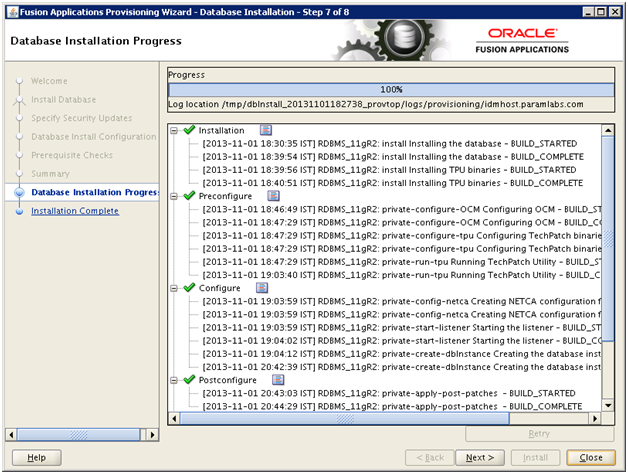
Once installation till validation is complete, click Next
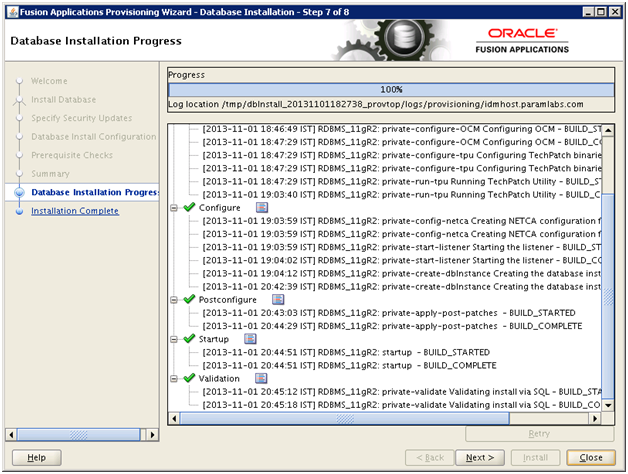
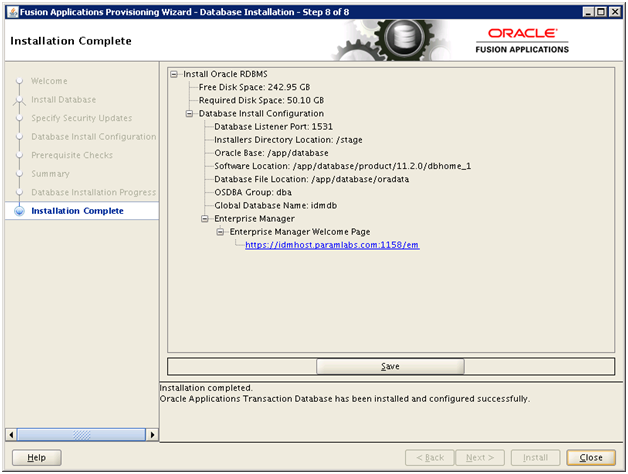
Click Close to complete the installation
Let us install JDK6 as well so that we can set JAVA_HOME to this permanent location.
[fusion@idmhost ~]$ cd /app/fusion/
[fusion@idmhost fusion]$ unzip /stage/installers/jdk/jdk6.zip
Append in .bash_profile of fusion user
ORACLE_HOME=/app/database/product/11.2.0/dbhome_1
export ORACLE_HOME
PATH=$PATH:$ORACLE_HOME/bin
export PATH
ORACLE_SID=idmdb
export ORACLE_SID
JAVA_HOME=/app/fusion/jdk6
export JAVA_HOME
ANT_HOME=/app/fusion/provisioning/ant
export ANT_HOME
Reduce memory size of database
We will reduce the size of SGA and PGA to avoid getting out of memory in server since fusion requires too much memory.
Important Note: We are reducing the SGA and PGA (from 10GB to 2GB). We are doing this since we are running on lesser RAM than required. This is not recommended for production installation but since this is only a demo/development installation, you can safely do this. If you wish to keep it 10GB you can do it but this will increase the swap usage exponentially.
[fusion@idmhost bin]$ sqlplus / as sysdba
SQL> show parameter pga
NAME TYPE VALUE
———————————— ———– ——————————
pga_aggregate_target big integer 4G
SQL> show parameter sga
NAME TYPE VALUE
———————————— ———– ——————————
lock_sga boolean FALSE
pre_page_sga boolean FALSE
sga_max_size big integer 9G
sga_target big integer 9G
SQL> create pfile from spfile;
File created.
SQL> shut immediate;
Database closed.
Database dismounted.
ORACLE instance shut down.
[fusion@idmhost ~]$ cd /app/database/product/11.2.0/dbhome_1/dbs/
[fusion@idmhost dbs]$ cp -pr initidmdb.ora initidmdb.ora.bak
[fusion@idmhost dbs]$ vi initidmdb.ora
Edit the values as follows and add last line as memory_target
#idmdb.__db_cache_size=7482638336
#idmdb.__java_pool_size=67108864
#idmdb.__large_pool_size=33554432
idmdb.__oracle_base=’/app/database’#ORACLE_BASE set from environment
#idmdb.__pga_aggregate_target=4294967296
#idmdb.__sga_target=9663676416
#idmdb.__shared_io_pool_size=536870912
#idmdb.__shared_pool_size=1442840576
#idmdb.__streams_pool_size=33554432
#*.pga_aggregate_target=4294967296
#*.sga_target=9663676416
*.memory_target=3G
Let’s recreate spfile using this pfile.
SQL> create spfile from pfile;
File created.
SQL> startup
Also change the value for open_cursors parameter to 800
SQL> show parameter open_cursors
NAME TYPE VALUE
———————————— ———– ——————————
open_cursors integer 500
SQL> alter system set open_cursors=800 scope=both sid=’*';
System altered.
SQL> show parameter open_cursors
NAME TYPE VALUE
———————————— ———– ——————————
open_cursors integer 800