1. 介绍
Memcached是一款免费开源、高性能、分布式内存对象缓存系统。由于其直接在内存中存储数据,采用的是key-value的存储方式,因此读写性能非常高。经常被用于缓存查询结果,减少访问数据库的次数,提高动态网页的访问速度。
官网中有比较详细的介绍,并提供了相关的下载。https://www.memcached.org/
2. 部署
实际部署的时候需要部署两个组件,一个组件是libevent,另外一个才是memcached。
2.1 libevent
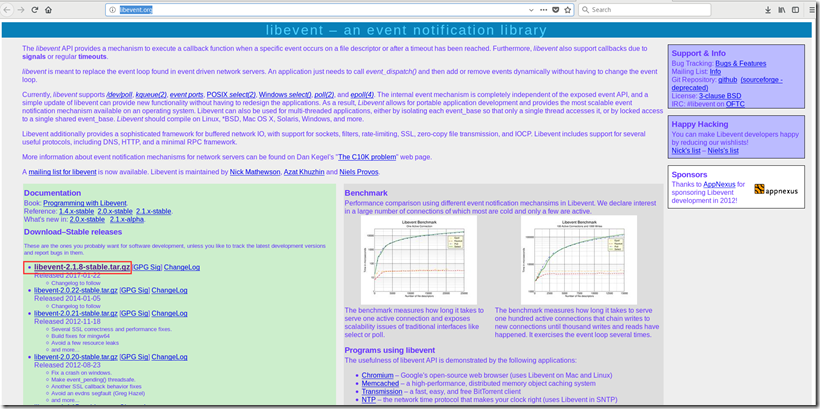
libevent是memcached依赖的一个网络库,在安装memcached之前需要首先安装该库。它的源码可以从官网下载获得,本文下载的是最新的2.1.8版本,大小只有1MB。
下载之后的源码需要进行编译安装,安装的步骤如下:
tar zxvf libevent-2.1.8-stable.tar.gz
cd libevent-2.1.8-stable/
./configure --prefix=/usr/local/libevent
make
make install
注意输出的内容,正常情况下,没有出现error即为成功。
如果出现以下的错误是因为没有安装gcc编译器,安装一下即可,yum install gcc。
[root@myimage libevent-2.1.8-stable]# ./configure --prefix=/usr/local/libevent
checking for a BSD-compatible install... /usr/bin/install -c
checking whether build environment is sane... yes
checking for a thread-safe mkdir -p... /usr/bin/mkdir -p
checking for gawk... gawk
checking whether make sets $(MAKE)... yes
checking whether make supports nested variables... yes
checking whether make supports nested variables... (cached) yes
checking for style of include used by make... GNU
checking for gcc... no
checking for cc... no
checking for cl.exe... no
configure: error: in `/root/libevent-2.1.8-stable':
configure: error: no acceptable C compiler found in $PATH
See `config.log' for more details
2.2 Memcached
Memcached可以从官网下载,官网地址为https://www.memcached.org/ ,本文下载的版本是最新的1.5.14版本,压缩包大小只有474KB。
下载后,需要进行编译安装,注意在此时需要指定libevent库的位置才能保证memcached安装后能够正常启动。
tar zxvf memcached-1.5.14.tar.gz
cd memcached-1.5.14/
./configure --prefix=/usr/local/memcached --with-libevent=/usr/local/libevent
make
make install
安装完毕后,为了方便启动,将memcached可执行文件通过一个软连接链接到系统的bin目录。
ln -s /usr/local/memcached/bin/* /usr/local/bin
启动示例
memcached -d -m 32m -p 11211 -u root
常见的启动选项如下,如果还需要了解更多的参数,可以使用-h参数来查看。
-d是启动一个守护进程;
-m是分配给Memcache使用的内存数量,单位是MB;
-u是运行Memcache的用户;
-l是监听的服务器IP地址,可以有多个地址;
-p是设置Memcache监听的端口,,最好是1024以上的端口;
-c是最大运行的并发连接数,默认是1024;
-P是设置保存Memcache的pid文件,默认可以省略。
2.3 验证
进程验证,可以看到memcached在11211端口已经开始监听,并且已经支持了ipv6协议。
[root@mydomain memcached-1.5.14]# netstat -ant|grep 11211
tcp        0      0 0.0.0.0:11211           0.0.0.0:*               LISTEN
tcp6       0      0 :::11211                :::*                    LISTEN
3. 连接
memcache是一个典型的服务器客户端的架构,上述已经安装好了服务端,客户端支持多种语言,官网介绍的就有Perl、PHP、Python、Ruby、C#、C/C++、Lua等等。
此处介绍一下使用telnet工具来登录,telnet localhost 11211。
set name 0 900 4
tome
STORED #保存成功
get name
VALUE name 0 4
tome
END
关于memcached的更多命令,可以使用参考如下链接https://github.com/memcached/memcached/wiki/Commands 。

