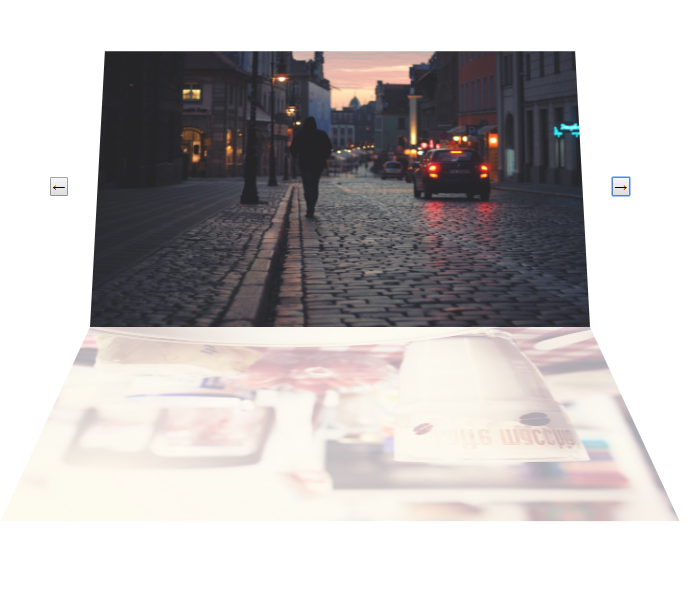
先上效果图
<!DOCTYPE html>
<html>
	<head>
		<meta charset="UTF-8">
		<title></title>
		<style type="text/css">
			*{
				margin: 0;
				padding: 0;
			}
			#content{
				 500px;
				height: 300px;
				margin: 40px auto;
				position: relative;
				transform-style: preserve-3d;
			}
			#content>div{
				 100%;
				height: 100%;
				position: absolute;
				transform-origin: center bottom;
			}
			#content img{
				 100%;
				height: 100%;
			}
			#next{
				position: absolute;
				top:190px;
				left: calc(33% - 60px);
			}
			#prev{
				position: absolute;
				top: 190px;
				left: calc(68% + 30px);
			}
			@keyframes next{    //创建一个动画这是一个翻到下面的效果
				from{
					-wbelit-transform: perspective(1000px) rotateX(0deg);  /* 开始位置是 0°*/
					opacity: 1; //初始透明为1
				}
				to{
					-webkit-transform: perspective(1000px) rotateX(-180deg); /*结束位置是 180°*/
					opacity: 0; //结束透明为0
				}
			}
			@keyframes prev{  //创建一个由上边翻到上边的动画
				0%{
					-webkit-transform: perspective(1000px) rotateX(180deg);  /* 初始开始位置 */
					opacity:0;       //初始为透明
				}
				57%
				{
					-webkit-transform:  perspective(1000px) rotateX(-16deg); /* 动画进行到 56% 的时候他为 -16° */
					opacity:1;  //透明已经为1 了
				}
				66%
				{
					-webkit-transform: perspective(1000px) rotateX(14deg);  /* 再回到 14° 的位置 */
				}
				74%
				{
					-webkit-transform: perspective(1000px) rotateX(-12deg); /* 再回到 -12°的位置 */
				}
				81%
				{
					-webkit-transform: perspective(1000px) rotateX(10deg); /* 再回到 10°的位置 */
				}
				87%
				{
					-webkit-transform: perspective(1000px) rotateX(-8deg); /* 再回到 -8°的位置 */
				}
				92%
				{
					-webkit-transform: perspective(1000px) rotateX(6deg); /* 再回到 6° 的位置 */
				}
				96%
				{
					-webkit-transform: perspective(1000px) rotateX(-4deg); /* 再回到 -4° 的位置  */
				}
				100%
				{
					-webkit-transform: perspective(1000px) rotateX(0deg);  /* 最后回归 0°  */
				}

			}
			.next{
				animation: next 1s ease 1 normal 0s; /* 执行向下的动画 */
				transform: rotateX(-180deg); /* 因为初始位置是0 但当你执行完动画还会回到原位 所以它转到哪里就把他设在哪里不要再让它回去了 */
				opacity: 0;
			}
			.prev{
				animation: prev 1.2s ease 1 normal 0s; /* 执行向上的动画 */
				transform: rotateX(0deg); /* 同上 */
				opacity: 1;
			}
		</style>
	</head>
	<body>
		<button id="next">←</button><button id="prev">→</button>
		<div id="content">
			<div class="prev"><img src="images/012.jpeg"></div> <!-- 设置默认的第一页 -->
			<div class="next"><img src="images/017.jpeg"></div>
			<div class="next"><img src="images/020.jpeg"></div>
			<div class="next"><img src="images/027.jpeg"></div>
			<div class="next"><img src="images/0df3d7ca7bcb0a46ce09bc1e6e63f6246b60afe9.jpg"></div>
		</div>

		<script>
			window.onload=function(){
				var next=document.getElementById("next");
				var prev=document.getElementById("prev");
				var content=document.getElementById("content");
				var oDiv=content.getElementsByTagName("div");
				var x=0;
				next.onclick=function(){   //当向下翻页时
					oDiv[x].setAttribute("class","next"); //第一个页 设置class名让他向下走去
					x++
					if(x>oDiv.length-1){
						x=0
					}
					oDiv[x].setAttribute("class","prev"); //++过后让他的下一个页面起来
				}

				prev.onclick=function(){       //同上只是++变--
					oDiv[x].setAttribute("class","next");
					x--
					if(x<0){
						x=oDiv.length-1
					}
					oDiv[x].setAttribute("class","prev");
				}

			}
		</script>
	</body>
</html>