前两天在腾讯搞了一个40块钱一年的2核2G服务器(https://curl.qcloud.com/deguZ9EB),
把手头项目陆续做Jenkins的CI、CD,所以第一步先把Jenkins装起来
网上好多教程,都会遇到各种问题,以下是把遇到的问题综合起来,经过多次实验,均可成功安装。如果有问题,随时留言交流。
一:安装java 8
目前Jenkins需要java 8
sudo su
apt-get update
sudo apt-get install -y openjdk-8-jdk
apt-get clean all
二:安装Jenkins
First, add the repository key to the system:
wget -q -O - https://pkg.jenkins.io/debian-stable/jenkins.io.key | sudo apt-key add -
After the key is added the system will return with OK.
Next, let’s append the Debian package repository address to the server’s sources.list:
sudo sh -c 'echo deb http://pkg.jenkins.io/debian-stable binary/ > /etc/apt/sources.list.d/jenkins.list'
After both commands have been entered, we’ll run update so that apt will use the new repository.
sudo apt update
Finally, we’ll install Jenkins and its dependencies.
sudo apt install jenkins
如果安装出现错误:Sub-process /usr/bin/dpkg returned an error code,执行以下命令
没有错误,请忽略
sudo dpkg --configure -a
三:启动配置Jenkins
3.1 启动Jenkins
Now that Jenkins and its dependencies are in place, we’ll start the Jenkins server.
sudo systemctl start jenkins
Since systemctl doesn’t display status output, we’ll use the status command to verify that Jenkins started successfully
sudo systemctl status jenkins
If everything went well, the beginning of the status output shows that the service is active and configured to start at boot:

3.2 配置防火墙
sudo ufw allow 8080
Note: If the firewall is inactive, the following commands will allow OpenSSH and enable the firewall:
sudo ufw allow OpenSSH
sudo ufw enable
Check ufw’s status to confirm the new rules:
sudo ufw status
You’ll notice that traffic is allowed to port 8080 from anywhere:

3.3 配置Jenkins
启动之前运行如下命令:
http://severname_or_ip:8080/crumbIssuer/api/json
To set up your installation, visit Jenkins on its default port, 8080, using your server domain name or IP address: http://your_server_ip_or_domain:8080
You should receive the Unlock Jenkins screen, which displays the location of the initial password:
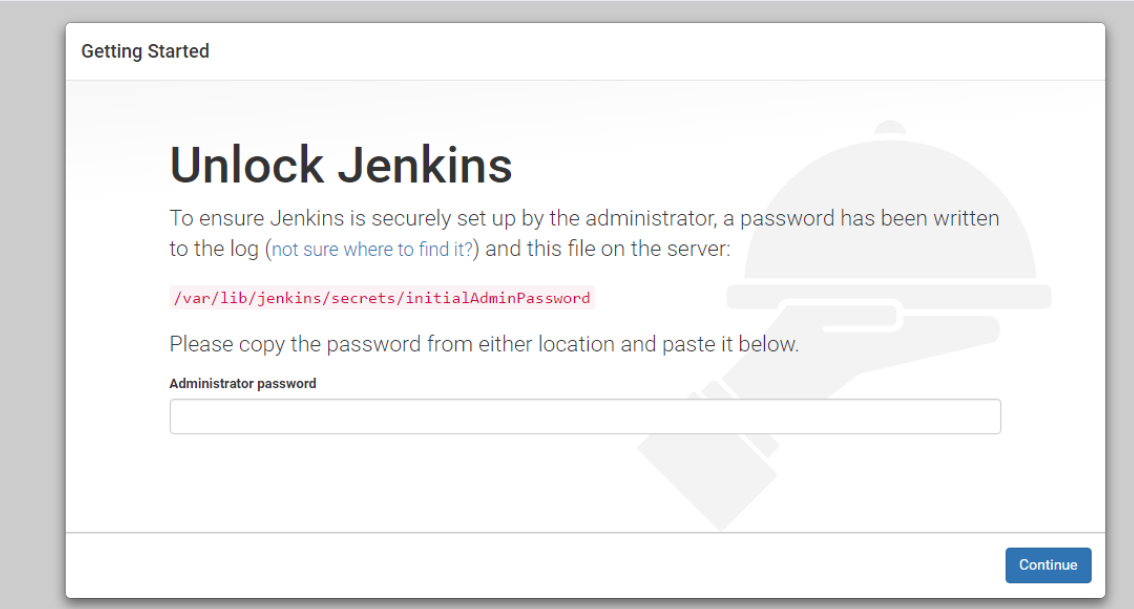
In the terminal window, use the cat command to display the password:
sudo cat /var/lib/jenkins/secrets/initialAdminPassword
Copy the 32-character alphanumeric password from the terminal and paste it into the Administrator password field, then click Continue.
The next screen presents the option of installing suggested plugins or selecting specific plugins:
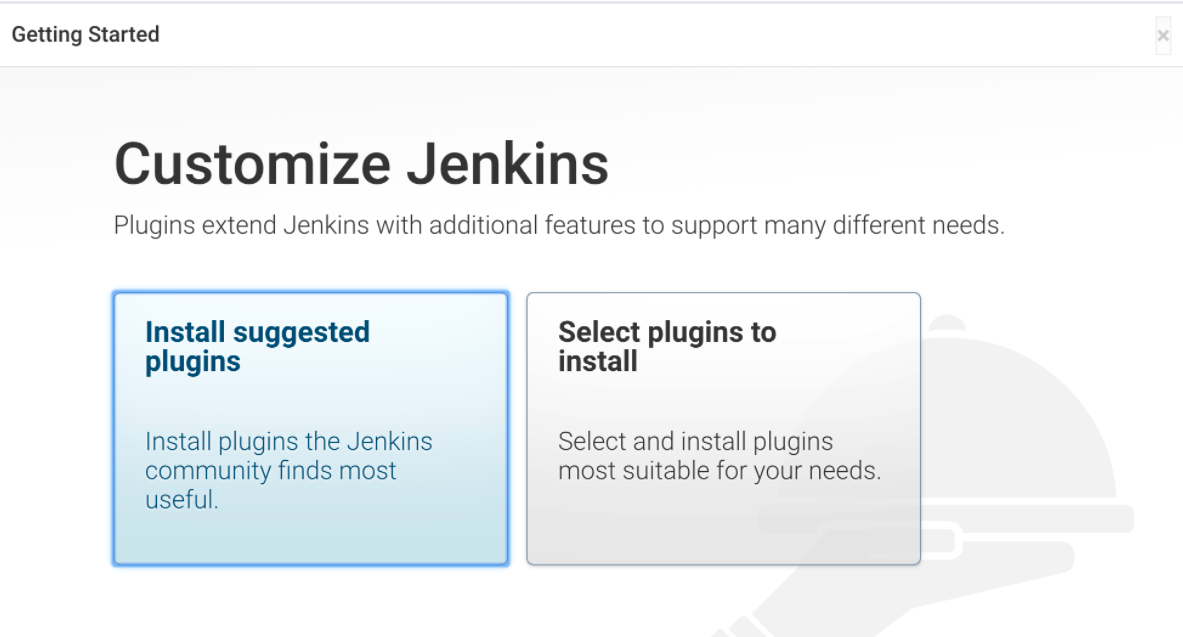
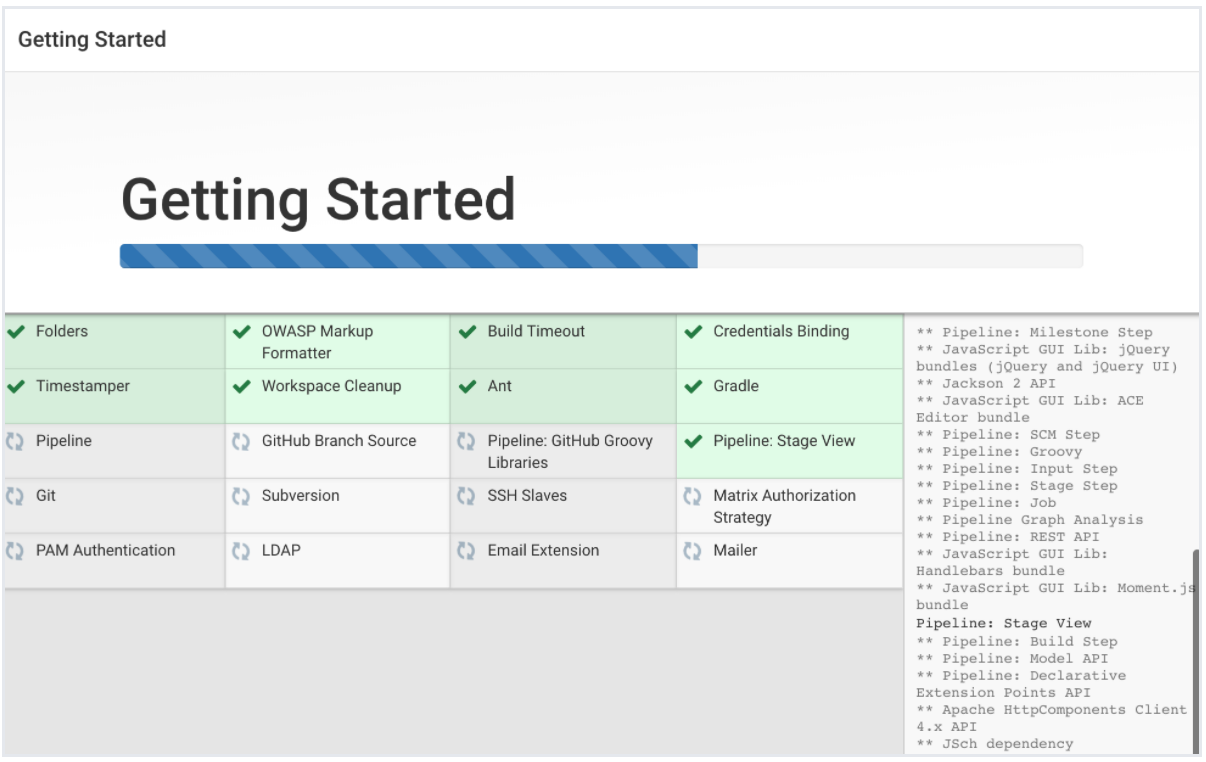
We’ll click the Install suggested plugins option, which will immediately begin the installation process.
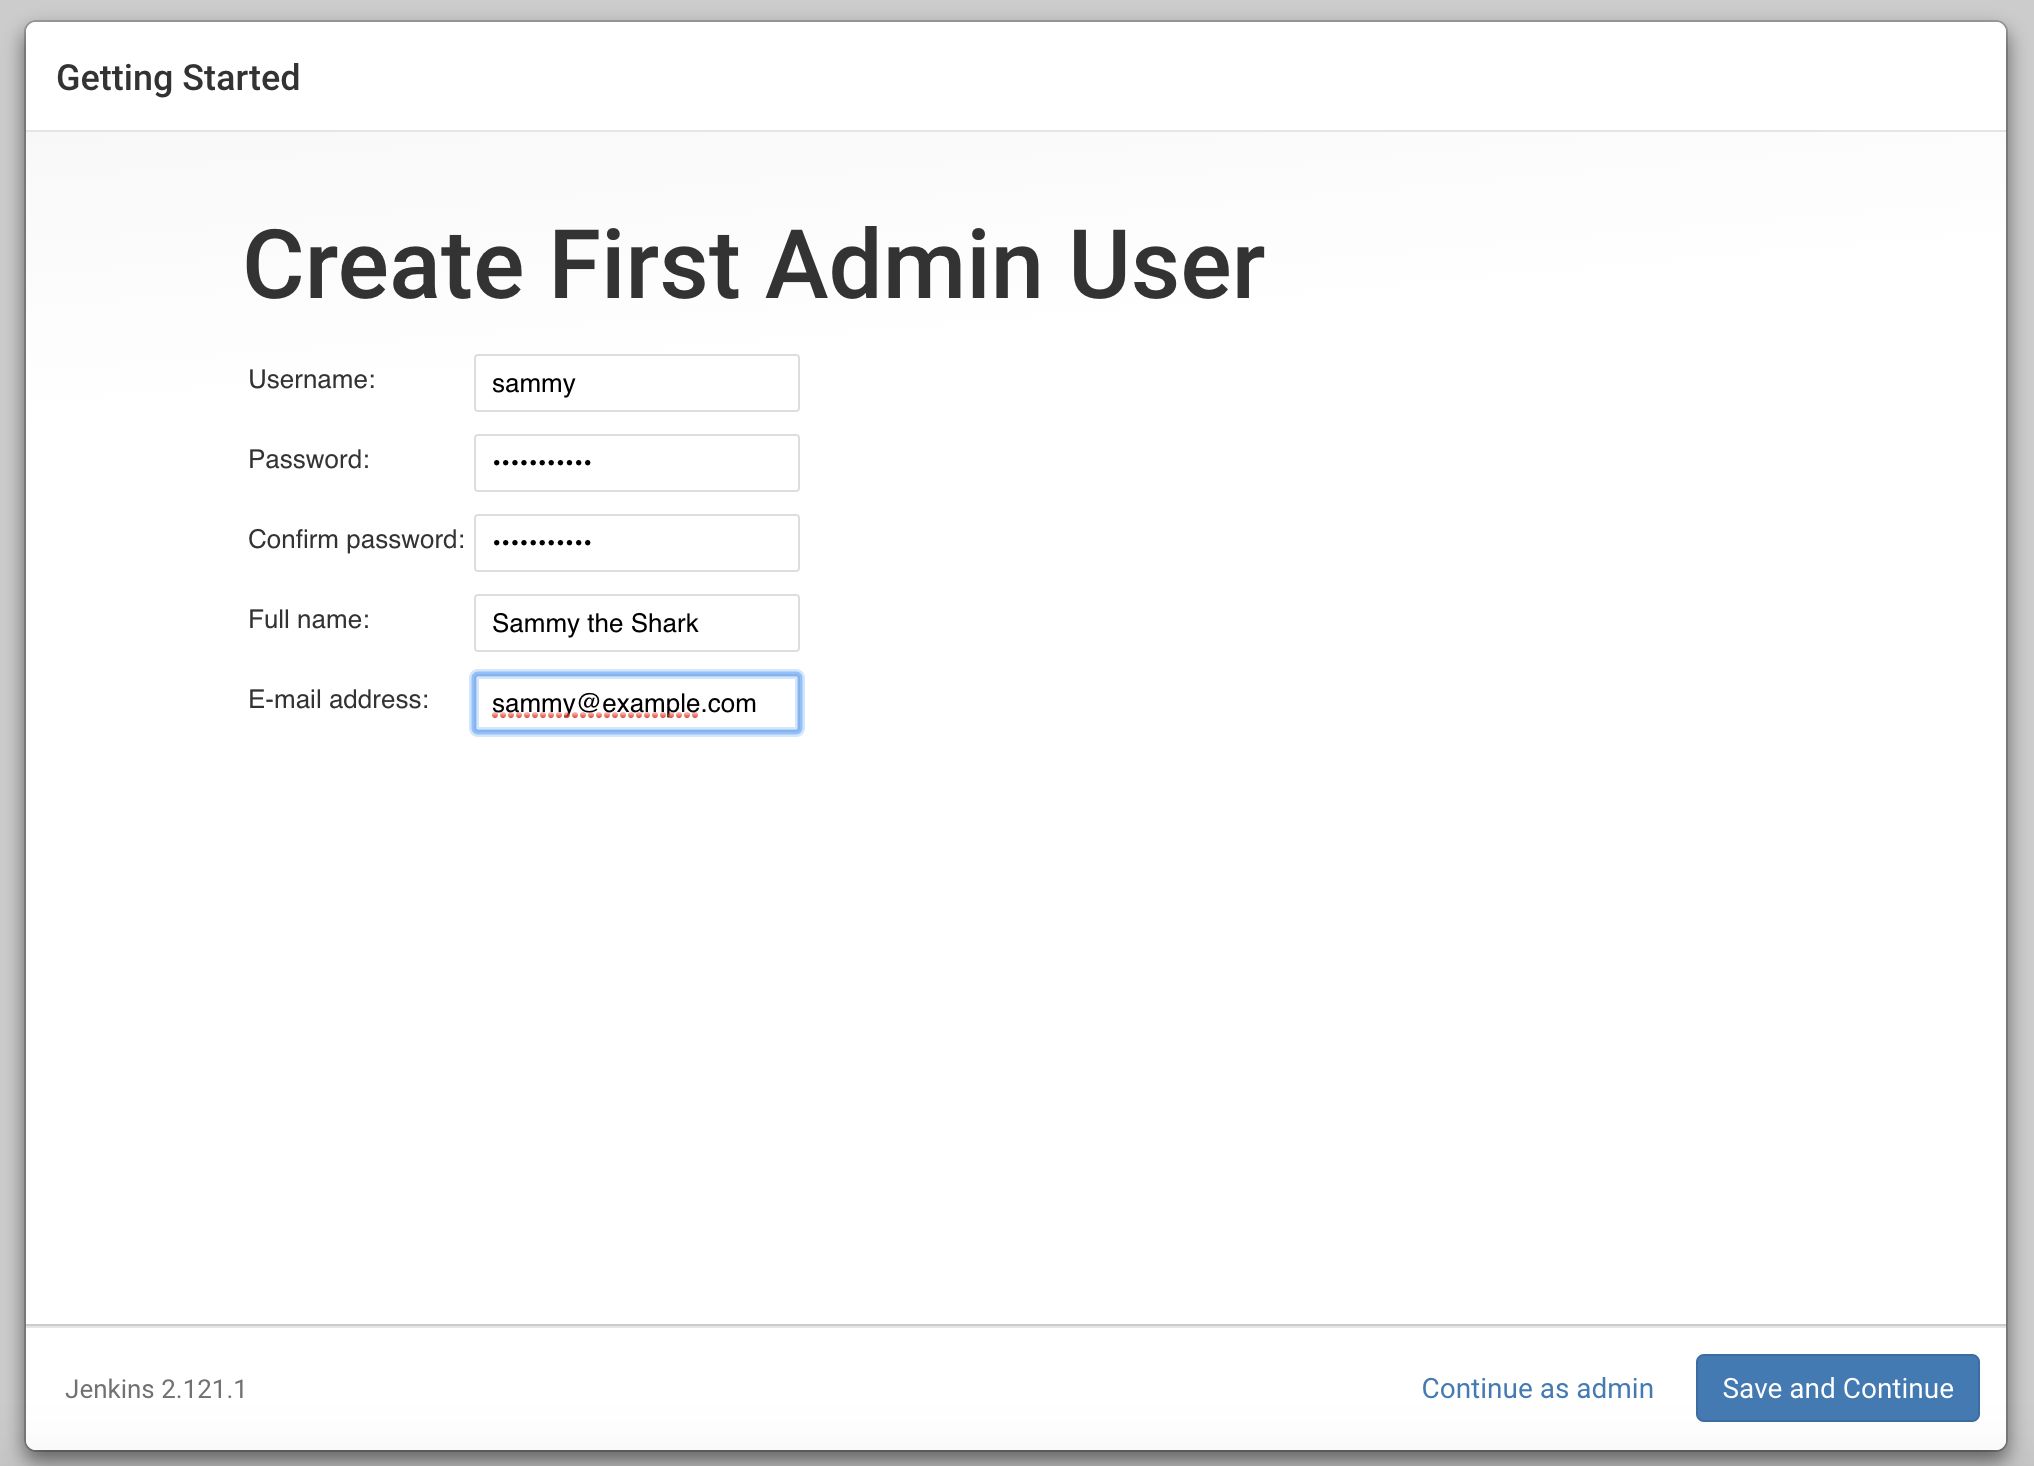
When the installation is complete, you’ll be prompted to set up the first administrative user. It’s possible to skip this step and continue as admin using the initial password we used above, but we’ll take a moment to create the user.
Enter the name and password for your user:
You’ll receive an Instance Configuration page that will ask you to confirm the preferred URL for your Jenkins instance. Confirm either the domain name for your server or your server’s IP address:

After confirming the appropriate information, click Save and Finish. You’ll receive a confirmation page confirming that “Jenkins is Ready!”:
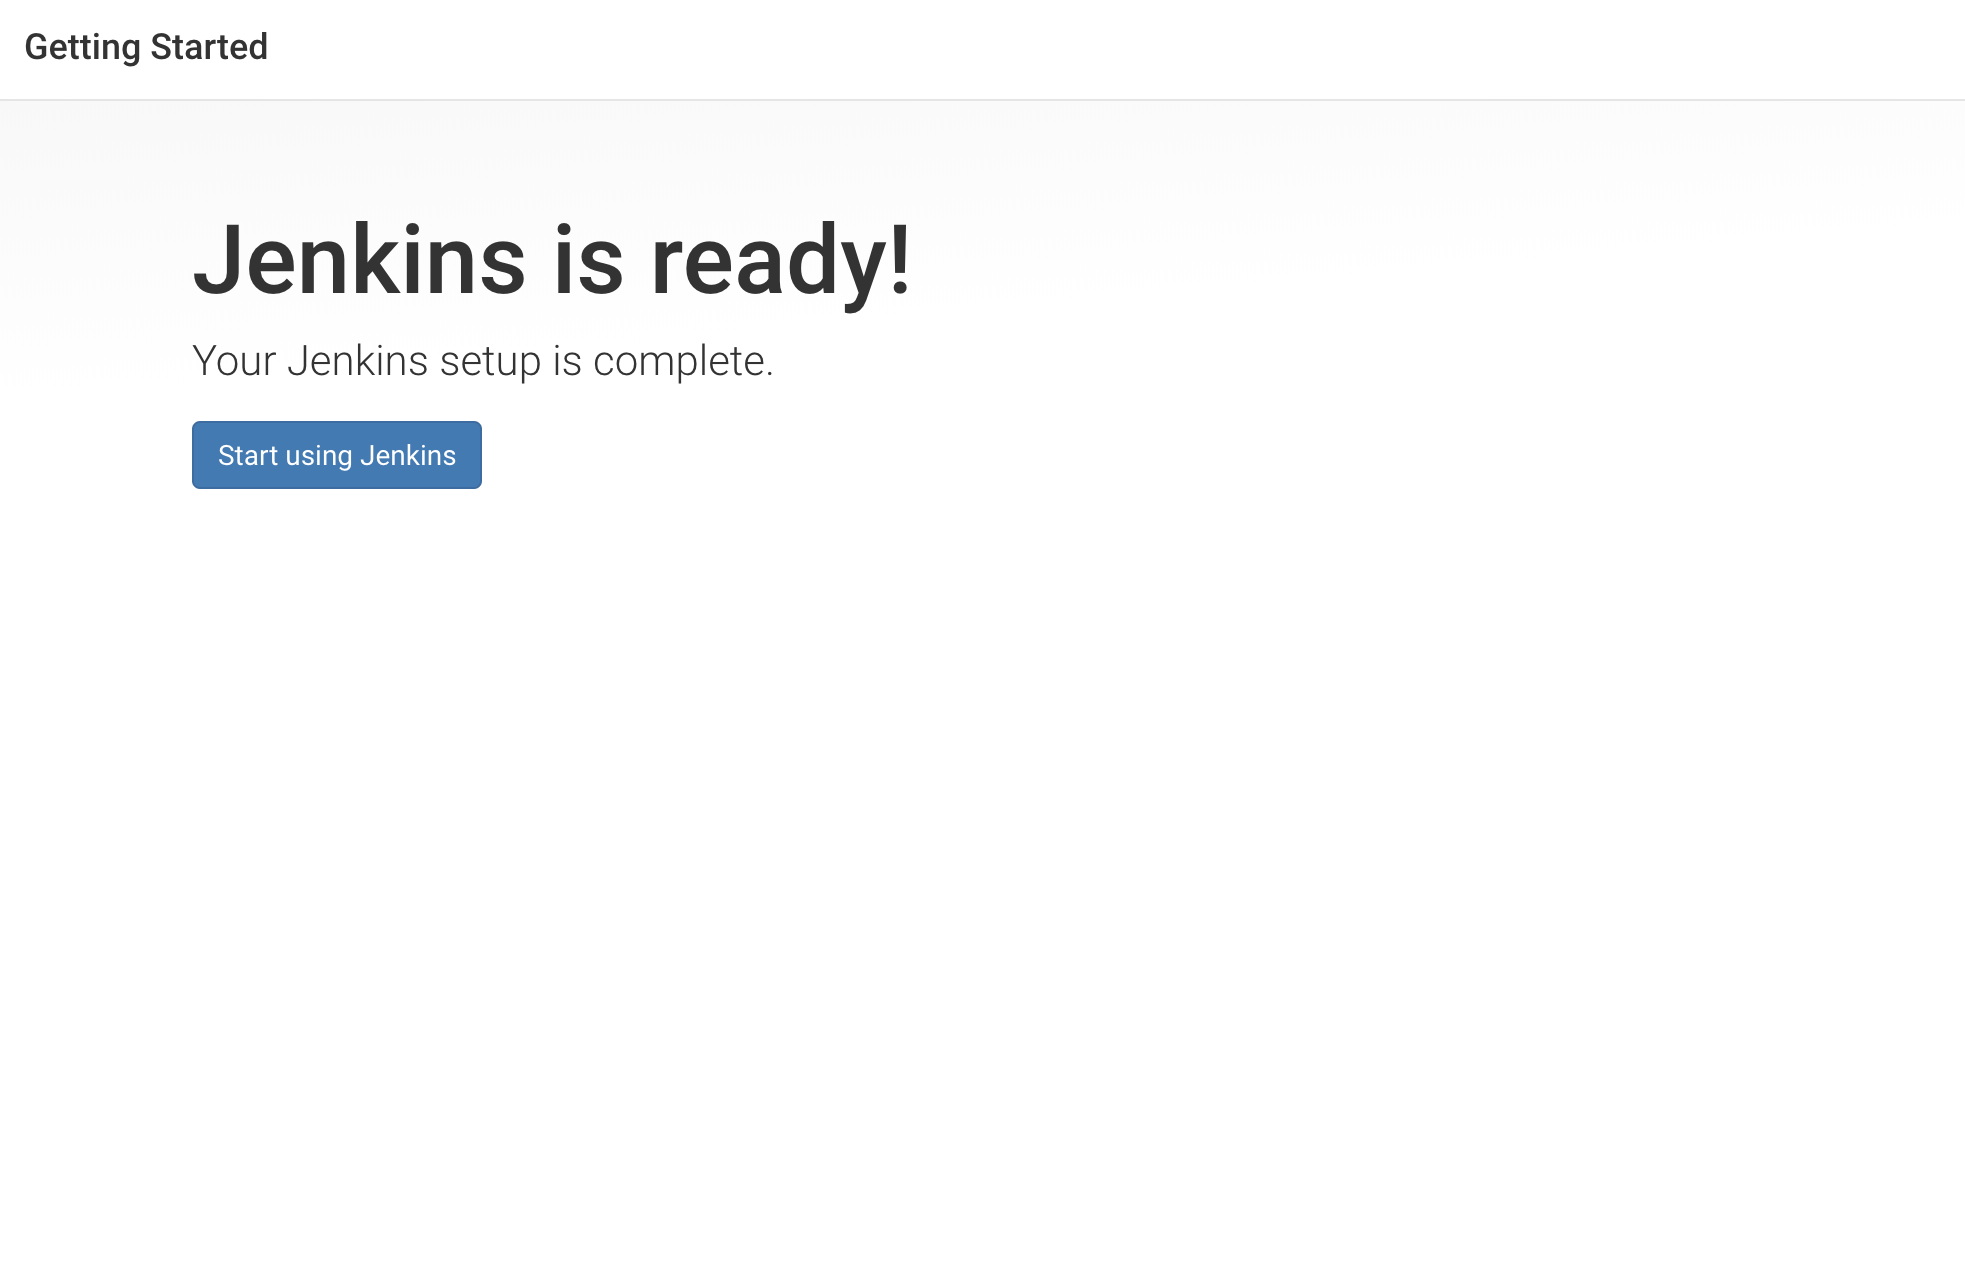
Click Start using Jenkins to visit the main Jenkins dashboard:
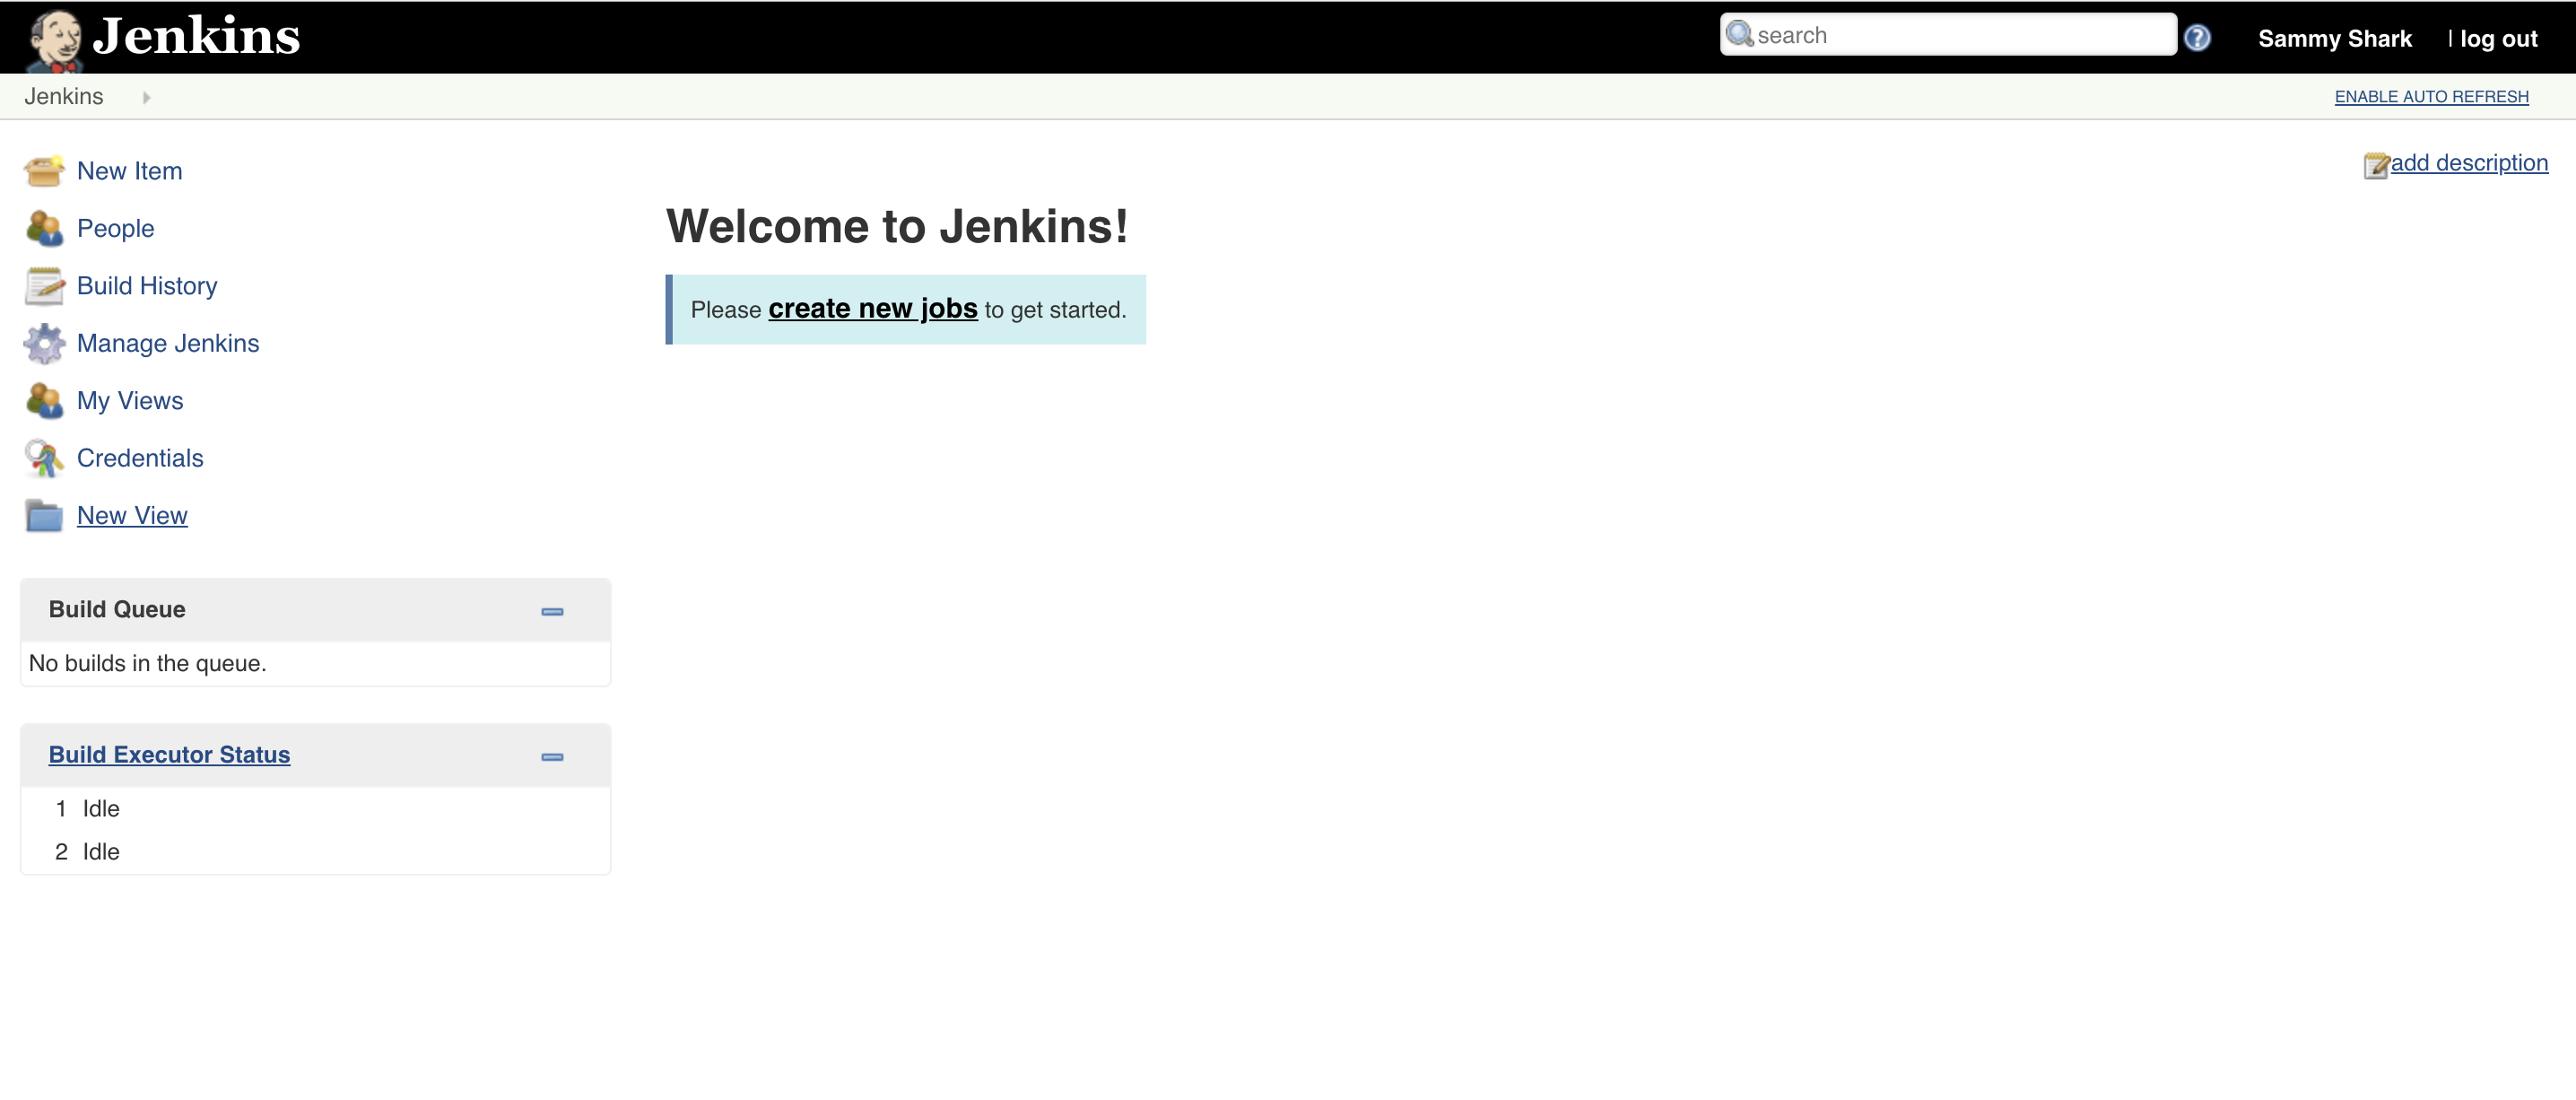
At this point, you have completed a successful installation of Jenkins.
Conclusion
In this tutorial, you installed Jenkins using the project-provided packages, started the server, opened the firewall, and created an administrative user. At this point, you can start exploring Jenkins.
When you’ve completed your exploration, follow the guide How to Configure Jenkins with SSL Using an Nginx Reverse Proxy on Ubuntu 20.04 to protect your passwords, as well as any sensitive system or product information that will be sent between your machine and the server in plain text to continue using Jenkins.
参考链接:
1. https://www.digitalocean.com/community/tutorials/how-to-install-jenkins-on-ubuntu-20-04
2. https://phoenixnap.com/kb/fix-sub-process-usr-bin-dpkg-returned-error-code-1