---恢复内容开始---
首先创建一个脚本文件 /server/tools/peizhi.sh
cat /server/tools/peizhi.sh
cat >>/etc/rsyncd.conf<<EOF
#luo
##paichu.sh##
uid = rsync
gid = rsync
use chroot = no
max connections = 200
timeout = 300
pid file = /var/run/rsyncd.pid
lock file = /var/run/rsync.lock
log file = /var/log/rsyncd.log
ignore errors
read only = false
list = false
hosts allow = 172.16.1.0/24
hosts deny = 0.0.0.0/32
auth users = rsync_backup
secrets file = /etc/rsync.password
[backup]
comment = "backup dir by oldboy"
path = /backup
EOF
一键化剧本
[root@m01 tools]# cat rsyncpiliang.yml
- hosts: 172.16.1.141 #服务端
tasks:
- name: yum
shell: yum install -y rsync #安装rsync
- name: yunm
shell: yum -y install sshpass #安装密钥的软件
- name: chuangjianmulu
shell: mkdir -p /server/tools/ #创建所在配置的文件
- name: peizhi
copy: src=/server/tools/peizhi.sh dest=/server/tools/peizhi.sh
- name: yunxing
script: /server/tools/peizhi.sh #运行脚本
- name: guanliyunhu
shell: useradd -s /sbin/nologin -M rsync #创建rsync虚拟用户
- name: anquanwenjian
shell: echo "rsync_backup:oldboy123" >/etc/rsync.password #设置密码文件
- name: quanxian
shell: chmod 600 /etc/rsync.password #给予权限
- name: beifenmulu
shell: mkdir -p /backup && chown -R rsync.rsync /backup
- name: qidong
shell: rsync --daemon #运行rsync
- hosts: 172.16.1.108
tasks:
- name: yum
shell: yum install -y rsync # 客户端
- name: chuangjianmulu
shell: mkdir -p /server/tools/
- name: mimawenjian
shell: echo "oldboy123" >/etc/rsync.password && chmod 600 /etc/rsync.password
- hosts: 172.16.1.131
tasks:
- name: yum
shell: yum install -y rsync #客户端
- name: chuangjianmulu
shell: mkdir -p /server/tools/
- name: mimawenjian
shell: echo "oldboy123" >/etc/rsync.password && chmod 600 /etc/rsync.password
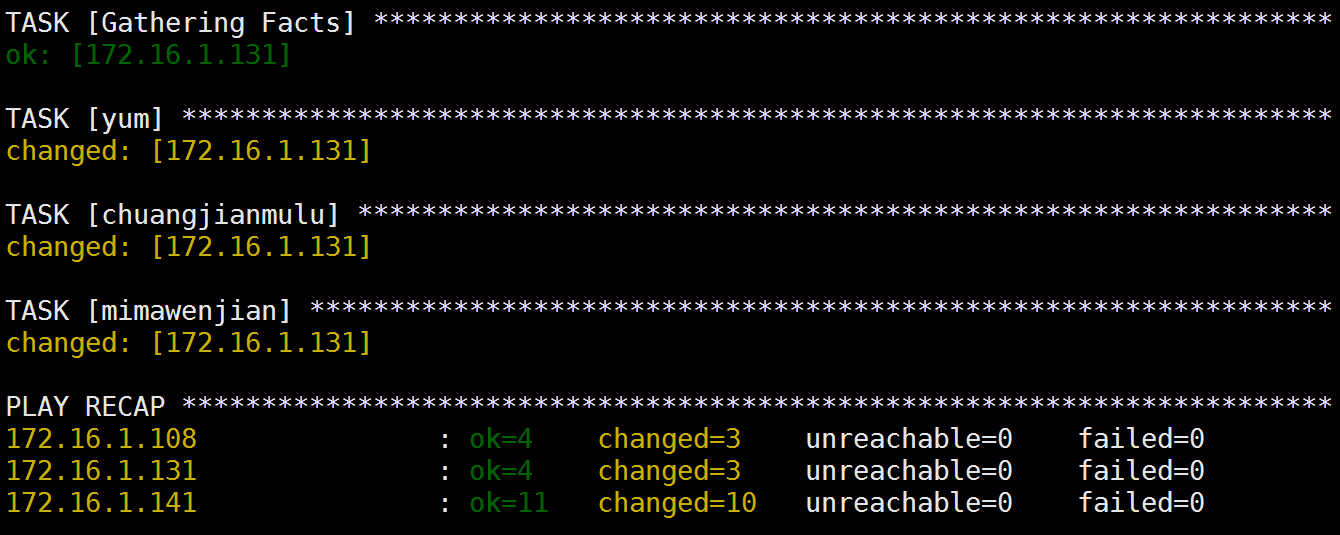
检查
