dib制作deploy镜像会构造一个VIRTUAL_ENV环境,会通过chroot进入临时目录
export TMP_MOUNT_PATH="$TMP_BUILD_DIR/mnt"
sudo -E chroot $TMP_MOUNT_PATH env -u TMPDIR -u VIRTUAL_ENV PATH="$PATH:/usr/local/sbin:/usr/local/bin:/ usr/sbin:/usr/bin:/sbin:/bin" sh -c "$cmd"
MODULE_ROOT=${DIB_MODULE_ROOT:-""}
MODULE_DIR="$MODULE_ROOT/lib/modules/$KERNEL_VERSION"

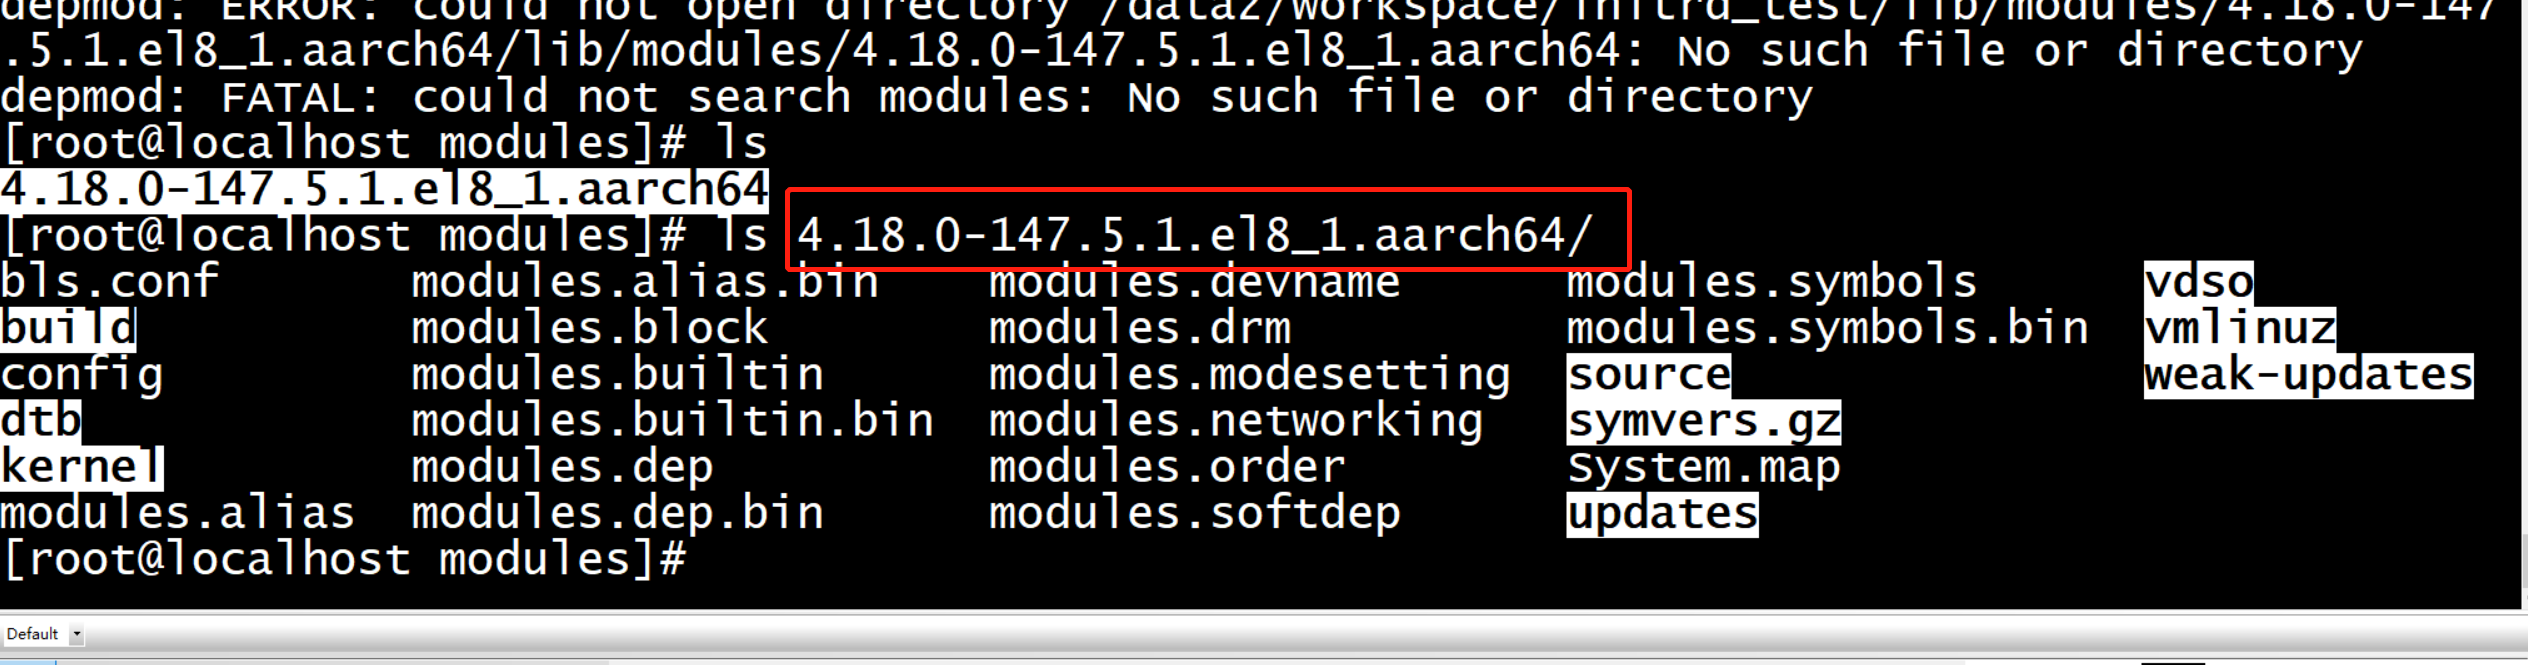
原始镜像的/lib/modules


mkdir -p /proc /sys /dev /boot /etc /mnt /lib/modules

mount -t proc proc /proc

mount -t sysfs none /sys
cp -a "$MODULE_DIR" "$TMP_MOUNT_PATH/lib/modules/$KERNEL_VERSION"
安装iscis target

打包initrd
30 # on RHEL pci.ids is locate on /usr/share/hwdata/pci.ids.
 31 sudo find . -xdev
 32     -path './sys/*' -prune -o
 33     -path './tmp/*' -prune -o
 34     -path './boot/*' -prune -o
 35     -path './root/.cache' -prune -o
 36     -path './usr/include/*' -prune -o
 37     -path './usr/lib/locale/*' -prune -o
 38     -path './usr/share/doc/*' -prune -o
 39     -path './usr/share/man/*' -prune -o
 40     -path './usr/share/info/*' -prune -o
 41     -path './usr/share/licenses/*' -prune -o
 42     -path './usr/share/misc/m*' -prune -o
 43     -path './usr/src/kernels/*' -prune -o
 44     -path './var/cache/*' -prune -o
 45     -name '*.pyc' -prune -o
 46     -name '*.pyo' -prune -o
 47     -print | sudo cpio -o -H newc | ${DIB_IPA_COMPRESS_CMD} > ${IMAGE_PATH}.initramfs
 48
 49 select_boot_kernel_initrd $TARGET_ROOT
 50 sudo cp $BOOTDIR/$KERNEL ${IMAGE_PATH}.kernel
 51 sudo chown $USER: ${IMAGE_PATH}.kernel
解压
Use the file command on the initramfs/initrd to identify the compression format:
file /boot/initramfs-$(uname -r).img
The $(uname -r) will use the file for the current kernel version. You may also specify a specific file, such as:
file /boot/initramfs-2.6.32-754.el6.x86_64.img
The most common is a gzip-format image which displays as:
# file /boot/initramfs-$(uname -r).img
/boot/initramfs-2.6.32-754.el6.x86_64.img: gzip compressed data
However, there may also be an XZ/LZMA-format image which displays as:
# file /boot/initramfs-$(uname -r).img
/boot/initramfs-2.6.32-754.el6.x86_64.img: LZMA compressed data
Select the appropriate instructions below to extract or repack the correct image type for your system.
gzip format - Extract / Uncompress
Uncompress and extract the contents of the image in the /boot/ directory:
zcat /boot/initrd-$(uname -r).img | cpio -idmv
gzip format - Repack / Recompress
Still in the working directory, find all files and add them to a new boot image file:
find . | cpio -o -c | gzip -9 > /boot/new.img
xz/LZMA format - Extract / Uncompress
Uncompress and extract the contents of the image in the /boot/ directory:
xz -dc < /boot/initrd-$(uname -r).img | cpio -idmv
xz/LZMA format - Repack / Recompress
Still in the working directory, find all files and add them to a new boot image file:
find . 2>/dev/null | cpio -c -o | xz -9 --format=lzma > /boot/new.img

1、 file命令查看centos8-deploy.initramfs格式
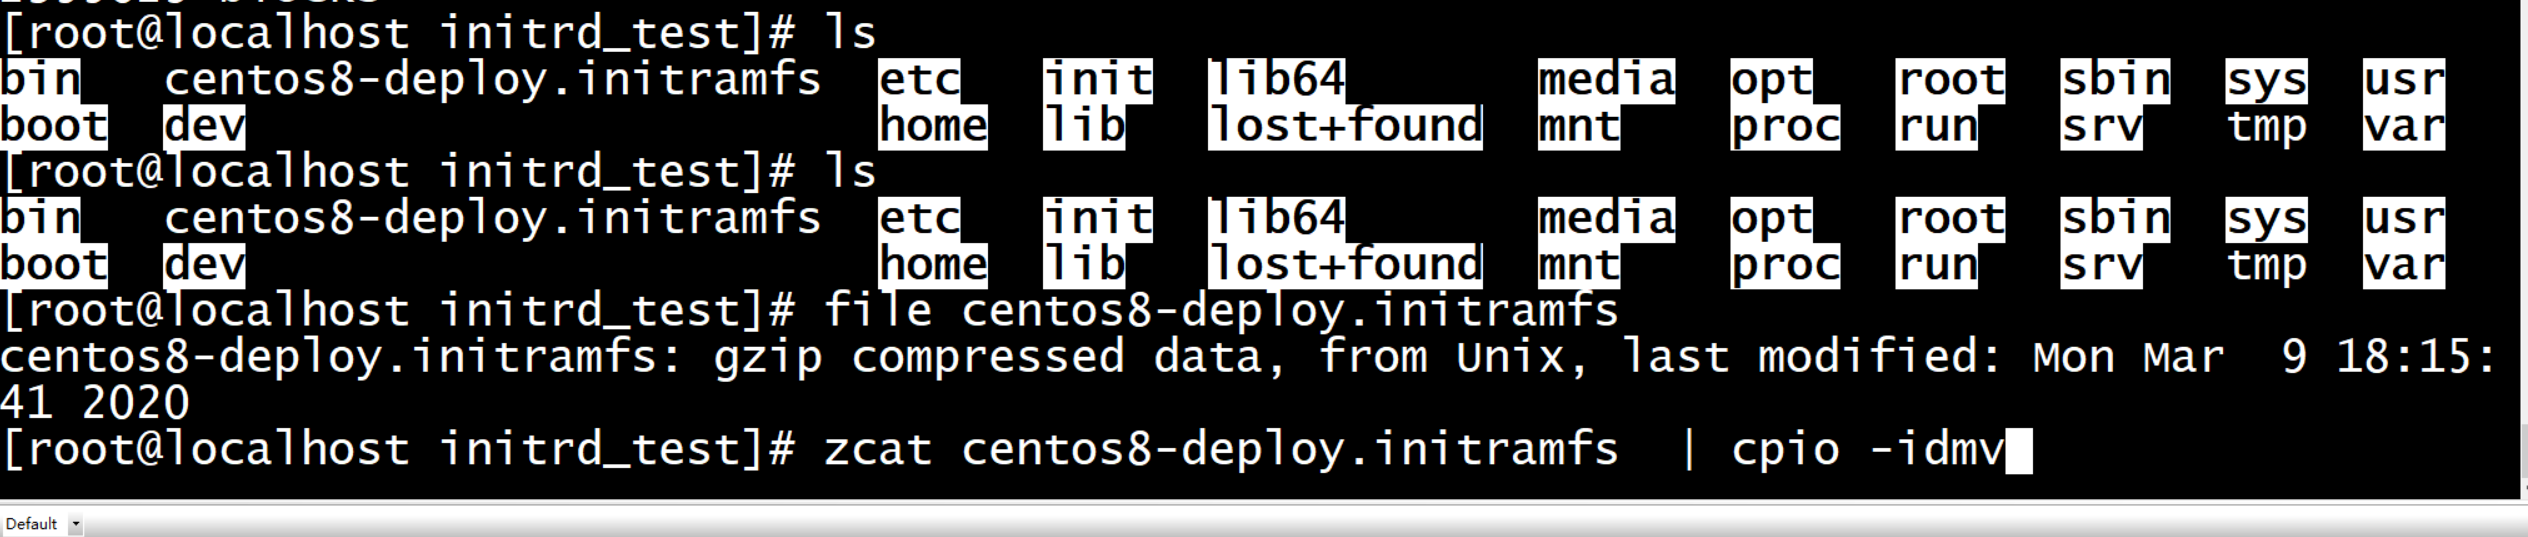
2、 zcat centos8-deploy.initramfs | cpio -idmv


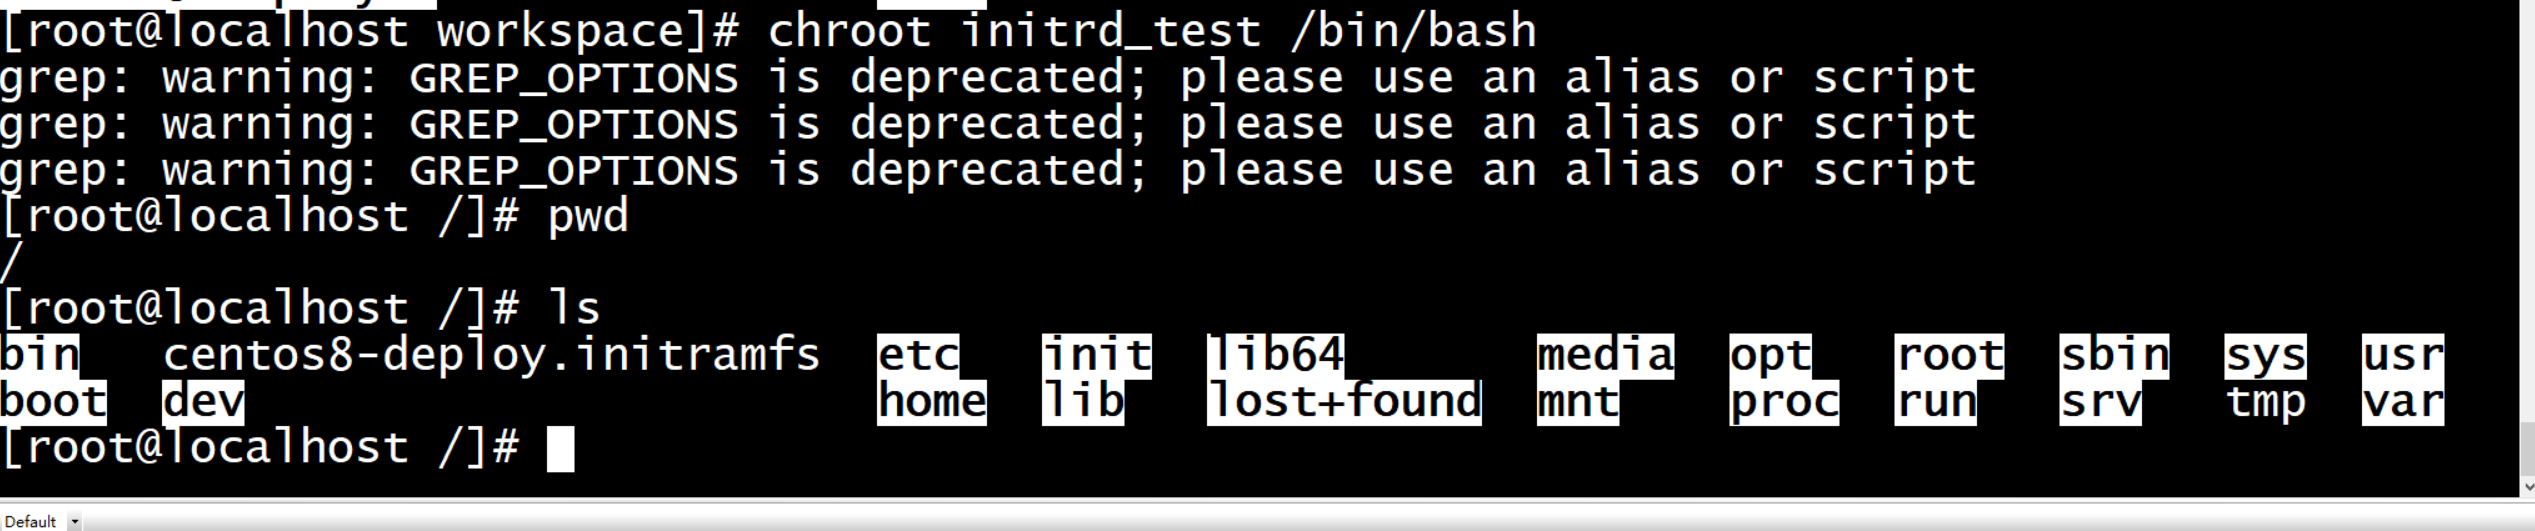
3. chroot
1. Get Initrd.img from ISO mkdir /mnt/{image,work} mount -o loop RHEL6.5-server.x86_64.iso /mnt/image/ cp /mnt/image/isolinux/initrd.img /mnt/work 2. Extract Initrd.img Before extract rename initrd.img to initrd.img.xz because its compressed with xz and will remove its extension and rename again with initrd.img cd /mnt/work mkdir initrd-new mv initrd.img initrd.img.xz xz --format=lzma initrd.img.xz –decompress cd initrd-new cpio -ivdum < ../initrd.img 3. Copy Required Driver I will used already installed chelsio driver from chelsio script. We were using same directory tree, cp /lib/modules/2.6.32.431.el6.x86_64/updates/drivers/ /mnt/work/initrd-new/modules/2.6.32.431.el6.x86_64/updates/ 4. Update driver information from modules.* to initrd.img modules.* files. I will used chelsio driver information here and it can be different for you. You need to confirm which hardware driver you will used to insert in initrd.img and its information from modules.* files. cd /lib/modules/2.6.32.431.el6.x86_64/ egrep 'cxgb4|toecore|t4_tom' modules.symbols >> /mnt/work/initrd-new/modules/2.6.32-431.el6.x86_64/modules.symbols egrep 'cxgb4|toecore|t4_tom' modules.alias >> /mnt/work/initrd-new/modules/2.6.32-431.el6.x86_64/modules.alias egrep 'cxgb4|toecore|t4_tom' modules.dep >> /mnt/work/initrd-new/modules/2.6.32-431.el6.x86_64/modules.dep 5. Generate modules.*.bin files inside initrd.img This will recreate all modules.*.bin files using required driver information using modules.* files. This required because without this initrd.img will unable to load newly inserted driver. chroot /mnt/work/initrd-new depmod -a -v exit chroot /mnt/work/initrd-new depmod -a -v exit 6. Generate updated Initrd.img cd /mnt/work/initrd-new find . -print |cpio -o -H newc | xz --format=lzma > ../initrd.img cd /mnt/work/initrd-new find . -print |cpio -o -H newc | xz --format=lzma > ../initrd.img Your initrd.img is ready and you can used this new initrd.img to replaced stock initrd.img to start kickstart installation or network boot.
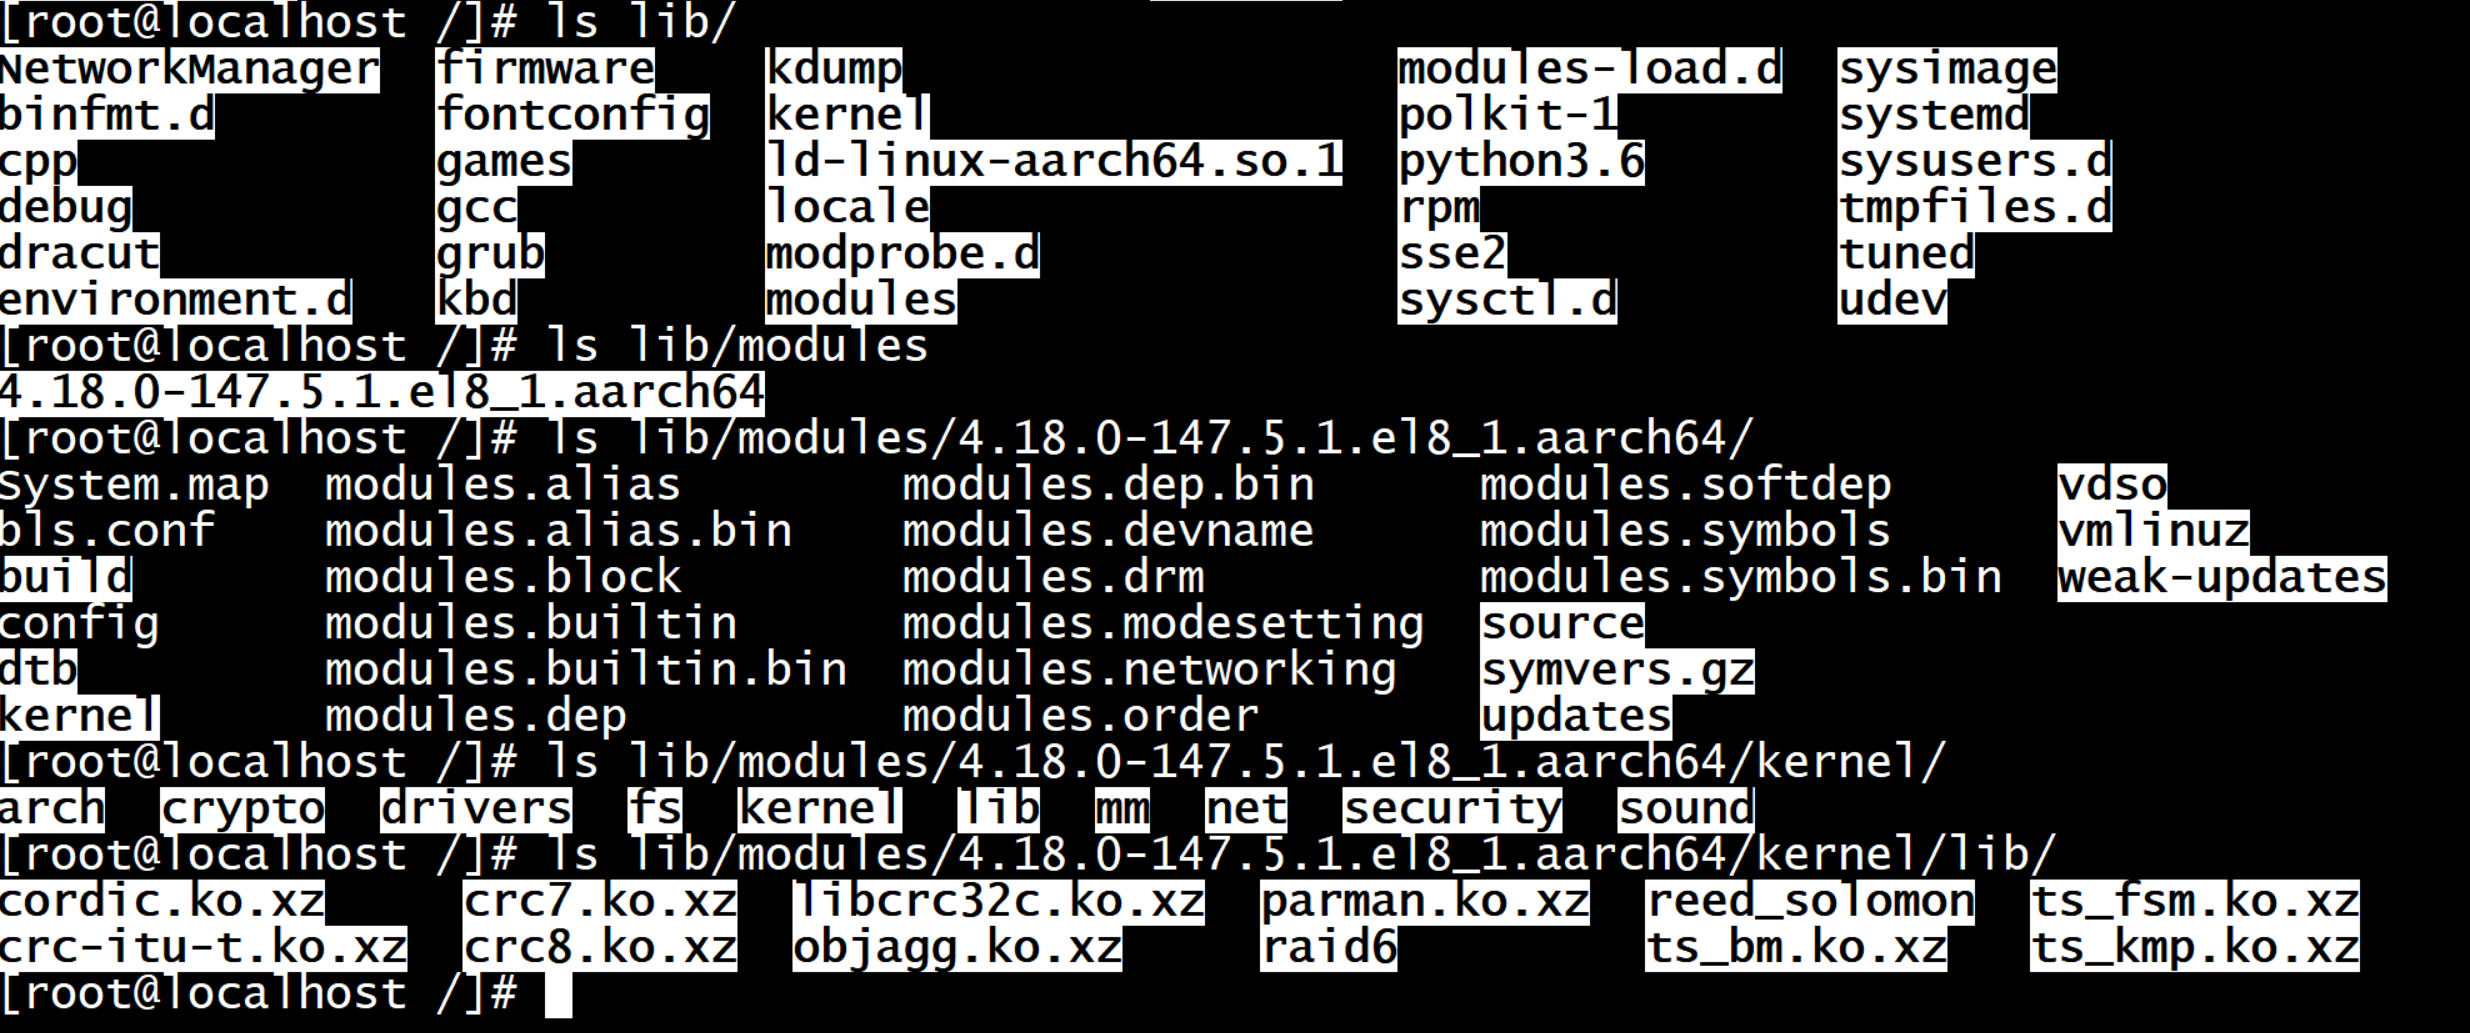
查看文件系统

https://www.cnblogs.com/ssslinppp/p/5945537.html