记录一下Spring MVC项目部署CentOS7方法
Linux版本:
cat /etc/centos-release
CentOS Linux release 7.6.1810 (Core)
安装JDK1.8
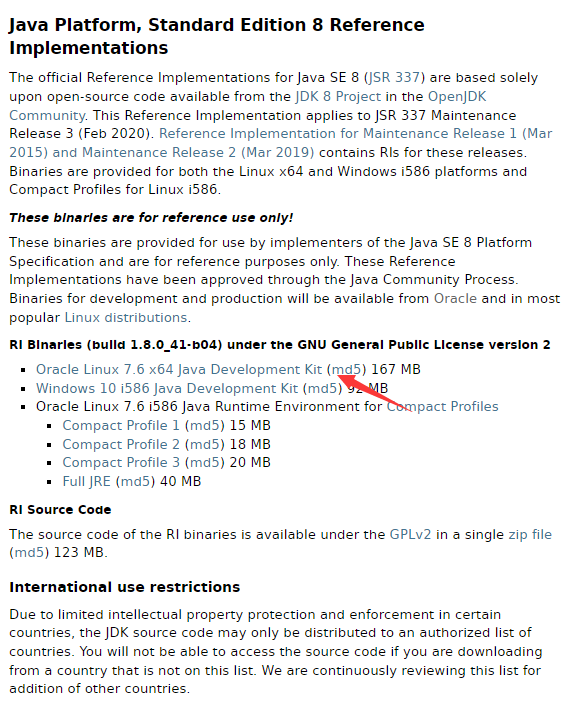
下载后解压并把jdk放在自定义路径并改名:
tar -xzvf openjdk-8u41-b04-linux-x64-14_jan_2020.tar.gz
mv java-se-8u41-ri/ jdk1.8
解压后配置保存路径:
sudo vim /etc/profile
配置Java路径:
JAVA_HOME=/usr/local/jdk1.8
JRE_HOME=/usr/local/jdk1.8/jre
PATH=$PATH:$JAVA_HOME/bin:$JRE_HOME/bin
CLASSPATH=.:$JAVA_HOME/lib/dt.jar:$JAVA_HOME/lib/tools.jar:$JRE_HOME/lib
export JAVA_HOME JRE_HOME PATH CLASSPATH
检查是否安装成功:
java -version
java version "1.8.0_202"
Java(TM) SE Runtime Environment (build 1.8.0_202-b08)
Java HotSpot(TM) 64-Bit Server VM (build 25.202-b08, mixed mode)
Tomacat9安装
部署到 /usr/local/tomcat,创建好文件夹、目录。下载地址
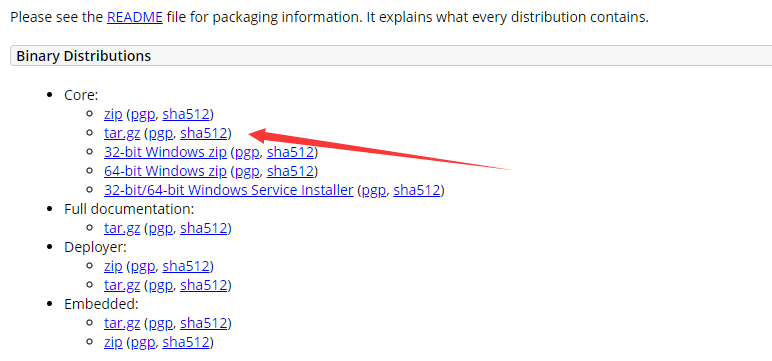
将下载的压缩包解压至目标目录。
tar -zxvf apache-tomcat-9.0.54.tar.gz
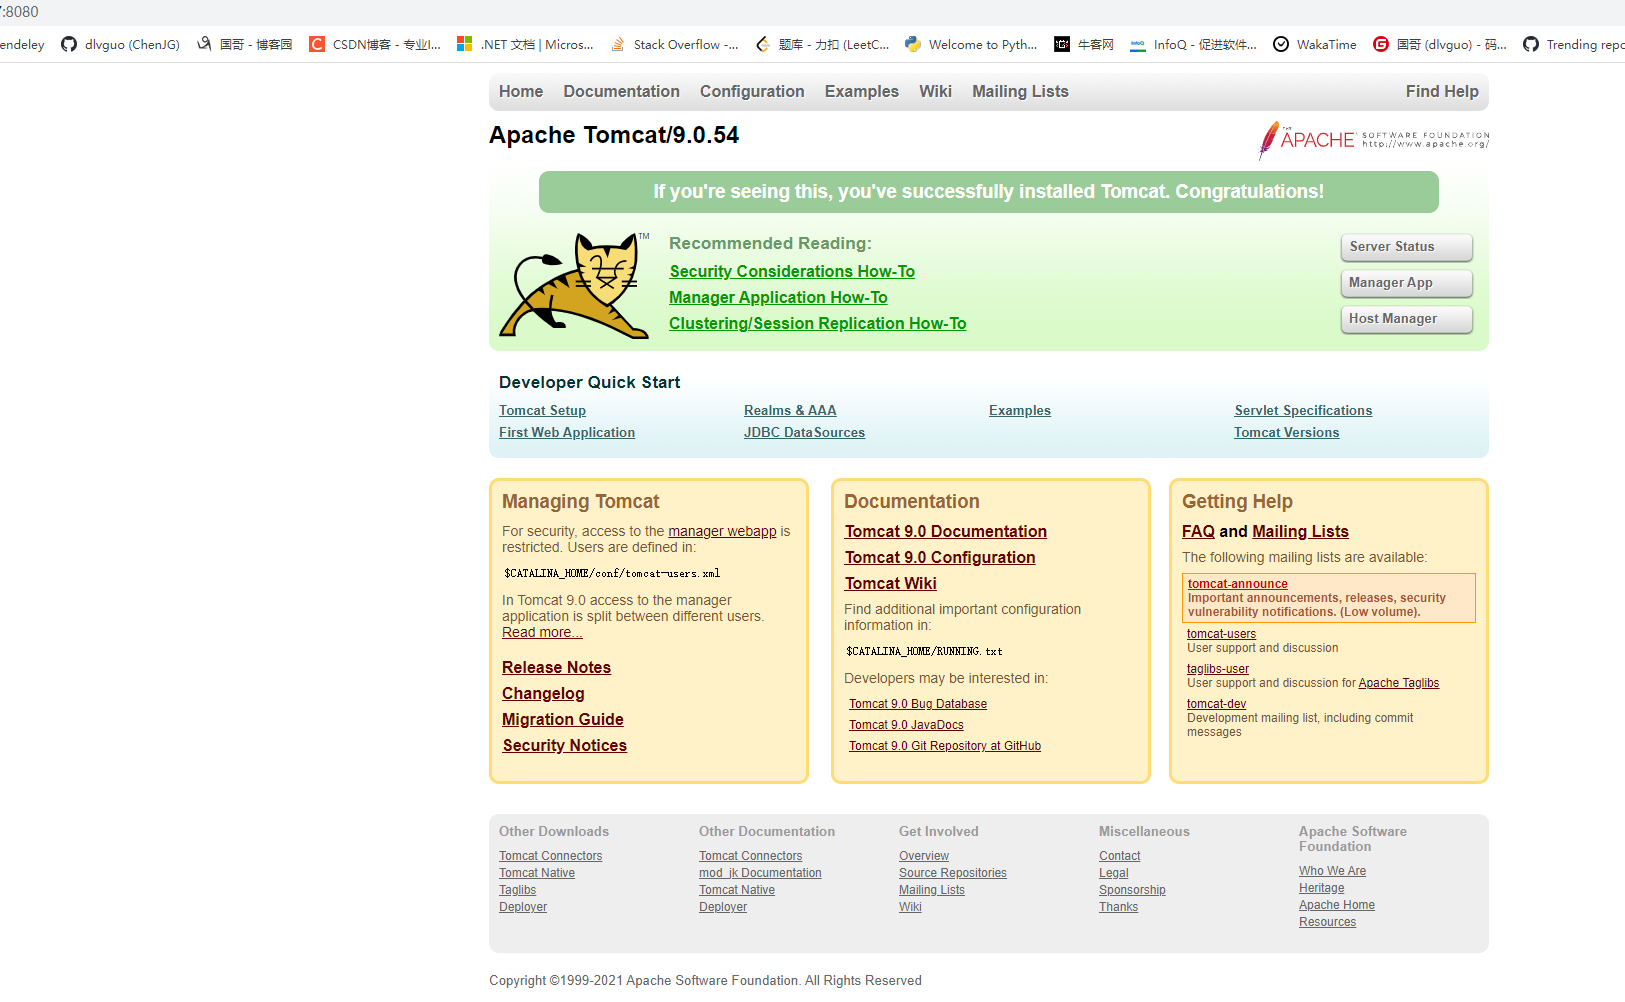
进入tomcat下的bin目录启动:
./catalina.sh start
注: ./catalina.sh start 和 ./startup.sh 都能启动tomcat。使用 ./catalina.sh stop 或 ./shutdown.sh 停止tomcat。
输入ip+8080端口启动成功【如果是云服务器注意在控制台中开放对应端口】
Tomcat配置服务和自启动(可选,可以不设置)
把tomcat加入服务当中,到tomcat的bin目录中把catalina.sh复制到/etc/init.d里并命名为tomcat
cp /usr/local/tomcat/apache-tomcat-9.0.54/bin/catalina.sh /etc/init.d/tomcat
编辑此文件:
cd /etc/init.d
vi tomcat
在#!/bin/sh下加入
### BEGIN INIT INFO
# Provides: tomcat
# Required-Start: $remote_fs $network
# Required-Stop: $remote_fs $network
# Default-Start: 2 3 4 5
# Default-Stop: 0 1 6
# Short-Description: The tomcat Java Application Server
### END INIT INFO
在分割线下加入环境变量
JAVA_HOME=/usr/local/jdk1.8
export JAVA_HOME
PATH=$JAVA_HOME/bin:$PATH
export PATH
CATALINA_HOME=/usr/local/tomcat/apache-tomcat-9.0.54
给脚本赋予权限:
chmod 755 tomcat
添加tomcat服务这里用chkconfig
chkconfig --add tomcat
如果这里出现提示:
insserv: warning: script 'tomcat' missing LSB tags and overrides
insserv: There is a loop between service nginx and tomcat if stopped
insserv: loop involving service tomcat at depth 2
insserv: loop involving service nginx at depth 1
insserv: Stopping tomcat depends on nginx and therefore on system facility `$all' which can not be true!
insserv: exiting now without changing boot order!
需要安装chkconfig方法:
apt-get install chkconfig
查看tomcat状态:
chkconfig --list tomcat
# 出现如下状态表示成功
# tomcat  0:off  1:off  2:on   3:on   4:on   5:on   6:off
设置tomcat开机自启:
chkconfig tomcat on
tomcat启动、停止、重启命令
service tomcat start
service tomcat stop
service tomcat restart
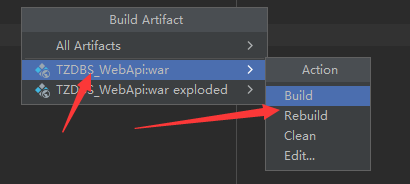
IDEA打包Spring MVC包部署
IDEA将Spring MVC打成war包,File->Project Structure
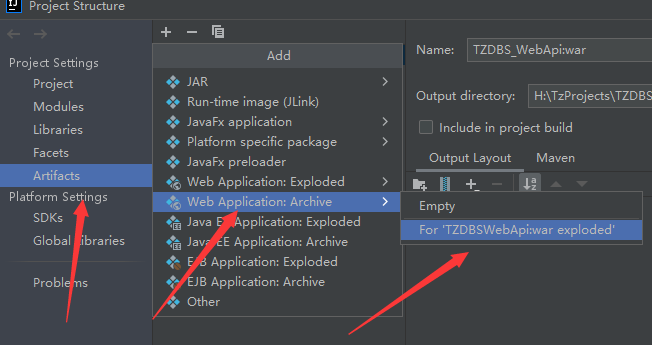


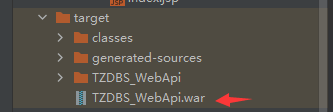
将输出的.war包上传至tomcat中webapps路径下
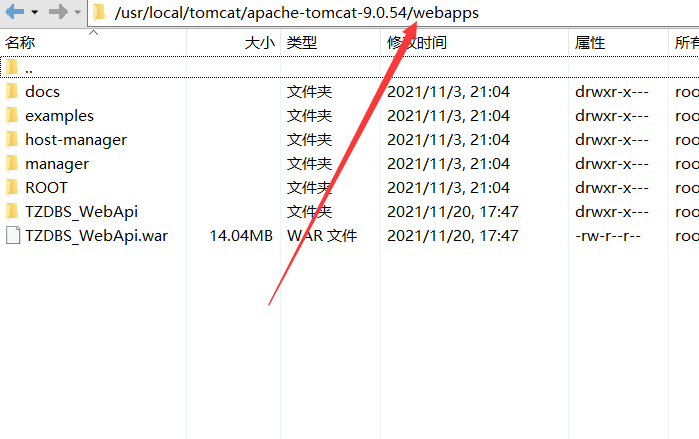
之后访问tomcat路径x.x.x.x:8080/包名即可访问api接口如:
http://x.x.x.x:8080/TZDBS_WebApi/login
参考链接: