Springboot-登录功能-拦截器-保持登录状态
在原先的简单方法后,完善了功能
前文:https://www.cnblogs.com/djhzzl/p/14117459.html
在原先代码上添加拦截器和session,保持登录状态
拦截器实现:
使用拦截器,保证部分功能需要先登录,才能访问
新建拦截器
·自定义拦截器,需要继承HandlerInterceptorAdapter并重写preHandle方法
·同时需要设置不拦截页面静态资源,否则会加载不到图片、css等静态资源
·还需要获取用户登录信息,如果获取不到,则跳转到登录界面。
·代码如下:
package com.hut.maoyanmovie.interceptor;

import org.springframework.web.method.HandlerMethod;
import org.springframework.web.servlet.HandlerInterceptor;
import org.springframework.web.servlet.ModelAndView;

import javax.servlet.http.HttpServletRequest;
import javax.servlet.http.HttpServletResponse;
import javax.servlet.http.HttpSession;

/**
 * @author HP
 * @data 2020-12-14
 *
 *新建拦截器
 *
 * 自定义拦截器
 */
public class AuthInterceptor implements HandlerInterceptor {
    @Override
    public boolean preHandle(HttpServletRequest request, HttpServletResponse response, Object handler) throws Exception {
        // 拦截处理代码

        //静态资源不被拦截器拦截
        String uri = request.getRequestURI();
        if (uri.endsWith("js")||uri.endsWith("css")||uri.endsWith("jpg")||uri.endsWith("svg")||uri.endsWith("jpg")||uri.endsWith("png")){
            return true ;
        }
        HttpSession session = request.getSession();
        // 获取用户信息,如果没有用户信息直接返回提示信息
        Object userInfo = session.getAttribute("loginUser");
        if (userInfo == null) {
            request.setAttribute("msg","请先登录!");
            request.getRequestDispatcher("logging").forward(request, response);
            return false;
        } else {

        }

        return true;
    }


    @Override
    public void postHandle(HttpServletRequest request, HttpServletResponse response, Object handler, ModelAndView modelAndView) throws Exception {

    }

    @Override
    public void afterCompletion(HttpServletRequest request, HttpServletResponse response, Object handler, Exception ex) throws Exception {

    }
}
注册拦截器
·注册自己的拦截器并设置拦截的请求路径
·新建配置类继承WebMvcConfigurerAdapter类,重写addInterceptors方法
·既然要增加自己的拦截器,那当然要得到springboot加入拦截器的入口,然后把我们自己写的拦截器也注册到springboot中让其起作用
·需要加入@Configuration注解,在springboot启动的时候就会该配置类就会被扫描并加载,从而将我们的拦截器注册进去。这时候的拦截器已经可以正常工作了
package com.hut.maoyanmovie.interceptor;

import org.springframework.context.annotation.Configuration;
import org.springframework.web.servlet.config.annotation.InterceptorRegistry;
import org.springframework.web.servlet.config.annotation.WebMvcConfigurerAdapter;

/**
 * @author HP
 * @data 2020-12-14
 * 注册拦截器
 * 新建配置类继承WebMvcConfigurerAdapter类,重写addInterceptors方法
 * 既然要增加自己的拦截器,那当然要得到springboot加入拦截器的入口,然后把我们自己写的拦截器也注册到springboot中让其起作用
 * 需要加入@Configuration注解,在springboot启动的时候就会该配置类就会被扫描并加载,从而将我们的拦截器注册进去。这时候的拦截器已经可以正常工作了
 */
@Configuration
public class WebAppConfig extends WebMvcConfigurerAdapter {
    @Override
    public void addInterceptors(InterceptorRegistry registry) {
        //注册自己的拦截器并设置拦截的请求路径
        registry.addInterceptor(new AuthInterceptor())
                .addPathPatterns("/interorders/**") //拦截的路径
                .excludePathPatterns(""); //排除的路径
    }

}
此时设置,订单页面需要的登录后,才可以访问。
前端代码:
            <form action="maoyanmovie">
                <div class="info">
                    <h3 th:text="${msg}"></h3>
                </div>
                <div class="submit">
                    <input type="submit" value="返回首页">
                </div>
            </form>
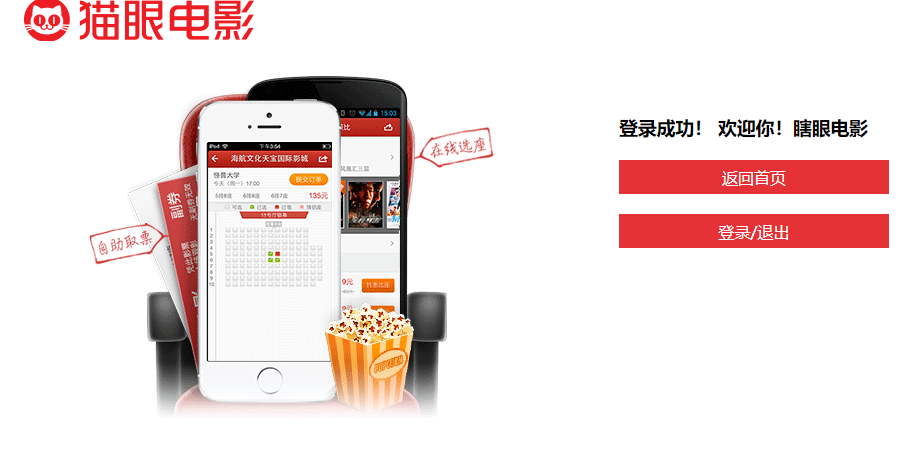
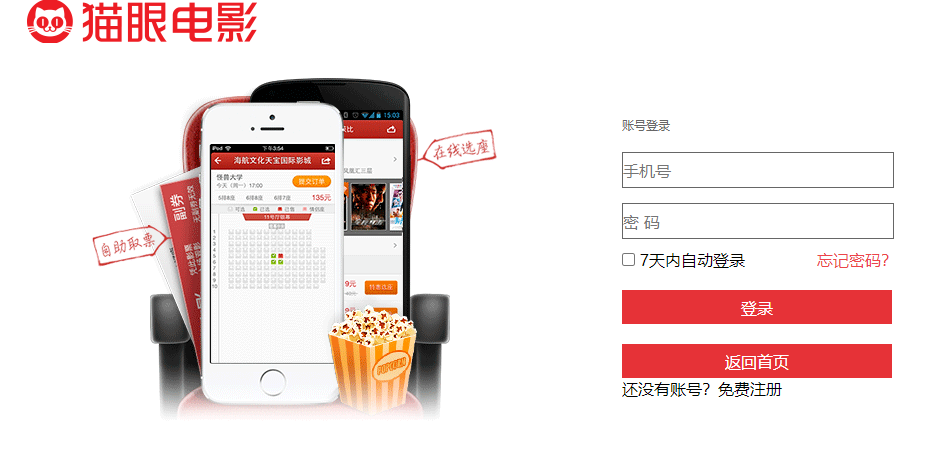
效果图:


实现拦截器后,加入session,完成登录状态的保持和退出功能
控制器代码:
session对象主要用于属性操作和会话管理
package com.hut.maoyanmovie.controller;

import com.hut.maoyanmovie.bean.User;
import com.hut.maoyanmovie.service.UserService;
import org.springframework.beans.factory.annotation.Autowired;
import org.springframework.stereotype.Controller;
import org.springframework.ui.Model;
import org.springframework.web.bind.annotation.GetMapping;
import org.springframework.web.bind.annotation.PostMapping;
import org.springframework.web.bind.annotation.RequestMapping;
import org.springframework.web.bind.annotation.RequestParam;

import javax.servlet.http.HttpSession;

/**
 * @author HP
 * @data 2020-12-14
 */
@Controller
public class IoginController {

    @Autowired
    UserService userService;

    @PostMapping("loginUserByTel")
    public String login(
            @RequestParam("user_tel") String user_tel,
            @RequestParam("user_password") String user_password,
            Model model,
            HttpSession session) {
        User user = userService.loginUserByTel(user_tel, user_password);
        if (user != null) {
            model.addAttribute("msg","登录成功! 欢迎你!"+user.getUser_name());
            session.setAttribute("loginUser", user_tel);
            session.setAttribute("uid",user.getUid());
        } else {
            model.addAttribute("msg", "登录失败!用户名或密码错误!");
        }
        return "logging";
    }

    @RequestMapping("logout")
    public String logout(HttpSession session) {
        session.invalidate();
        return "redirect:/login";
    }


    @GetMapping("logging")
    public String logging(){
        //欢迎页面
        return "logging";
    }
}
session分析:
public void setAttribute(String name,String value)设定指定名字的属性的值,并将它添加到session会话范围内,如果这个属性是会话范围内存在,则更改该属性的值。
public Object getAttribute(String name)在会话范围内获取指定名字的属性的值,返回值类型为object,如果该属性不存在,则返回null。
public void invalidate(),使session失效。可以立即使当前会话失效,原来会话中存储的所有对象都不能再被访问。
此时,当输入用户密码都正确时,将用户数据通过set'方法放入session中,这样在后续查询时,可以通过判断session是否为空,得知是否登录
在退出时,通过调用invalidate方法,失效session达到退出的效果


