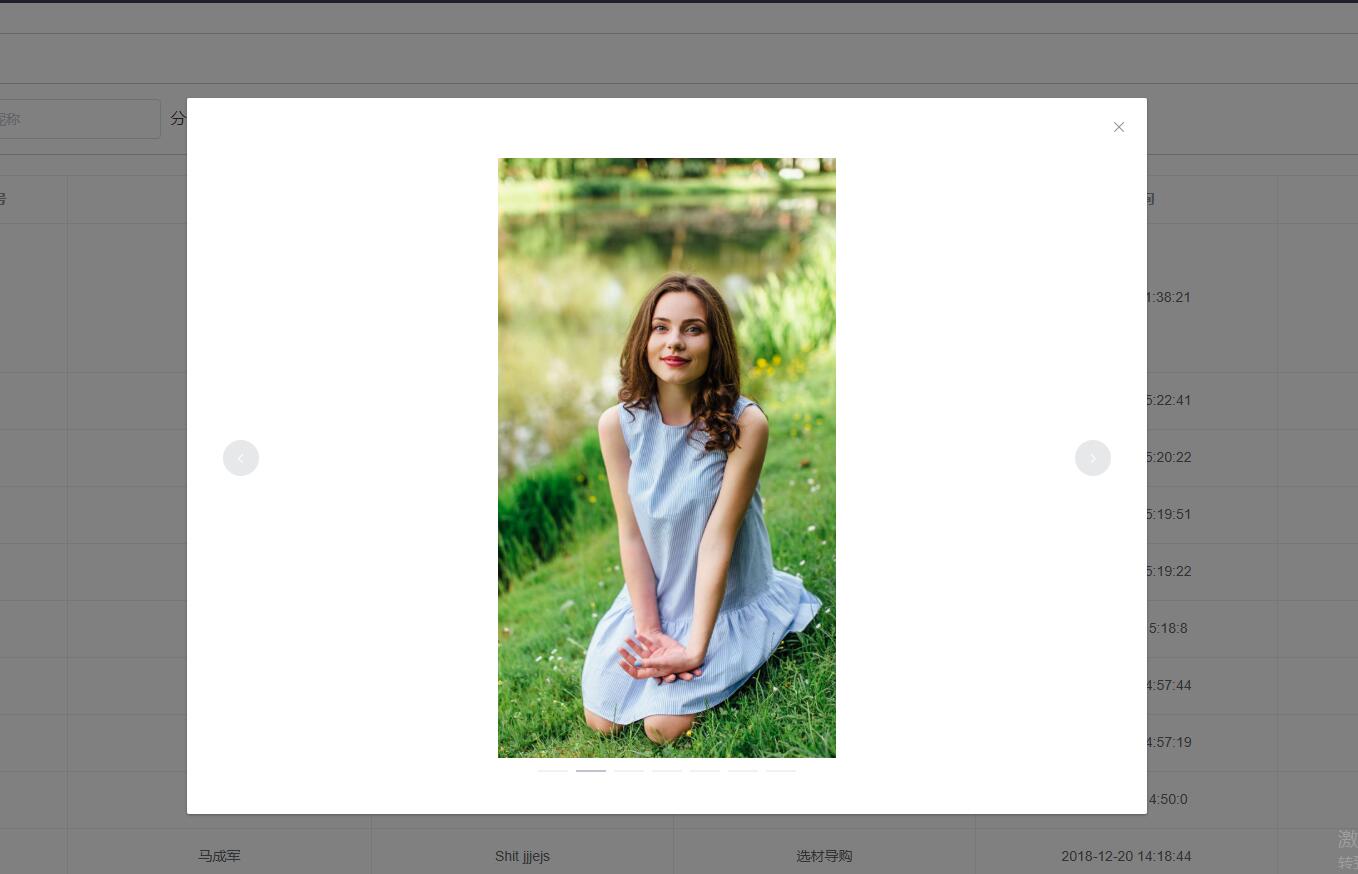
写插件很简单,满足两个条件即可,一、基本的逻辑思路,二、熟悉插件语法要求。本次Vue插件也比较简单,点击“查看图片”用轮播的方式限制用户上传的图片,如图:


项目采用的是vue-element-admin
在‘src/components’下新建‘imgPreview’文件夹,然后在该文件夹下新建‘ImgPreview.vue’,‘index.js’两个文件,代码如下:
ImgPreivew.vue
<template>
  <el-dialog
    :visible.sync="isShowImageDialog"
    @closed="clearImg"
  >
    <el-carousel indicator-position="outside" height="600px">
      <el-carousel-item v-for="src in imgs">
        <img :src="src" style="max- 100%;max-height: 100%;display: block; margin: 0 auto;"/>
      </el-carousel-item>
    </el-carousel>
  </el-dialog>
</template>

<script>
export default {
  name: 'ImgPreview',
  data() {
    return {
      imgs: '',
      isShowImageDialog: false
    }
  },
  methods: {
    clearImg() {
      this.imgs = null
    }
  }
}
</script>

<style scoped>

</style>
index.js
import ImgPreviewComponent from './ImgPreview'

const ImgPreview = {}

ImgPreview.install = Vue => {
  const ImgConstructor = Vue.extend(ImgPreviewComponent)

  const instance = new ImgConstructor()

  instance.$mount(document.createElement('div'))

  document.body.appendChild(instance.$el)

  Vue.prototype.$imgPreview = (e) => {
    instance.target = e.currentTarget
    instance.imgs = instance.target.getAttribute('data-img').split(',')
    instance.isShowImageDialog = true
  }
}

export default ImgPreview
应用也很简单:
main.js
import imgPreview from '@/components/imgPreview'

Vue.use(imgPreview)
comments.vue页面调用
<el-table-column
        label="评论内容"
        header-align="center"
      >
        <template slot-scope="scope">
          <div v-html="scope.row.content"></div>
          <el-button v-if="scope.row.images.length>0" :data-img="scope.row.images" type="text" size="small" @click="$imgPreview">查看图片</el-button>
        </template>
      </el-table-column>
整个插件原理也很简单:所有的数据都放在data-img上,插件获取其中的数据,然后通过element ui的el-carousel组件轮播显示
原文地址:http://www.ftc20.com/wordpress/2019/04/base-element-ui-plugin/