1、安装准备:
Centos7保证网络连通,如果网络不能连通,可通过配置yum源使用代理服务。
vim /etc/yum.conf
# The proxy server - proxy server:port
proxy=http://192.168.178.1:8080
# The account details for yum connections
# proxy_username=yum-user
# proxy_password=qwerty
2、关闭SELinux、防火墙
sudo sed -i 's/^SELINUX=enforcing$/SELINUX=permissive/g' /etc/selinux/config
systemctl stop firewalld.service
systemctl disable firewalld.service
centos7默认防火墙为firewalld,若已经安装iptables,可关闭iptables或者打开80端口,不然后续http请求失败
iptables -I INPUT -p tcp --dport 80 -j ACCEPT
service iptables save
service iptables restart
3、执行以下命令启用EPEL仓库
yum install deltarpm epel-release
yum update
若内核更新,reboot重启虚拟机
4、安装环境使用依赖包
yum install mod_ssl mod_ssl mod_perl mod_perl-devel
5、安装apache服务,并启动服务
systemctl start httpd.service
systemctl status httpd.service #查看状态
systemctl enable httpd.service #设置开机启功
apache服务开启后,打开浏览器,输入http://ip-of-your-server/ ,若看到testing123界面,代表Apache已经开启
6、安装MariaDB
centos7引入MariaDB替代MYSQL数据库,Maria作为开源的数据库系统,使用效果与MYSQL不相上下
yum install mariadb-server mariadb mariadb-devel php-mysql
systemctl start mariadb.service #开启服务
systemctl status mariadb.service #查看状态
systemctl enable mariadb.service #设置开机启动
7、设置数据库root管理员密码
mysql -u root
MariaDB [ (none) ]> SET PASSWORD FOR 'root'@'localhost' = PASSWORD('myrootpassword'); #替换myrootpassword为你的密码
Query OK, 0 rows affected (0.00 sec)
MariaDB [ (none) ]> q
Bye
登陆root用户进行测试
mysql -u root -p
Enter password: myrootpassword
Your MariaDB connection id is 5
Server version: 5.5.41-MariaDB MariaDB Server
Copyright (c) 2000, 2014, Oracle, MariaDB Corporation Ab and others.
Type 'help;' or 'h' for help. Type 'c' to clear the current input statement.
# maximum allowed size of an attachment upload
#change this if you need more!
max_allowed_packet=4M #设置最大传输大小4M
Enter password: myrootpassword
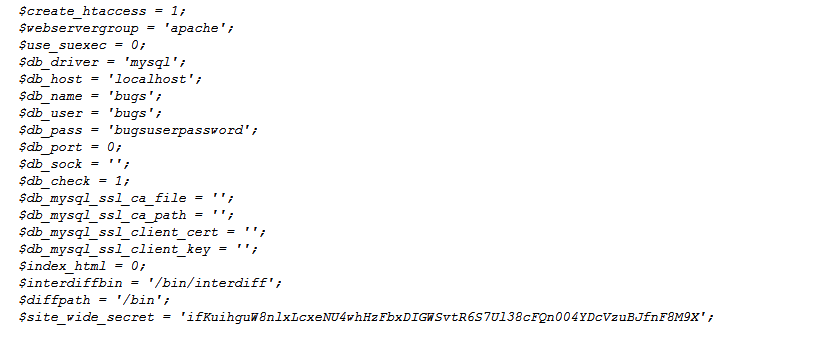
(4)编译./localconfig ,配置成我们自己的环境(主要是数据库名、密码与前面一致)
vim ./localconfig
下面是我的配置文件:
(5)完成Bugzilla注册信息
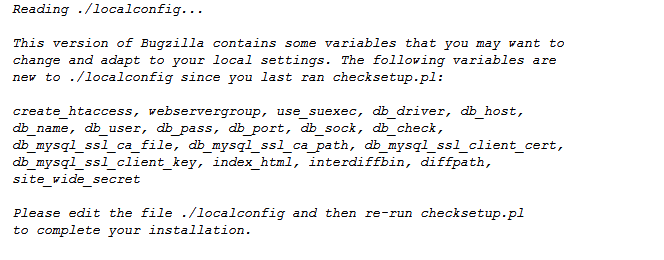
./checksetup.pl

(6)创建Bugzilla安装脚本
sed -i 's/^Options -Indexes$/#Options -Indexes/g' ./.htaccess
10、配置Bugzilla安装Apache服务
Apache默认识别不了Bugzilla,通过创建文件/etc/httpd/conf.d/bugzilla.conf ,把我们的Bugzilla网页系统引入到Apache服务
vim /etc/httpd/conf.d/bugzilla.conf
添加下面信息:
#/etc/httpd/conf.d/bugzilla.conf
<VirtualHost *:80>
DocumentRoot /var/www/html/bugzilla/</VirtualHost><Directory /var/www/html/bugzilla>AddHandler cgi-script .cgiOptions +Indexes +ExecCGIDirectoryIndex index.cgiAllowOverride Limit FileInfo Indexes</Directory>
重启Apache服务:
systemctl restart httpd.service
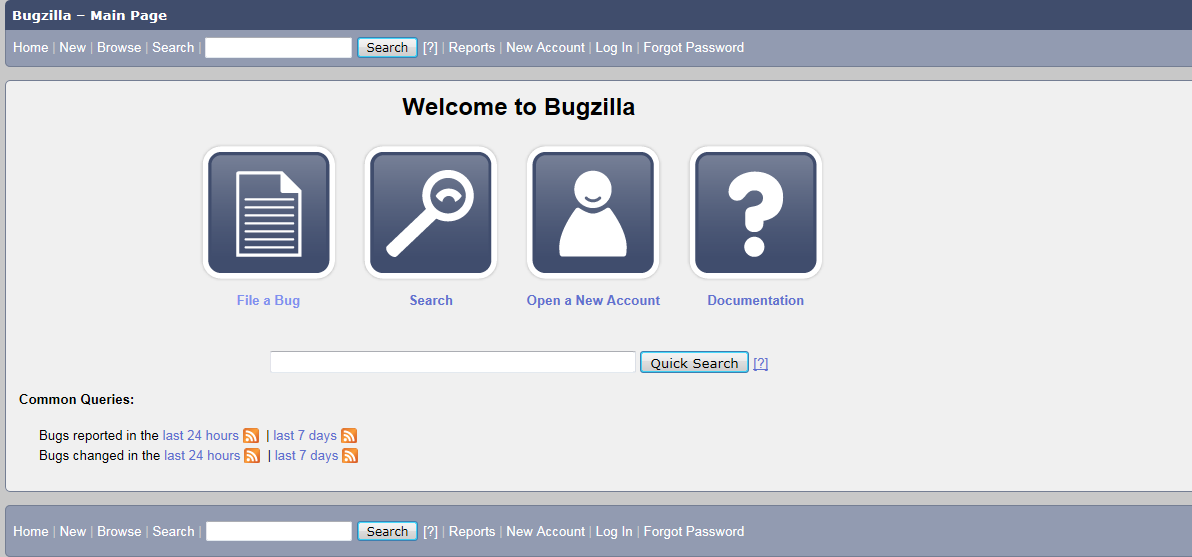
至此,我们就已经成功部署了Bugzilla系统,打开网页,输入http://ip-of-you-server,(ip-of-you-server为你的centos7主机ip)我们可以看到如下界面