由于工作需要,自己部署了一台centos7服务器,用于部署netcore2.1的服务器环境,涉及到的相关内容主要有以下几点
- netcore2.1版本的部署调试
- supervisor守护进程的部署
- nginx反向代理部署以及简单的负载均衡示例
其他用到的相关软件有vs2017,xshell,xftp
内容比较基础,适合刚刚接触的新手,高手就忽略吧
一、netcore2.1版本部署
首先需要一台服务器,当然用虚拟机也可以,我这里是自己买了一台阿里云服务器,最低配置的,价格便宜,用xshell远程链接界面如下

现在需要在服务器上安装netcore运行时,执行以下命令
sudo rpm -Uvh https://packages.microsoft.com/config/rhel/7/packages-microsoft-prod.rpm
sudo yum update
sudo yum install dotnet-sdk-2.1
参考内容 https://www.microsoft.com/net/learn/get-started/linux/centos
安装好以后可以查看版本信息

需要注意的一点是,本机的开发版本要和服务器的版本一致,我本地的版本原来的2.0的,服务器安装了2.1在进行项目部署的时候就会有问题,这个注意下就好
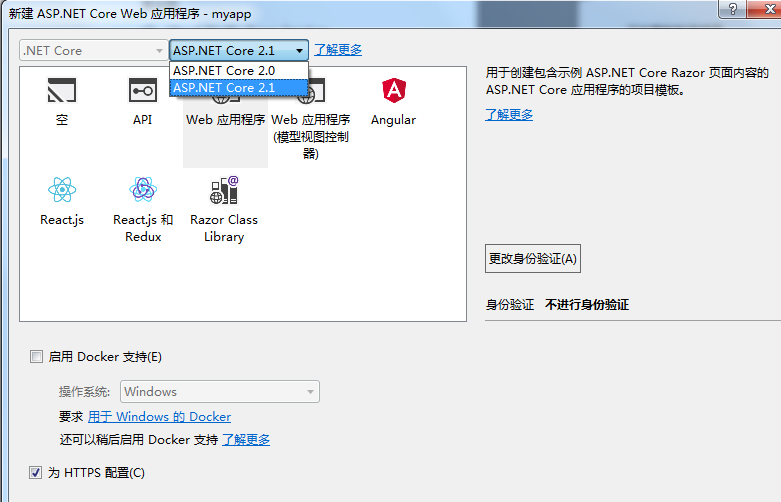
使用vs2017创建一个web应用程序,这里注意选择2.1,然后继续
下图是新建好的项目
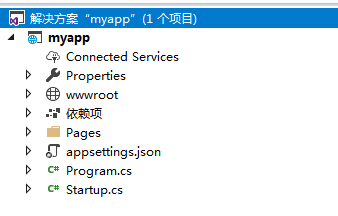
在Program.cs文件里新增UseUrls,注意127.0.0.1换成你的服务器IP,端口我们先用8001
 public class Program
    {
        public static void Main(string[] args)
        {
            CreateWebHostBuilder(args).Build().Run();
        }

        public static IWebHostBuilder CreateWebHostBuilder(string[] args) =>
            WebHost.CreateDefaultBuilder(args)
                .UseStartup<Startup>()
                .UseUrls("http://127.0.0.1:8001");
    }
现在发布代码到本地,这是发布好的代码

在服务器上新建一个名为myapp的文件夹

使用xftp工具将代码传到服务器上
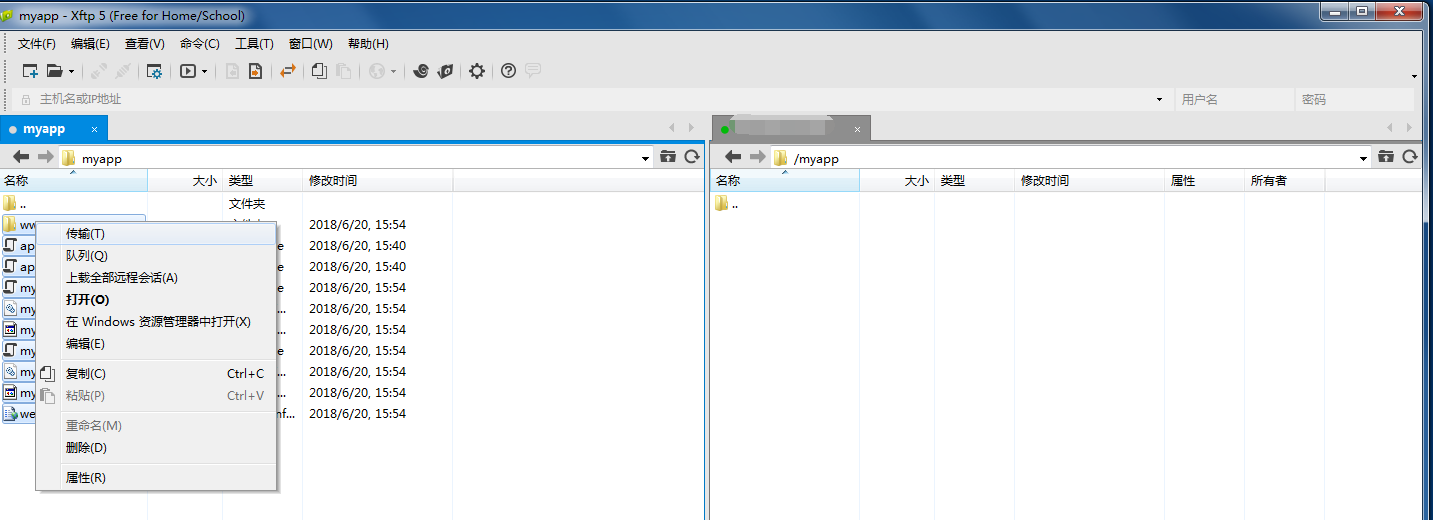
在服务器上进入项目目录,执行命令
dotnet myapp.dll
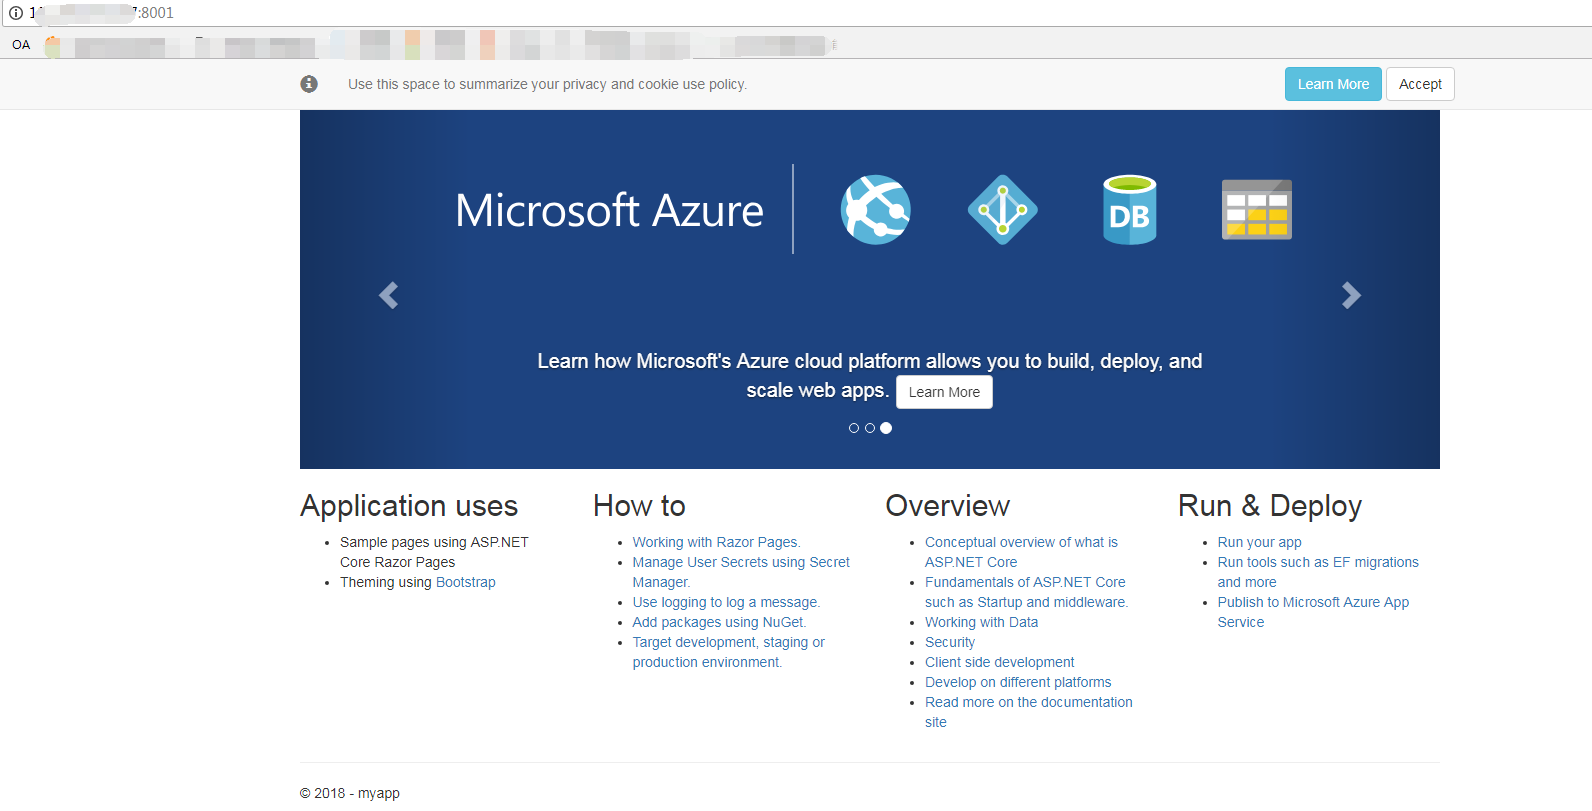
现在项目已经跑起来了

直接访问
二、supervisor守护进程的部署
目前存在一个问题,我使用的xshell远程链接服务器,当我关闭xshell工具的时候,dotnet myapp.dll 命令也就自动取消了,现在需要解决这个问题,就要用到守护进程,linux下守护进程的软件比较多,我选择用supervisor的原因主要是微软推荐的
首先安装supervisor
yum install supervisor
安装成功之后会有一个默认的配置文件在 /etc/supservisord.conf,在这个文件的最后一行有一句代码,这句代码的意思就是supervisor会读取supervisord.d文件夹里所有的ini后缀的配置文件
[include]
files = supervisord.d/*.ini
我们接下来给myapp站点写一个supervisor的配置文件后缀就是ini,并且放到supervisord.d文件夹里
[program:myapp]  //项目名称
command=dotnet myapp.dll  //执行的命令
directory=/myapp //执行的目录
autostart=true //自动启动
autorestart=true //自动重启
user=root  //用户
numprocs=1 //进程数
stdout_logfile=/var/log/supervisor-myapp.log //日志路径
为了使用方便,我把supervisor配置开机启动并且启动
systemctl enable supervisord
systemctl start supervisord
现在web站点已经被加入到守护进程,并且守护进程也是自动启动,即使服务器因为意外原因重启,也不用担心站点无法访问
三、nginx反向代理部署以及简单的负载均衡示例
使用nginx作为反向代理服务器有它自身的优点,在此不多说了,直接开始部署,首先下载安装包,两种方式,一是直接在服务器通过wget命令下载,二可以直接在本机下载然后通过xftp工具上传到服务器,我们这了直接用wget下载,首先在服务器安装一下wget
yum install wget
然后使用wget命令下载
wget http://nginx.org/download/nginx-1.15.0.tar.gz
下载完成之后解压
tar zxvf nginx-1.15.0.tar.gz
然后进入解压好的目录执行
./configure
我这里出现了错误,缺少相关依赖库,安装以下依赖库
yum install gcc-c++
yum install pcre
yum install pcre-devel
yum install zlib
yum install zlib-devel
yum install openssl
yum install openssl-devel
安装完成之后进入刚才nginx解压的目录继续安装nginx,默认安装位置为/usr/local/nginx
make && make install
进入安装目录的conf文件夹,修改配置文件
vim nginx.conf
在server节点下,修改location内容,注意ip地址换成你的服务器IP,也就是Program.cs文件里配置的那个IP
server {
        listen       80;
        server_name  localhost;

        #charset koi8-r;

        #access_log  logs/host.access.log  main;

        location / {
              proxy_pass http://127.0.0.1:8001;
        }

        #error_page  404              /404.html;

        # redirect server error pages to the static page /50x.html
        #
        error_page   500 502 503 504  /50x.html;
        location = /50x.html {
            root   html;
        }

        # proxy the PHP scripts to Apache listening on 127.0.0.1:80
        #
        #location ~ .php$ {
        #    proxy_pass   http://127.0.0.1;
        #}

        # pass the PHP scripts to FastCGI server listening on 127.0.0.1:9000
        #
        #location ~ .php$ {
        #    root           html;
        #    fastcgi_pass   127.0.0.1:9000;
        #    fastcgi_index  index.php;
        #    fastcgi_param  SCRIPT_FILENAME  /scripts$fastcgi_script_name;
        #    include        fastcgi_params;
        #}

        # deny access to .htaccess files, if Apache's document root
        # concurs with nginx's one
        #
        #location ~ /.ht {
        #    deny  all;
        #}
    }
同supervisor一样,把nginx设置为开机启动,不过nginx是用源码编译安装的,所以要手动创建nginx.service服务文件
vim /lib/systemd/system/nginx.service
写入配置,如果你修改了安装目录,配置文件的目录也要修改
[Unit]
Description=nginx
After=network.target

[Service]
Type=forking
ExecStart=/usr/local/nginx/sbin/nginx
ExecReload=/usr/local/nginx/sbin/nginx -s reload
ExecStop=/usr/local/nginx/sbin/nginx -s quit
PrivateTmp=true

[Install]
WantedBy=multi-user.target
创建开机启动并且启动,这里有一点,如果服务器的80端口被占用,nginx启动可能会有问题,建议其他程序不要使用80端口
systemctl enable nginx.service
systemctl start nginx.service
现在我们可以直接通过IP访问网站,不需要再通过端口,这是因为nginx做了代理,如果想通过域名访问,可以在nginx里配置server节点下的server_name的值

然后重启nginx
systemctl restart nginx.service
最后再简单介绍一下nginx做负载均衡的配置,我们把刚才的站点首页改成webA,并且重新发布,记得更新完之后要重启一下supervisor,不然修改不会生效
systemctl restart supervisord
现在页面这样的

然后在建一个一模一样的站点,首页改成webB,Program.cs文件端口改成8002,在服务器上新建一个myappb的文件夹,把b站点发布的代码放到这里,然后复制一份myapp.ini这个文件myappb.ini,也放到supervisord.d文件夹里,注意配置文件里的路径要改成myappb站点的路径,其实就是按照myapp站点的方式重来一遍

重启supervisor
systemctl restart supervisord
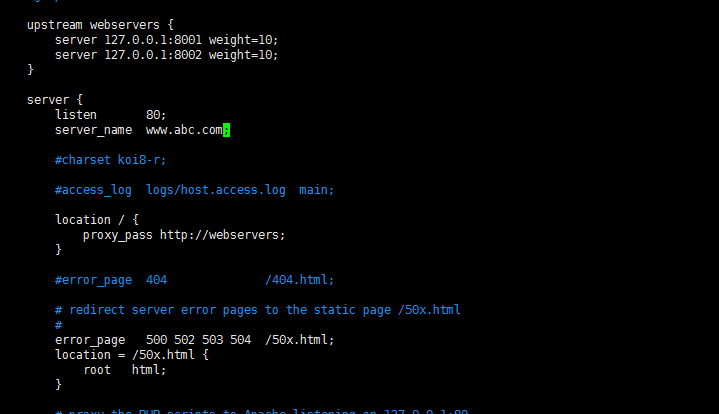
现在你可以访问8001和8002两个站点了,首页一个是webA一个是webB,然后在配置nginx,在http模块中添加如下配置,注意IP换成你的服务器IP,那个weight就是权重,不具体说了
upstream webservers {
    server 127.0.0.1:8001 weight=10;
    server 127.0.0.1:8002 weight=10;
}
proxy_pass 修改
  location / {
            proxy_pass   http://webservers;
        }
这里是修改完的配置
最后重启一下nginx
systemctl restart supervisord
好了,现在访问你nginx配置的IP或者域名,不断的刷新,就会发现webA和webB会随机访问,这样一个简单的负载均衡就实现了