2018-12-19
linux(centos)下进行tensorflow的CPU版本安装,python版本是3.6,使用的方法是pip
1.安装python
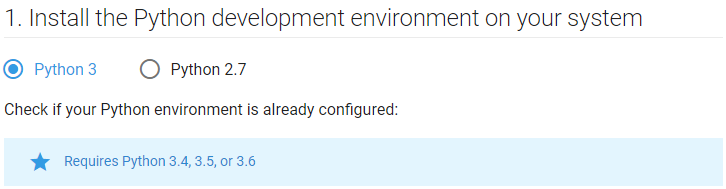
到目前为止,TensorFlow暂时只支持python3.4,3.5和3.6的,还支持python2.x。官网见这里。
如果安装了python3.7的话,可以直接安装python3.6,不需要对3.7做处理,安装方法见之前的博客。
2.安装pip
一般情况下,安装完Python3.6后,会成功安装上pip,可以通过下面的代码来检查是否安装成功
[root@localhost ~]# pip --version
pip 18.1 from /usr/local/lib/python3.6/site-packages/pip (python 3.6)
可能pip不是最新版,此时需要更新一下,免得后面使用pip来安装TensorFlow时出错。但更新的时候会报错,说不支持SSL,所以这要如下操作下
[root@localhost Python-3.6.7]# yum install openssl-devel -y
[root@localhost Python-3.6.7]# cd /server/tools/Python-3.6.7/ # 进入到python的安装目录处,每个人的安装目录都不一样
[root@localhost Python-3.6.7]# make clean
[root@localhost Python-3.6.7]# ./configure
[root@localhost Python-3.6.7]# make && make install
[root@localhost Python-3.6.7]# python -m pip install --upgrade pip
3.安装TensorFlow
无论是安装CPU版本还是GPU版本,如果遇到timeout问题,可以改变pip的timeout时间。
pip --default-timeout=1000 install -U pip
- TensorFlow-CPU版本
接下来使用pip命令来安装TensorFlow即可,此版本是CPU版本,下载时间会有点久。
pip3 install --upgrade tensorflow #CPU版本
pip3 install --upgrade tensorflow #GPU版本,选择一个即可
安装完后,进入Python编程,检测是否成功
Python 3.6.7 (default, Dec 19 2018, 12:25:37)
[GCC 4.8.5 20150623 (Red Hat 4.8.5-36)] on linux
Type "help", "copyright", "credits" or "license" for more information.
>>> import tensorflow
>>>
若没有错误消息,则说明安装成功
- TensorFlow-GPU版本
由于TensorFlow下载是从国外服务器下载的,就算修改了timeout时间,可能也会遇到下载慢的问题。
此时,可以将TensorFlow换成国内源。
pip install -i https://pypi.mirrors.ustc.edu.cn/simple/ tensorflow-gpu==1.5.0
此外,国内源还有:
阿里云 http://mirrors.aliyun.com/pypi/simple/
中国科技大学 https://pypi.mirrors.ustc.edu.cn/simple/
豆瓣(douban) http://pypi.douban.com/simple/
清华大学 https://pypi.tuna.tsinghua.edu.cn/simple/
中国科学技术大学 http://pypi.mirrors.ustc.edu.cn/simple/
其中,清华的源貌似停止服务了。
特别要说一下,在上面命令中“tensorflow-gpu==1.5.0”,1.5.0是TensorFlow-GPU的版本号,这个版本号需要根据自身的显卡相结合,且需要搭配合适的cudnn和cuda,下图是对应的信息。
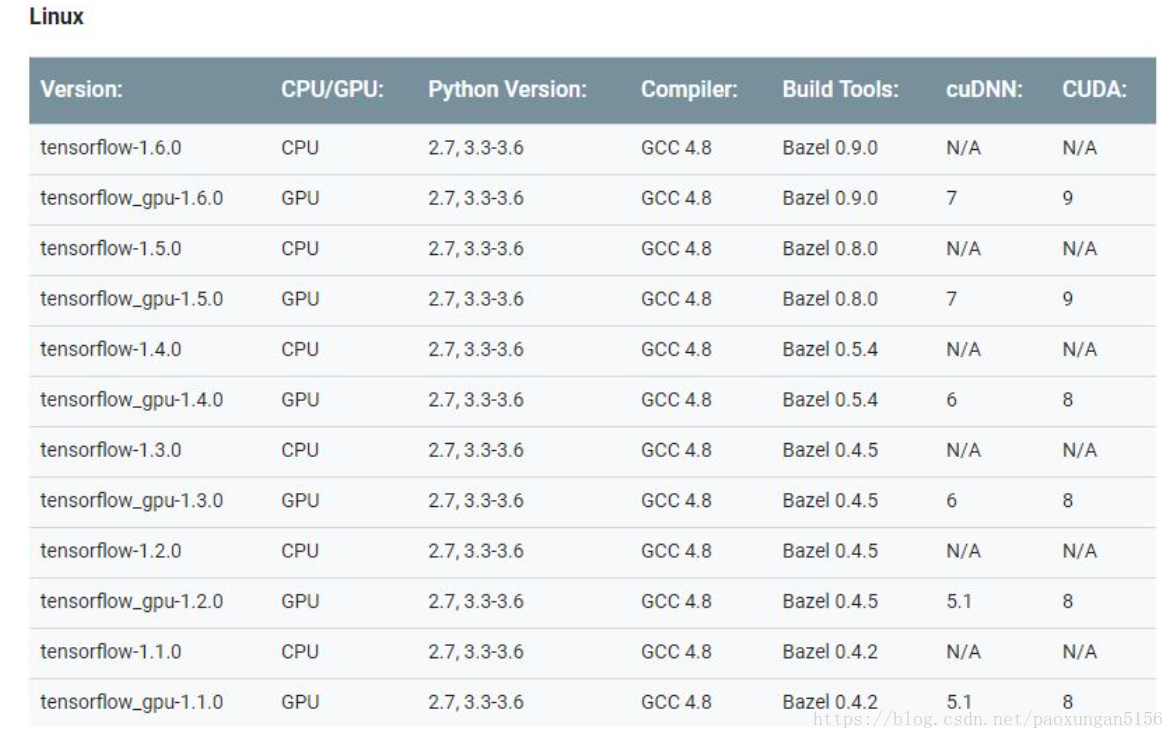
具体安装cudnn和cuda的方法,可以参考这个网站。
安装完cudnn和cuda后,进入python,并且“import tensorflow”无警告,即安装成功。
- 如果在使用过程中,出现“ImportError: libcublas.so.10.0: cannot open shared object file: No such file”的错误信息,说明TensorFlow和cuda的版本不对应,需要重新安装。
- 如果出现“could not create cudnn handle: CUDNN_STATUS_INTERNAL_ERROR”的错误,则解决方法如这个网站所示。