默默潜水了两年了,一直都在看大神们写的博客,现在我也分享一下跟RN导航有关的东西。
前两年我主要是做iOS开发的,现在刚找了份工作,应公司要求,现在开始学习reactnative的东西,由于我以前没怎么接触过JavaScript,所以我写的垃圾代码,请大神们不要见笑。
好了,废话不多说,在app里面navigation用的频率肯定不低,所以现在我分享一下这个坑。
首先,RN环境搭建教程太多,我就不说了,如果不会的同学可以直接看这里。
然后我们来新建我们的项目
打开终端,进入你想创建项目所在的目录,这里我直接在桌面上创建了
cd desktop
创建项目
react-native init NavDemo
静静的呆一会,咱们的NavDemo就创建好了。

打开文件之后,我们看到的就是这样。
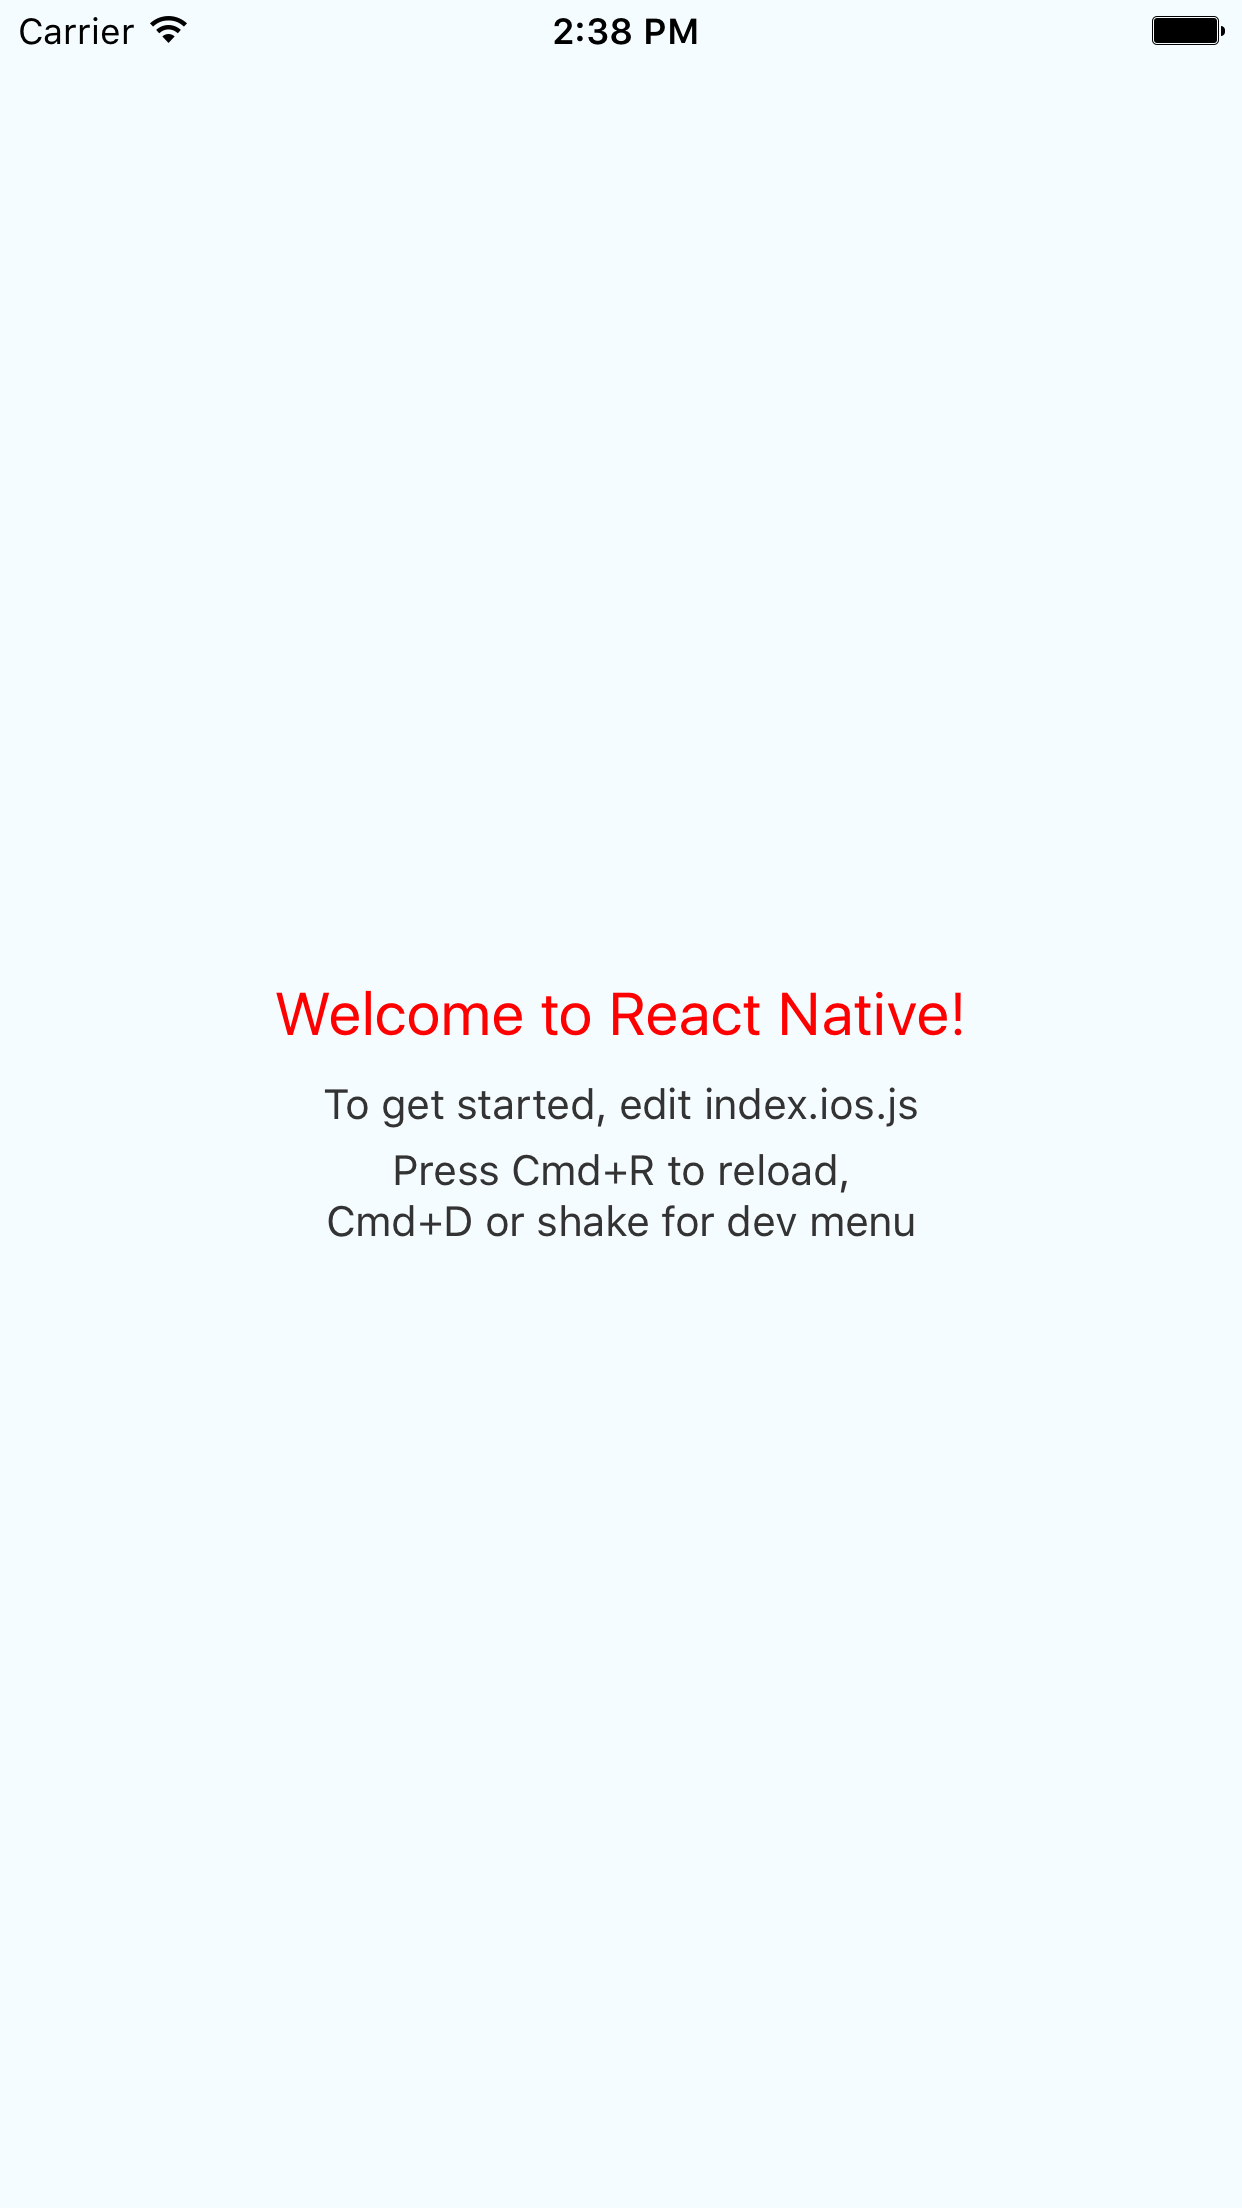
然后进入ios文件夹下,运行NavDemo.xcodeproj ,这样,我们新建的项目就跑起来了。模拟器上显示的就是这个效果

然后,我们打开index.ios.js文件。文件内容我有篇随笔写我们来更改一下Welcome to React Native!的颜色,直接在
welcome: {
fontSize: 20,
textAlign: 'center',
margin: 10,
},
里面加上color:'red',
welcome: {
fontSize: 20,
textAlign: 'center',
margin: 10,
color:'red',
},
看效果

好了,这个先玩到这,我们把为了方便,把index.ios.js文件里render包裹的代码删掉;引入Navigator,为了整洁,我们把Style也删了,然后代码就变成了这样
 1 import React, { Component } from 'react';
 2 import {
 3 AppRegistry,
 4 Navigator,
 5 Platform
 6 } from 'react-native';
 7 class NavDemo extends Component {
 8   render() {
 9     return (
10
11     );
12   }
13 }
14 AppRegistry.registerComponent('NavDemo', () => NavDemo);
现在重点来了,我们在NavDemo文件夹中新建一个app文件夹,在app文件夹中新建一个frist.js文件,文件里的内容如下
import React, { Component } from 'react';
import {
  StyleSheet,
  Text,
  View,
  Navgator,
  TouchableOpacity
} from 'react-native';
export default class FirstPage extends Component {
  render() {
    return (
      <View style={styles.container}>
         <Text style={styles.welcome}>
            这是第一页,点击跳到第二页
         </Text>
      </View>
    );
  }
}

const styles = StyleSheet.create({
  container: {
    flex: 1,
    justifyContent: 'center',
    alignItems: 'center',
    backgroundColor: '#F5FCFF',
  },
  welcome: {
    fontSize: 20,
    textAlign: 'center',
    margin: 10,
    color:'red',
  },
});
然后我们在index.ios.js中引入first
import React, { Component } from 'react';
import {
  AppRegistry,
  Navigator,
  Platform,
} from 'react-native';

import FirstPage from './app/first.js';

const defaultRoute = {
  component: FirstPage,
};

class NavDemo extends Component {
  _renderScene(route, navigator) {
    let Component = route.component;
    return (
      <Component {...route.params} navigator={navigator} />
    );
  }
  render() {
    return (
      <Navigator
        initialRoute={defaultRoute}
        renderScene={this._renderScene}
        />
    );
  }
}
AppRegistry.registerComponent('NavDemo', () => NavDemo);
现在你可以运行一下看一下效果

很显然,first.js才是我们的第一页,index.ios.js只是起到了一个实例化导航的作用。
那么我们在新建第二页second.js
import React, { Component } from 'react';
import {
  StyleSheet,
  Text,
  View,
  Navgator,
  TouchableOpacity
} from 'react-native';

export default class SecondPage extends Component {
  render() {
    return (
      <View style={styles.container}>
         <Text style={styles.welcome}>
            这是第二页,点击回到第一页
         </Text>
      </View>
    );
  }
}

const styles = StyleSheet.create({
  container: {
    flex: 1,
    justifyContent: 'center',
    alignItems: 'center',
    backgroundColor: '#F5FCFF',
  },
  welcome: {
    fontSize: 20,
    textAlign: 'center',
    margin: 10,
    color:'red',
  },
});
好了,第二页也建好了,那么我们来实现如何跳到第二页,首先我们在first.js中给text添加点击事件和方法
<TouchableOpacity onPress={this._openPage.bind(this)}>
<Text style={styles.welcome}>
这是第一页,点击跳到第二页
</Text>
</TouchableOpacity>
然后引入第二页,
import SecondPage from './second';
实现点击方法
_openPage() {
this.props.navigator.push({
component: SecondPage,
})
},
试试看能不能跳到第二页。完全可以。
那么如何back呢?
我们在second.js中也要给text添加方法
<TouchableOpacity onPress={this._openPage.bind(this)}>
<Text style={styles.welcome}>
回到第一页
</Text>
</TouchableOpacity>,
实现方法
_openPage() {
this.props.navigator.pop()
}
运行一下看看,OK,简单的导航就这样介绍完毕,完整的代码我贴在下面
first.js
import React, { Component } from 'react';
import {
  StyleSheet,
  Text,
  View,
  Navgator,
  TouchableOpacity
} from 'react-native';

import SecondPage from './second';

export default class FirstPage extends Component {

  _openPage() {
      this.props.navigator.push({
      component: SecondPage,
      })
  }
  render() {
    return (
      <View style={styles.container}>
        <TouchableOpacity onPress={this._openPage.bind(this)}>
         <Text style={styles.welcome}>
            这是第一页,点击跳到第二页
         </Text>
       </TouchableOpacity>
      </View>
    );
  }
}

const styles = StyleSheet.create({
  container: {
    flex: 1,
    justifyContent: 'center',
    alignItems: 'center',
    backgroundColor: '#F5FCFF',
  },
  welcome: {
    fontSize: 20,
    textAlign: 'center',
    margin: 10,
    color:'red',
  },
});
second.js
import React, { Component } from 'react';
import {
  StyleSheet,
  Text,
  View,
  Navgator,
  TouchableOpacity
} from 'react-native';

export default class SecondPage extends Component {

  _openPage() {
      this.props.navigator.pop()
  }
  render() {
    return (
      <View style={styles.container}>
        <TouchableOpacity onPress={this._openPage.bind(this)}>
         <Text style={styles.welcome}>
            回到第一页
         </Text>
       </TouchableOpacity>
      </View>
    );
  }
}

const styles = StyleSheet.create({
  container: {
    flex: 1,
    justifyContent: 'center',
    alignItems: 'center',
    backgroundColor: '#F5FCFF',
  },
  welcome: {
    fontSize: 20,
    textAlign: 'center',
    margin: 10,
    color:'red',
  },
});
本文原创,转载前请声明原文地址