一、准备工作
- 例子比较精简,没有什么特殊要求,具备Xocde8.0左右版本的就好
二、程序实现
1、相关代码截图
-
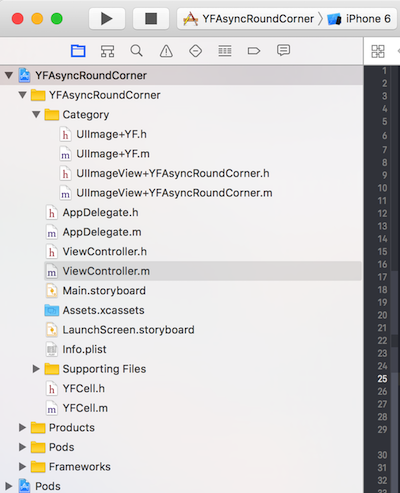
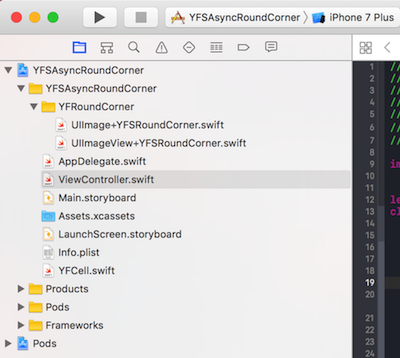
代码里除了三方库 SDWebImage Kingfisher,一共分别有两个 category 和 extension
-
OC代码截图


-
Swift代码截图


2、具体实现
下面我们来介绍下 OC的代码 实现逻辑
首先我们利用SDWebImage 最近版本添加的成功回调的方法
[self sd_setImageWithURL:url placeholderImage:[placeholder imageRoundCorner] completed:^(UIImage * _Nullable image, NSError * _Nullable error, SDImageCacheType cacheType, NSURL * _Nullable imageURL) {
  }];
这个代码我们可以看到 回调成功会有 image传回来,这时我们通过对这个image 处理,把它处理成圆角的,在显示在imageView上,
设置圆角的方法 这里是采用 贝塞尔曲线(UIBezierPath)实现的
贴上部分代码
// 开始绘图,创建上下文
UIGraphicsBeginImageContextWithOptions(self.size, NO, self.scale);
// 得到上下文
  CGContextRef context = UIGraphicsGetCurrentContext();
// 得到上下文大小
  CGRect rect = CGRectMake(0, 0, self.size.width, self.size.height);
// 等比例例
  CGContextScaleCTM(context, 1, -1);
// 移动画布位置
  CGContextTranslateCTM(context, 0, -rect.size.height);
// 开始利用贝塞尔曲线话圆角图片
    UIBezierPath *path = [UIBezierPath bezierPathWithRoundedRect:CGRectInset(rect, borderWidth, borderWidth) byRoundingCorners:corners cornerRadii:CGSizeMake(radius, borderWidth)];
    [path closePath];
    CGContextSaveGState(context);
    [path addClip];
    CGContextDrawImage(context, rect, self.CGImage);
    CGContextRestoreGState(context);
最后得到图片
UIImage *image = UIGraphicsGetImageFromCurrentImageContext();
UIGraphicsEndImageContext();
三、运行效果

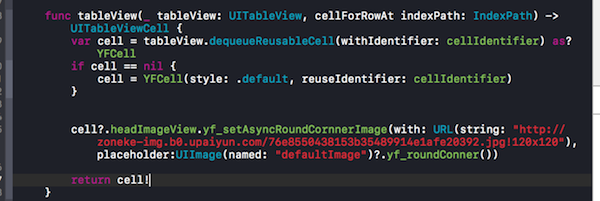
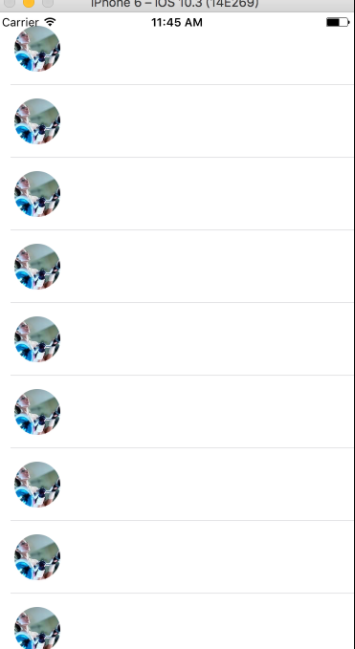
tableView 获取网络图片,并且设置为圆角(优化,fps)
注:本文著作权归作者,由demo大师代发,拒绝转载,转载需要作者授权