随着公司业务慢慢的拓展,项目便会越来越来多,很多项目会依赖其他项目DLL,比如一些底层的技术框架DLL引用,还有各业务系统的也有可能会有引用的可能。
项目多,交叉引用多,如果要是有一个DLL更新,那就要更新所有引用该DLL的项目,手动更新的话,有时候找到都很困难,更别说更新了,长此以往,更新DLL会变得很困难,那有什么办法来解决这个问题 ?
对NuGet,话说微软真是为广大用户着想,整出这么个好东西。我估计微软内部DLL也乱得不像样子,然后才有NuGet 这个产物。NuGet 管理程序包工具,Visual Studio 2012&2013 完全集成了这套工具。
但是今天讲的是如何在公司内部搭建NuGet Server,来管理公司内部程序包。使内部程序包引用容易,更新版本容易。废话就不多说了,直接入正题。
搭建NuGet Server 是不是建一个Web站点一样,然后挂在IIS上面? 对的,就是这么回事,建一个网站,管理程序包,能够上传,能够下载,且能够做简单版本管理。
我要说的是,站点确实要建,但是怎么管理程序包,上传,下载也好等,大家不要担心这些都有人已经做好了,只要拿来使用就可以了。接下来搞真的了。
一. NuGetServer 搭建和配置
1. 创建一个 “NuGetServerSolution” 解决方案,然后新增 “NuGetServer” Asp.Net 网站 或者 应用程序 空 项目。结构如下图

2. 在 “NuGetServer” 项目上,右键选择 “管理NuGet程序包” ,选择 “联机” ,右上角搜索框中输入“NuGet.Server” Enter,在搜索结果中选择 NuGet.Server 项,进行安装,如图

如果安装最后,提示 替换 Web.config ,请选择 全是。
3. 编译“NuGetServer”项目,如果没有出异常,这里就创建项目完成,NuGetServer 就这么简单建成,稍后我部署到IIS上面,看看是不是真的可以了,先来讲一下这个网站WebConfig 要配置地方。
<?xml version="1.0" encoding="utf-8"?>
<!--
  For more information on how to configure your ASP.NET application, please visit
  http://go.microsoft.com/fwlink/?LinkId=169433
  -->
<configuration>
  <appSettings>
    <!--
    Determines if an Api Key is required to pushdelete packages from the server.
    -->
    <add key="requireApiKey" value="true" />

    <!--
    Set the value here to allow people to push/delete packages from the server.
    NOTE: This is a shared key (password) for all users.
    -->
    <add key="apiKey" value="0226651E-19EE-4F93-A172-5250C84DB16C" />

    <!--
    Change the path to the packages folder. Default is ~/Packages.
    This can be a virtual or physical path.
    -->
    <add key="packagesPath" value="" />

    <!--
    Set allowOverrideExistingPackageOnPush to false to mimic NuGet.org's behaviour (do not allow overwriting packages with same id + version).
    -->
    <add key="allowOverrideExistingPackageOnPush" value="false" />

    <!--
    Set ignoreSymbolsPackages to true to filter out symbols packages. Since NuGet.Server does not come with a symbol server,
    it makes sense to ignore this type of packages. When enabled, files named `.symbols.nupkg` or packages containing a `/src` folder will be ignored.

    If you only push .symbols.nupkg packages, set this to false so that packages can be uploaded.
    -->
    <add key="ignoreSymbolsPackages" value="true" />

    <!--
    Set enableDelisting to true to enable delist instead of delete as a result of a "nuget delete" command.
    - delete: package is deleted from the repository's local filesystem.
    - delist:
      - "nuget delete": the "hidden" file attribute of the corresponding nupkg on the repository local filesystem is turned on instead of deleting the file.
      - "nuget list" skips delisted packages, i.e. those that have the hidden attribute set on their nupkg.
      - "nuget install packageid -version version" command will succeed for both listed and delisted packages.
        e.g. delisted packages can still be downloaded by clients that explicitly specify their version.
    -->
    <add key="enableDelisting" value="false" />

    <!--
    Set enableFrameworkFiltering to true to enable filtering packages by their supported frameworks during search.
    -->
    <add key="enableFrameworkFiltering" value="false" />

    <!--
    When running NuGet.Server in a NAT network, ASP.NET may embed the erver's internal IP address in the V2 feed.
    Uncomment the following configuration entry to enable NAT support.
    -->
    <!-- <add key="aspnet:UseHostHeaderForRequestUrl" value="true" /> -->
  </appSettings>
  <system.web>
    <httpRuntime maxRequestLength="31457280" />
    <compilation debug="true" />
  </system.web>
  <system.serviceModel>
    <serviceHostingEnvironment aspNetCompatibilityEnabled="true" />
  </system.serviceModel>
  <system.webServer>
    <staticContent>
      <mimeMap fileExtension=".nupkg" mimeType="application/zip" />
    </staticContent>
    <modules runAllManagedModulesForAllRequests="true">
    </modules>
  </system.webServer>
</configuration>
第一点: 程序包发布,存放的路径,在WebConfig appSettings PackagesPath 这个Key 设置,默认存放在部署的网站根目录Packages文件夹。
第二点:appSettings requireApiKey 这个key 如果设置成 true , appSettings apiKey 是必须要设置的,这个就像密码一样。可以阻止不知道这个apiKey人访问到程序包
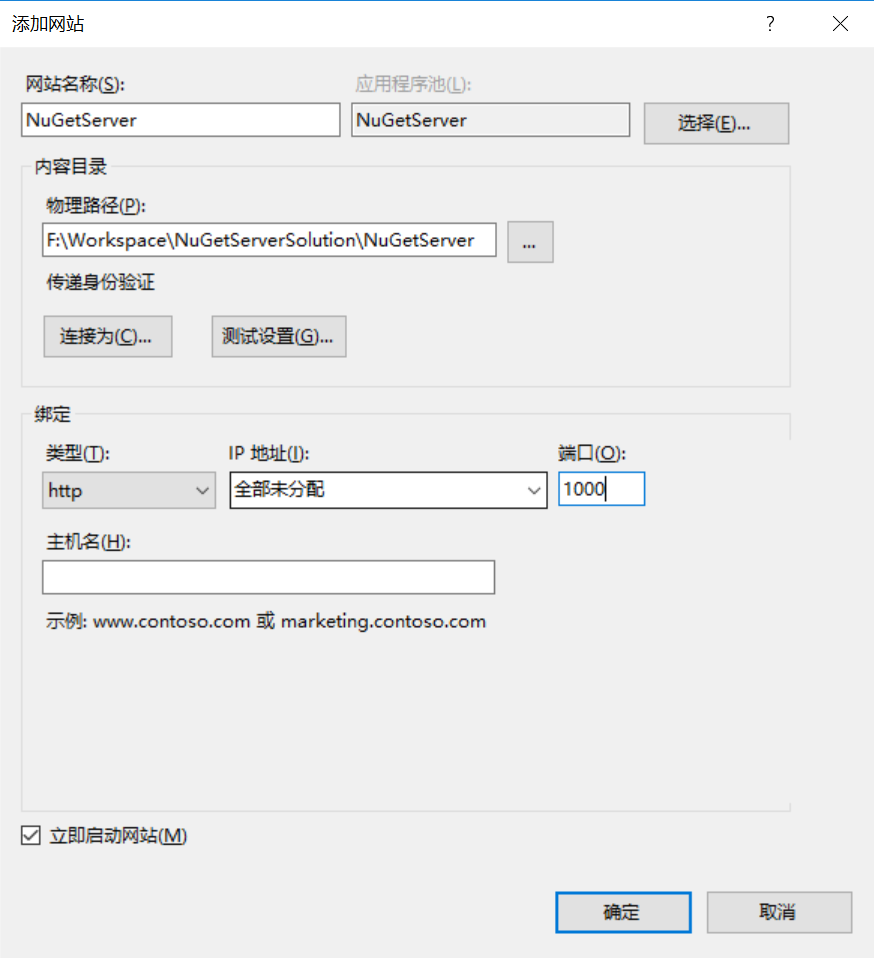
4. 部署到IIS, 打开IIS ,右键选择 “网站” ,添加网站,填写 网站名称(NuGetServer),选择物理路径,端口号 改成 "1000" 确定, 如下图
5. 运行 NuGetServer 网站 "http://localhost:1000/", 出现下图效果,则说NuGet 服务器 已经建立完成。

6. 接着配置Visual Studio 连接 NuGetServer。选择“工具”菜单,选择“选项”,弹出“选项”界面,选择 “NuGet Package Manager” ,然后在选择 “程序包源”,
点击 “+”,在界面下方 设置 名称 “mynuget.org” 随便取,设置 源 “http://localhost:1000/nuget” (是不是上图有说),确定 关闭界面,回到项目。如下图

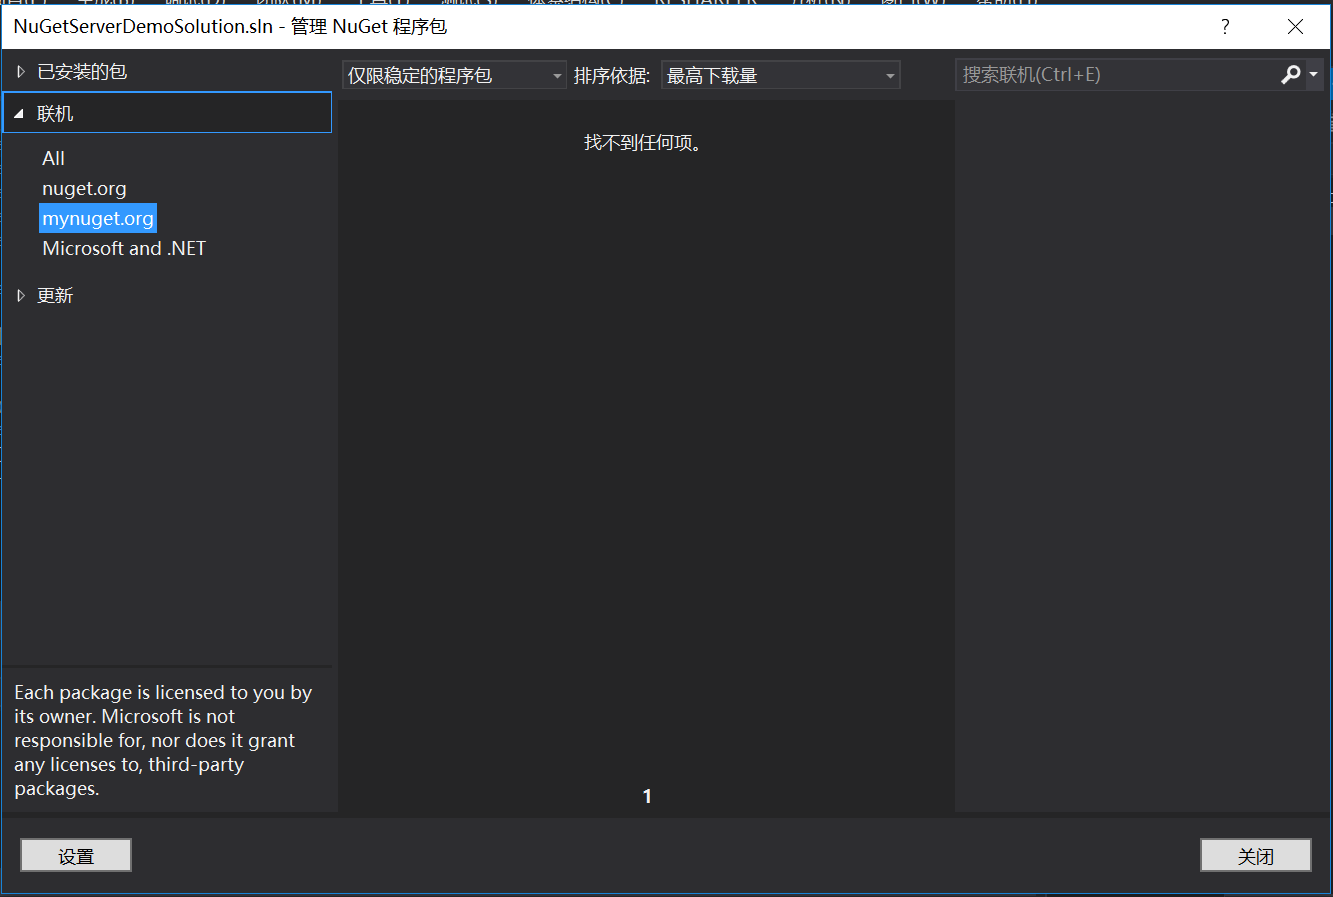
在项目右键,选择“管理NuGet程序包”,联机,下面是不是多出了一个 “mynuget.org” 程序源呢,虽然下面还没有发布公司内部的程序包。如下图
到此,NuGetServer 服务器,就搭建并配置完成。接一下来就是如何发布程序包,以及安装程序包了。
二. 发布程序包,以及安装程序包
1. NuGet Package Explorer
将程序包发布到NuGetServer,还要介绍到另外一个工具“NuGet Package Explorer”,这个工具是NuGetServer 程序包一个可视化的工具,它功能很多,可浏览已经发布的程序包信息,可以发布新的程序包(设置程序包版本,已经依赖程序包等),可以删除发布的程序包。
CodePlex:https://npe.codeplex.com/
GitHub:https://github.com/NuGetPackageExplorer
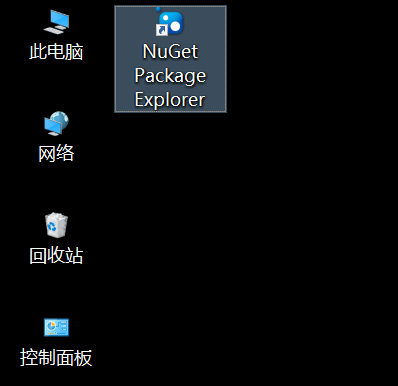
2.在CodePlex 网站上,下载 NuGet Package Explorer , 安装完成后,桌面会多出一个 “NuGet Package Explorer” 图标,如下图
3. 为了方便Demo,再创建一个 解决方案 “NuGetServerDemoSolution”,添加“NuGetServerDemo” 控制台项目,再添加 “NuGetServerDemoDLL” 类库项目,结构如下图。
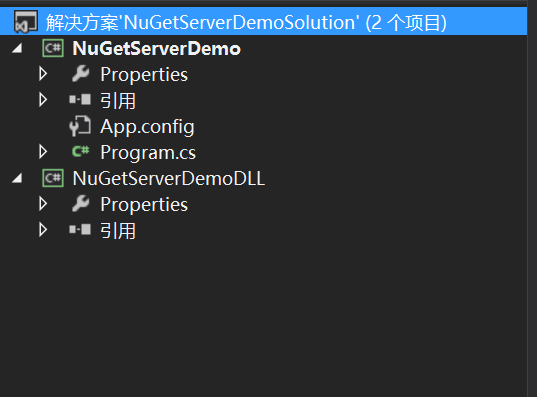
“NuGetServerDemoDLL” 项目 主要会做成程序包发布
“NuGetServerDemo” 项目 安装“NuGetServerDemoDLL” 程序包
4 . 打开 桌面 “NuGet Package Explorer” ,界面如下
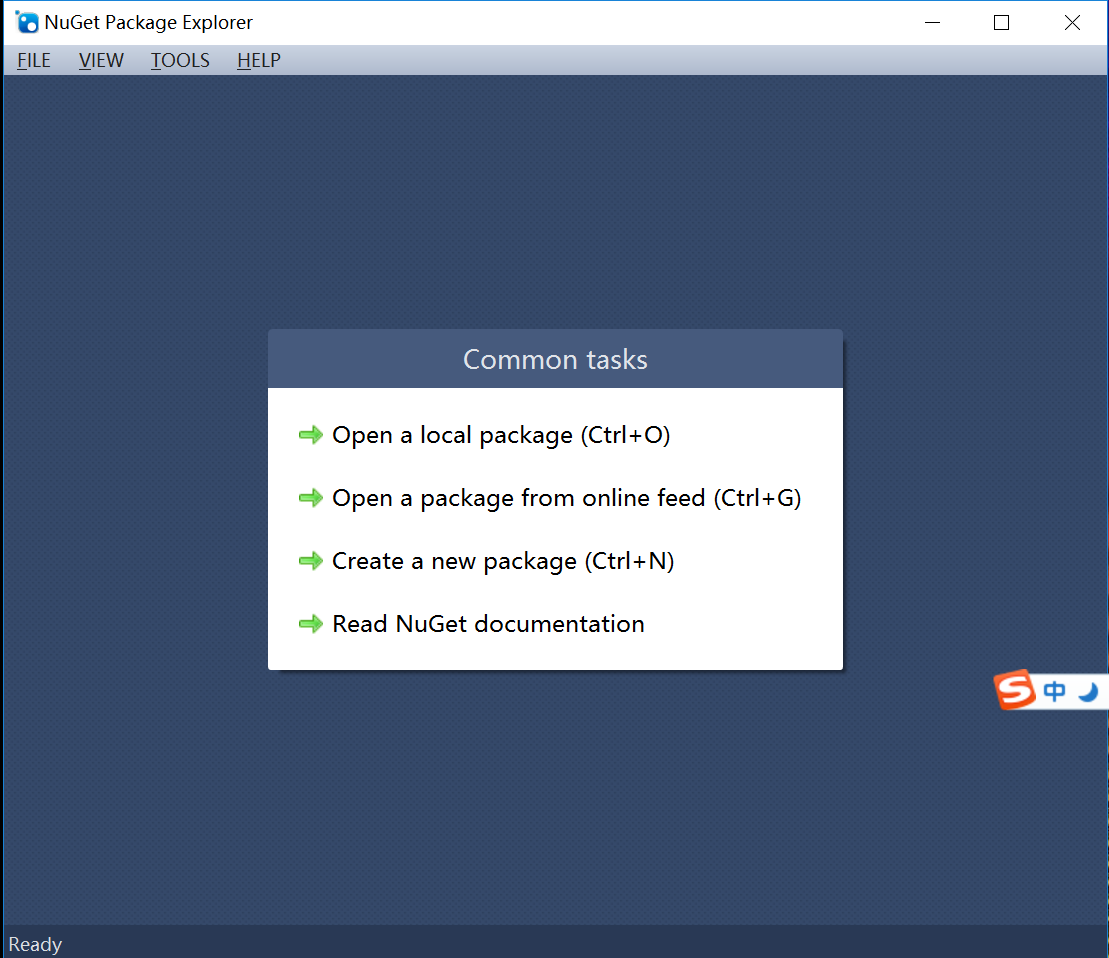
图片选项, 分别 意思是,1. 打开本地的nupkg,nuspec 文件。2. 打开指定 NuGetServer 所有的程序包列表。3.创建一个新程序包。4. 文档
5.把 “NuGetServerDemoDLL” 发布到NuGetServer,点 “Create a new package” 未设置前截图如下
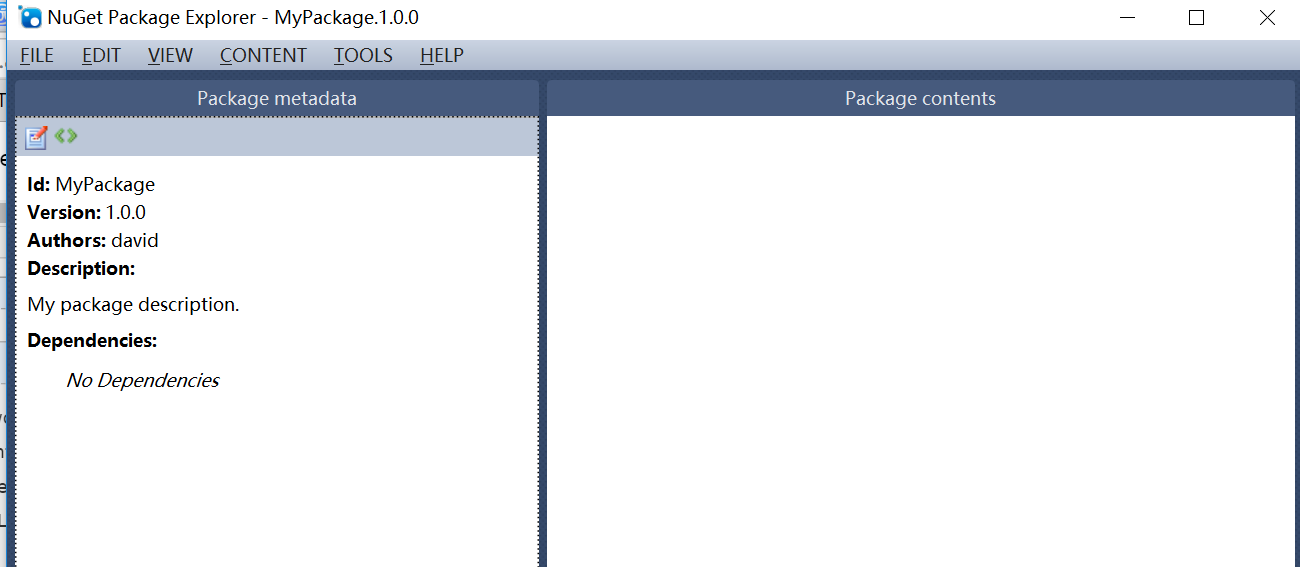
上图分为两个编辑区,一个是 Package Metadata 负责描述程序包信息的,Package Contents 负责程序包文件相关的。
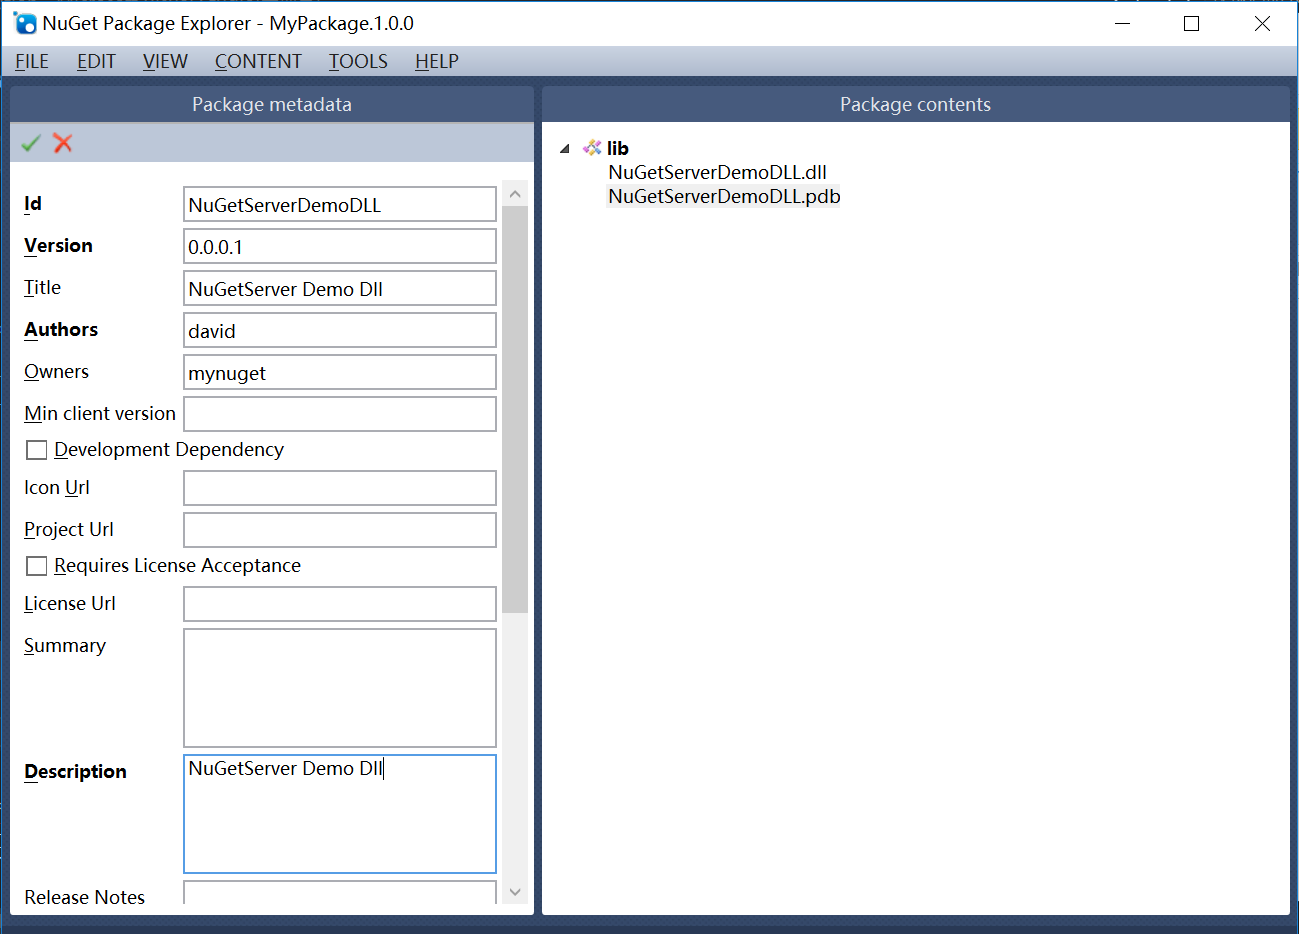
点击 Package Metadata 区 “编辑” 按钮,想编辑 “NuGetServerDemoDLL” 程序包描述信息。
然后 将“NuGetServerDemoDLL” 项目 产生Dll,拖入 Package Contents 最后效果如下图
点击 上图 绿色的 √ 关闭编辑Package Metadata , 点击 ”File“ 菜单,选择 Publish 发布程序集,填写 PublishUrl(NuGetServer),PublishKey(apiKey),填写完成 点击“Publish” 发布,如果下方提示 “Package published successfully”,则发布成功。如下图。

6. 回到“NuGetServerDemoSolution” 解决方案,右键“NuGetServerDemo”,选择“管理NuGet程序包”,选择联机下“mynuget.org”,安装“NuGetServerDemoDLL” 程序包,如下图
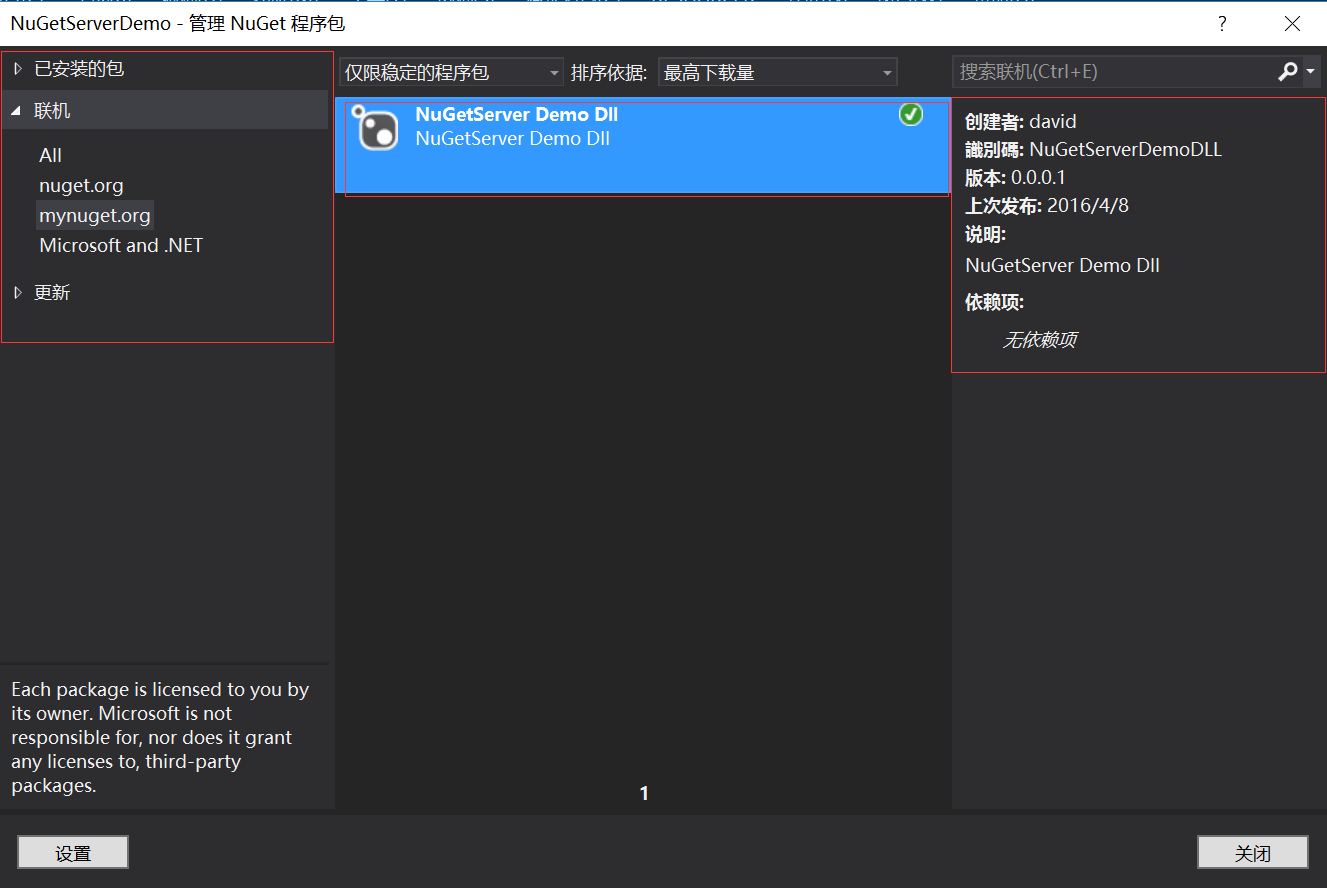
主要看图左边的 ,是不是“NuGet Package Explorer” 中设置过的一些程序包信息。
7. 用“NuGet Package Explorer”查看 NuGetServer 以发布程序包,选择“File”菜单,选择"Open from feed", 就会查询到指定 NuGetServer 发布程序包,如下图。

版本变更了,更新DLL 这边就不来说了,大家自己摸索一下。谢谢。
好了,整个博文结束,这里想再提一下 NuGetServer 服务器部分,我这里也只是抛砖引玉一下,还“NuGet Package Explorer”也是,大家有空可以用点时间深入研究一下。
NuGetServer 源代码 由于今天还在下载GitHub工具(网速非常之慢),明天会抽空,在提供GitHub地址。
NuGetServer 源代码 : https://github.com/haibozhou1011/NuGetServer
另为,今天在博客园里面右边则栏加一个“打赏”功能,就支持微信,支付宝。大家玩一下。谢谢!