nginx是一个支持高并发的web服务器,是现在比较的web服务器。现在在互联网的地位仅次于Apache。
nginx的配置也不是很复杂,也可以做负载均衡和高可用。
在配置nginx服务期之前,我们先来同步一下服务器的时间。
#######开机同步阿里云时间#######
ntpdate ntp1.aliyun.com
我们首先去下载一个nginx的安装源码包。
232 mkdir /software
233 mv nginx-1.6.2.tar.gz /software/
234 service iptables stop
235 cd /software/nginx-1.6.2
解压源码包。
244 tar -xf nginx-1.6.2.tar.gz
为了安全问题,我们需要建立一个nginx的虚拟用户。
250 useradd nginx -s /sbin/nologin -M
进入解压好的源码包,并做好配置。
246 cd nginx-1.6.2
247 ls
248 ./configure --prefix=/application/nginx-1.6.2 --user=nginx --group=nginx --with-http_ssl_module --with-http_stub_status_module
开始安装了。
252 make && make install
echo $?
如果没有报错,至此nginx就安装完成啦!是不是很简单呢?
其实重点还是要学会如何调nginx的参数。
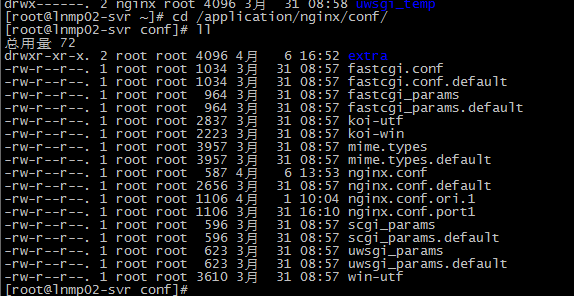
有几个目录我们要认识 一下。

我们进conf文件夹看一看 。
我们知道nginx里配置有基于主机头的,有基于端口的,有基于IP的。
用的最多的,应该就是基于主机头和基于端口的了。
比如我们一个项目有三个网址,一个www.etiantian.org bbs.etiantian.org blog.etiantian.org
那么我们就配置三个主机头就好了,如果我们想吧三个网页的配置文件分开放,那么我们就配置一个include参数就可以啦。具体如下。
nginx.conf配置
worker_processes  1;
events {
    worker_connections  1024;
}
http {
    include       mime.types;
    default_type  application/octet-stream;
    error_log logs/error.log error;
    log_format  main  '$remote_addr - $remote_user [$time_local] "$request" '
                      '$status $body_bytes_sent "$http_referer" '
                      '"$http_user_agent" "$http_x_forwarded_for"';
    sendfile        on;
    keepalive_timeout  65;
    #nginx vhosts config
    include extra/www.conf;
    include extra/bbs.conf;
    include extra/blog.conf;
    include extra/status.conf;
}
然后就是extra目录下www.conf bbs.conf blog.conf ,最后一个是status.conf是可以监控nginx的运行状态的
www.conf
server {
        listen       80;
        server_name  www.etiantian.org;
        location / {
            root   html/www;
            index  index.html index.htm;
        }
        access_log  logs/access_www.log  main;
        error_page   500 502 503 504  /50x.html;
        location = /50x.html {
            root   html;
        }
        }
bbs.conf
server {
        listen       80;
        server_name bbs.etiantian.org;
        location / {
            root   html/bbs;
            index  index.html index.htm;
        }
        access_log  logs/access_bbs.log  main;
        error_page   500 502 503 504  /50x.html;
        location = /50x.html {
            root   html;
        }
    }
blog.conf
server {
        listen       80;
        server_name blog.etiantian.org;
        location / {
            root   html/blog;
            index  index.html index.htm;
        }
        access_log  logs/access_blog.log  main;
        error_page   500 502 503 504  /50x.html;
        location = /50x.html {
            root   html;
        }
    }
status.conf
##status
server{
      listen 80;
      server_name status.etiantian.org;
      location / {
        stub_status on;
        access_log off;
}
}
以上前三个主机头都有配置他的log文件,并指定存储目录。
我们来看看他的日志格式。
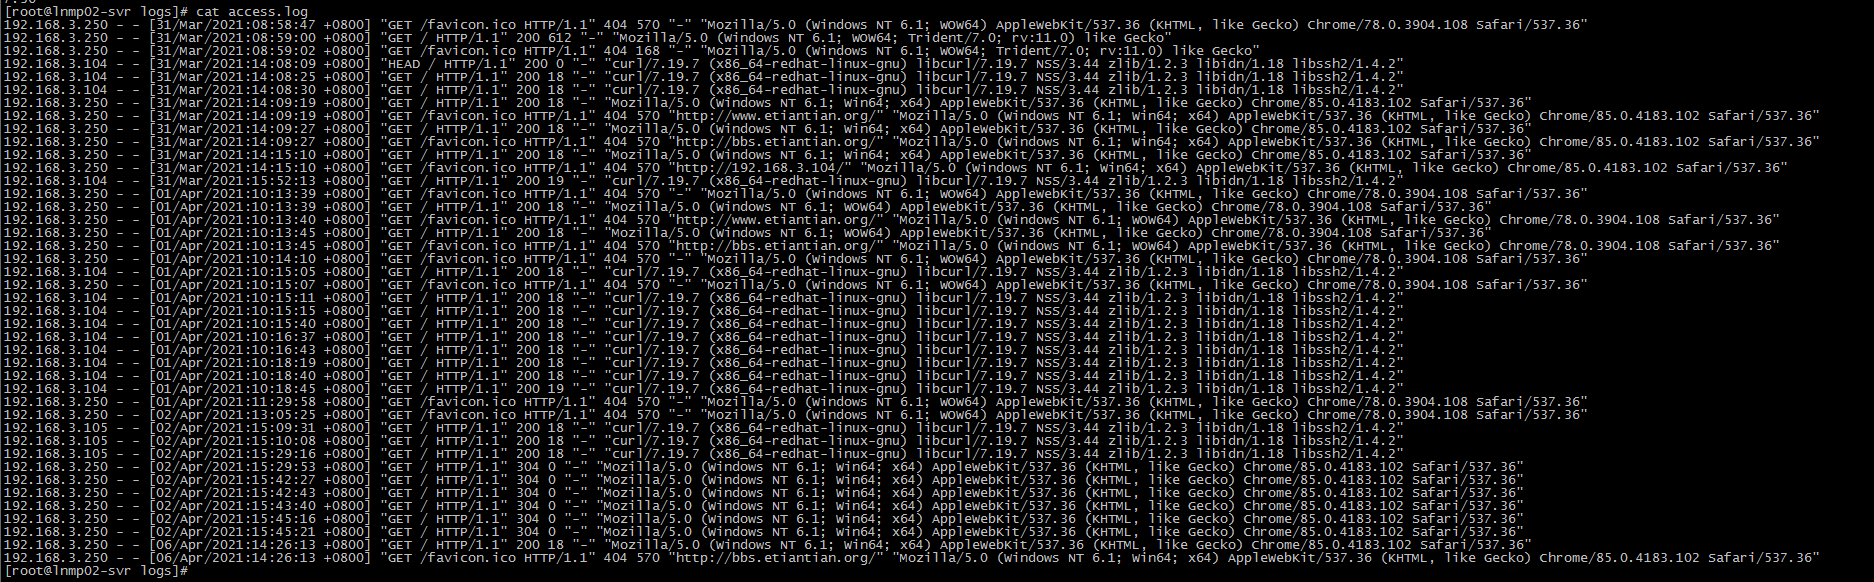
这是把三个网页分开后的日志。


日志不能一直储存在一个文件里,否则文件会越来越大,所以我要做日志的轮训。因为nginx只能用脚本来做截断。并加上定时任务。脚本如下,个人也可以根据需要来做修改。
cat /server/script/nginx_log_cut.sh
#!/bin/sh
Dateformat=`date +%Y%m%d -d -1day`
Basedir="/application/nginx"
Nginxlogdir="$Basedir/logs"
Logname="access_www"
[ -d $Nginxlogdir ] && cd $Nginxlogdir||exit 1
[ -f ${Logname}.log ]||exit 1
/bin/mv ${Logname}.log ${Dateformat}_${Logname}.log
/bin/mv access_blog.log ${Dateformat}_access_blog.log
/bin/mv access_bbs.log ${Dateformat}_access_bbs.log
$Basedir/sbin/nginx -s reload
添加定时任务。
[root@lnmp02-svr logs]# crontab -l
#####每天零点做一次nginx日志轮循#######
00 00 * * * /bin/sh /server/script/nginx_log_cut.sh
nginx监视参数。

然后我们还要学一下nginx的301跳转,就是rewrite的功能。