一、创建服务消费方并集成OpenFeign
创建模块的方式与创建服务提供方的方式一致
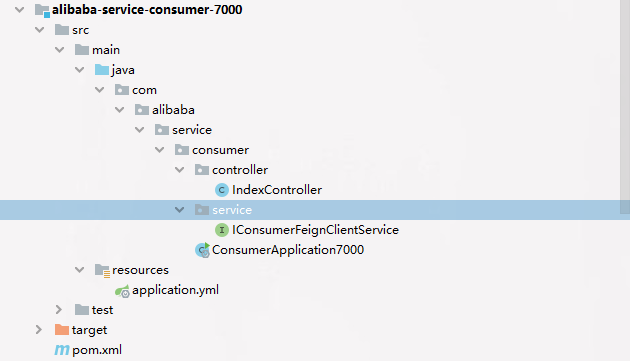
目录结构如下

1.1 创建完项目后,加入 OpenFeign的依赖
在父工程的 pom.xml 文件中加入如下依赖
<!-- Feign 依赖-->
        <dependency>
            <groupId>org.springframework.cloud</groupId>
            <artifactId>spring-cloud-starter-openfeign</artifactId>
        </dependency>
1.2 创建配置文件
server:
  port: 7000
spring:
  application:
    name: alibaba-service-consumer-7000
  cloud:
    nacos:
      discovery:
        server-addr: 127.0.0.1:8848
1.3 创建启动类,并添加 Feign客户端启用注解
// 开启服务注册与发现
@EnableDiscoveryClient
@SpringBootApplication
// 开启 Feign 客户端
@EnableFeignClients
public class ConsumerApplication7000 {

    public static void main(String[] args) {
        SpringApplication.run(ConsumerApplication7000.class,args);
    }
}
1.4 创建 Service接口,开启Feign客户端
// Feign客户端 指定需要交互的服务名称
@FeignClient("alibaba-service-provider-8000")
public interface IConsumerFeignClientService {

    // 接口地址
    @GetMapping("/provider/get")
    String order();
}
1.5 创建 Controller,注入Feign Service并进行远程调用
@RestController
@RequestMapping("/consumer")
public class IndexController {

    @Autowired
    private IConsumerFeignClientService feignClientService;

    @GetMapping("/index")
    public String index(){
        return "/consumer-7000/index";
    }

    @GetMapping("/get")
    public String order(){
        return feignClientService.order();
    }
}
1.6 启动服务消费方进行测试
