iOS12 的SiriKit添加了新特性shortcuts,相当于玩电脑时用户设置快捷键一个道理,比如我设置ctrl+f10为打开记事本,设置成功后,我每次直接按ctrl+f10都可以快速打开记事本。
shortcuts这次有两种用法,第一种为设置快捷语(shortcut,下同)后,通过Siri直接回到应用,在回到应用时可以获取设置快捷语时所携带数据,可依据该数据或不依据该数据自动进行下一步操作。
第二种用法为设置扩展页面,不进入app以完成应用的简单操作功能,如:发信息/下单等。
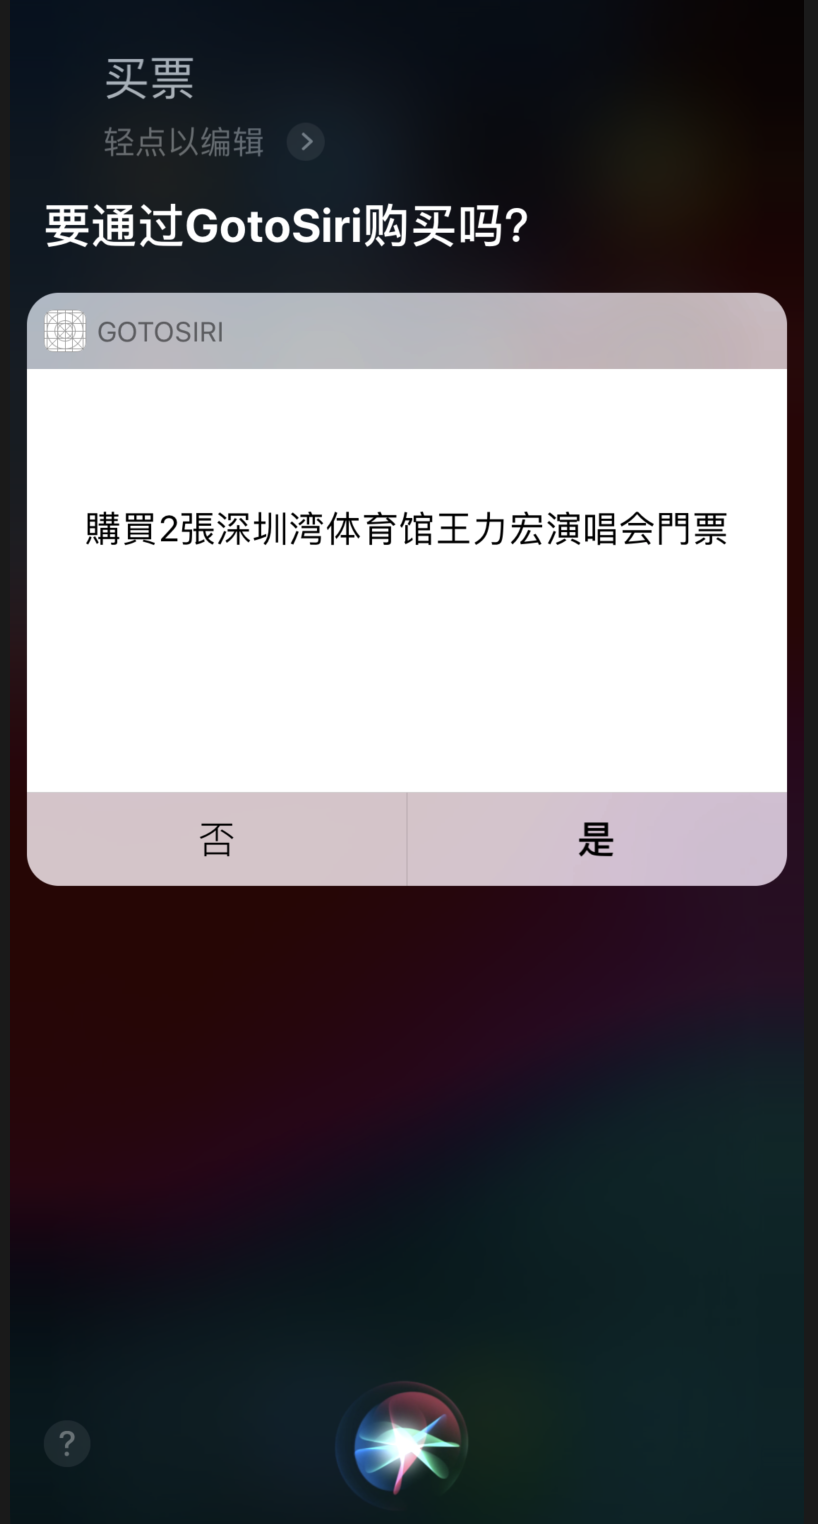
今天先简单介绍一下第二种用法,先看一下效果,如下图:
新建个SIngle View APP,命名:GotoSiri,语言为:Objective-C
再在File->New->Target->Intents Extension ,记得勾选include UI Extension,后期需要显示扩展页面。命名:Ticket,创建完成后需点击两次Activate。
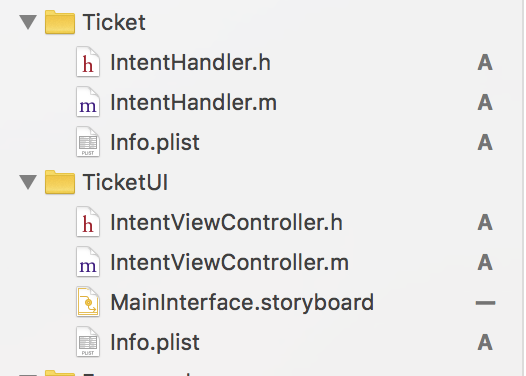
工程目录中出现如下两个文件夹:
接下来需要创建intents.intentdefinition文件,看名字像自定义意图,其实很鸡肋。
New File->SiriKit Intent Definition File
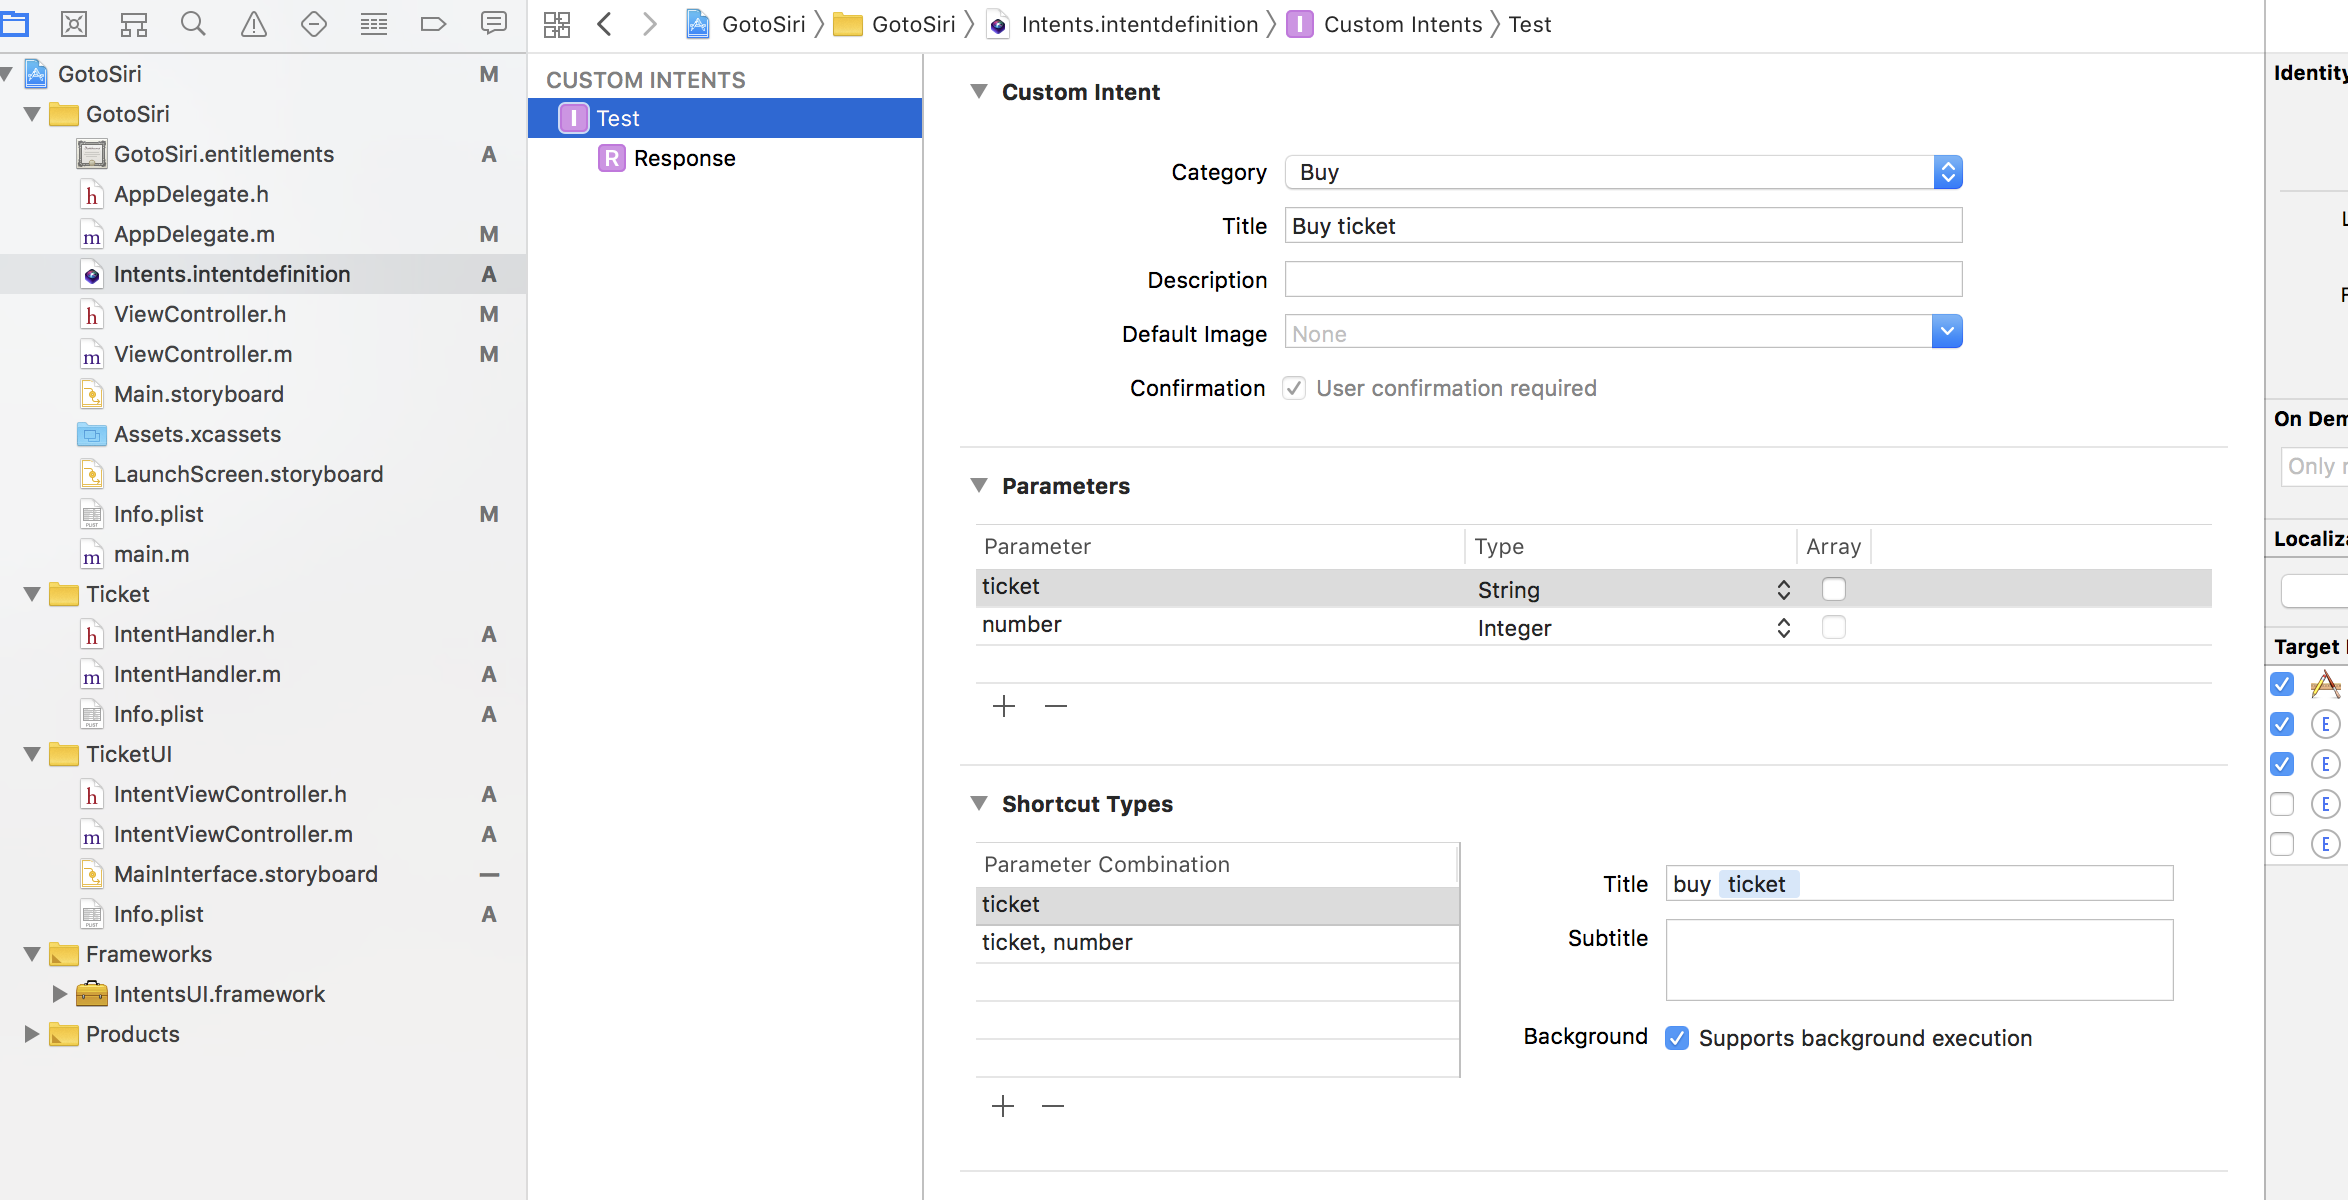
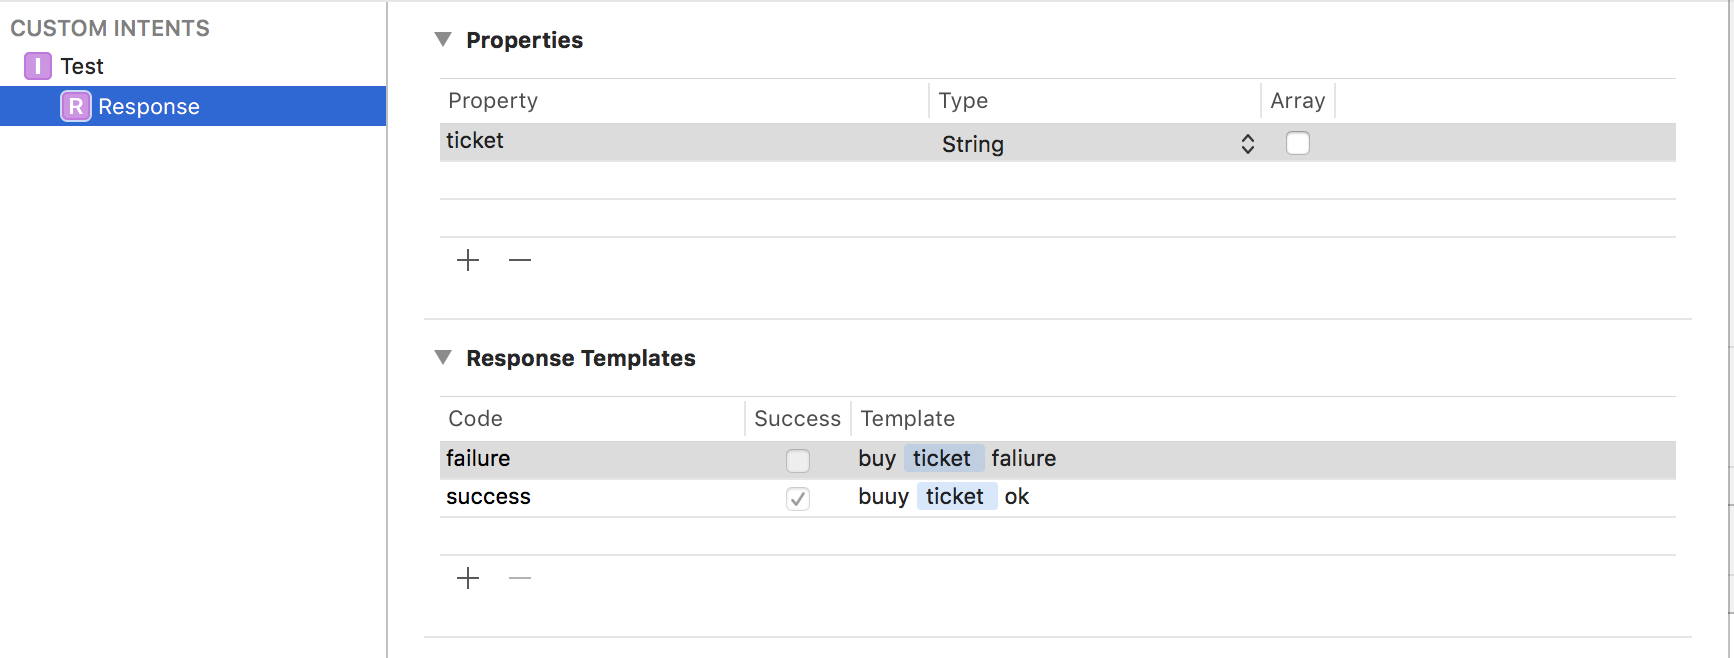
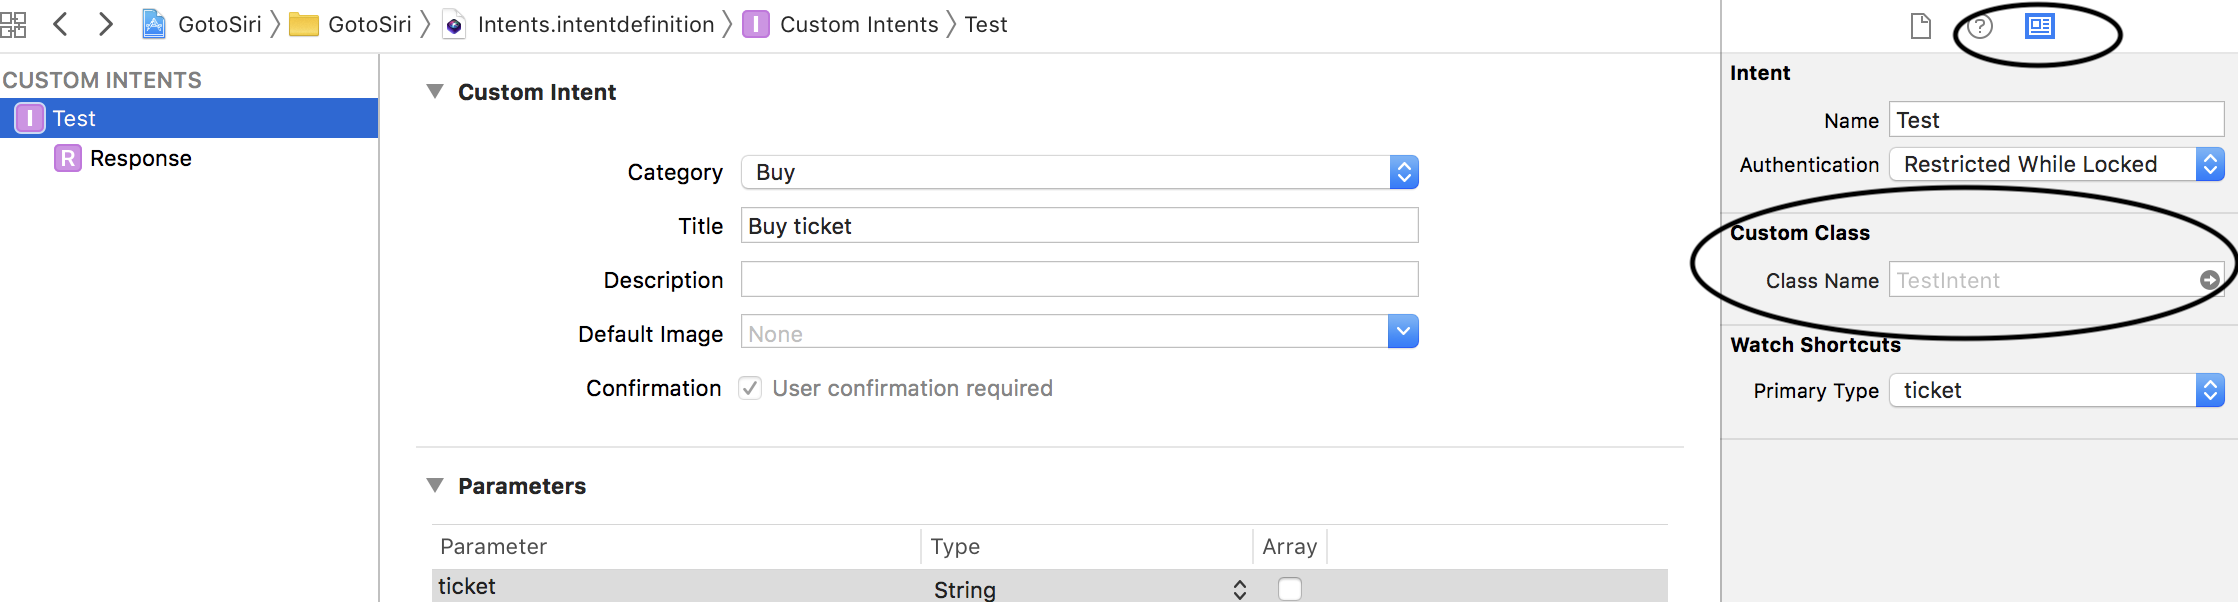
新添加一个名为Test的Intent,创建好后运行一次程序,再点击Test,在下图标注区会看到刚才设置好的意图文件名TestIntent,点击右侧箭头会进入TestIntent.h头文件中,后期用这个自定义的TestIntent意图时需要引入的头文件。
在ViewController.m文件中,引入“TestIntent.h”和<Intents/Intents.h>两个头文件。
#import "ViewController.h"
#import "TestIntent.h"
#import <Intents/Intents.h>

@interface ViewController ()<TestIntentHandling, INUIAddVoiceShortcutViewControllerDelegate>

@property(nonatomic,strong) INUIAddVoiceShortcutViewController *customShortCutViewController;

@property(nonatomic,strong) TestIntent *testIntent;
@property(nonatomic,strong) TestIntentResponse *testIntentResponse;

@property(nonatomic,strong) INInteraction *interaction;

@property(nonatomic,strong) INShortcut *shortcut;

@end

@implementation ViewController

- (void)viewDidLoad {
    [super viewDidLoad];
    // Do any additional setup after loading the view, typically from a nib.

    self.title = @"SiriTest";
    if (@available(iOS 10.0, *)) {

        [INPreferences requestSiriAuthorization:^(INSiriAuthorizationStatus status) {
            switch (status) {
                case INSiriAuthorizationStatusNotDetermined:
                    NSLog(@"用户尚未对该应用程序作出选择。");
                    break;
                case INSiriAuthorizationStatusRestricted:
                    NSLog(@"此应用程序无权使用Siri服务");
                    break;
                case INSiriAuthorizationStatusDenied:
                    NSLog(@"用户已明确拒绝此应用程序的授权");
                    break;
                case INSiriAuthorizationStatusAuthorized:
                    NSLog(@"用户可以使用此应用程序的授权");
                    break;
                default:
                    break;
            }

        }];
    }


    UIButton *_addSiriBtn = [[UIButton alloc] initWithFrame:CGRectMake(30, 151, 200, 50)];
    [_addSiriBtn setTitle:@"Add to Siri(Intent)" forState:UIControlStateNormal];
    [_addSiriBtn setTitleColor:UIColor.blueColor forState:UIControlStateNormal];
    [_addSiriBtn addTarget:self action:@selector(buildShortcutInCurrentViewController) forControlEvents:UIControlEventTouchUpInside];

    [self.view addSubview:_addSiriBtn];
}

-(void)buildShortcutInCurrentViewController
{
    self.testIntent = [[TestIntent alloc] init];
    self.testIntent.ticket = @"深圳湾体育馆王力宏演唱会";
    self.testIntent.number = [NSNumber numberWithInteger:2];
    self.testIntent.suggestedInvocationPhrase = @"买票";

    self.interaction = [[INInteraction alloc] initWithIntent:self.testIntent response:nil];
    [self.interaction donateInteractionWithCompletion:^(NSError * _Nullable error) {
        if(error)
        {
            NSLog(@"%@",error);
        }
        else
        {
            NSLog(@"donate success");
        }
    }];

    INShortcut *shortCut = [[INShortcut alloc] initWithIntent:self.testIntent];
    self.customShortCutViewController = [[INUIAddVoiceShortcutViewController alloc] initWithShortcut:shortCut];
    self.customShortCutViewController.delegate = self;
    [self presentViewController:self.customShortCutViewController animated:YES completion:nil];
}

-(void)addVoiceShortcutViewControllerDidCancel:(INUIAddVoiceShortcutViewController *)controller
{
    [controller dismissViewControllerAnimated:YES completion:nil];
}

-(void)addVoiceShortcutViewController:(INUIAddVoiceShortcutViewController *)controller didFinishWithVoiceShortcut:(INVoiceShortcut *)voiceShortcut error:(NSError *)error
{
    [controller dismissViewControllerAnimated:YES completion:nil];
}

- (void)handleTest:(nonnull TestIntent *)intent completion:(nonnull void (^)(TestIntentResponse * _Nonnull))completion {
    NSString *ticket = intent.ticket;
    self.testIntentResponse = [TestIntentResponse successIntentResponseWithTicket:ticket];
    completion(self.testIntentResponse);
}

-(void)confirmTest:(nonnull TestIntent *)intent completion:(nonnull void (^)(TestIntentResponse * _Nonnull))completion
{
    NSString *ticket = intent.ticket;
    self.testIntentResponse = [TestIntentResponse successIntentResponseWithTicket:ticket];
    completion(self.testIntentResponse);
}


@end
千万别忘记修改三个Info.plist文件
GotoSiri中的info.plist,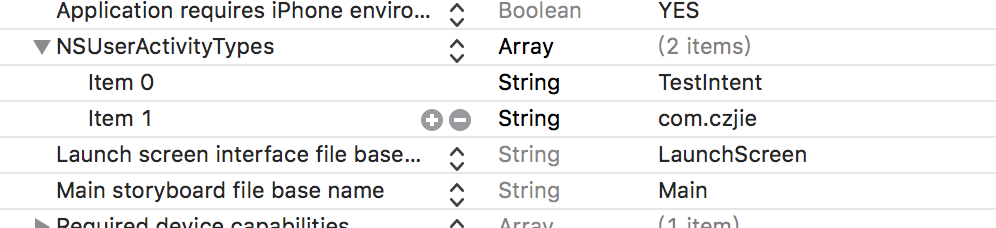
Ticket中的info.plist,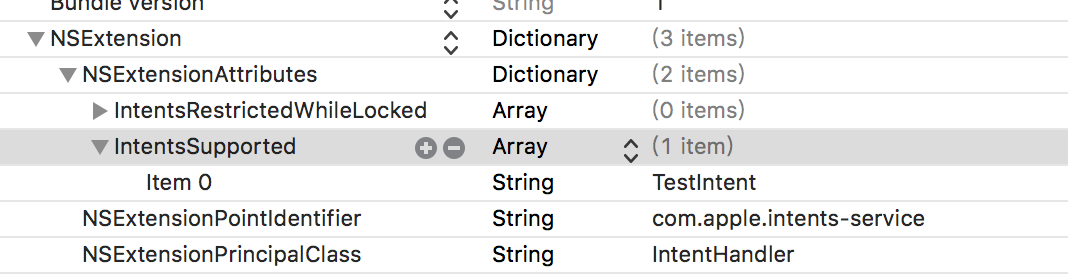
TicketUI中的info.plist,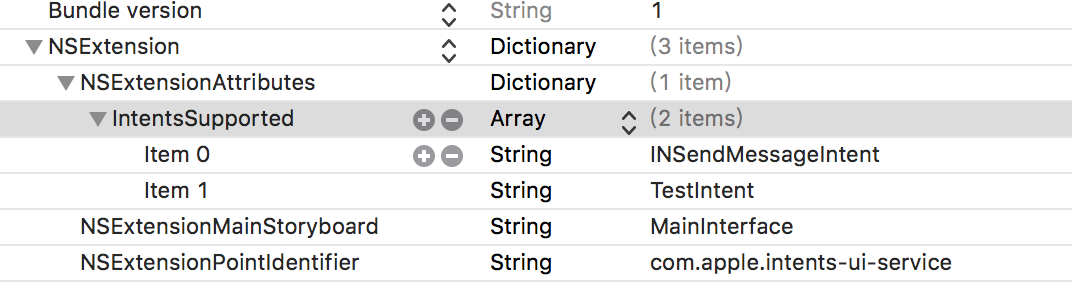
在IntentHandler.m文件中:
#import "IntentHandler.h"
#import "TestIntent.h"

@interface IntentHandler ()<TestIntentHandling>

@end

@implementation IntentHandler

- (id)handlerForIntent:(INIntent *)intent {
    // This is the default implementation.  If you want different objects to handle different intents,
    // you can override this and return the handler you want for that particular intent.
    return self;
}

- (void)handleTest:(TestIntent *)intent completion:(void (^)(TestIntentResponse * _Nonnull))completion {
    if(intent.number == 0)
    {
        completion([TestIntentResponse failureIntentResponseWithTicket:intent.ticket]);
    }
    completion([TestIntentResponse successIntentResponseWithTicket:intent.ticket]);
}

-(void)confirmTest:(TestIntent *)intent completion:(void (^)(TestIntentResponse * _Nonnull))completion
{
    completion([[TestIntentResponse alloc] initWithCode:TestIntentResponseCodeReady userActivity:nil]);
}


@end
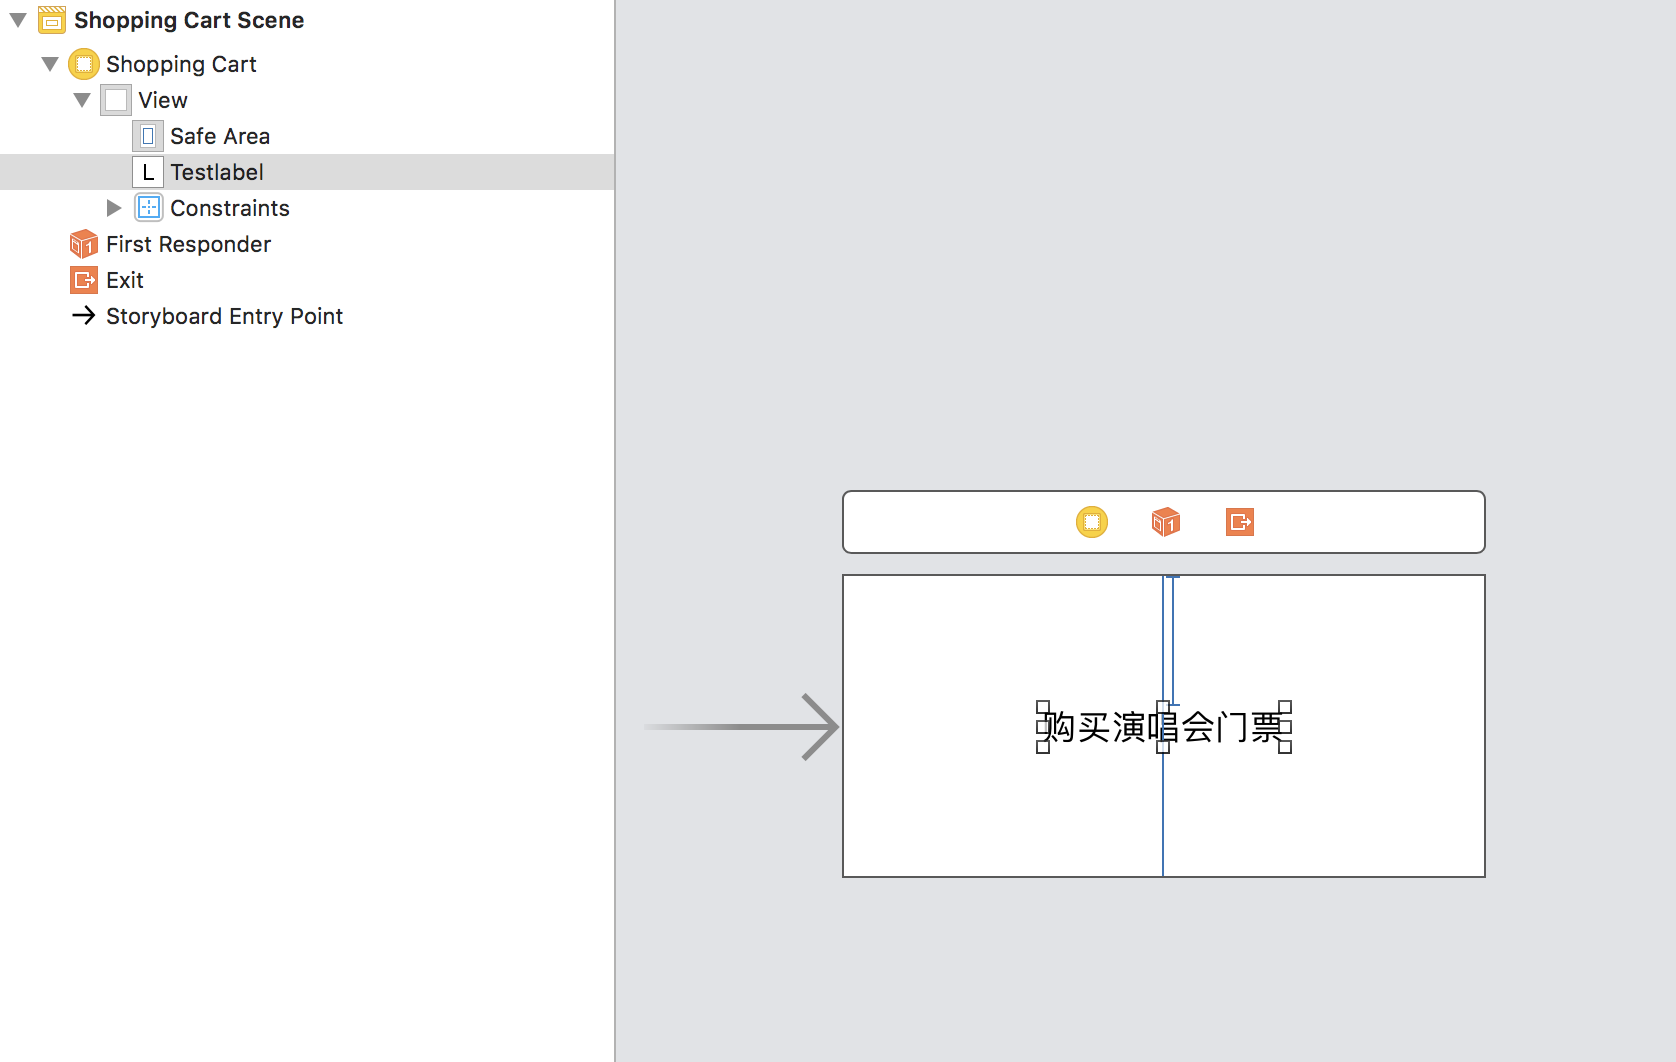
在TicketUI的MainInterface.storyboard中画个简单界面
IntentViewController.m中:
#import "IntentViewController.h"
#import <Intents/Intents.h>
#import "TestIntent.h"

// As an example, this extension's Info.plist has been configured to handle interactions for INSendMessageIntent.
// You will want to replace this or add other intents as appropriate.
// The intents whose interactions you wish to handle must be declared in the extension's Info.plist.

// You can test this example integration by saying things to Siri like:
// "Send a message using <myApp>"

@interface IntentViewController ()
@property (weak, nonatomic) IBOutlet UILabel *testlabel;

@end

@implementation IntentViewController

- (void)viewDidLoad {
    [super viewDidLoad];
    // Do any additional setup after loading the view.
}

#pragma mark - INUIHostedViewControlling

// Prepare your view controller for the interaction to handle.
- (void)configureViewForParameters:(NSSet <INParameter *> *)parameters ofInteraction:(INInteraction *)interaction interactiveBehavior:(INUIInteractiveBehavior)interactiveBehavior context:(INUIHostedViewContext)context completion:(void (^)(BOOL success, NSSet <INParameter *> *configuredParameters, CGSize desiredSize))completion {
    // Do configuration here, including preparing views and calculating a desired size for presentation.

    TestIntent *intent = (TestIntent *)interaction.intent;
    self.testlabel.text = [NSString stringWithFormat:@"購買%@張%@門票",intent.number,intent.ticket];

    if (completion) {
        completion(YES, parameters, [self desiredSize]);
    }

    if(interaction.intentHandlingStatus == INIntentHandlingStatusSuccess)
    {
        self.testlabel.text = @"###123###";
    }
}

- (CGSize)desiredSize {
    CGSize customSize = [self extensionContext].hostedViewMaximumAllowedSize;
    customSize.height = 200.0;
    return customSize;
}

@end
运行程序, 即可查看效果,此为原著,转发请标明出处。