一、碎片的简单用法(实现在一个活动中添加两个碎片,并让这两个碎片平分活动空间)
1、新建一个FragmentTest项目;
新建一个左侧碎片布局left_fragment.xml,代码如下:(只放置一个按钮并水平居中显示)
 1 <?xml version="1.0" encoding="utf-8"?>
 2 <LinearLayout xmlns:android="http://schemas.android.com/apk/res/android"
 3     android:orientation="vertical"
 4     android:layout_width="match_parent"
 5     android:layout_height="match_parent">
 6     <Button
 7         android:id="@+id/button"
 8         android:layout_width="wrap_content"
 9         android:layout_height="wrap_content"
10         android:layout_gravity="center_horizontal"
11         android:text="Button"
12         />
13 </LinearLayout>
新建右侧碎片布局right_fragment.xml,代码如下:(布局背景设置成蓝色并放置一个TextView用于显示文本)
 1 <?xml version="1.0" encoding="utf-8"?>
 2 <LinearLayout xmlns:android="http://schemas.android.com/apk/res/android"
 3     android:orientation="vertical"
 4     android:layout_width="match_parent"
 5     android:layout_height="match_parent"
 6     android:background="@color/colorPrimaryDark">
 7
 8     <TextView
 9         android:layout_width="wrap_content"
10         android:layout_height="wrap_content"
11         android:layout_gravity="center_horizontal"
12         android:textSize="20sp"
13         android:text="This is right fragment"
14         />
15 </LinearLayout>
2、新建一个LeftFragment类,并让它继承Fragment(注意这里的Fragment使用support-v4中的),代码如下:
1 public class LeftFragment extends Fragment{
2     @Override
3     public View onCreateView(LayoutInflater inflater, ViewGroup container, Bundle savedInstanceState){
4         View view=inflater.inflate(R.layout.left_fragment,container,false);
5         return view;
6     }
7 }
重写了Fragment的onCreateView()方法,然后在这个方法中通过LayoutInflater的inflate()方法将刚才定义的left_fragment布局动态加载进来。
新建RightFragment类,同样继承Fragment,代码如下:
1 public class RightFragment extends Fragment {
2     @Override
3     public View onCreateView(LayoutInflater inflater, ViewGroup container, Bundle savedInstanceState){
4         View view=inflater.inflate(R.layout.right_fragment,container,false);
5         return view;
6     }
7 }
3、修改activity_main.xml中的代码:
 1 <?xml version="1.0" encoding="utf-8"?>
 2 <LinearLayout xmlns:android="http://schemas.android.com/apk/res/android"
 3     android:layout_width="match_parent"
 4     android:layout_height="match_parent"
 5     >
 6    <fragment
 7        android:id="@+id/left_fragment"
 8        android:name="com.example.administrator.fragmenttest.LeftFragment"
 9        android:layout_width="0dp"
10        android:layout_height="match_parent"
11        android:layout_weight="1"
12        />
13     <FrameLayout
14         android:id="@+id/right_layout"
15         android:layout_width="0dp"
16         android:layout_height="match_parent"
17         android:layout_weight="1"
18         >
19     </FrameLayout>
20 </LinearLayout>
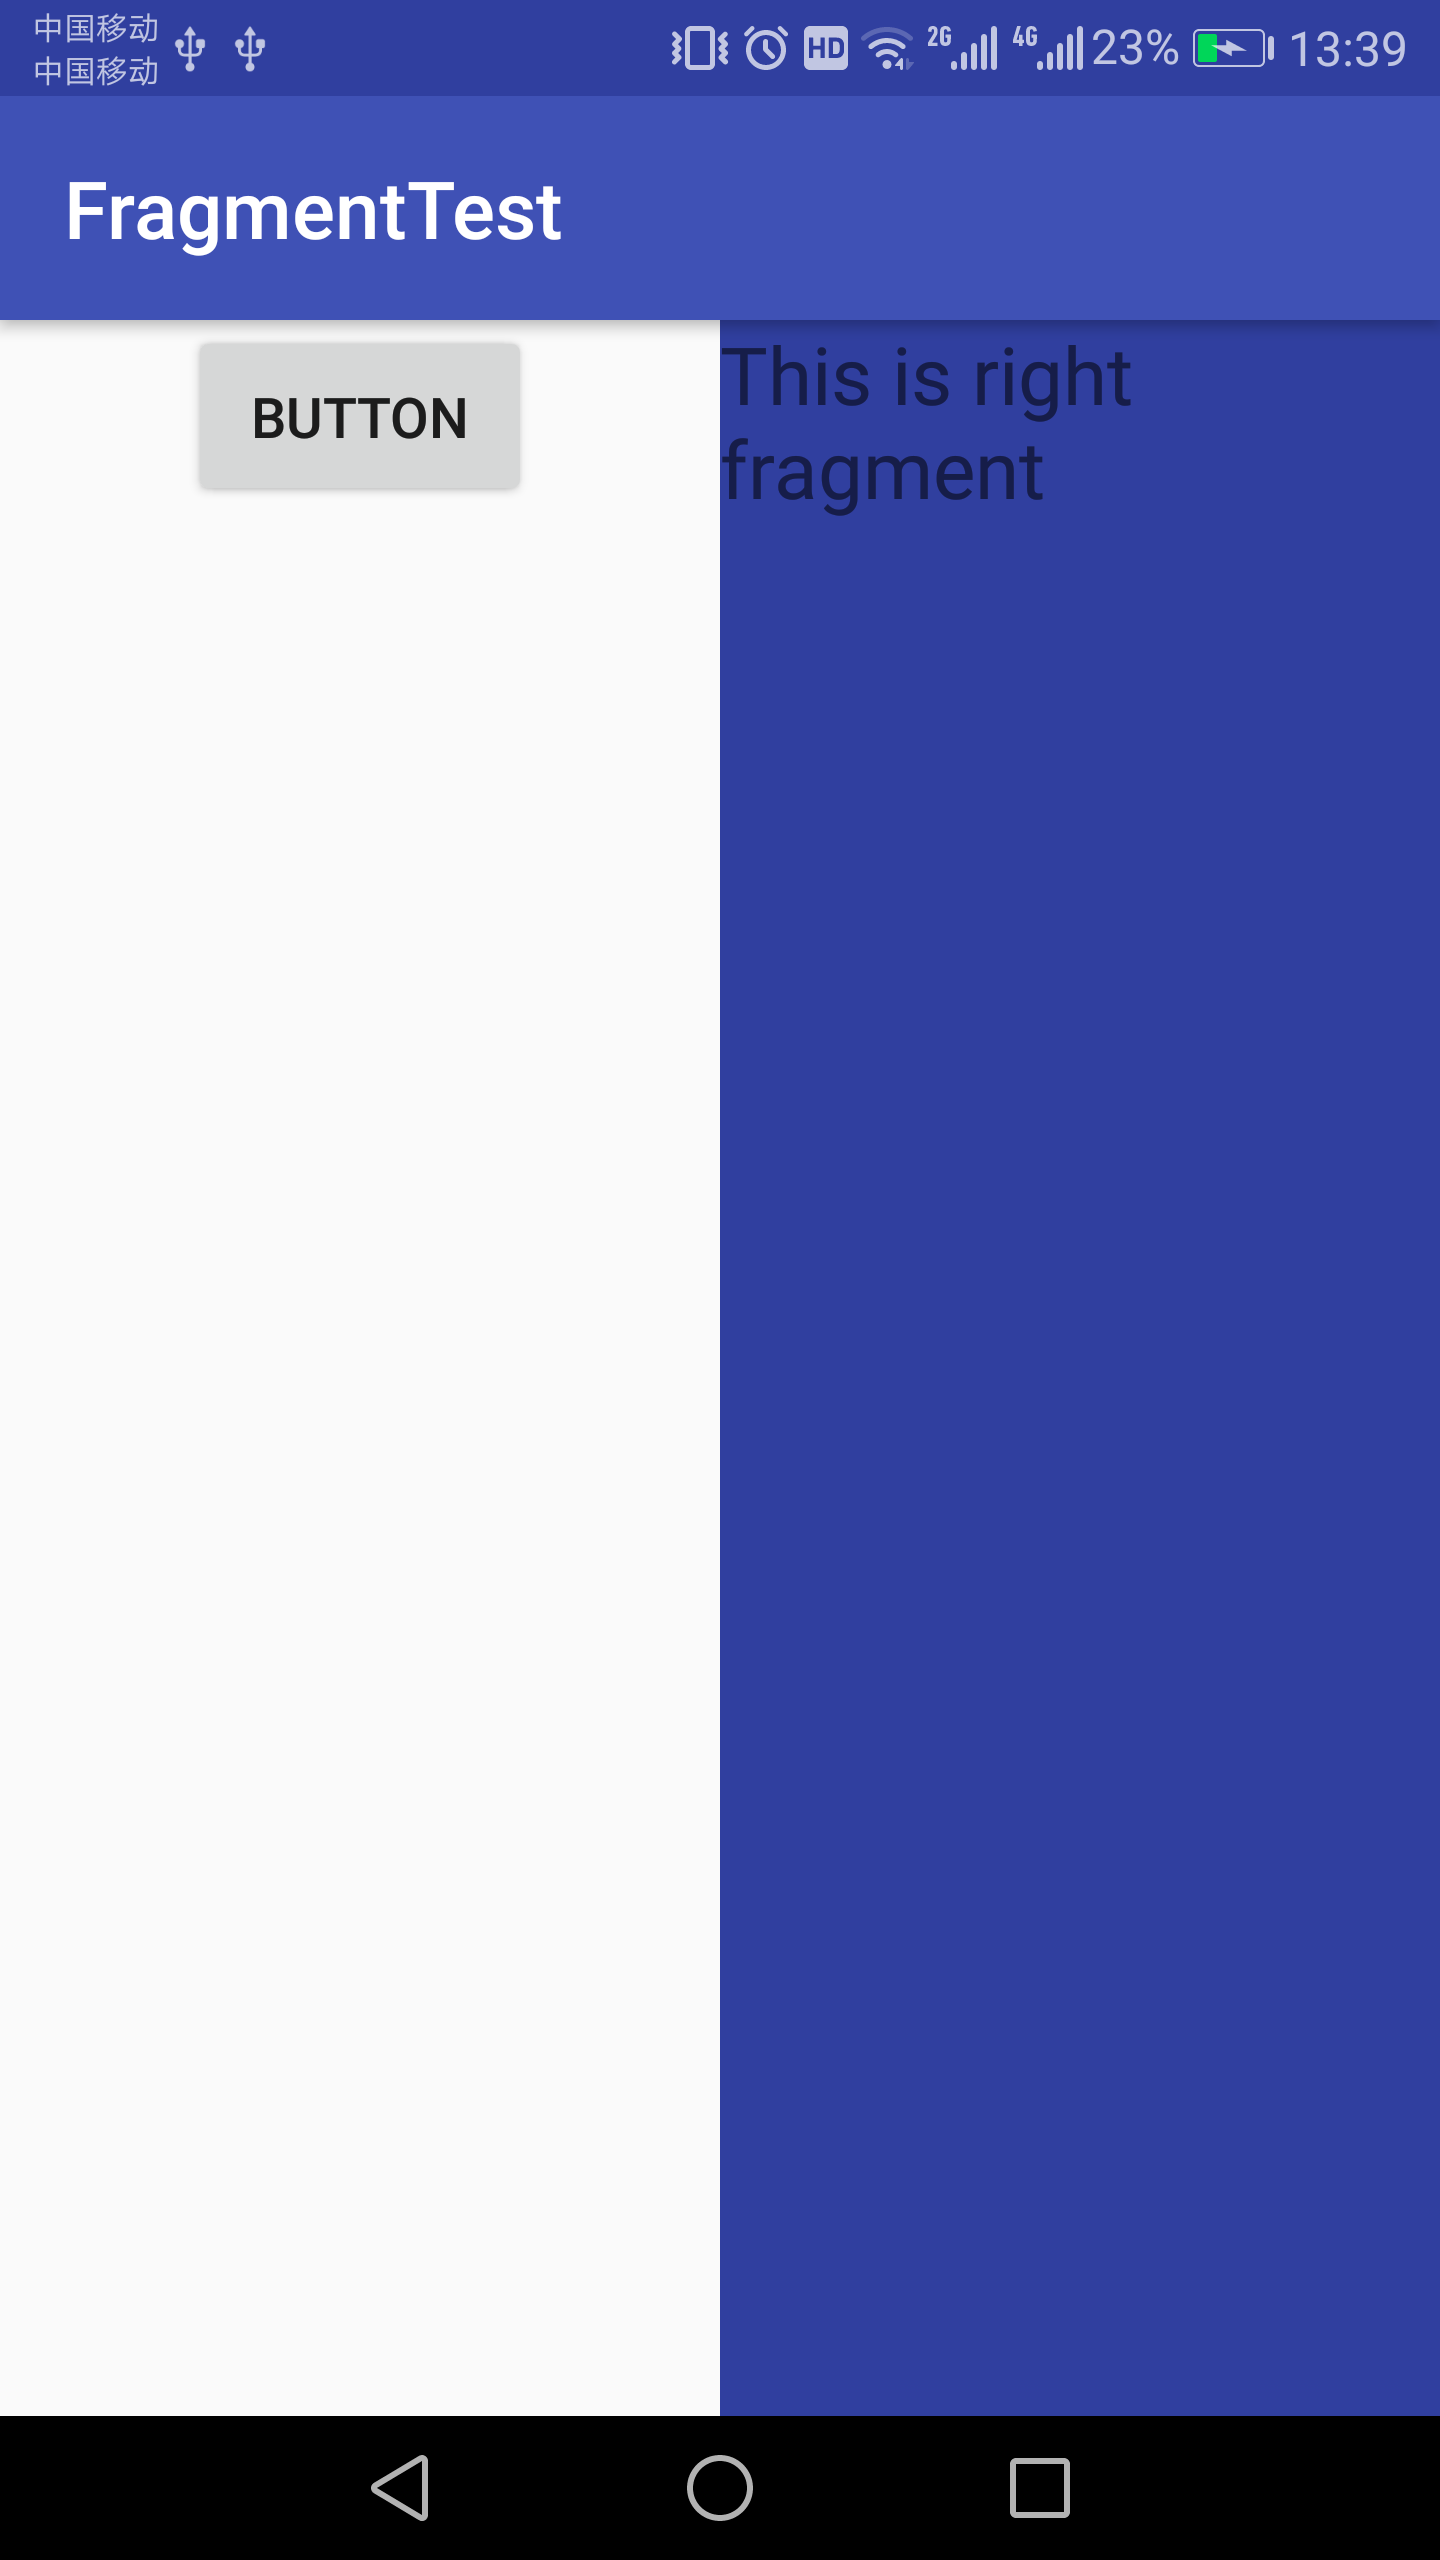
运行程序,效果如下:
二、动态添加碎片
1、在前面基础上新建another_right_fragment.xml,代码如下:(布局文件和right_fragment.xml基本相同,仅修改了背景色和显示文字)
 1 <?xml version="1.0" encoding="utf-8"?>
 2 <LinearLayout xmlns:android="http://schemas.android.com/apk/res/android"
 3     android:orientation="vertical"
 4     android:layout_width="match_parent"
 5     android:layout_height="match_parent"
 6     android:background="#ffff00"
 7     >
 8     <TextView
 9         android:layout_width="wrap_content"
10         android:layout_height="wrap_content"
11         android:layout_gravity="center_horizontal"
12         android:textSize="20sp"
13         android:text="This is another right fragment"
14         />
15 </LinearLayout>
2、新建AnotherRightFragment类作为另一个右侧碎片,代码如下:
1 public class AnotherRightFragment extends Fragment{
2         @Override
3         public View onCreateView(LayoutInflater inflater, ViewGroup container, Bundle savedInstanceState){
4             View view=inflater.inflate(R.layout.another_right_fragment,container,false);
5             return view;
6         }
7 }
3、修改activity_main.xml,代码如下:
 1 <?xml version="1.0" encoding="utf-8"?>
 2 <LinearLayout xmlns:android="http://schemas.android.com/apk/res/android"
 3     android:layout_width="match_parent"
 4     android:layout_height="match_parent"
 5     >
 6    <fragment
 7        android:id="@+id/left_fragment"
 8        android:name="com.example.administrator.fragmenttest.LeftFragment"
 9        android:layout_width="0dp"
10        android:layout_height="match_parent"
11        android:layout_weight="1"
12        />
13     <FrameLayout
14         android:id="@+id/right_layout"
15         android:layout_width="0dp"
16         android:layout_height="match_parent"
17         android:layout_weight="1"
18         >
19     </FrameLayout>
20 </LinearLayout>
4、修改MainActivity中的代码:(在代码中向FrameLayout里添加内容)
 1 public class MainActivity extends AppCompatActivity implements View.OnClickListener{
 2
 3     @Override
 4     protected void onCreate(Bundle savedInstanceState) {
 5         super.onCreate(savedInstanceState);
 6         setContentView(R.layout.activity_main);
 7         Button button=(Button)findViewById(R.id.button);
 8         button.setOnClickListener(this);
 9         replaceFragment(new RightFragment());
10     }
11
12     @Override
13     public void onClick(View v){
14         switch(v.getId()){
15             case R.id.button:
16                 replaceFragment(new AnotherRightFragment());
17                 break;
18             default:
19                 break;
20         }
21     }
22
23     private void replaceFragment(Fragment fragment){
24         FragmentManager fragmentManager=getSupportFragmentManager();
25         FragmentTransaction transaction=fragmentManager.beginTransaction();
26         transaction.replace(R.id.right_layout,fragment);
27         transaction.commit();
28     }
29 }
首先给左侧碎片中的按钮注册一个点击事件,然后调用replaceFrameLayout()方法动态添加RightFragment这个碎片,当点击左侧碎片中的按钮时,又会调用replaceFragment()方法将右侧碎片替换成AnotherRightFragment。
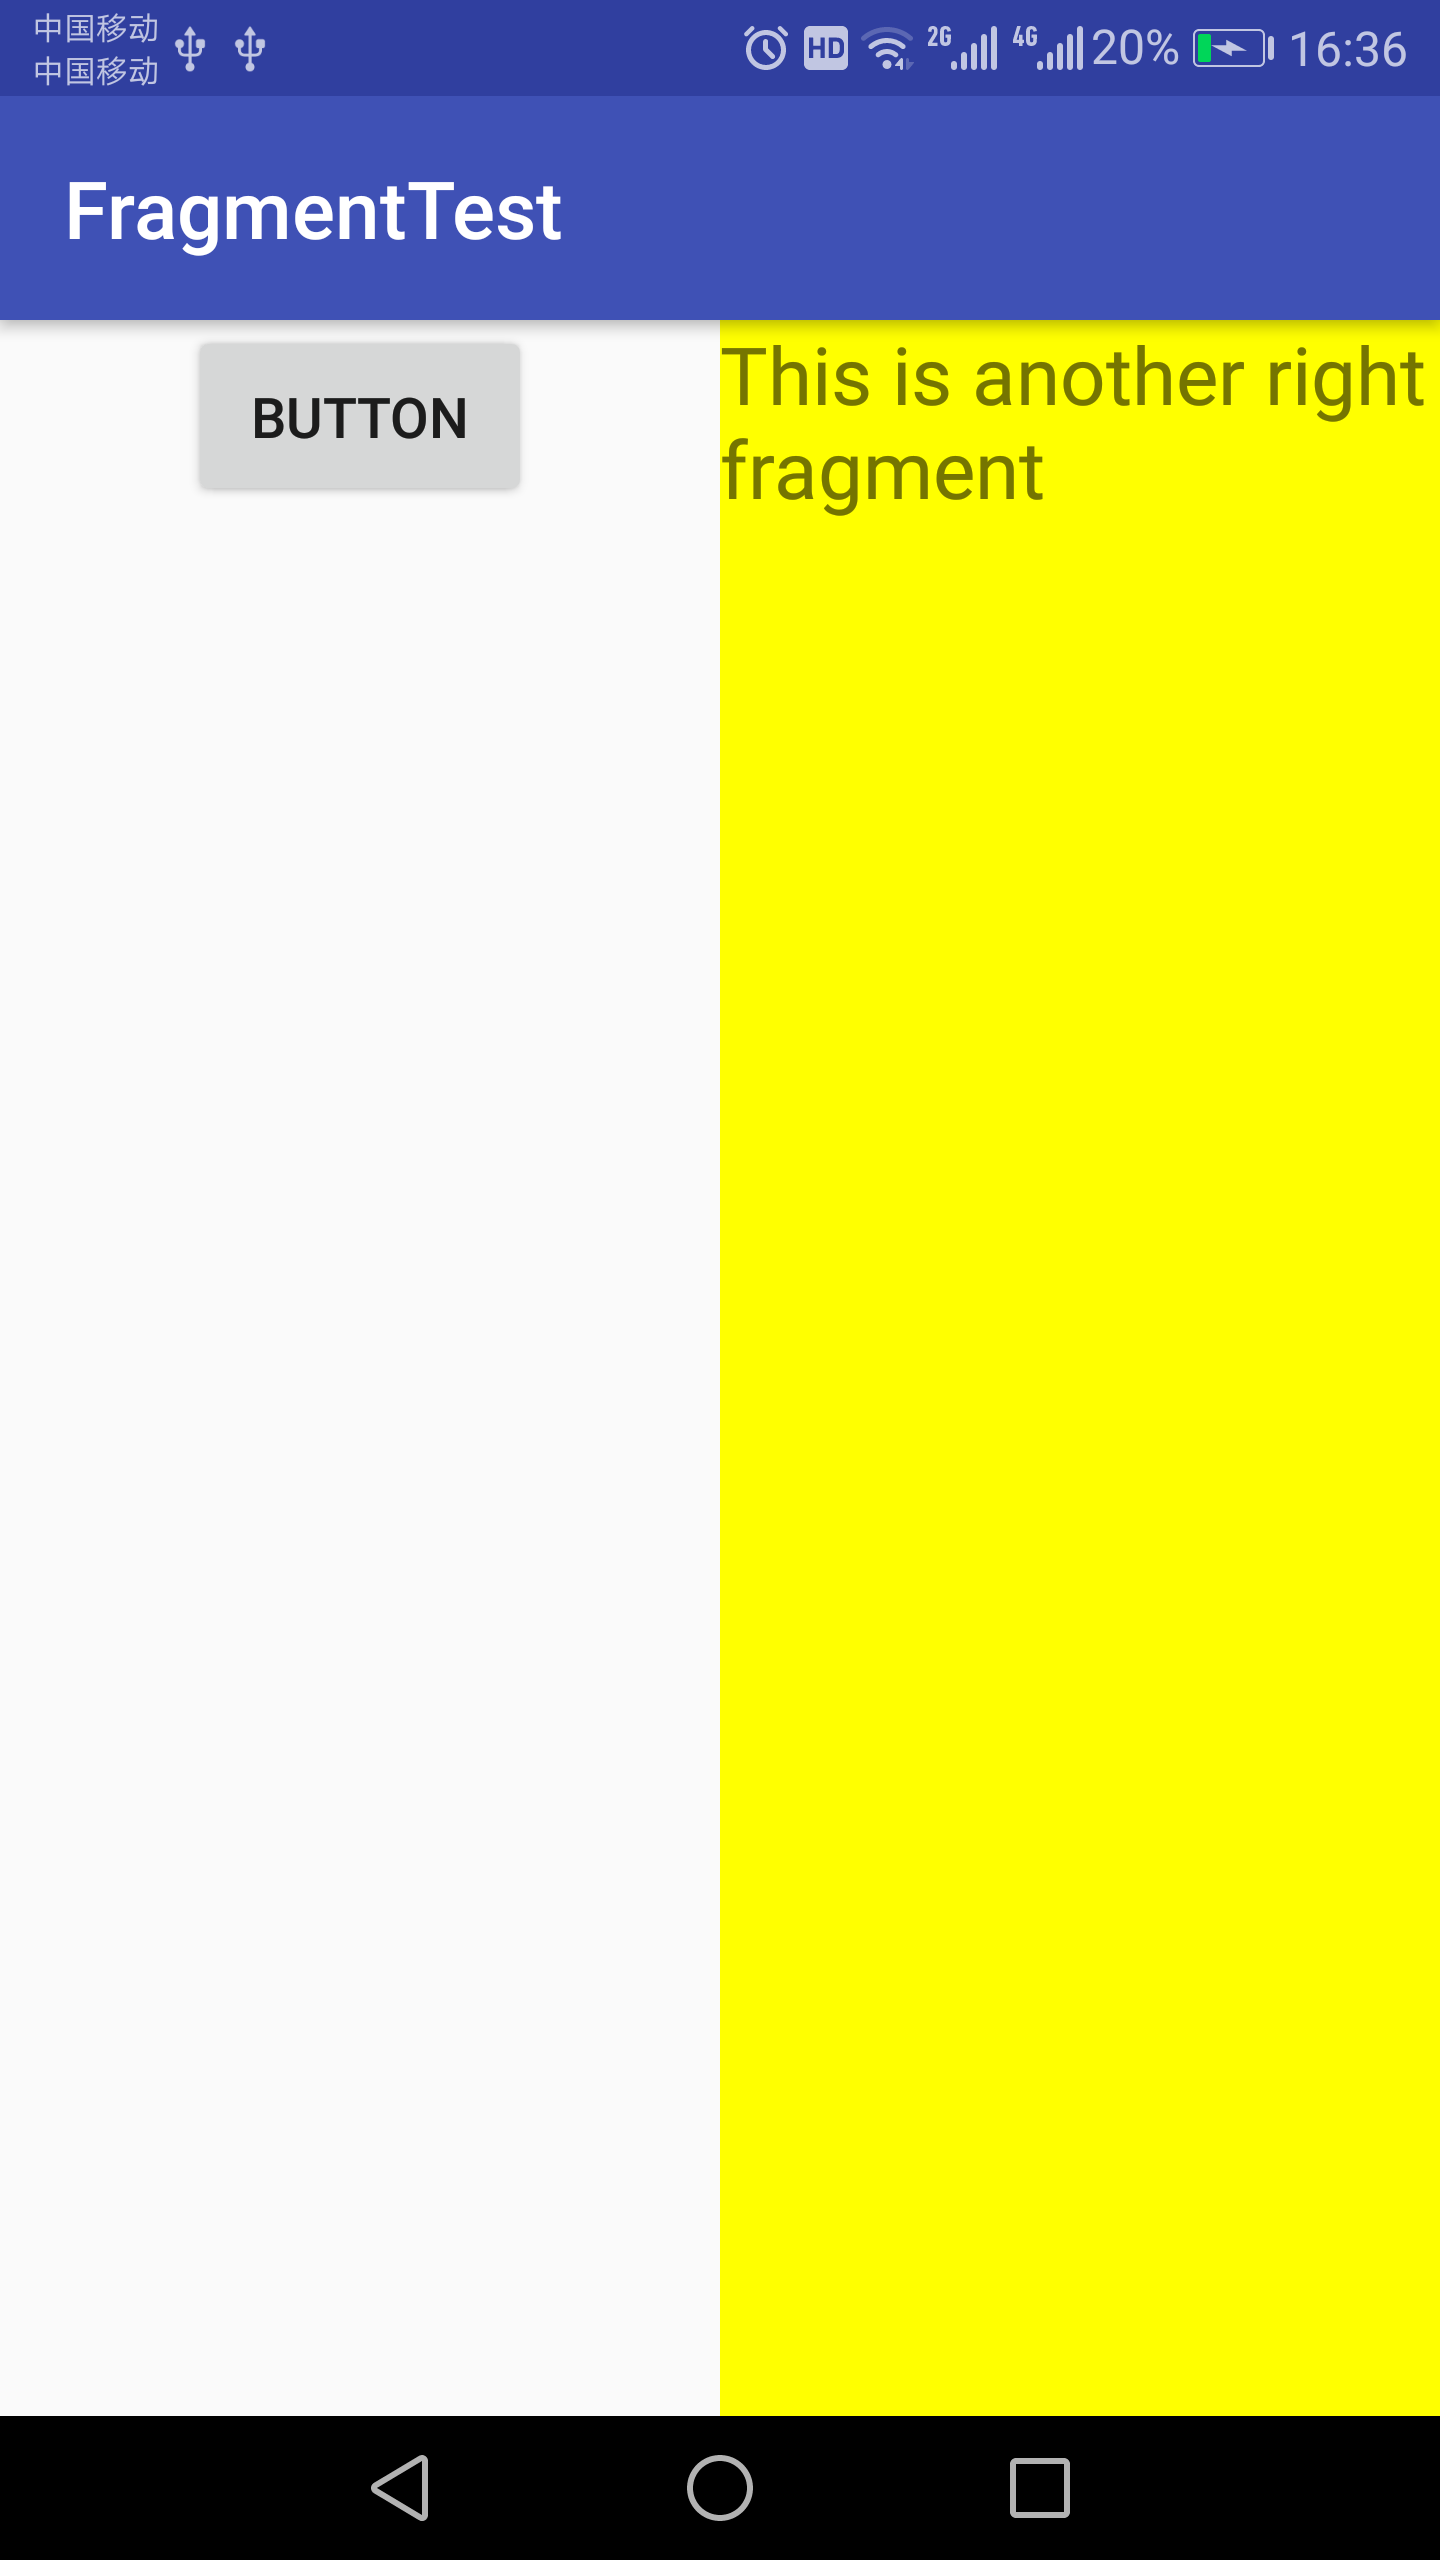
重新运行程序,可以看到和之前一样的界面,然后点击一下按钮,效果如下: