这里有三种方式保存模型:
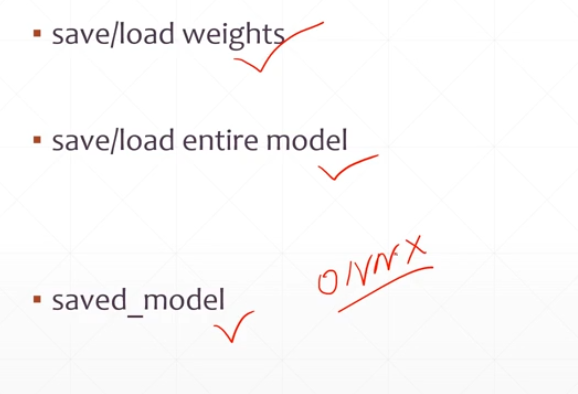
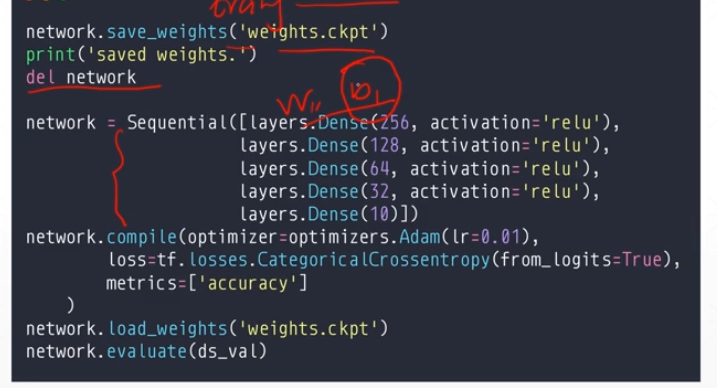
第一种: 只保存网络参数,适合自己了解网络结构
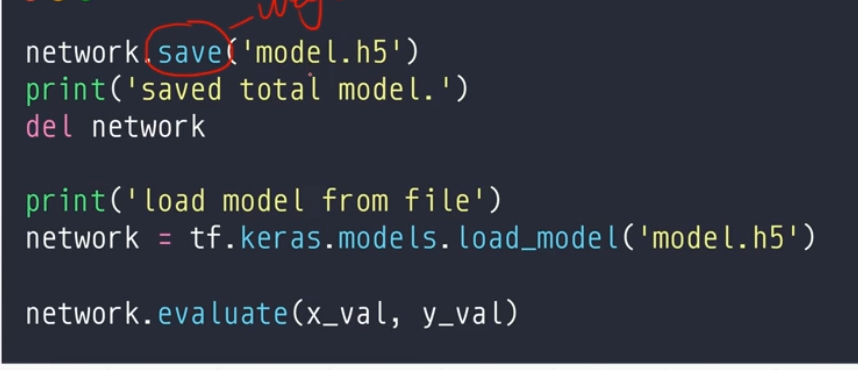
第二种: 保存整个网络,可以完美进行恢复
第三个是保存格式。
第一种方式:
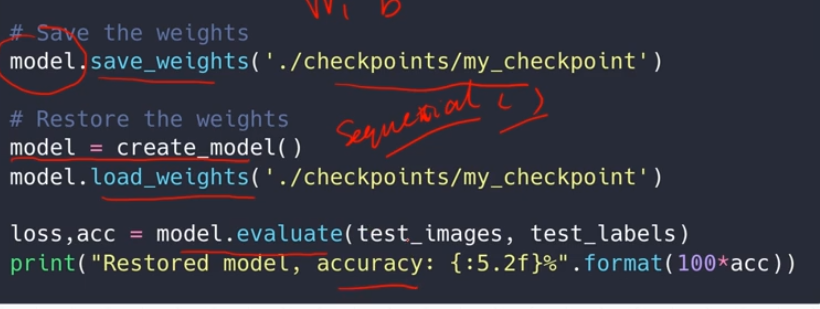
实践操作:
第二种方式:(存入整个模型)
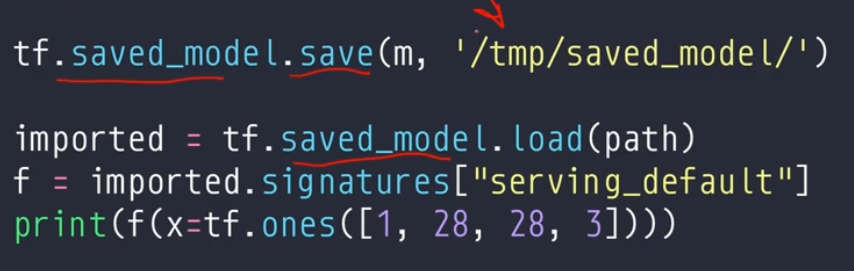
第三种方式:(存成工业模型)
import tensorflow as tf

save_path = 'save_model/'
save_path2 = 'save_model2/'
save_path3 = 'save_model3/'

def preporocess(x,y):
    x = tf.cast(x,dtype=tf.float32) / 255
    x = tf.reshape(x,(-1,28 *28))                   #   铺平
    x = tf.squeeze(x,axis=0)
    # print('里面x.shape:',x.shape)
    y = tf.cast(y,dtype=tf.int32)
    y = tf.one_hot(y,depth=10)
    return x,y

def my_create():
    #   设置超参
    iter_num = 2000  # 迭代次数
    lr = 0.01  # 学习率
    #   定义模型器和优化器
    model = tf.keras.Sequential([
        tf.keras.layers.Dense(256, activation='relu'),
        tf.keras.layers.Dense(128, activation='relu'),
        tf.keras.layers.Dense(64, activation='relu'),
        tf.keras.layers.Dense(32, activation='relu'),
        tf.keras.layers.Dense(10)
    ])
    #   优化器
    # optimizer = tf.keras.optimizers.SGD(learning_rate=lr)
    optimizer = tf.keras.optimizers.Adam(learning_rate=lr)              #   定义优化器
    model.compile(optimizer= optimizer,loss=tf.losses.CategoricalCrossentropy(from_logits=True),metrics=['accuracy'])       #   定义模型配置
    model.fit(db,epochs=2,validation_data=db,validation_freq=2)          #  运行模型,参数validation_data是指在哪个测试集上进行测试
    model.evaluate(db_test)                                                     #   最后打印测试数据相关准确率数据
################    模型保存    ##################
    # #   1.    只存入model的参数
    # model_name = 'my_model1.ckpt'
    # model.save_weights(save_path+model_name)
    # #   2.      存入整个model
    # model_name = 'my_model2.h5'
    # model.save(save_path2 + model_name)
    #   3.      存成工业模型
    tf.saved_model.save(model,save_path3)
    print('保存工业模型')
    del model
def my_load():
    #   设置超参
    lr = 0.01  # 学习率
    #   定义模型器和优化器
    model = tf.keras.Sequential([
        tf.keras.layers.Dense(256, activation='relu'),
        tf.keras.layers.Dense(128, activation='relu'),
        tf.keras.layers.Dense(64, activation='relu'),
        tf.keras.layers.Dense(32, activation='relu'),
        tf.keras.layers.Dense(10)
    ])
    #   优化器
    # optimizer = tf.keras.optimizers.SGD(learning_rate=lr)
    optimizer = tf.keras.optimizers.Adam(learning_rate=lr)  # 定义优化器
    model.compile(optimizer=optimizer, loss=tf.losses.CategoricalCrossentropy(from_logits=True),
                  metrics=['accuracy'])  # 定义模型配置
#################   加载模型    ###############
    # #   加载仅有参数的model
    # model_name = 'my_model1.ckpt'
    # model.load_weights(save_path+model_name)
    # print('加载仅有参数的模型')
    # model.evaluate(db_test)
    # #   加载整个model
    # model_name = 'my_model2.h5'
    # model2 = tf.keras.models.load_model(save_path2 + model_name)
    # print('加载整个模型')
    # model2.evaluate(db_test)
    #   加载工业模型
    model2 = tf.saved_model.load(save_path3)
    print('加载工业模型')
    f = model2.signatures['serving_default']
    print(db_test)
    print(f(db_test[0]))
if __name__ == '__main__':
#   数据步骤
    #   加载手写数字数据
    mnist = tf.keras.datasets.mnist
    (train_x, train_y), (test_x, test_y) = mnist.load_data()
    #   处理数据
    #   训练数据
    db = tf.data.Dataset.from_tensor_slices((train_x, train_y))  # 将x,y分成一一对应的元组
    db = db.map(preporocess)  # 执行预处理函数
    db = db.shuffle(60000).batch(20)  # 打乱加分组
    #   测试数据
    db_test = tf.data.Dataset.from_tensor_slices((test_x, test_y))
    db_test = db_test.map(preporocess)
    db_test = db_test.shuffle(10000).batch(10000)
#   操作步骤
#     my_create()
    print('_________________----------------------------____________________________')
    my_load()