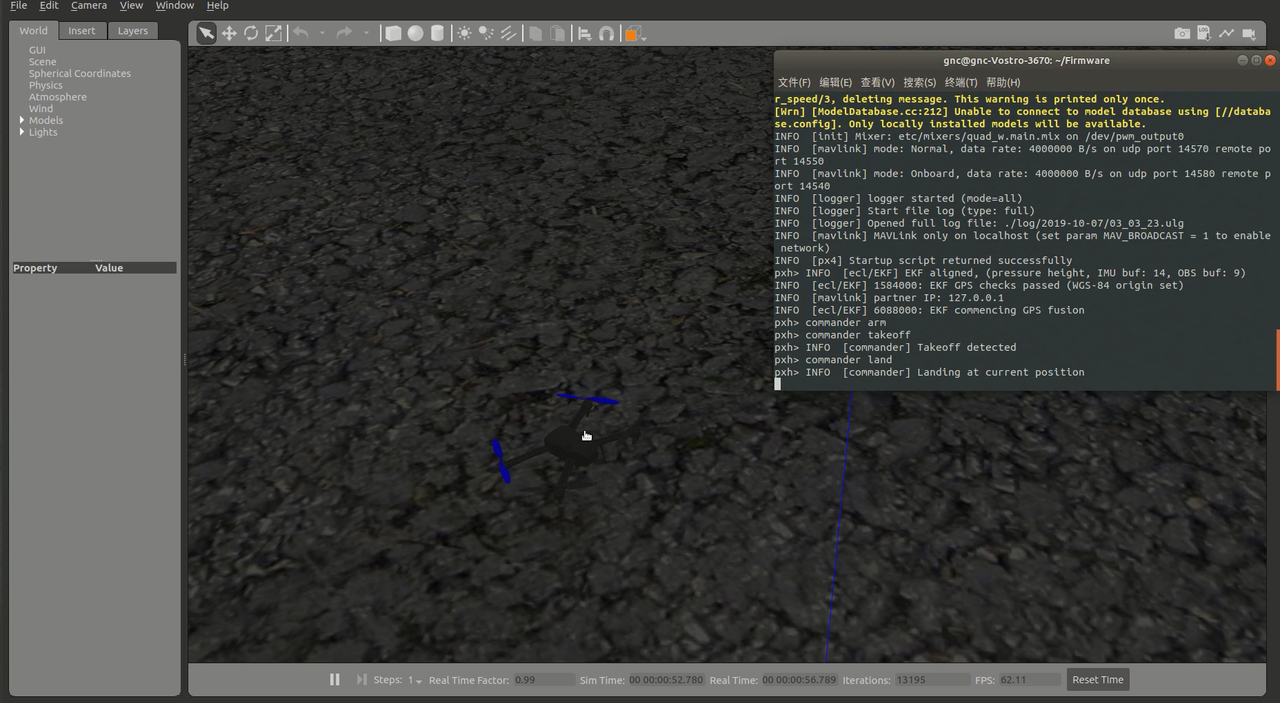
本文主要记录了PX4环境在Ubuntu 18.04下的搭建过程,由于我在安装PX4环境之前已经先安装了ROS Melodic,而安装ROS的时候同时安装了gazebo,因此无法确定后面出现的问题是否由于先安装了ROS。
本文分为以下几个部分:
- 使用官方推荐的安装脚本进行安装
- 解决安装过程中出现的问题
- 下载PX4源码
- 视频记录
请注意:
以下安装过程全部在手机热点下完成,如果你是校园网用户并且下载速度过慢,请尝试使用手机热点。
1. 使用官方推荐的安装脚本进行安装
打开PX4_Ubuntu安装页面,然后按照官方推荐的使用脚本进行安装,选择安装脚本ubuntu.sh。
1. 下载ubuntu.sh和requirements.txt
wget https://raw.githubusercontent.com/PX4/Firmware/master/Tools/setup/ubuntu.sh
wget https://raw.githubusercontent.com/PX4/Firmware/master/Tools/setup/requirements.txt
2. 运行ubuntu.sh
source ubuntu.sh
3. 等待安装完成
安装完成后,会在终端提示重启电脑。
安装完成后,你可以通过检查gcc版本来检查是否成功安装Nuttx
$arm-none-eabi-gcc --version

 arm-none-eabi-gcc (GNU Tools for Arm Embedded Processors 7-2017-q4-major) 7.2.1 20170904 (release) [ARM/embedded-7-branch revision 255204]
 Copyright (C) 2017 Free Software Foundation, Inc.
 This is free software; see the source for copying conditions.  There is NO
 warranty; not even for MERCHANTABILITY or FITNESS FOR A PARTICULAR PURPOSE.
2. 解决安装过程中出现的问题
1.python包安装过慢
安装过程中,在安装python的依赖时,由于直接从国外的pip源进行获取,导致速度太慢。
打开下载的ubuntu.sh,找到下面几行:
# Python3 dependencies
echo
echo "Installing PX4 Python3 dependencies"
sudo python3 -m pip install --upgrade pip setuptools wheel
sudo python3 -m pip install -r ${DIR}/requirements.txt


# Python2 dependencies
echo
echo "Installing PX4 Python2 dependencies"
sudo python2 -m pip install --upgrade pip setuptools wheel
sudo python2 -m pip install -r ${DIR}/requirements.txt
将其修改为
# Python3 dependencies
echo
echo "Installing PX4 Python3 dependencies"
sudo python3 -m pip install --upgrade -i https://pypi.tuna.tsinghua.edu.cn/simple pip setuptools wheel
sudo python3 -m pip install -i https://pypi.tuna.tsinghua.edu.cn/simple -r ${DIR}/requirements.txt


# Python2 dependencies
echo
echo "Installing PX4 Python2 dependencies"
sudo python2 -m pip install --upgrade -i https://pypi.tuna.tsinghua.edu.cn/simple pip setuptools wheel
sudo python2 -m pip install -i https://pypi.tuna.tsinghua.edu.cn/simple -r ${DIR}/requirements.txt
在这之后,重新运行
source ubuntu.sh
2.交叉编译器gcc下载过慢
可以直接打开ubuntu.sh,在其中找到该编译器的下载地址,并将该地址
复制到浏览器进行下载,下载完成后,要参照着ubuntu.sh手动运行命令完成安装。
3.下载PX4源码
导航到你的home目录下,运行命令
git clone https://github.com/PX4/Firmware.git
下载过程比较缓慢,等待下载完成以后,运行命令
运行命令
git submodule update --init --recursive
4.gazebo仿真
打开终端到Firmware文件夹,运行命令
make px4_sitl gazebo_iris
4.视频记录
同时,我还将我的安装过程录制成了视频,请点击这里查看。

