目录
新建Vue项目codeduck-vue
项目目录结构(主要文件)
|src
|———App.vue			# 根组件
|———assets
|——————logo.png		# Vue logo
|———components
|——————Home.vue		# 欢迎页面
|——————Login.vue	# 登录页面
|———main.js			# 程序入口文件,用来加载各种公共组件
|———router
|——————index.js		# 路由
|vue.config.js		# vue配置文件
在项目内安装axios并配置
-
安装 axios
npm install --save axios -
main.js中引入axios并配置import Vue from 'vue' import App from './App.vue' import router from './router' import axios from 'axios' // 前端请求默认发送到 http://localhost:8848 axios.defaults.baseURL = 'http://localhost:8848' // 全局注册,之后可在其他组件中通过 this.$axios 发送数据 Vue.prototype.$axios = axios Vue.config.productionTip = false new Vue({ router, render: h => h(App) }).$mount('#app') -
配置
vue.config.jsmodule.exports = { devServer: { // 反向代理端口地址及端口为 http://localhost:8080 proxy: 'http://localhost:8080', port: 8848 } }
Login.vue 登录页
<template>
  <div>
    用户名:<input type="text" v-model = "loginForm.username" placeholder="请输入用户名">
    <br><br>
    密码:<input type="text" v-model = "loginForm.password" placeholder="请输入用户名">
    <br><br>
    <button v-on:click="login">登录</button>
  </div>
</template>

<script>
export default {
  name: 'Login',
  data () {
    return {
      loginForm: {
        username: 'codeduck',
        password: '123123'
      },
      responseResult: []
    }
  },
  methods: {
    login () {
      // 使用 axios发送请求
      this.$axios.post('/login', {
        username: this.loginForm.username,
        password: this.loginForm.password
      }).then(successResponse => {
        if (successResponse.data.code === 200) {
          this.$router.push('/index')
        }
      }).catch(failResponse => {
        console.log('登录失败')
      })
    }
  }
}
</script>

<style scoped>

</style>
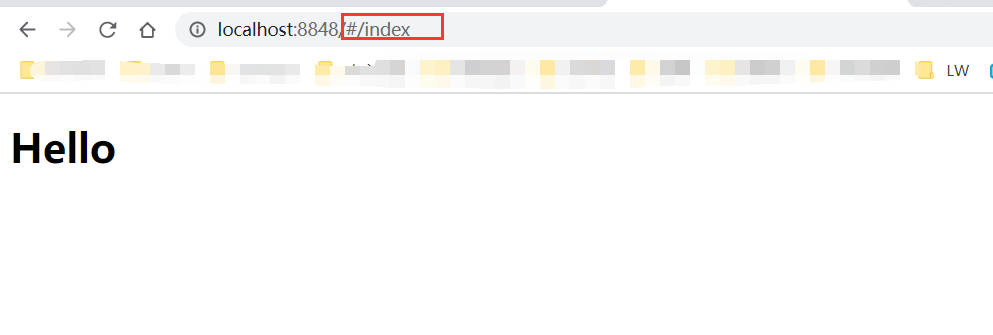
Home.vue 欢迎页
<template>
  <div>
    <h1>Hello</h1>
  </div>
</template>

<script>
export default {
  name: 'Home'
}
</script>

<style scoped>

</style>
index.js 路由配置
import Vue from 'vue'
import VueRouter from 'vue-router'
import Login from '../components/Login'
import Home from '../components/Home'

Vue.use(VueRouter)

const routes = [
  { path: '/', redirect: '/login' },
  {
    path: '/login',
    name: 'Login',
    component: Login
  },
  {
    path: '/index',
    name: 'Home',
    component: Home
  }
]

const router = new VueRouter({
  routes
})

export default router
App.vue 根组件挂载路由
<template>
  <div id="app">
    <!--路由占位符-->
    <router-view></router-view>
  </div>
</template>

<script>
</script>

<style>
</style>
启动项目 npm run server

新建SpringbootWeb项目
新建项目codeduck并勾选web组件
新建pojo——user
public class User {

    int id;
    String username;
    String password;

    public int getId() {
        return id;
    }

    public void setId(int id) {
        this.id = id;
    }

    public String getUsername() {
        return username;
    }

    public void setUsername(String username) {
        this.username = username;
    }

    public String getPassword() {
        return password;
    }

    public void setPassword(String password) {
        this.password = password;
    }
}
新建Result类用于封装返回信息
public class Result {

    //响应码
    private int code;

    public Result(int code) {
        this.code = code;
    }

    public int getCode() {
        return code;
    }

    public void setCode(int code) {
        this.code = code;
    }

}
新建配置类CorsConfig用于跨域请求
@Configuration
public class CorsConfig implements WebMvcConfigurer {
    @Override
    public void addCorsMappings(CorsRegistry registry) {
        registry.addMapping("/**")
                .allowedOrigins("*")
                .allowCredentials(true)
                .allowedMethods("GET", "POST", "PUT", "DELETE", "OPTIONS")
                .maxAge(3600);
    }
}
新建controller类
@Controller
public class LoginController {

    @PostMapping(value = "/login")
    @ResponseBody
    public Result login(@RequestBody User user) {

        String username = user.getUsername();
        String password = user.getPassword();
        if (username.equals("codeduck") || password.equals("123123")){
            return new Result(200);
        }else {
            return new Result(400);
        }
    }
}
yaml配置
server:
  port: 8080
启动springboot项目
点击前端页面登录按钮即可跳转到欢迎页