linux版本:CentOS7 64位
1、下载安装包“mysql-5.6.33-linux-glibc2.5-x86_64.tar.gz”
# 安装依赖
yum -y install perl perl-devel autoconf libaio
2、把下载的安装包移动到/usr/local/下。
3、解压
tar zxvf mysql-5.6.33-linux-glibc2.5-x86_64.tar.gz
4、复制解压后的mysql目录到系统的本地软件目录
cp mysql-5.6.33-linux-glibc2.5-x86_64 /usr/local/mysql -r
5、添加系统mysql组和mysql用户
groupadd mysql
useradd -r -g mysql -s /bin/false mysql
注意:Because the user is required only for ownership purposes, not login purposes, the useradd command uses the -r and -s /bin/false options to create a user that does not have login permissions to your server host. Omit these options if your useradd does not support them.
6、进入安装mysql软件目录,修改目录拥有者为mysql用户
cd mysql/
chown -R mysql:mysql ./
7、安装数据库,此处可能出现错误。
./scripts/mysql_install_db --user=mysql
FATAL ERROR: please install the following Perl modules before executing scripts/mysql_install_db:
Data::Dumper
#解决方法:
yum install -y perl-Data-Dumper
8、修改当前目录拥有者为root用户
chown -R root:root ./
9、修改当前data目录拥有者为mysql用户
chown -R mysql:mysql data
============== 到此数据库安装完毕 =============
10、添加mysql服务开机自启动
添加开机启动,把启动脚本放到开机初始化目录。
cp support-files/mysql.server /etc/init.d/mysql
# 赋予可执行权限
chmod +x /etc/init.d/mysql
# 添加服务
chkconfig --add mysql
# 显示服务列表
chkconfig --list

如果看到mysql的服务,并且3,4,5都是on的话则成功,如果是off,则执行
chkconfig --level 345 mysql on
11、启动mysql服务
#创建缺少的文件夹
mkdir /var/log/mariadb
service mysql start
正常提示信息:Starting MySQL. SUCCESS!
12、把mysql客户端放到默认路径
ln -s /usr/local/mysql/bin/mysql /usr/local/bin/mysql
注意:建议使用软链过去,不要直接包文件复制,便于系统安装多个版本的mysql
=================== 这是分割线 ==================
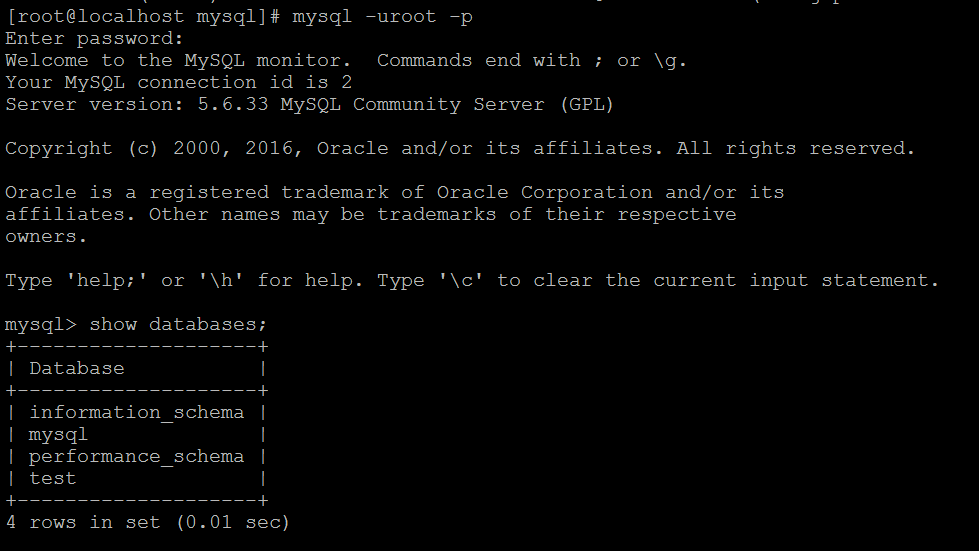
通过使用 mysql -uroot -p 连接数据库(默认数据库的root用户没有密码,这个需要设置一个密码)。
错误信息:ERROR 2002 (HY000): Can't connect to local MySQL server through socket '/tmp/mysql.sock' (2)
解决方法:打开/etc/my.cnf,看看里面配置的socket位置是什么目录。“socket=/var/lib/mysql/mysql.sock”
路径和“/tmp/mysql.sock”不一致。建立一个软连接:ln -s /var/lib/mysql/mysql.sock /tmp/mysql.sock
到这里任务算是完成了。之后就可以创建数据库用户,然后使用数据库了。

###################### 分割线 ######################
权限控制
1、去除匿名用户
# 测试匿名用户登录
mysql -ux3

可以看到匿名用户可以登录,具有information_schema和test库的相关权限。
# 删除匿名用户,使用root用户登录数据库
delete from mysql.user where User='';
flush privileges;

再次测试匿名用户登录
![]()
