本篇和大家分享搭建写操作系统的开发环境,然后建立一个软盘,再用汇编代码打印一个“Hello World”。
本篇目标
- 搭建开发环境。
- 建立虚拟软盘。
- 运行一个最最简单的操作系统。
开发环境
开发机器
我的开发环境如下:
- 物理机是Macbook。
- 在Macbook上运行
vmware,建立一个虚拟机vm。虚拟机的配置是:内存2G,硬盘25G。 - 在vm安装64位的
centos8系统。一定要安装GUI。
nasm
安装
yum install nams
bochs
这又是一个虚拟机。我们自己写的操作系统将在这个虚拟机上调试、运行。
安装
请安装两个版本,一个用于从汇编代码的层面调试操作系统,记作bochs;另一个用于使用gdb从C语言层面调试操作系统,记作bochs-gdb。
记得给bochs-gdb建立一个软链接,这样在运行bochs-gdb时可以直接使用bochs-gdb而不必写出那一长串的安装路径。
bochs
下载链接
https://jaist.dl.sourceforge.net/project/bochs/bochs/2.6.11/bochs-2.6.11-1.x86_64.rpm
请参考下面的命令安装:
root# rpm -i bochs-2.6.11-1.x86_64.rpm
我之前安装的笔记丢失。这是我从bochs官网文档中查到的用rpm方式安装的命令。
这个版本的bochs有两个配置文件:
bochsrc,用于正常运行bochs。bochsrc-debug,在以断点调试汇编代码的模式启动时使用这个配置文件。
配置文件bochsrc的内容如下:
###############################################################
# Configuration file for Bochs
###############################################################

# how much memory the emulated machine will have
megs: 32

# filename of ROM images
romimage: file=/usr/local/share/bochs/BIOS-bochs-latest
vgaromimage: file=/usr/local/share/bochs/VGABIOS-lgpl-latest

# what disk images will be used
# floppya: 1_44=freedos.img, status=inserted
# floppyb: 1_44=pm.img, status=inserted
floppya: 1_44="a.img", status=inserted

ata0-master: type=disk, path="80m.img", mode=flat
#ata0-slave: type=disk, path="80n.img", mode=flat

# choose the boot disk.
boot: a
# boot: floppy
# where do we send log messages?
log: bochsout.txt

# disable the mouse
mouse: enabled=0
#magic_break:enabled=1
# enable key mapping, using US layout as default.

keyboard: keymap=/usr/local/share/bochs/keymaps/x11-pc-us.map
配置文件bochsrc-debug的内容如下:
###############################################################
# Configuration file for Bochs
###############################################################

# how much memory the emulated machine will have
megs: 32

# filename of ROM images
romimage: file=/usr/local/share/bochs/BIOS-bochs-latest
vgaromimage: file=/usr/local/share/bochs/VGABIOS-lgpl-latest

# what disk images will be used
# floppya: 1_44=freedos.img, status=inserted
# floppyb: 1_44=pm.img, status=inserted
floppya: 1_44="a.img", status=inserted

# choose the boot disk.
boot: a
# boot: floppy
# where do we send log messages?
log: bochsout.txt

# disable the mouse
mouse: enabled=0
magic_break:enabled=1
# enable key mapping, using US layout as default.

# gdbstub: enabled=1, port=1234, text_base=0, data_base=0, bss_base=0

keyboard: keymap=/usr/local/share/bochs/keymaps/x11-pc-us.map

# magic_break:enable=1
和bochsrc相比,bochsrc-debug中多了一句
magic_break:enabled=1
这句的作用是开启汇编代码的断点调试功能。
bochs-gdb
https://udomain.dl.sourceforge.net/project/bochs/bochs/2.6.11/bochs-2.6.11.tar.gz
进入bochs的源码包,执行下面的命令:
# 把/home/cg/tools/bochs-2.6.11换成你自己的开发机器上的安装目录
./configure --prefix=/home/cg/tools/bochs-2.6.11 --enable-plugins   --enable-x86-64   --enable-cpp  --enable-disasm   --enable-gdb-stub --enable-x86-debugger --enable-e1000
make
make install
建立用于启动bochs-gdb的配置文件gdb-bochsrc,文件中的内容如下:
###############################################################
# Configuration file for Bochs
###############################################################

# how much memory the emulated machine will have
megs: 32

# filename of ROM images
romimage: file=/usr/local/share/bochs/BIOS-bochs-latest
vgaromimage: file=/usr/local/share/bochs/VGABIOS-lgpl-latest

# what disk images will be used
# floppya: 1_44=freedos.img, status=inserted
# floppyb: 1_44=pm.img, status=inserted
floppya: 1_44="a.img", status=inserted

ata0-master: type=disk, path="80m.img", mode=flat

# choose the boot disk.
boot: a
# boot: floppy
# where do we send log messages?
log: bochsout.txt

# disable the mouse
mouse: enabled=0
# magic_break:enabled=1
# enable key mapping, using US layout as default.

gdbstub: enabled=1, port=1234, text_base=0, data_base=0, bss_base=0

keyboard: keymap=/usr/local/share/bochs/keymaps/x11-pc-us.map
配置GDB调试的语句是:
gdbstub: enabled=1, port=1234, text_base=0, data_base=0, bss_base=0
如果能正常启动bochs-gdb,暂时不必关注其他语句的作用。等到以后用到再了解也不迟。
运行
# 正常启动
bochs -f bochsrc
# 以断点调试汇编代码的模式启动
bochs -f bochsrc-debug
# 以gdb调试C代码的模式启动
bochs-gdb -f gdb-bochsrc
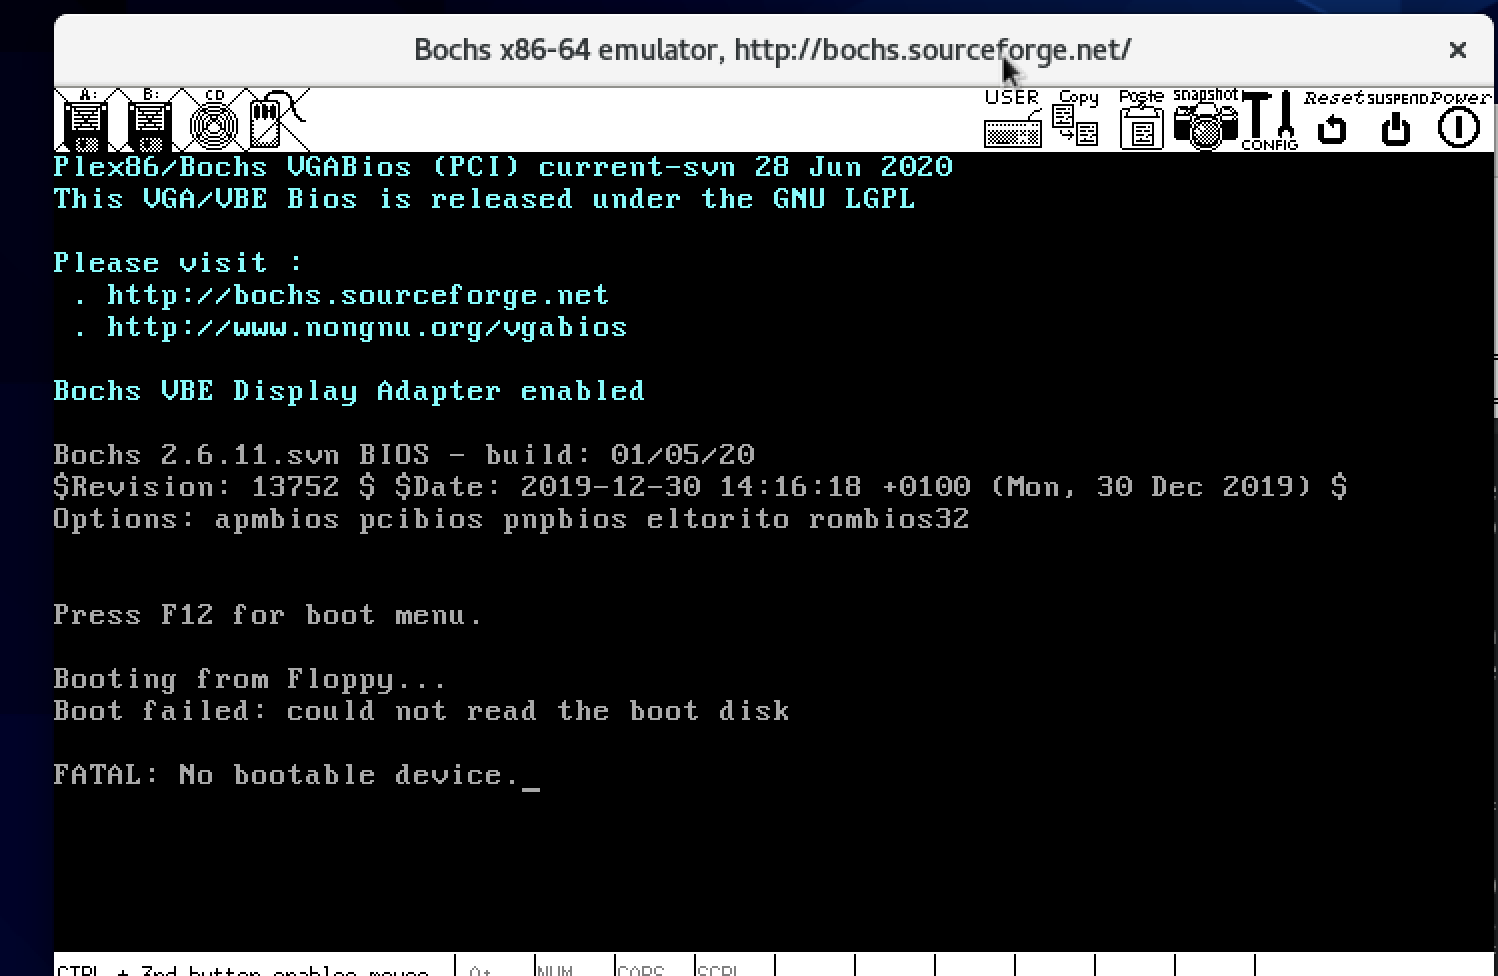
执行上面命令中任何一个之后,如果出现下面的输出信息,你的bochs就安装成功了。
注意,要在你的虚拟机vm上执行上面的命令。
[root@localhost v1]# bochs
========================================================================
                     Bochs x86 Emulator 2.6.11.svn
             Built from SVN snapshot after release 2.6.11
                  Compiled on Jul 14 2020 at 17:19:17
========================================================================
00000000000i[      ] LTDL_LIBRARY_PATH not set. using compile time default '/usr/local/lib/bochs/plugins'
00000000000i[      ] BXSHARE not set. using compile time default '/usr/local/share/bochs'
00000000000i[      ] lt_dlhandle is 0x1551860
00000000000i[PLUGIN] loaded plugin libbx_unmapped.so
00000000000i[      ] lt_dlhandle is 0x15521a0
00000000000i[PLUGIN] loaded plugin libbx_biosdev.so
00000000000i[      ] lt_dlhandle is 0x1552b20
00000000000i[PLUGIN] loaded plugin libbx_speaker.so
00000000000i[      ] lt_dlhandle is 0x1553930
00000000000i[PLUGIN] loaded plugin libbx_extfpuirq.so
00000000000i[      ] lt_dlhandle is 0x15541b0
00000000000i[PLUGIN] loaded plugin libbx_parallel.so
00000000000i[      ] lt_dlhandle is 0x1555e10
00000000000i[PLUGIN] loaded plugin libbx_serial.so
00000000000i[      ] lt_dlhandle is 0x155a210
00000000000i[PLUGIN] loaded plugin libbx_iodebug.so
00000000000i[      ] reading configuration from bochsrc
------------------------------
Bochs Configuration: Main Menu
------------------------------

This is the Bochs Configuration Interface, where you can describe the
machine that you want to simulate.  Bochs has already searched for a
configuration file (typically called bochsrc.txt) and loaded it if it
could be found.  When you are satisfied with the configuration, go
ahead and start the simulation.

You can also start bochs with the -q option to skip these menus.

1. Restore factory default configuration
2. Read options from...
3. Edit options
4. Save options to...
5. Restore the Bochs state from...
6. Begin simulation
7. Quit now

Please choose one: [6]
按下回车键,如果看到下面的画面,说明你的bochs可以正常使用了。
注意,按下回车键后,bochs可能会是一块黑屏,需要你在终端输入
c,然后再次按下回车键。
杂项
安装上面的说明安装好开发环境后,我们的开发模式将会是下面这样的:
- 项目代码也就是操作系统代码在虚拟机上,例如,我的代码在虚拟机上的目录是:
/home/cg/os/os-ebook。 - 在物理机上使用终端连接到虚拟机,然后在这个终端上执行编译代码的命令。我也用这个终端使用vim写项目代码。
- 在虚拟机的终端上执行运行bochs的命令。
虚拟软盘
使用bximage创建虚拟软盘,过程如下:
[root@localhost v30]# bximage
========================================================================
                                bximage
  Disk Image Creation / Conversion / Resize and Commit Tool for Bochs
         $Id: bximage.cc 13481 2018-03-30 21:04:04Z vruppert $
========================================================================

1. Create new floppy or hard disk image
2. Convert hard disk image to other format (mode)
3. Resize hard disk image
4. Commit 'undoable' redolog to base image
5. Disk image info

0. Quit

Please choose one [0] 1

Create image

Do you want to create a floppy disk image or a hard disk image?
Please type hd or fd. [hd] fd

Choose the size of floppy disk image to create.
Please type 160k, 180k, 320k, 360k, 720k, 1.2M, 1.44M, 1.68M, 1.72M, or 2.88M.
 [1.44M]

What should be the name of the image?
[a.img]

Creating floppy image 'a.img' with 2880 sectors

The following line should appear in your bochsrc:
  floppya: image="a.img", status=inserted
查看执行bximage的目录,会发现已经多了一个文件a.img。
[root@localhost v30]# ls -lh a.img
-rw-r-----. 1 root root 1.5M Sep  8 04:15 a.img
a.img就是我们刚刚用bximage创建的虚拟软盘。
操作系统的最初形态
运行
做完上面一连串有点无聊的准备工作后,我们可以做点有趣的事情了。
新建一个文件boot.asm,把下面的代码复制到boot.asm中。
org 0x7c00

jmp     LABEL_START
nop

        ; 下面是 FAT12 磁盘的头
        BS_OEMName      DB 'YOUR--OS'   ; OEM String, 必须 8 个字节
        BPB_BytsPerSec  DW 512          ; 每扇区字节数
        BPB_SecPerClus  DB 1            ; 每簇多少扇区
        BPB_RsvdSecCnt  DW 1            ; Boot 记录占用多少扇区
        BPB_NumFATs     DB 2            ; 共有多少 FAT 表
        BPB_RootEntCnt  DW 224          ; 根目录文件数最大值
        BPB_TotSec16    DW 2880         ; 逻辑扇区总数
        BPB_Media       DB 0xF0         ; 媒体描述符
        BPB_FATSz16     DW 9            ; 每FAT扇区数
        BPB_SecPerTrk   DW 18           ; 每磁道扇区数
        BPB_NumHeads    DW 2            ; 磁头数(面数)
        BPB_HiddSec     DD 0            ; 隐藏扇区数
        BPB_TotSec32    DD 0            ; wTotalSectorCount为0时这个值记录扇区数
        BS_DrvNum       DB 0            ; 中断 13 的驱动器号
        BS_Reserved1    DB 0            ; 未使用
        BS_BootSig      DB 29h          ; 扩展引导标记 (29h)
        BS_VolID        DD 0            ; 卷序列号
        BS_VolLab       DB 'YOUR--OS.02'; 卷标, 必须 11 个字节
        BS_FileSysType  DB 'FAT12   '   ; 文件系统类型, 必须 8个字节

message:    db      "Hello,World OS!"
messageLength   equ     $ - message

LABEL_START:
        mov ax, 0xb800
        mov gs, ax
        mov cx, messageLength
        mov di, (80 * 2 + 20) * 2
        mov si, 0
.1:
        cmp     cx, 0
        je      END
        mov al,[message+si]
        mov ah, 0x0E
        mov [gs:di], ax
        add di,2
        dec cx
        inc si
        jmp .1

END:
        jmp $


times   510 - ($ - $$)  db      0
dw      0xAA55
再新建一个文件Makefile,往里面填充下面的代码。
.PYTHON:everything

everything:boot.bin
        dd if=boot.bin of=a.img bs=512 count=1 conv=notrunc
        sudo mount -o loop a.img /mnt/floppy/
        sudo umount /mnt/floppy
clean:
        rm -rvf *.bin

boot.bin:boot.asm
        nasm $< -o $@
在物理机上的终端执行make,过程如下:
[root@localhost os-ebook]# make
dd if=boot.bin of=a.img bs=512 count=1 conv=notrunc
1+0 records in
1+0 records out
512 bytes copied, 0.000106086 s, 4.8 MB/s
sudo mount -o loop a.img /mnt/floppy/
sudo umount /mnt/floppy
在虚拟机vm上的终端上运行我们的操作系统,命令如下:
bochs -f bochsrc
如果一切正常的话,会看到下面的画面。我是看到了,不知各位在自己的电脑上看到相同的画面没有。
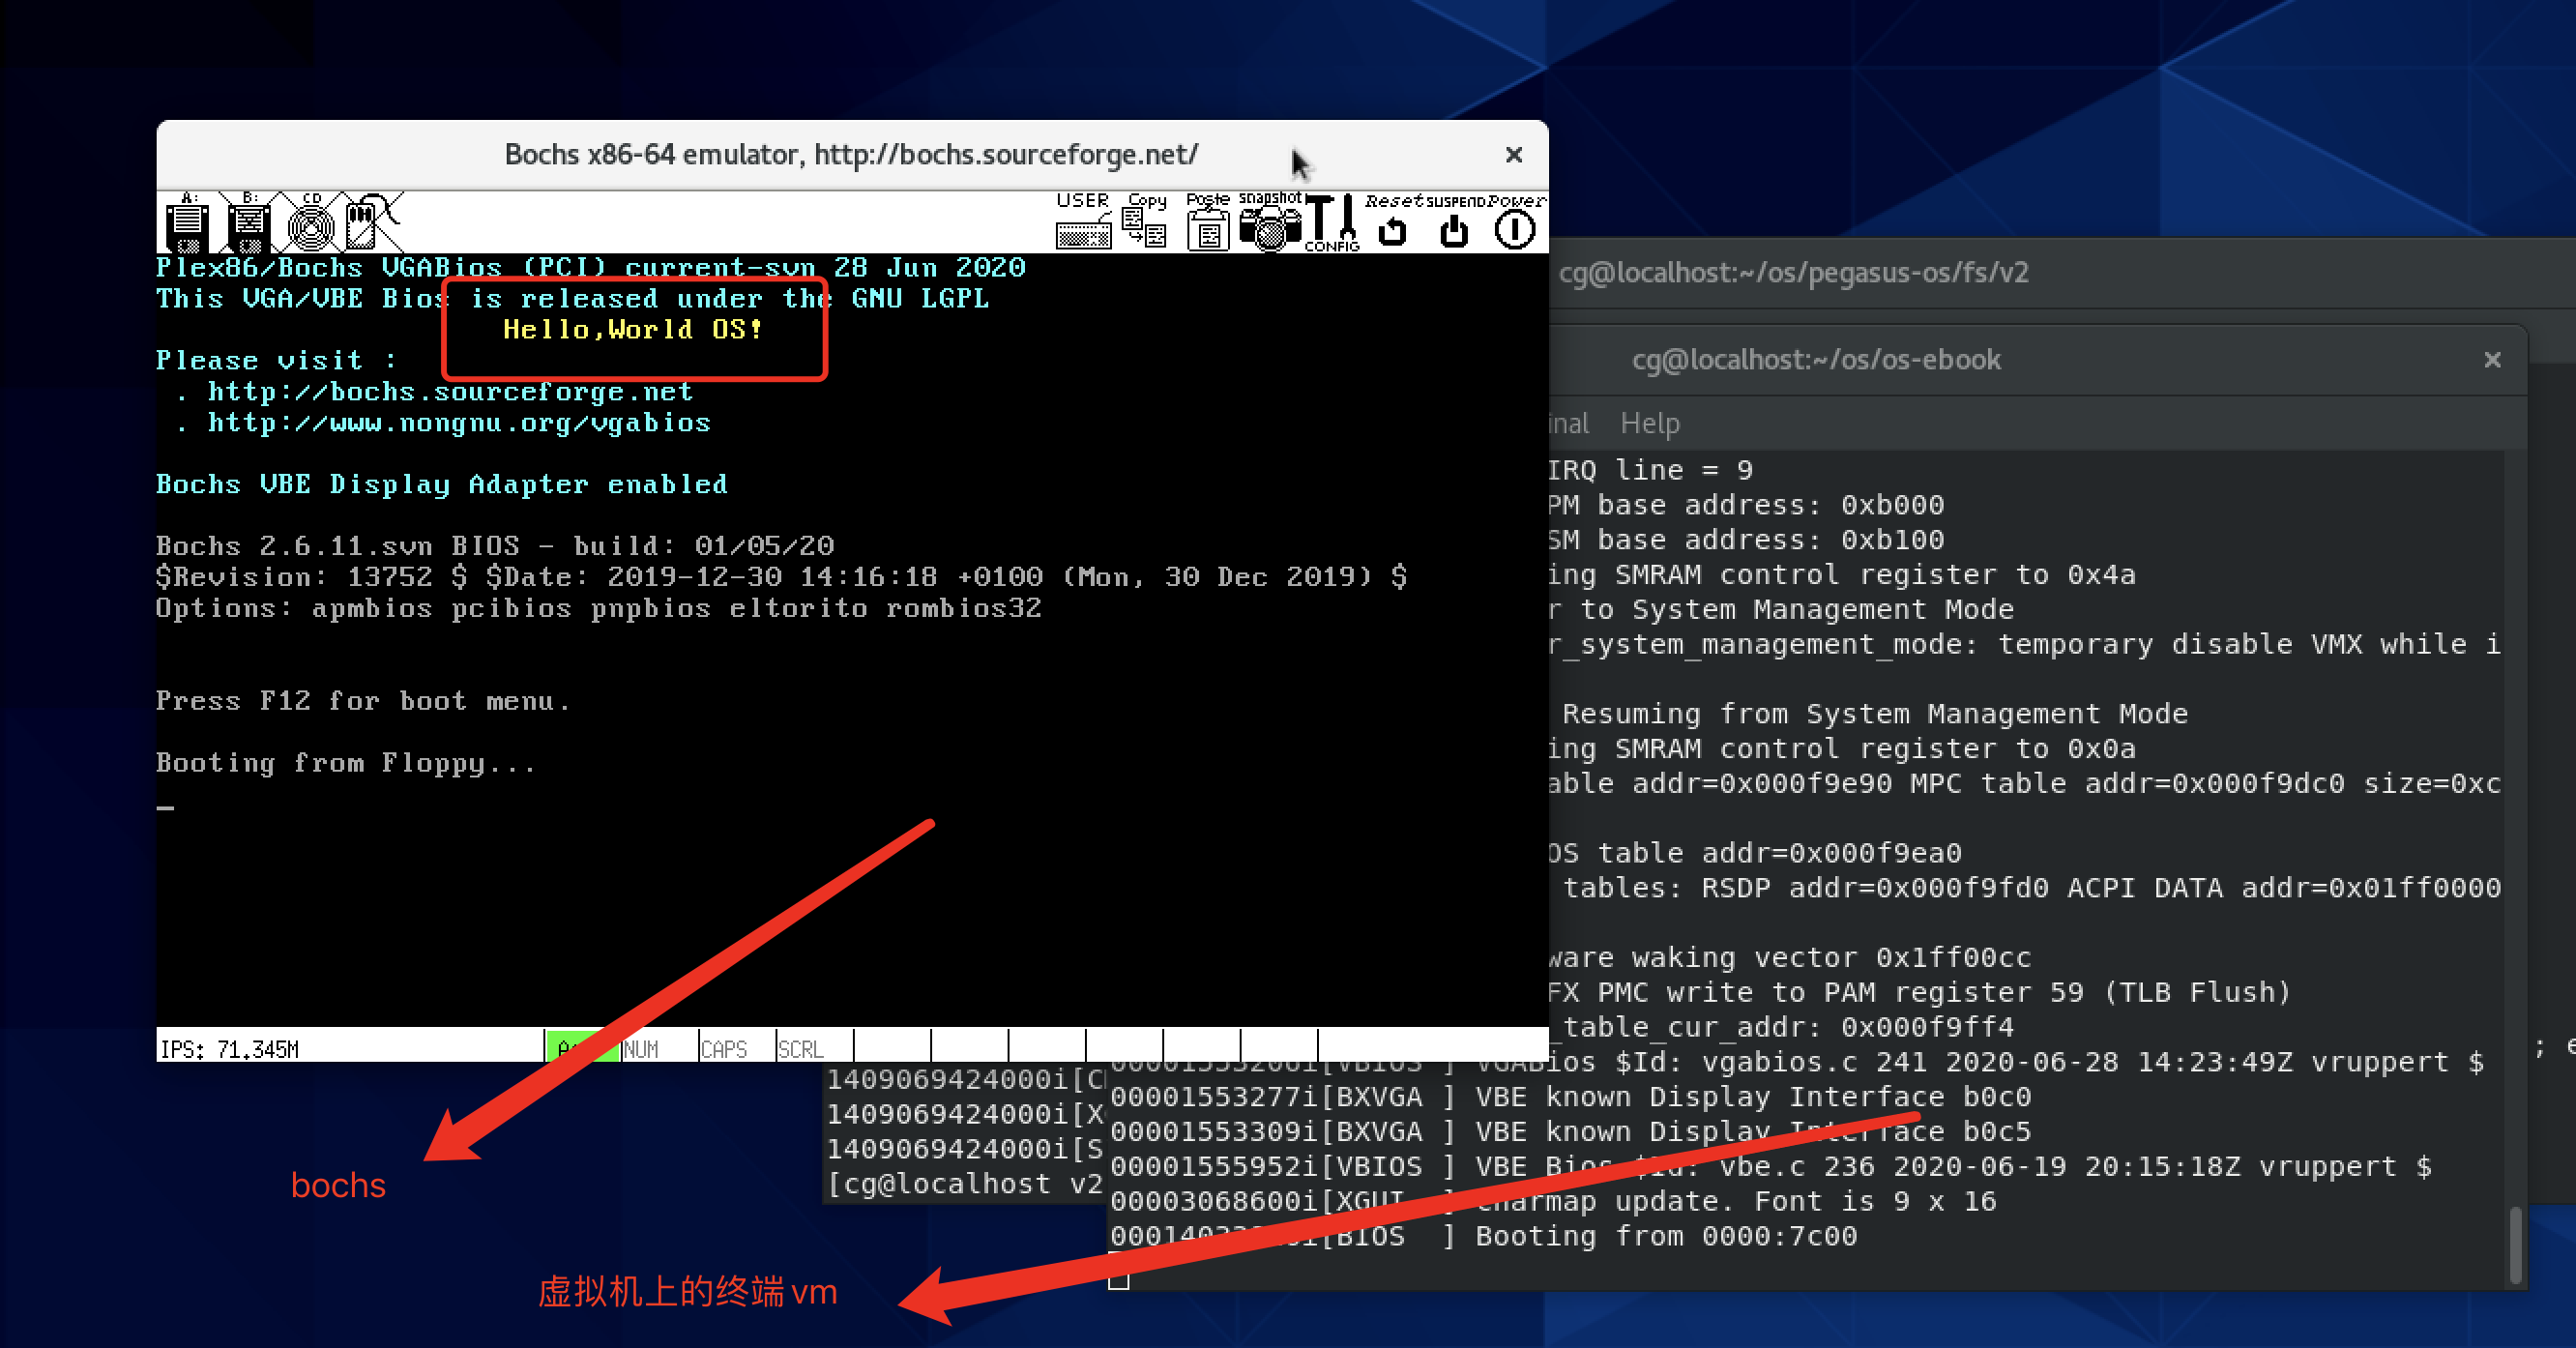
解说
把上面图中的那个bochs画面叫做操作系统实在有点勉强。
事实上,它只是一个引导扇区。虽然它不是操作系统,但操作系统的启动是从它开始的。
这个引导扇区只有512个字节,最后两个字节必须是55AA。
我们要用剩余的510个字节完成下面的任务:
- 安装
FAT12文件系统的相关数据,就是boot.asm中的BS_OEMName等数据。 - 把loader加载到内存中。
loader是什么?它是一个二进制程序,作用是把操作系统内核加载到内存中。
是的,loader的主要作用也是加载其他二进制文件到内存中,但是会复杂一些。
对了,boot.asm中使用的编程语言是一种叫做nasm的汇编语言。它的官网是:https://nasm.us/index.php 。
好了,本篇到这里就结束了,祝读者朋友们一切顺利!反正我当初是非常不顺利的。