1、概述
我们有的时候,通过nginx开启http服务,作为文件服务器,但是,默认的是没有用户名和密码的认证的,出于安全的考虑,我们需要为我们的文件服务器开启最基本的认证,也就是用户名和密码的认证。
OK,接下来的内容,就是介绍如何在nginx中开启用户名、密码的认证方式,来保证基本的访问安全。
2、配置过程
2.1、设置用户名、密码文件
- 设置用户名
echo -n 'admin:' >> /etc/nginx/.htpasswd执行过程
[root@node142 ~]# echo -n 'admin:' >> /etc/nginx/.htpasswd
[root@node142 ~]#
[root@node142 ~]# cat /etc/nginx/.htpasswd
admin:[root@node142 ~]# - 设置密码
openssl passwd -apr1 >> /etc/nginx/.htpasswd执行过程
[root@node142 ~]# openssl passwd -apr1 >> /etc/nginx/.htpasswd
Password:
Verifying - Password:
[root@node142 ~]#

# 输入2次相同的密码

[root@node142 ~]# cat /etc/nginx/.htpasswd
admin:$apr1$t48tHG.G$h20FRAI1fbrBXY3BD0Td90
[root@node142 ~]#

# 查看密码文件,已经生成了加密的密码
OK,至此,密码文件配置完成
2.2、修改nginx的设置(增加认证设置)
- 修改nginx.conf文件,增加如下的部分
vi /etc/nginx/nginx.conf
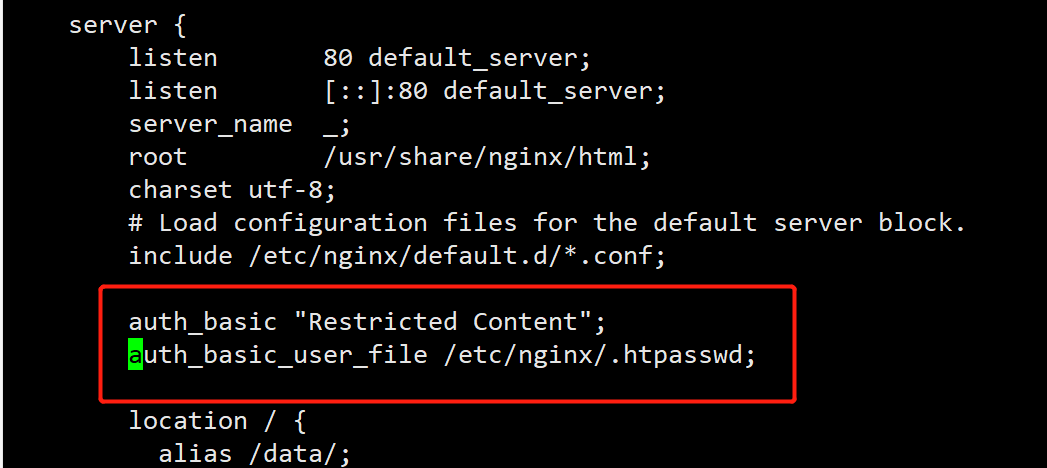
在server部分,增加如下的内容:
auth_basic "Restricted Content";
auth_basic_user_file /etc/nginx/.htpasswd;增加之后的效果:
- 重新启动nginx服务
[root@node142 ~]# nginx -t
nginx: the configuration file /etc/nginx/nginx.conf syntax is ok
nginx: configuration file /etc/nginx/nginx.conf test is successful
[root@node142 ~]# nginx -s reload
[root@node142 ~]#
2.3、访问验证
- 通过浏览器访问nginx的路径
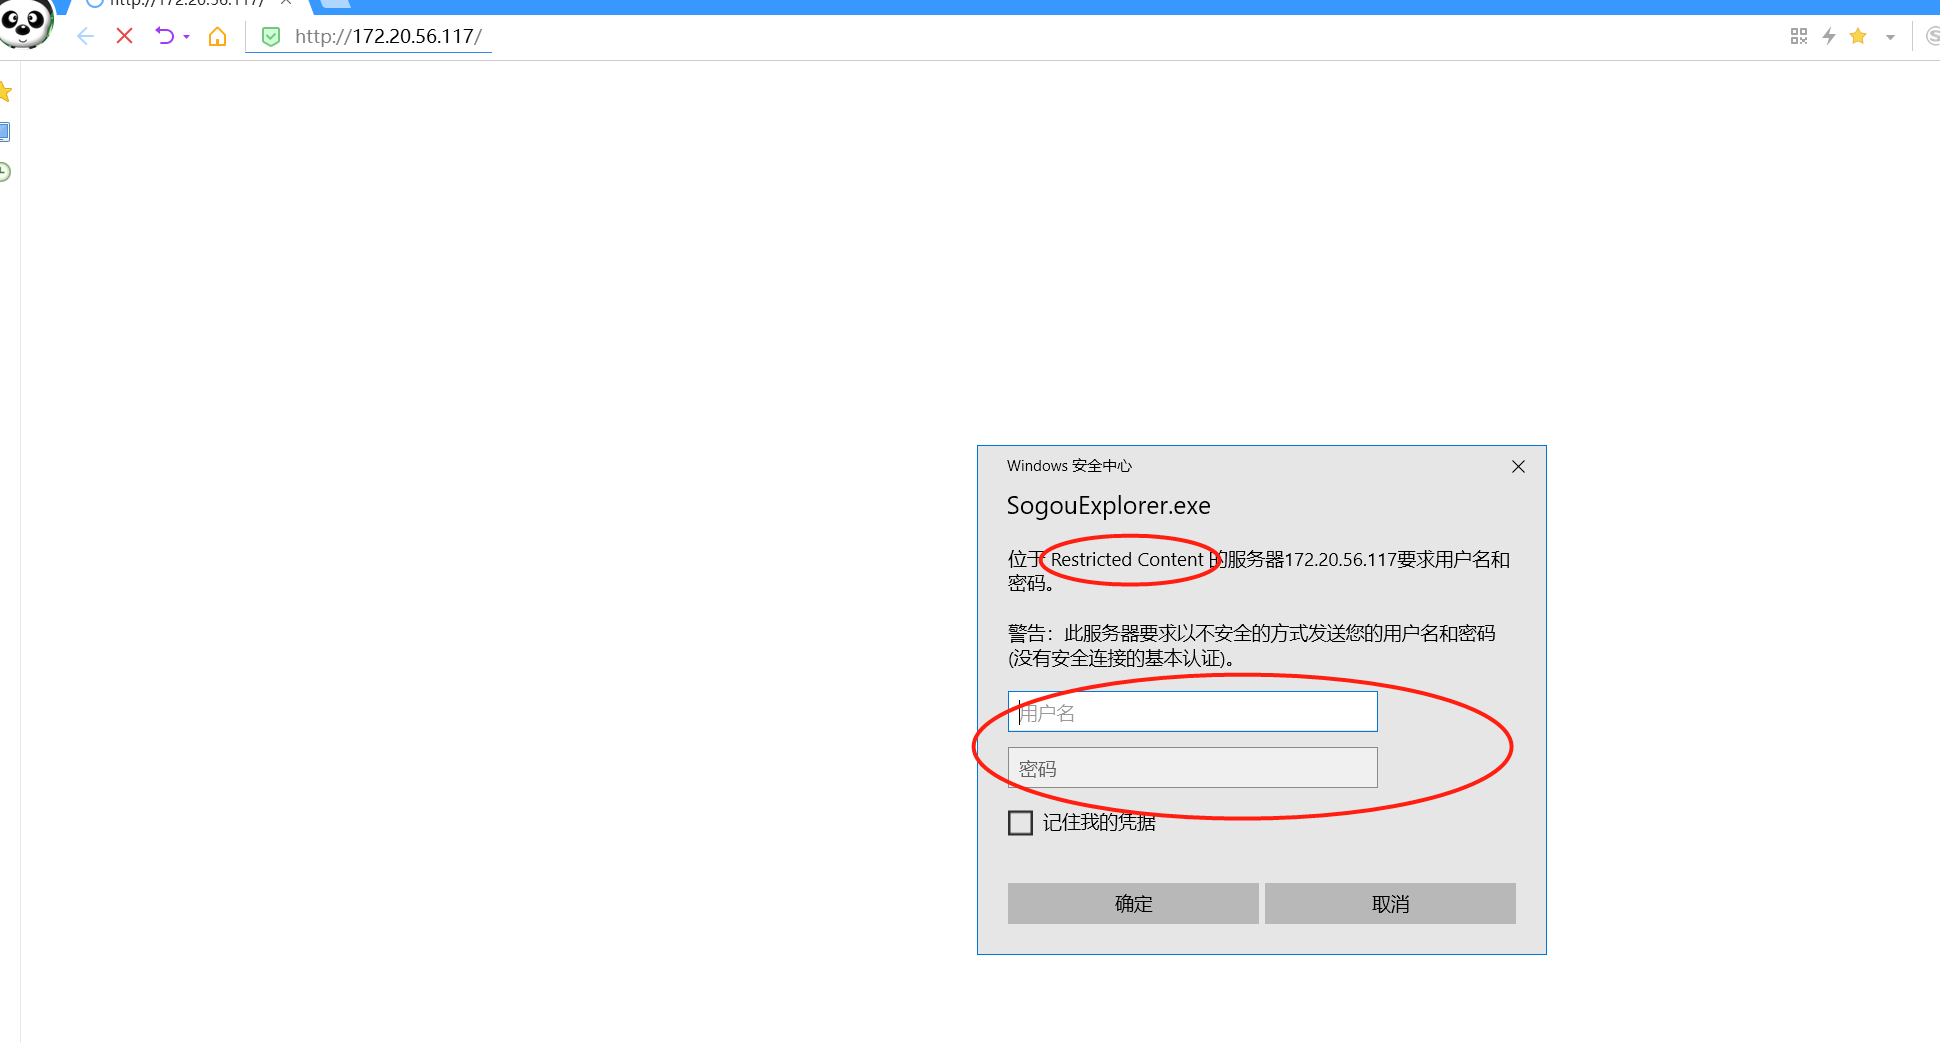
访问文件路径的时候,提示输入用户名、密码信息
- 输入用户名、密码
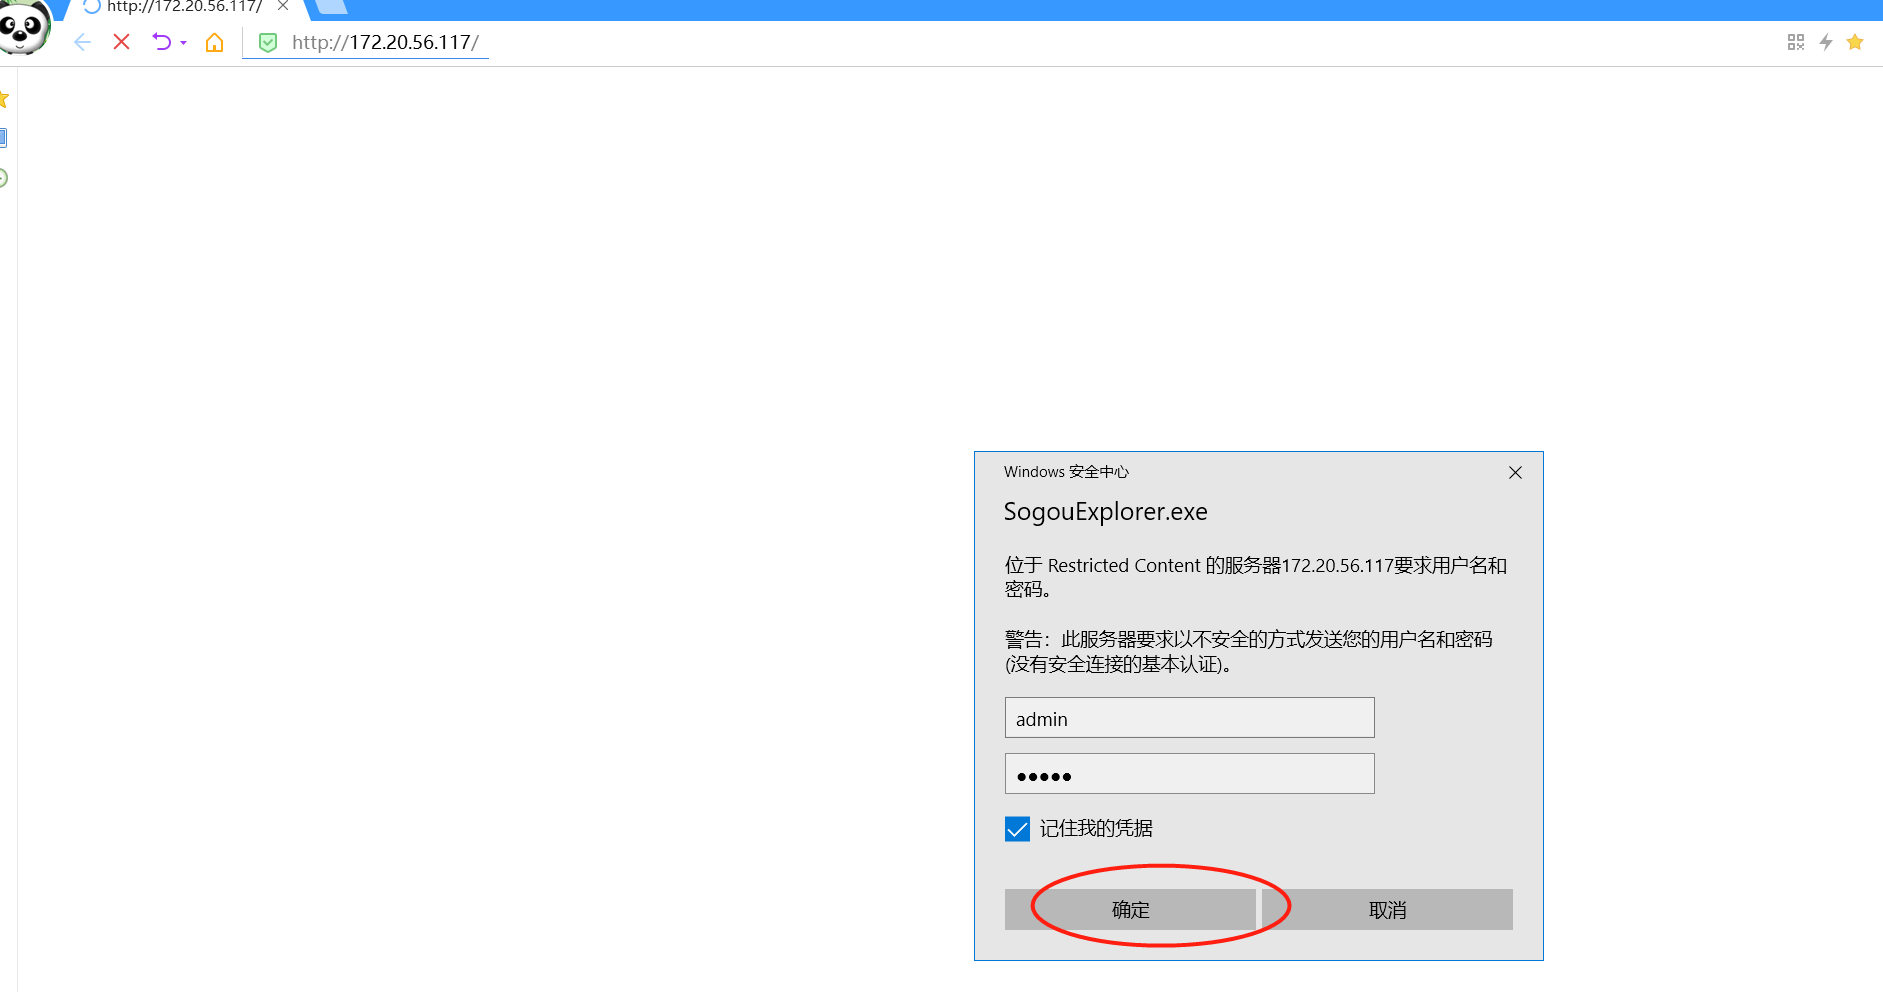
发现,可以查看其中的内容
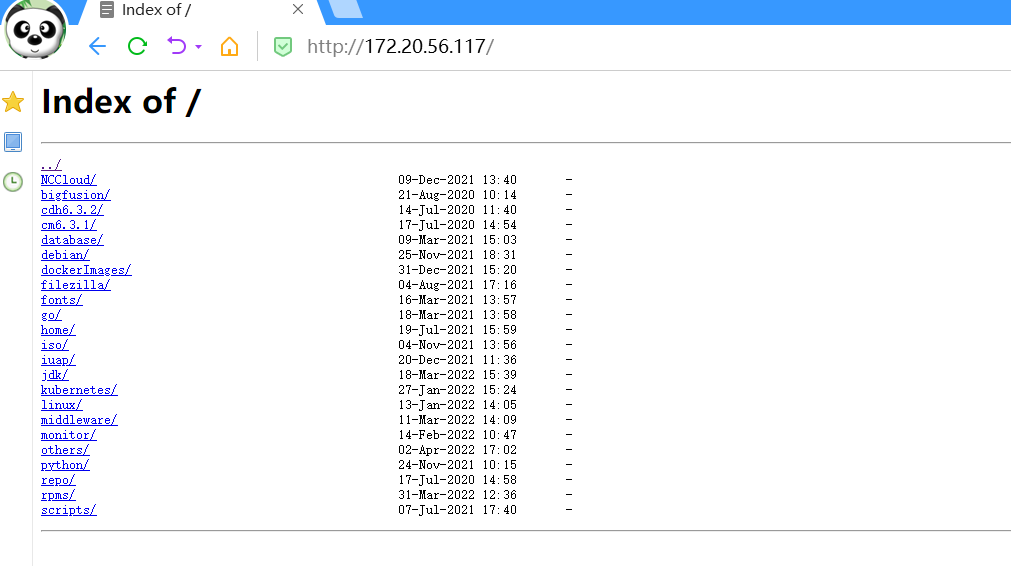
OK,至此,关于nginx中设置基本的用户名、密码的认证方式就完成了。