• 图的遍历——BFS


    原创


    裸一篇图的BFS遍历,直接来图:

     简单介绍一下BFS遍历的过程:

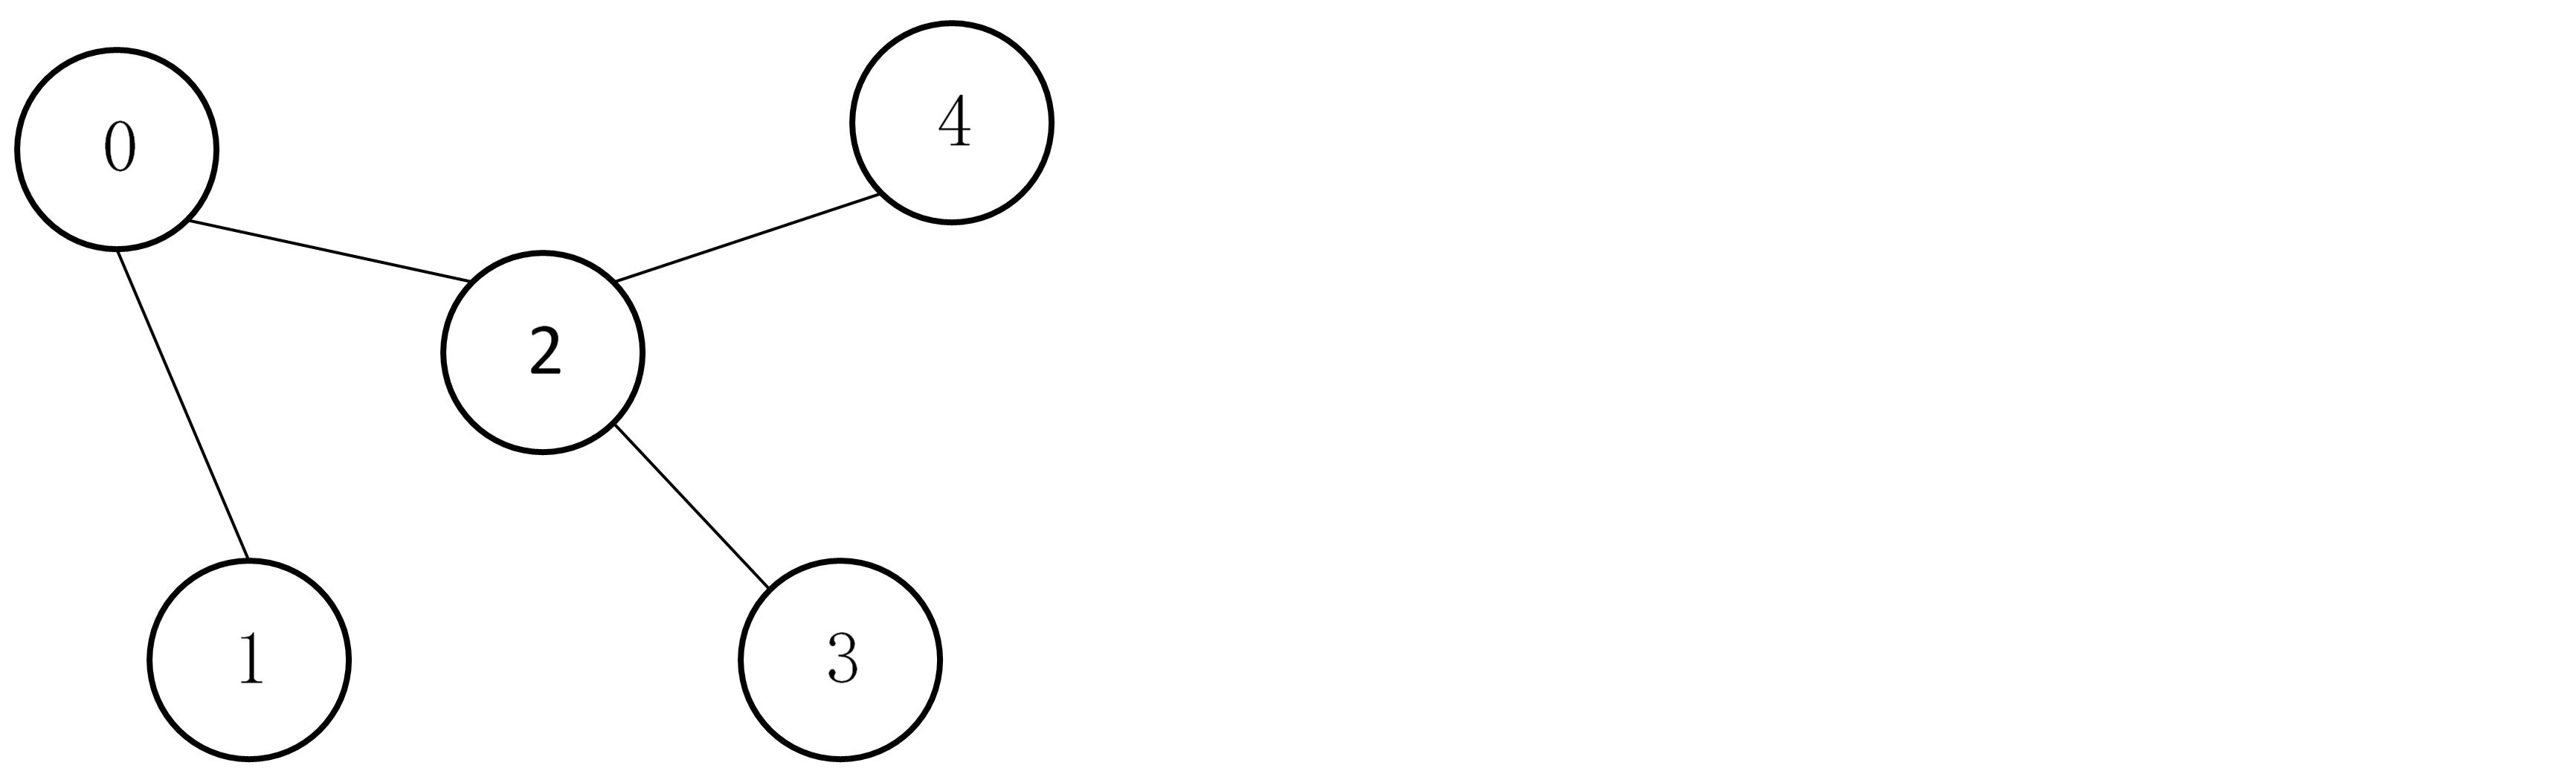
      以上图为例子,从0开始遍历,访问0,按大小顺序访问与0相邻的所有顶点,即先访问1,再访问2;

    至此顶点0已经没有作用了,因为其本身和与其所有相邻的顶点都已被访问,将其出队列,我们用队列

    存储已访问过的顶点;然后顺着队列,访问顶点1和所有与顶点1相邻的顶点,这里没有,所有访问顶点

    2和所有与顶点2相邻的结点,即3和4,注意,是先访问3,再访问4,因为采用邻接矩阵来存储图。

    Java:

    import java.util.*;
    
    public class 图的遍历_bfs {
        
        static int v;    //顶点数
        static int e;    //边数
        static int array[][];    //邻接矩阵
        static int book[];    //标记
        static int que[];    //队列
        static int max=99999;    //无穷
    
        public static void main(String[] args) {
            Scanner reader=new Scanner(System.in);
            v=reader.nextInt();
            e=reader.nextInt();
            array=new int[v][v];
            book=new int[v];
            que=new int[v];
            //矩阵初始化
            for(int i=0;i<v;i++) {
                for(int j=0;j<v;j++) {
                    if(i==j) {
                        array[i][j]=0;
                    }
                    else {
                        array[i][j]=max;
                    }
                }
            }
            //读入边
            for(int i=0;i<e;i++) {
                int first_One=reader.nextInt();
                int second_Two=reader.nextInt();
                array[first_One][second_Two]=1;
                array[second_Two][first_One]=1;
            }
            int head=0;    //头指针
            int tail=0;    //尾指针
            que[tail]=0;    //从顶点0开始遍历
            book[0]=1;
            tail++;
            while(head<tail) {
                for(int i=0;i<v;i++) {
                    if(array[ que[head] ][i]==1 && book[i]==0) {
                        que[tail]=i;    //加入队列
                        tail++;
                        book[i]=1;
                    }
                    if(tail>v-1) {
                        break;
                    }
                }
                head++;
            }
            for(int i=0;i<v;i++) {
                System.out.print(que[i]+" ");
            }
        }
    
    }

    测试用例:

    输入:

    6 5
    0 1
    1 2
    2 3
    0 4
    4 5

    输出:

    0 1 4 2 5 3

    22:34:03

    2018-07-22

  • 相关阅读:
    Python实现TCP服务端的并发
    python程序中的线程操作
    jmeter命令行执行脚本_动态参数设置
    App客户端性能测试点总结
    App功能测试点总结
    jmeter中生成UUID作为唯一标识符
    Python Unittest进行接口测试的简单示例
    jmeter接口测试中的用例数据分离
    博客园看板娘的简单添加
    (转)后端服务性能压测实践
  • 原文地址:https://www.cnblogs.com/chiweiming/p/9351798.html
Copyright © 2020-2023  润新知