本篇介绍使用Anaconda搭建Tensorflow环境的过程。
安装Anaconda
Anaconda是Python的包管理器和环境管理器
按照步骤安装即可,记得勾选自动配置环境变量。
安装完成后conda --version 查看安装版本

安装TensorFlow
1. 配置清华镜像源,打开安装好的Anaconda Prompt

2. 依次执行 conda config --add channels https://mirrors.tuna.tsinghua.edu.cn/anaconda/pkgs/free/,conda config --set show_channel_urls yes
3. 下载安装tensorflow conda create -n tensorflow python=3.6.2 python为安装的版本,python --version可查看

4. 中途需要输入y,即可安装完成
5. 启动tensorflow环境,activate tensorflow,然后进入python
6. 引用tensorflow发现会报错import tensorflow as tf,如果没有忽略

7. exit()退出python环境,conda install tensorflow安装tensorflow其他依赖包
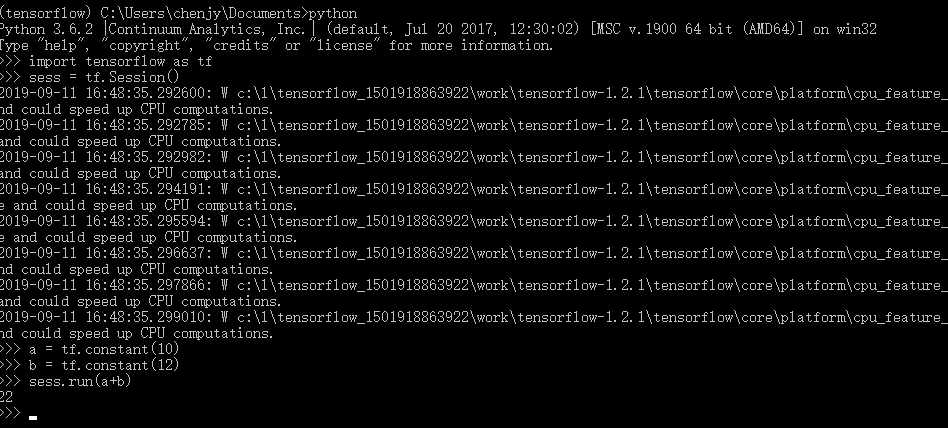
8. 终于成功了,测试一下

9. 我们会看到一系列的警告,提示您的cpu支持SSE指令,它允许一些快速的硬件并行操作。因为不是编译安装的。但是不影响程序的正常运行。
如果使用的是GPU版本则不会有影响。
// 屏蔽警告信息
import os
os.environ['TF_CPP_MIN_LOG_LEVEL']='2'
下载失败
An HTTP error occurred when trying to retrieve this URL. HTTP errors are often intermittent, and a simple retry will get you on your way.

# 在原来的基础上,然后重试即可
conda config --add channels https://mirrors.tuna.tsinghua.edu.cn/anaconda/cloud/msys2/
conda config --add channels https://mirrors.tuna.tsinghua.edu.cn/anaconda/cloud/conda-forge/
conda config --set show_channel_urls yes
运行错误
在新机器安装的时候出现过FutureWarning: Passing (type, 1) or '1type' as a synonym of type is deprecate错误

-
错误为tensorflow版本与numpy不匹配
-
查看tensorflow和numpy版本
import tensorflow as tf

tf.__version__


import numpy

numpy.__version__
- 修改numpy版本
pip install "numpy<1.17"
- 再次运行

在Pycharm编辑器中使用
选择下载社区版(免费使用)
- 安装完成后
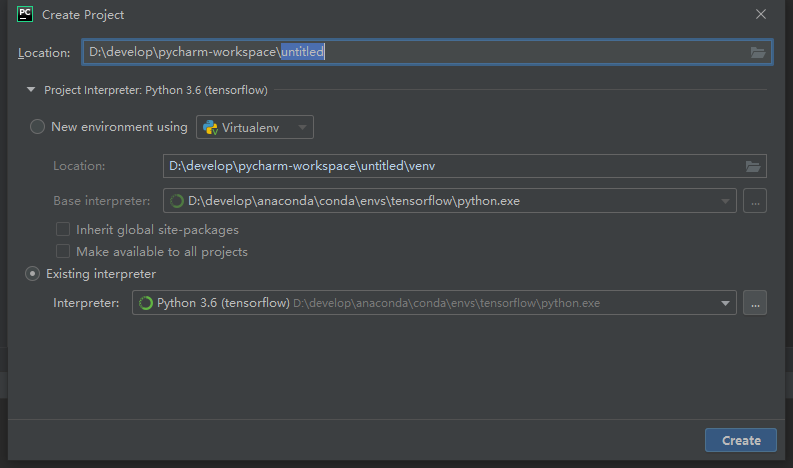
新建项目,interpreter选择anaconda安装目录下envs/tensorflow/python.exe

- 新建
test.py
import os
os.environ['TF_CPP_MIN_LOG_LEVEL']='2'
import tensorflow as tf
sess = tf.Session()
a = tf.constant(10)
b = tf.constant(12)
print(sess.run(a+b))
