实验环境继续使用git的实验环境,详情请点击连接https://www.cnblogs.com/cash-su/p/10131632.html
首先给服务器做一个本机的映射
[root@git1 ~]# echo "git1 127.0.0.1" >> /etc/hosts
gitlab安装包下载
[root@git1 ~]# wget https://mirrors.tuna.tsinghua.edu.cn/gitlab-ce/yum/el7/gitlab-ce-11.2.3-ce.0.el7.x86_64.rpm
然后安装包
[root@git1 ~]# yum -y localinstall gitlab-ce-11.2.3-ce.0.el7.x86_64.rpm #(这个方法是yum本地安装rpm包,有依赖yum会自己找,不用自己安装依赖包)
重新初始化gitlab
[root@git1 ~]# gitlab-ctl reconfigure
看下gitlab状态
[root@git1 ~]# gitlab-ctl status
run: alertmanager: (pid 17423) 113s; run: log: (pid 17430) 112s
run: gitaly: (pid 17366) 115s; run: log: (pid 17376) 115s
run: gitlab-monitor: (pid 17394) 114s; run: log: (pid 17397) 114s
run: gitlab-workhorse: (pid 17352) 116s; run: log: (pid 17357) 115s
run: logrotate: (pid 16626) 432s; run: log: (pid 17362) 115s
run: nginx: (pid 16578) 438s; run: log: (pid 17361) 115s
run: node-exporter: (pid 16782) 414s; run: log: (pid 17379) 115s
run: postgres-exporter: (pid 17437) 112s; run: log: (pid 17446) 112s
run: postgresql: (pid 16105) 527s; run: log: (pid 17341) 116s
run: prometheus: (pid 17405) 113s; run: log: (pid 17413) 113s
run: redis: (pid 15958) 538s; run: log: (pid 17342) 116s
run: redis-exporter: (pid 16986) 280s; run: log: (pid 17396) 114s
run: sidekiq: (pid 16458) 450s; run: log: (pid 17344) 116s
run: unicorn: (pid 16391) 456s; run: log: (pid 17343) 116s
看gitlab的版本号
[root@git1 ~]# cat /opt/gitlab/embedded/service/gitlab-rails/VERSION
11.2.3
我们开始访问私人仓库地址就是服务器地址,默认的是80端口
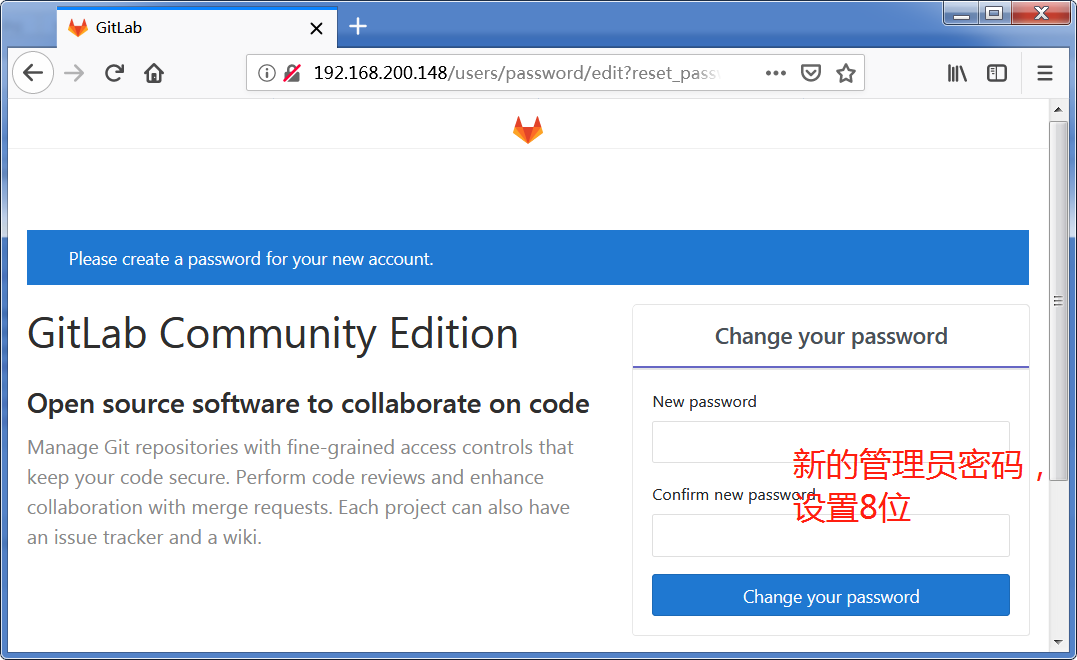
然后登陆gitlab
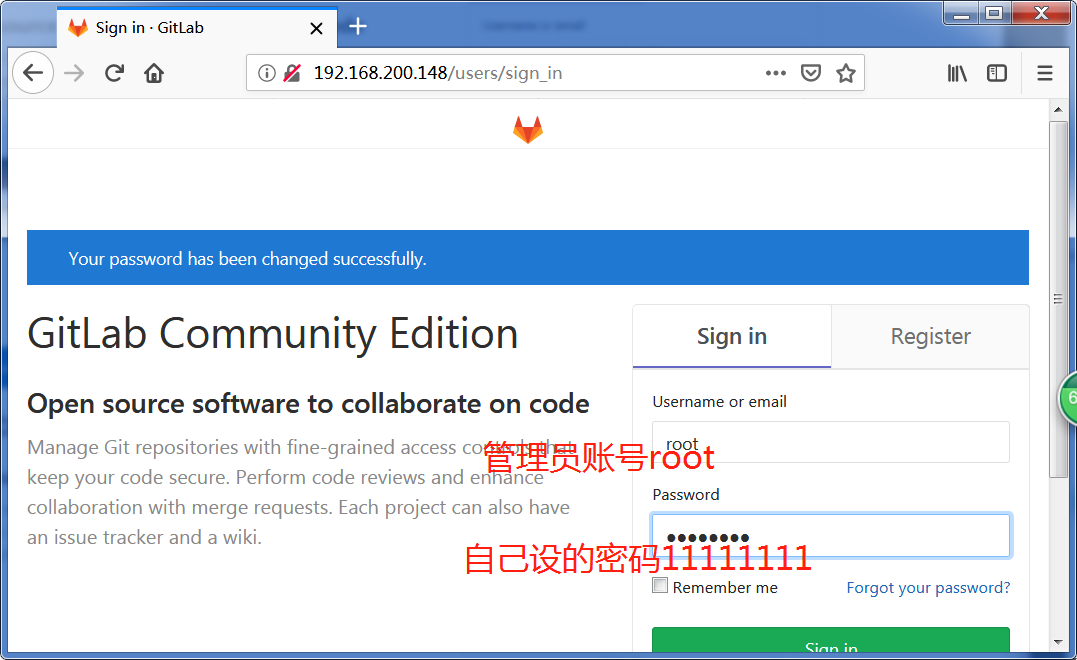
登陆以后的加密
打中文补丁
[root@git1 ~]# tar xf gitlab-11-2-stable-zh.tar.gz
查看补丁的版本号,需要补丁和gitlab的版本号一致
[root@git1 ~]# ls
anaconda-ks.cfg gitlab-11-2-stable-zh.tar.gz Python-3.5.2.tgz
apache-maven-3.5.0-bin.tar.gz gitlab-ce-11.2.3-ce.0.el7.x86_64.rpm solo.tar.gz
apache-tomcat-8.5.31.tar.gz jdk-8u171-linux-x64.tar.gz wordpress-4.9.4-zh_CN.tar.gz
git-2.9.5.tar.gz jenkins-2.138.1-1.1.noarch.rpm
gitlab-11-2-stable-zh nexus-3.13.0-01-unix.tar.gz
[root@git1 ~]# cat gitlab-11-2-stable-zh/VERSION
11.2.3
备份英文版的
[root@git1 ~]# cp -r /opt/gitlab/embedded/service/gitlab-rails{,.bak}
然后用中文补丁覆盖刚才的目录
[root@git1 ~]# /bin/cp -rf gitlab-11-2-stable-zh/* /opt/gitlab/embedded/service/gitlab-rails/
复制完了重编译,重启
[root@git1 ~]# gitlab-ctl reconfigure
[root@git1 ~]# gitlab-ctl restart
ok: run: alertmanager: (pid 21626) 0s
ok: run: gitaly: (pid 21635) 0s
ok: run: gitlab-monitor: (pid 21645) 0s
ok: run: gitlab-workhorse: (pid 21649) 1s
ok: run: logrotate: (pid 21658) 0s
ok: run: nginx: (pid 21666) 0s
ok: run: node-exporter: (pid 21671) 1s
ok: run: postgres-exporter: (pid 21686) 0s
ok: run: postgresql: (pid 21702) 0s
ok: run: prometheus: (pid 21706) 0s
ok: run: redis: (pid 21717) 1s
ok: run: redis-exporter: (pid 21724) 0s
ok: run: sidekiq: (pid 21814) 0s
ok: run: unicorn: (pid 21829) 0s
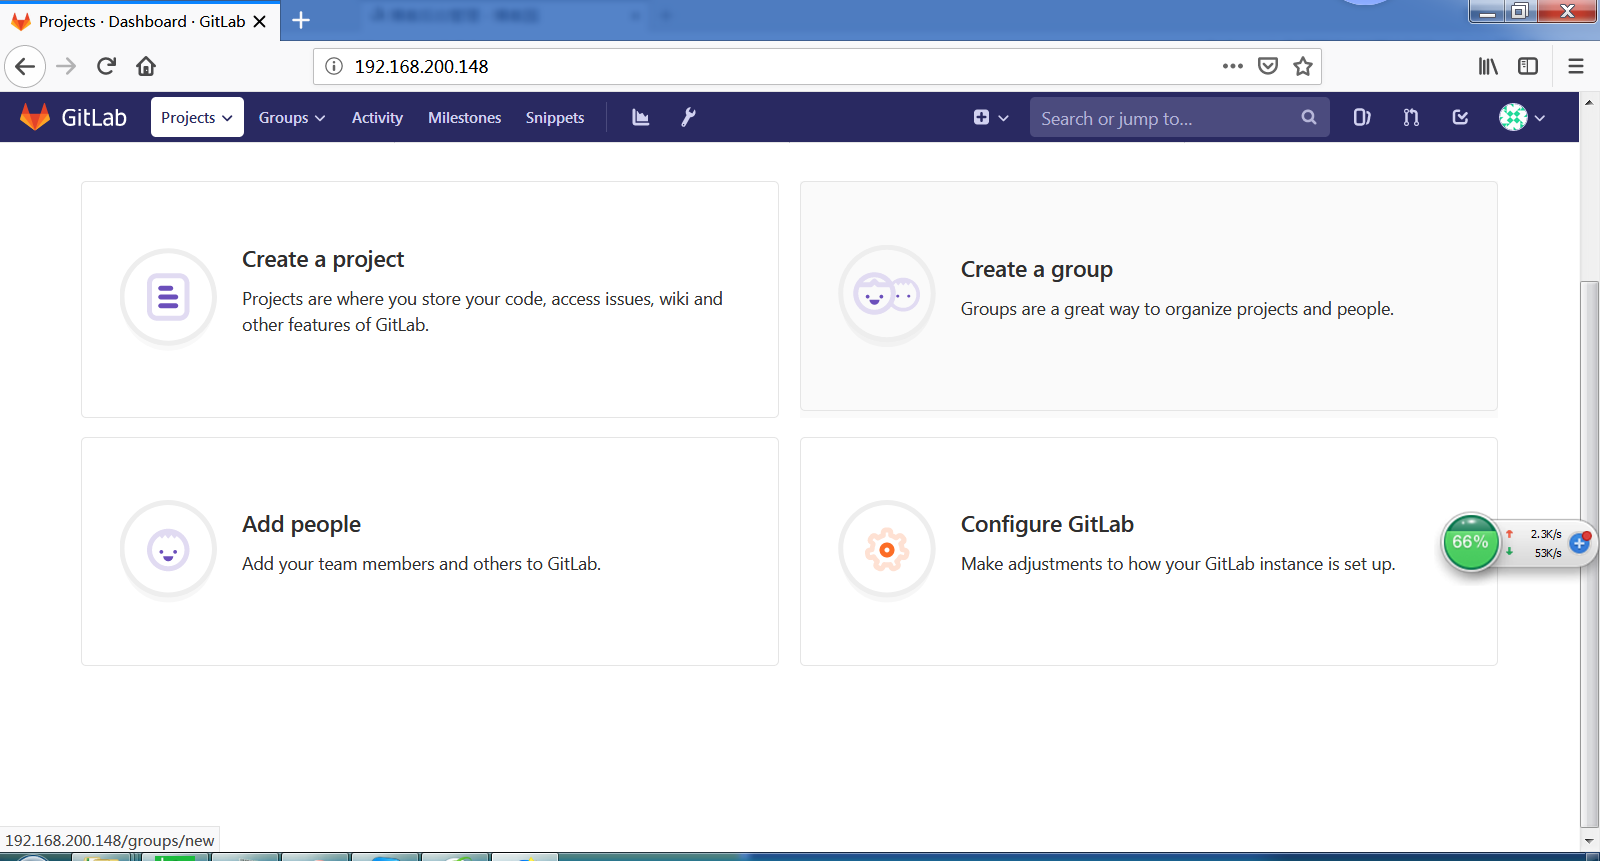
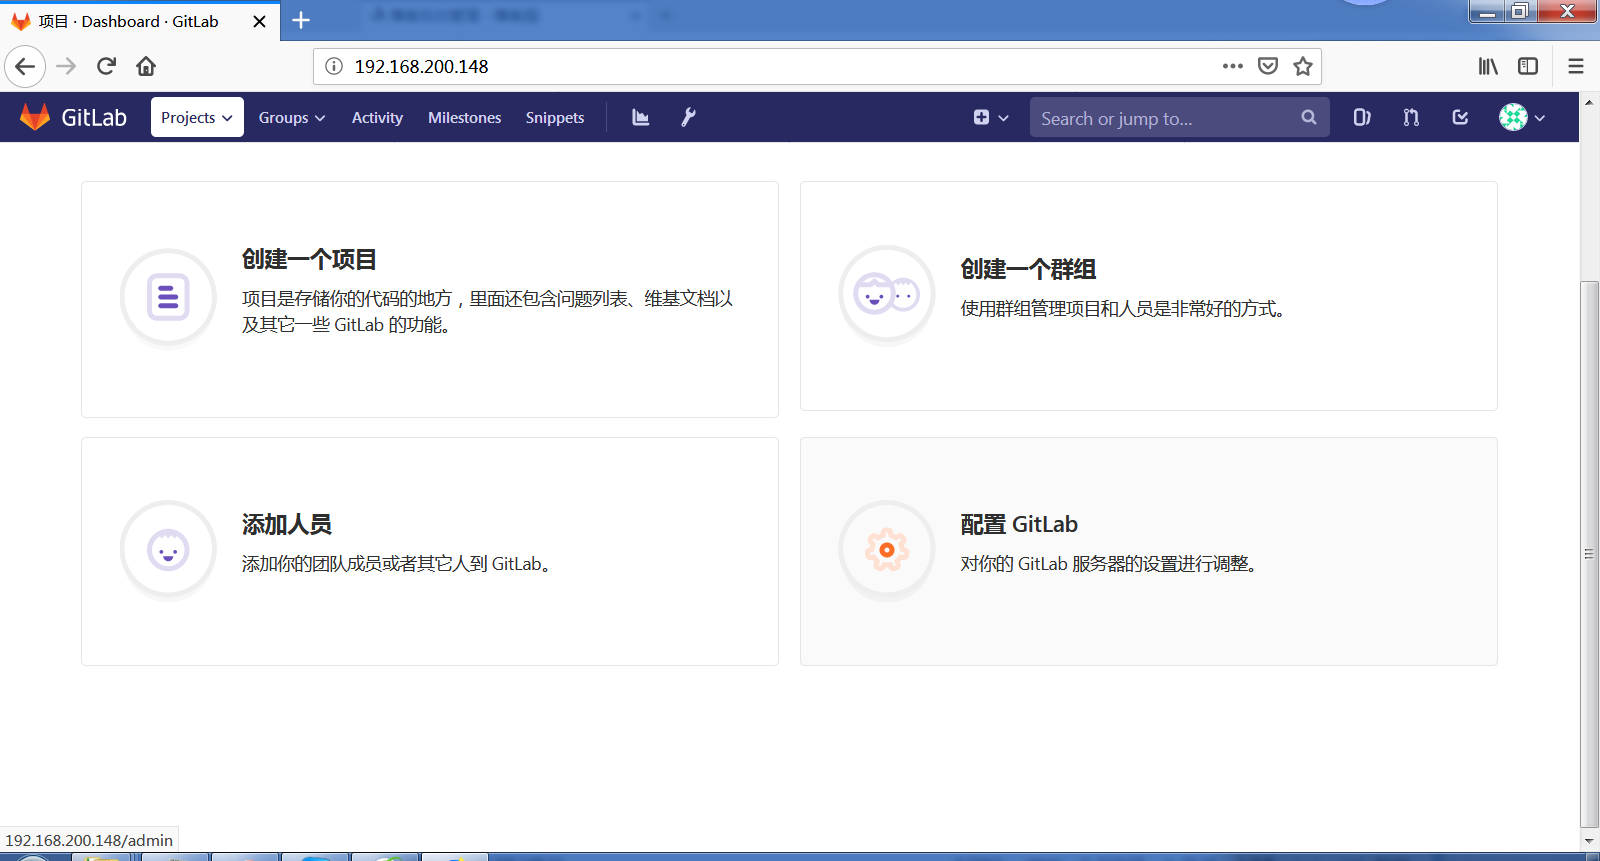
补丁完了的样子
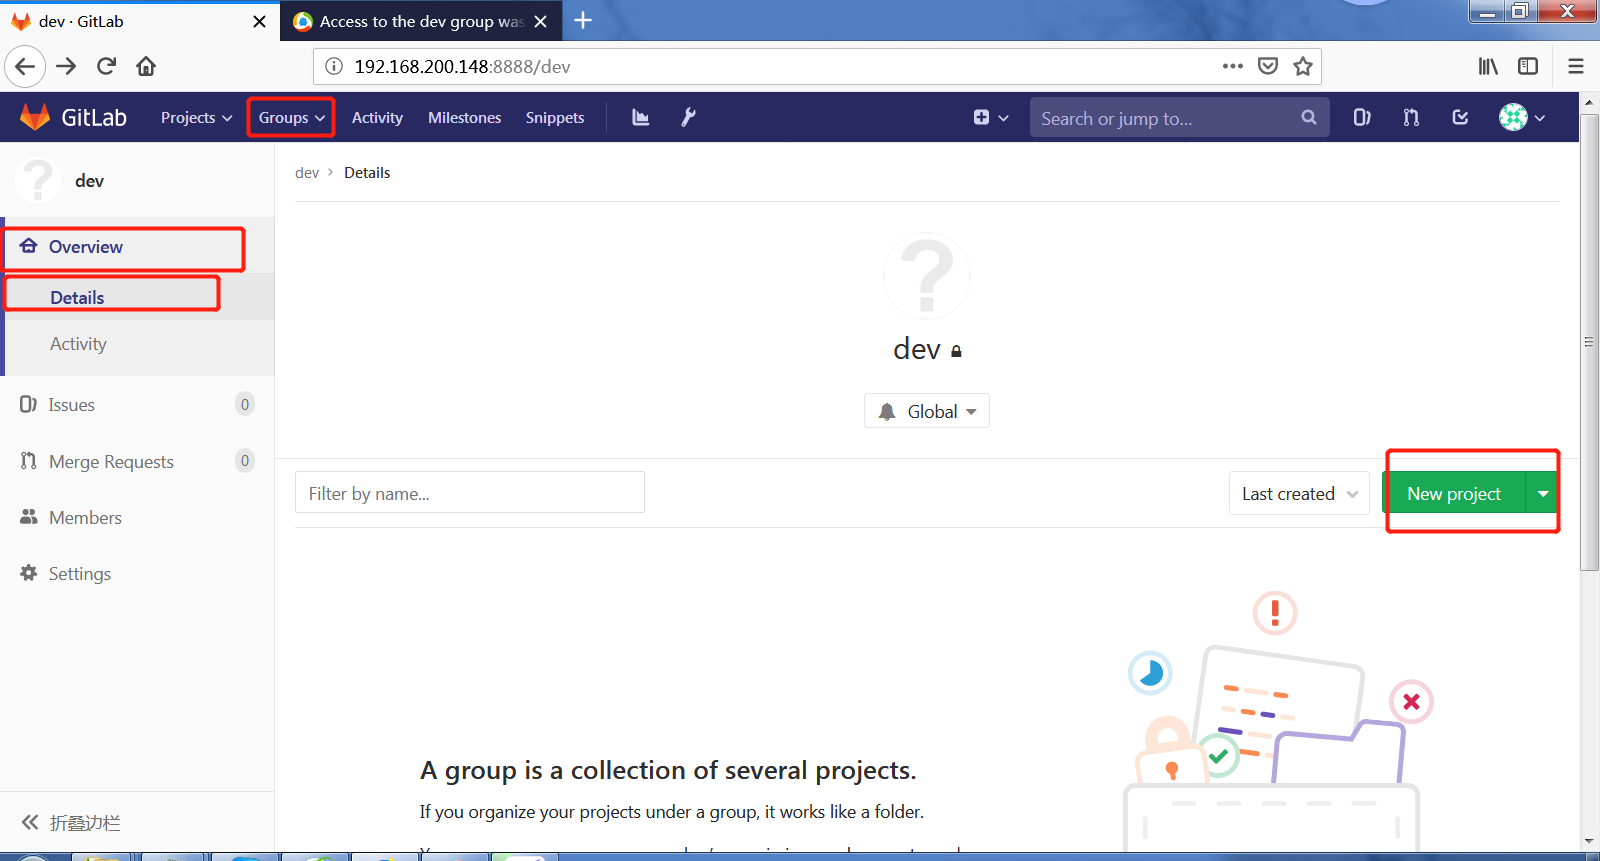
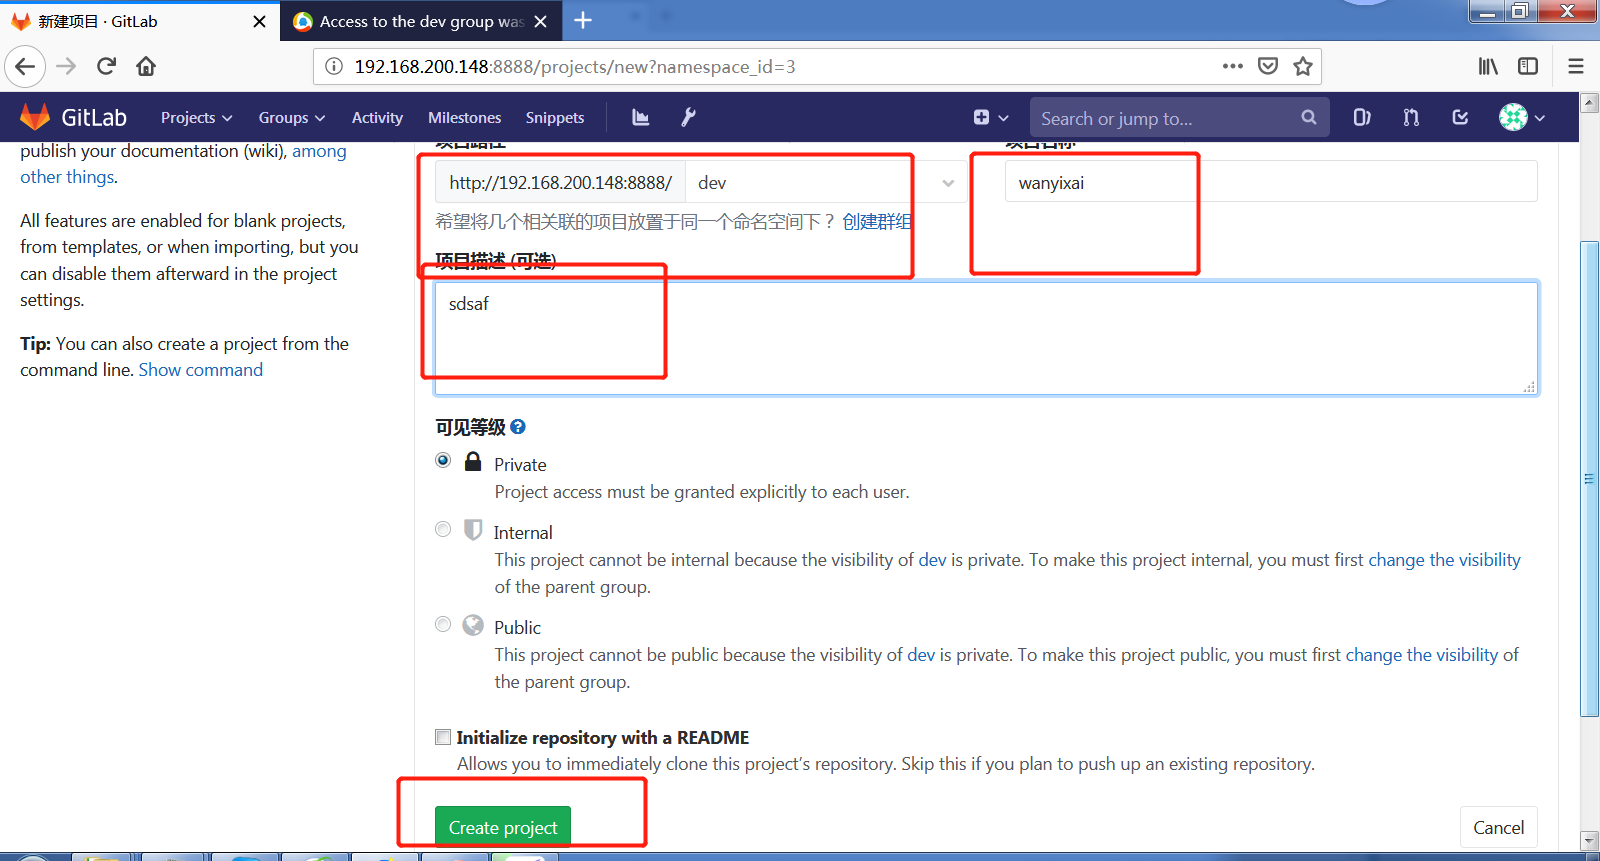
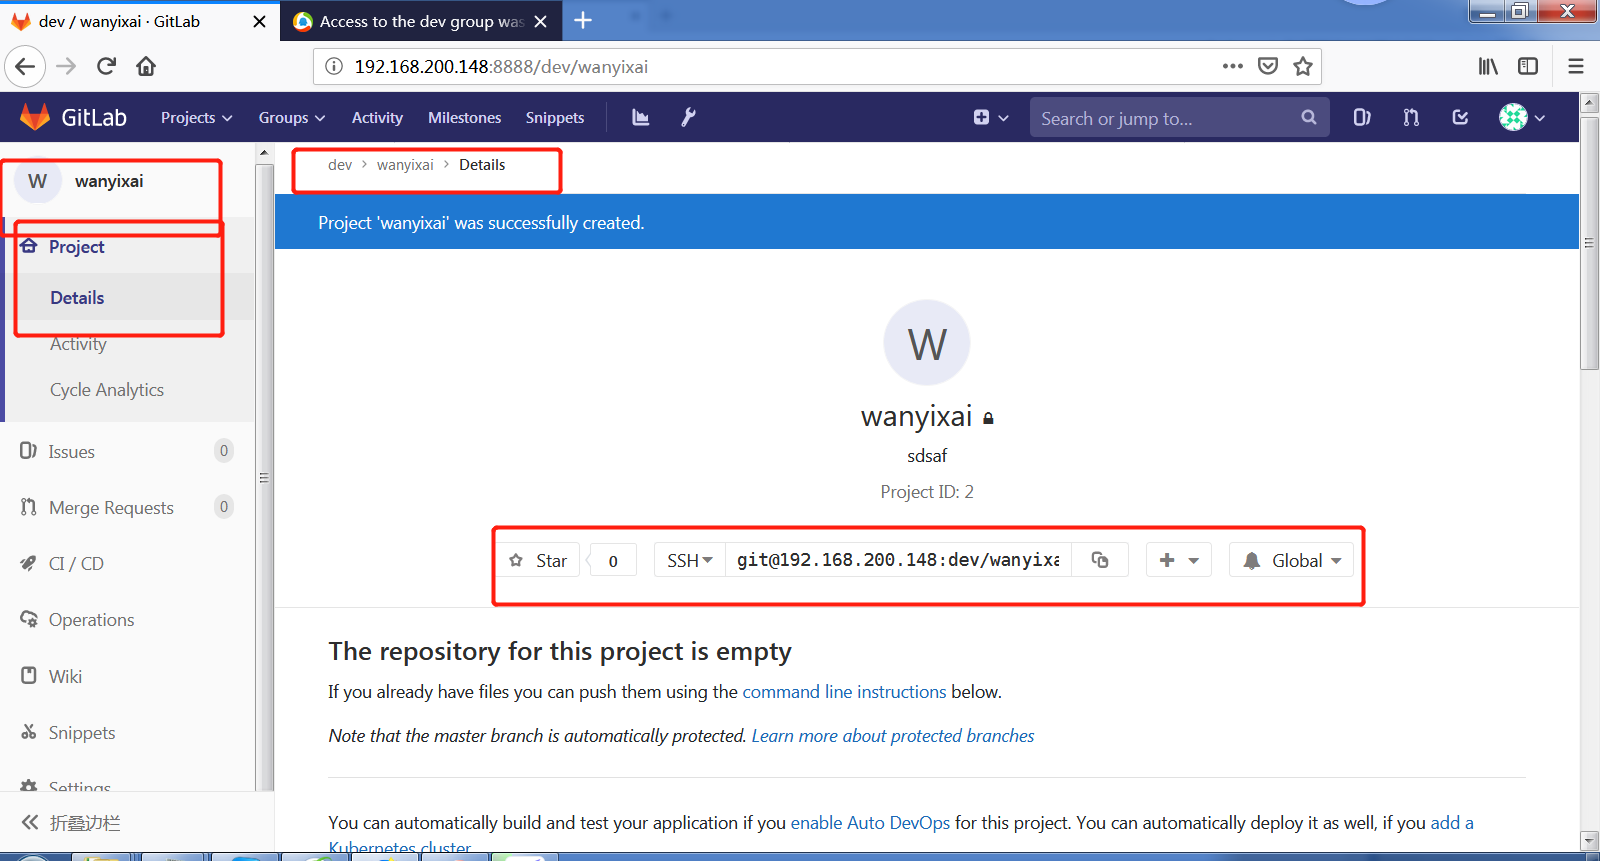
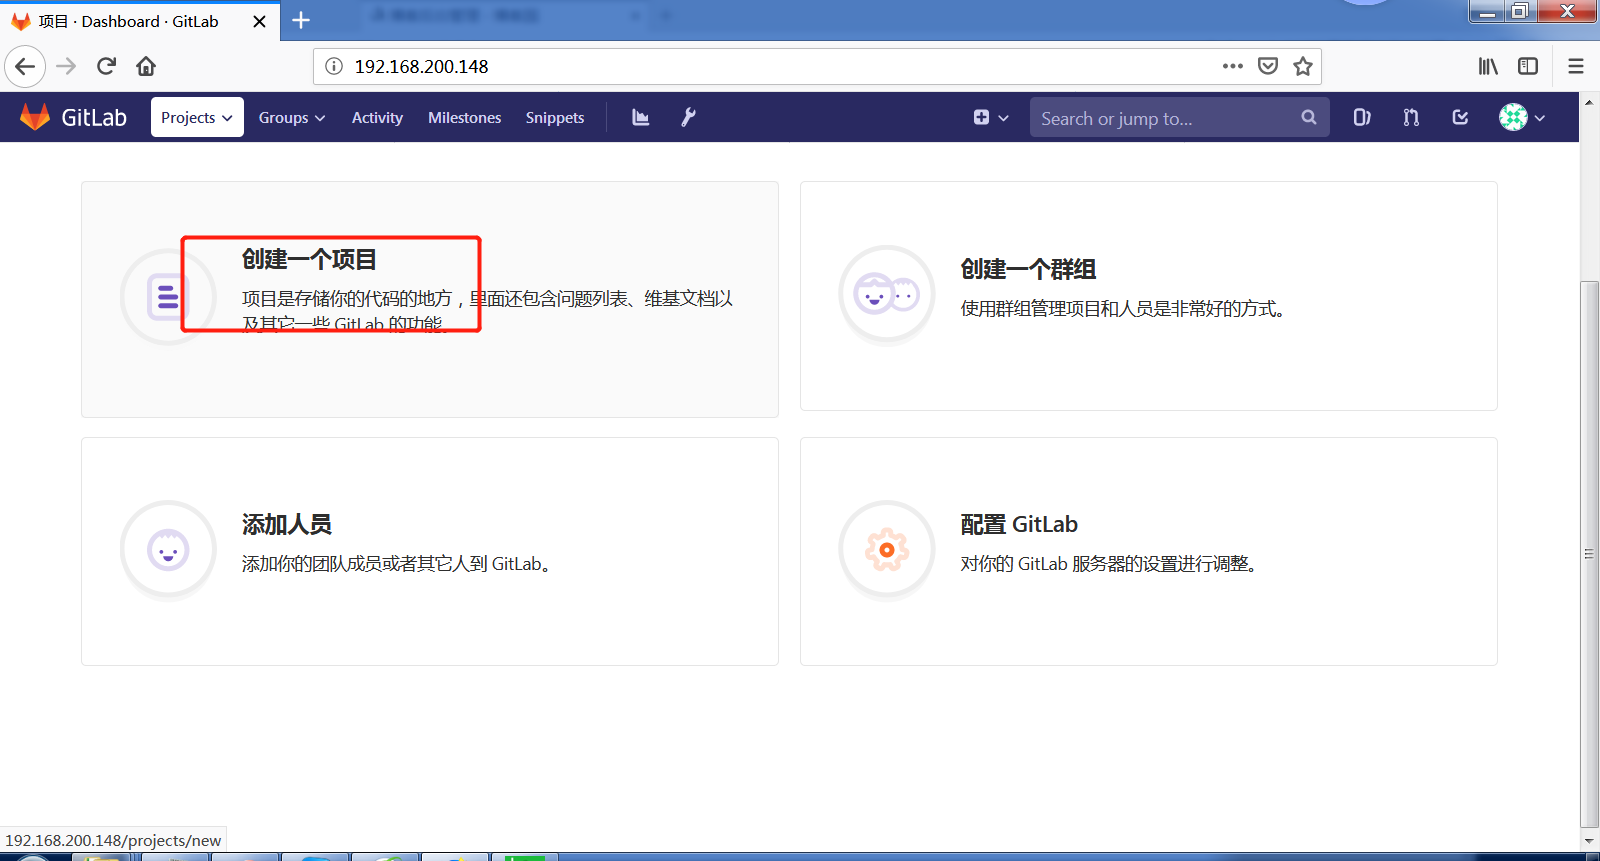
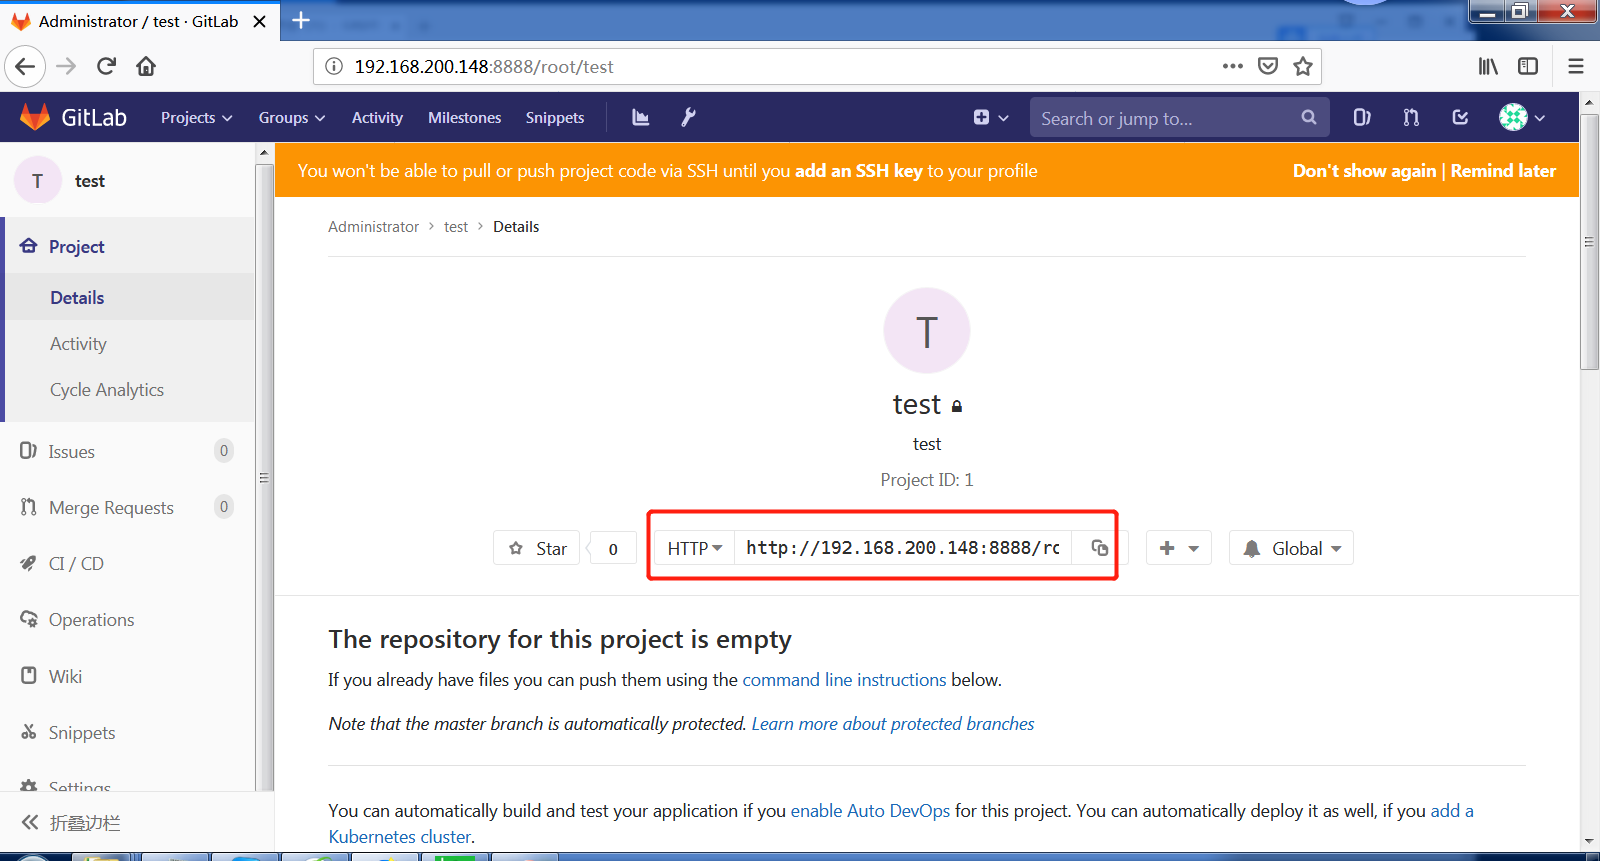
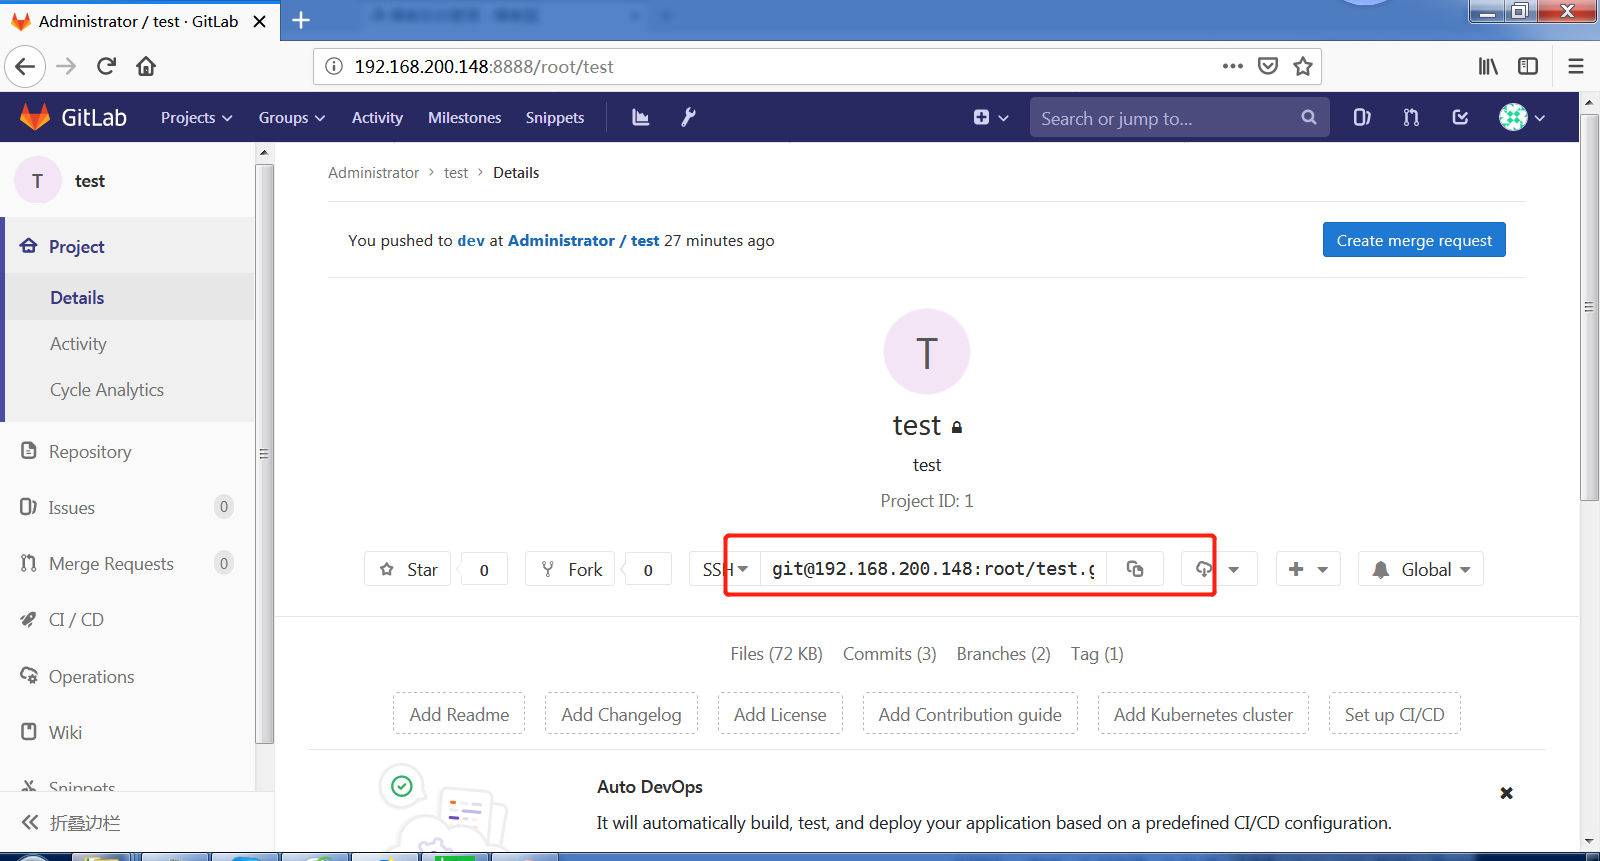
创建一个项目
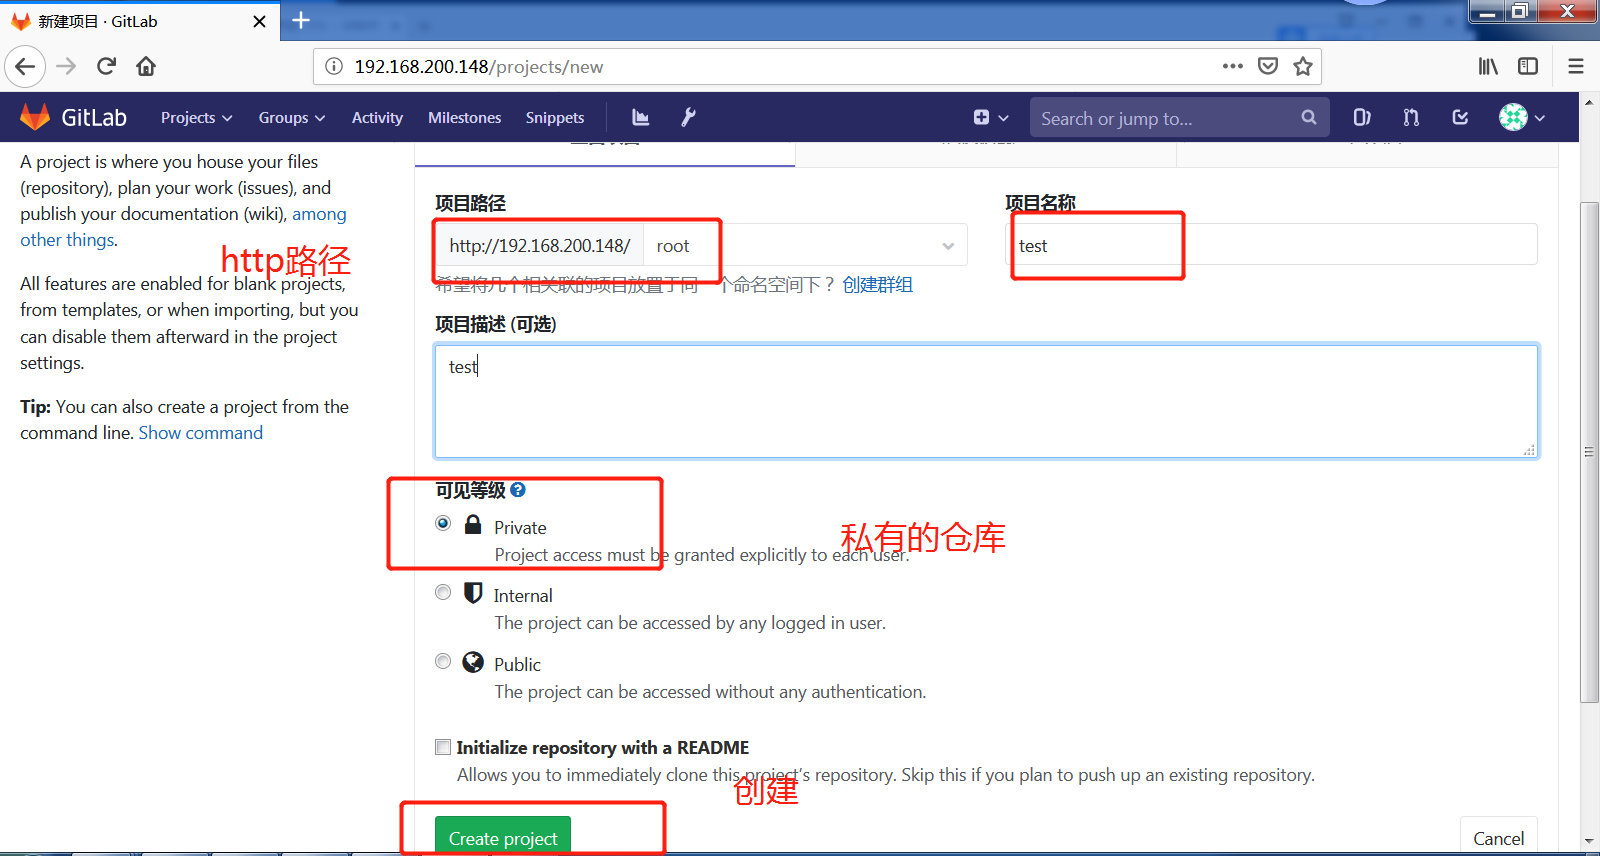
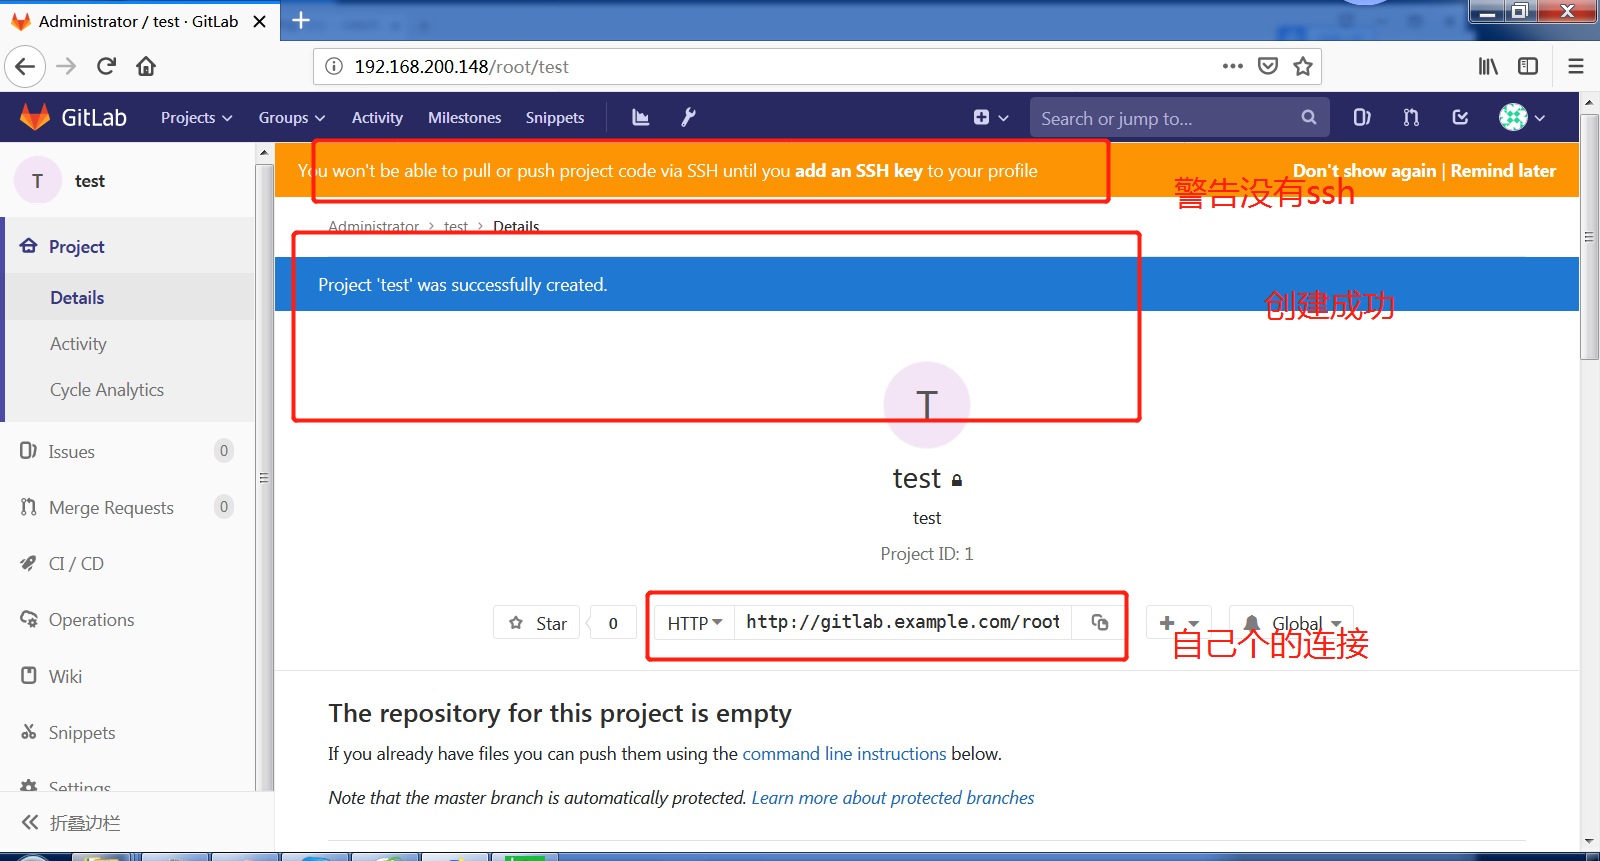
自己设定http的url和ssh的连接
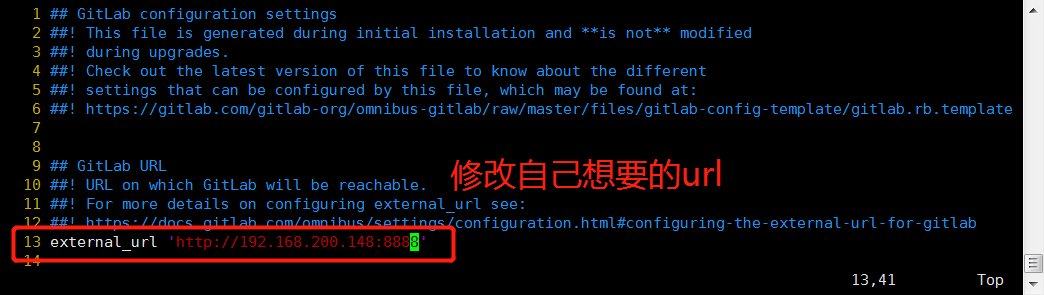
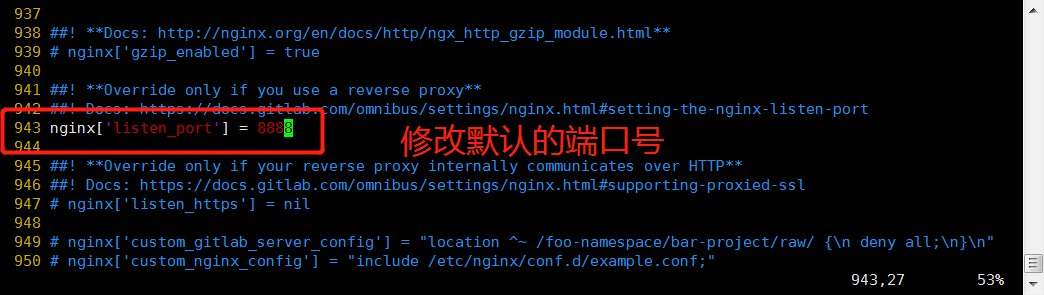
修改gitlab的配置文件/etc/gitlab/gitlab.rb
[root@git1 ~]# vim /etc/gitlab/gitlab.rb
修改完了重编译,重启
[root@git1 ~]# gitlab-ctl reconfigure
[root@git1 ~]# gitlab-ctl restart
ok: run: alertmanager: (pid 28033) 0s
ok: run: gitaly: (pid 28045) 0s
ok: run: gitlab-monitor: (pid 28061) 0s
ok: run: gitlab-workhorse: (pid 28064) 0s
ok: run: logrotate: (pid 28073) 0s
ok: run: nginx: (pid 28075) 1s
ok: run: node-exporter: (pid 28084) 0s
ok: run: postgres-exporter: (pid 28089) 0s
ok: run: postgresql: (pid 28102) 0s
ok: run: prometheus: (pid 28126) 0s
ok: run: redis: (pid 28134) 1s
ok: run: redis-exporter: (pid 28221) 0s
ok: run: sidekiq: (pid 28364) 0s
ok: run: unicorn: (pid 28391) 0s
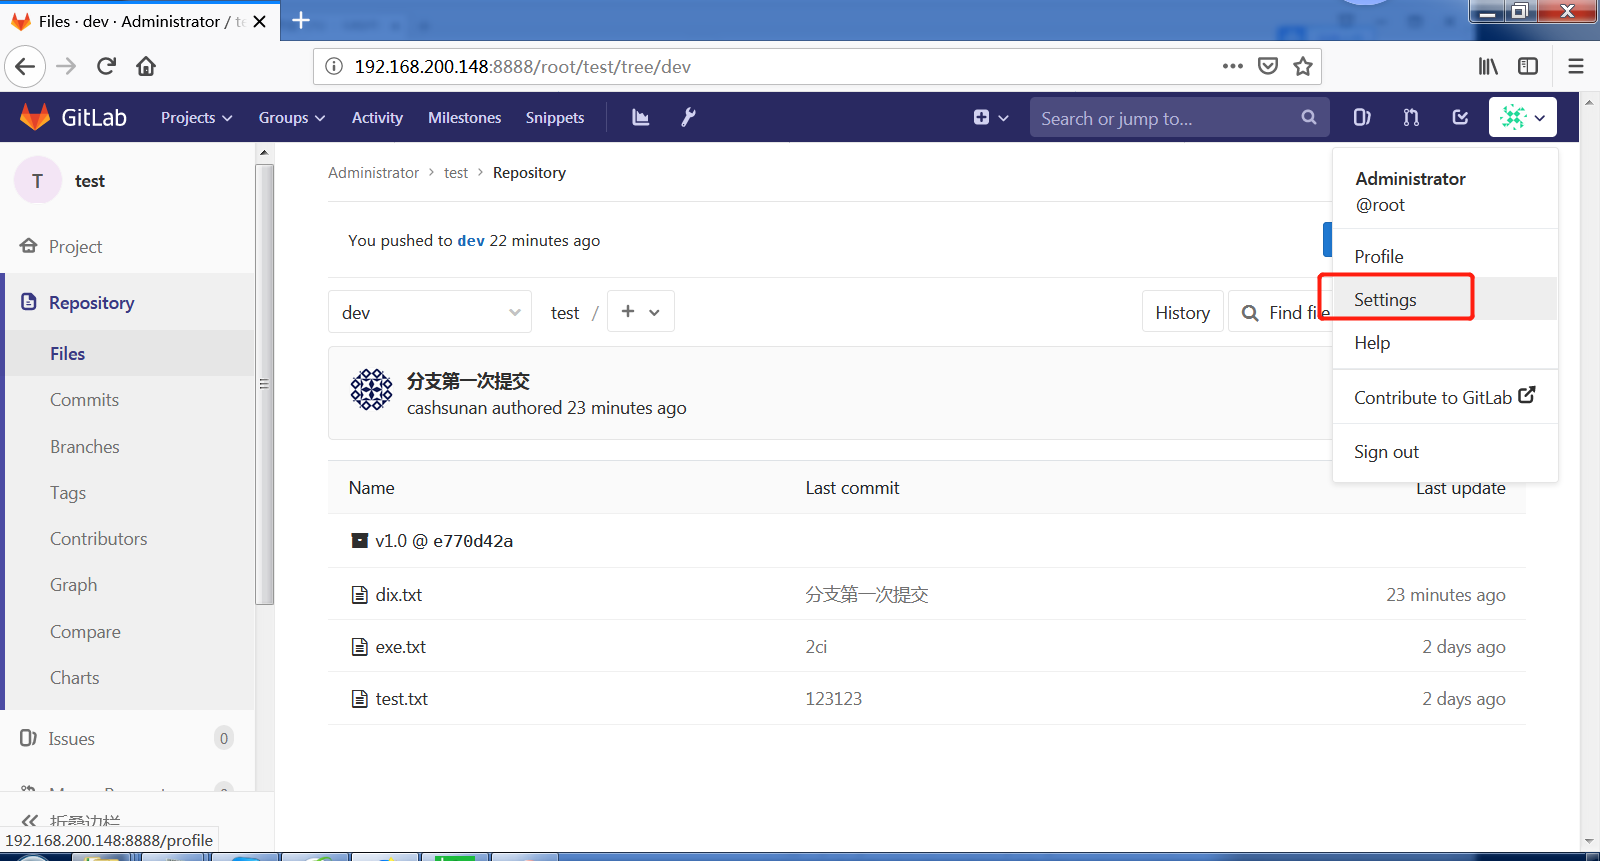
然后在重新登陆浏览器ip加端口号
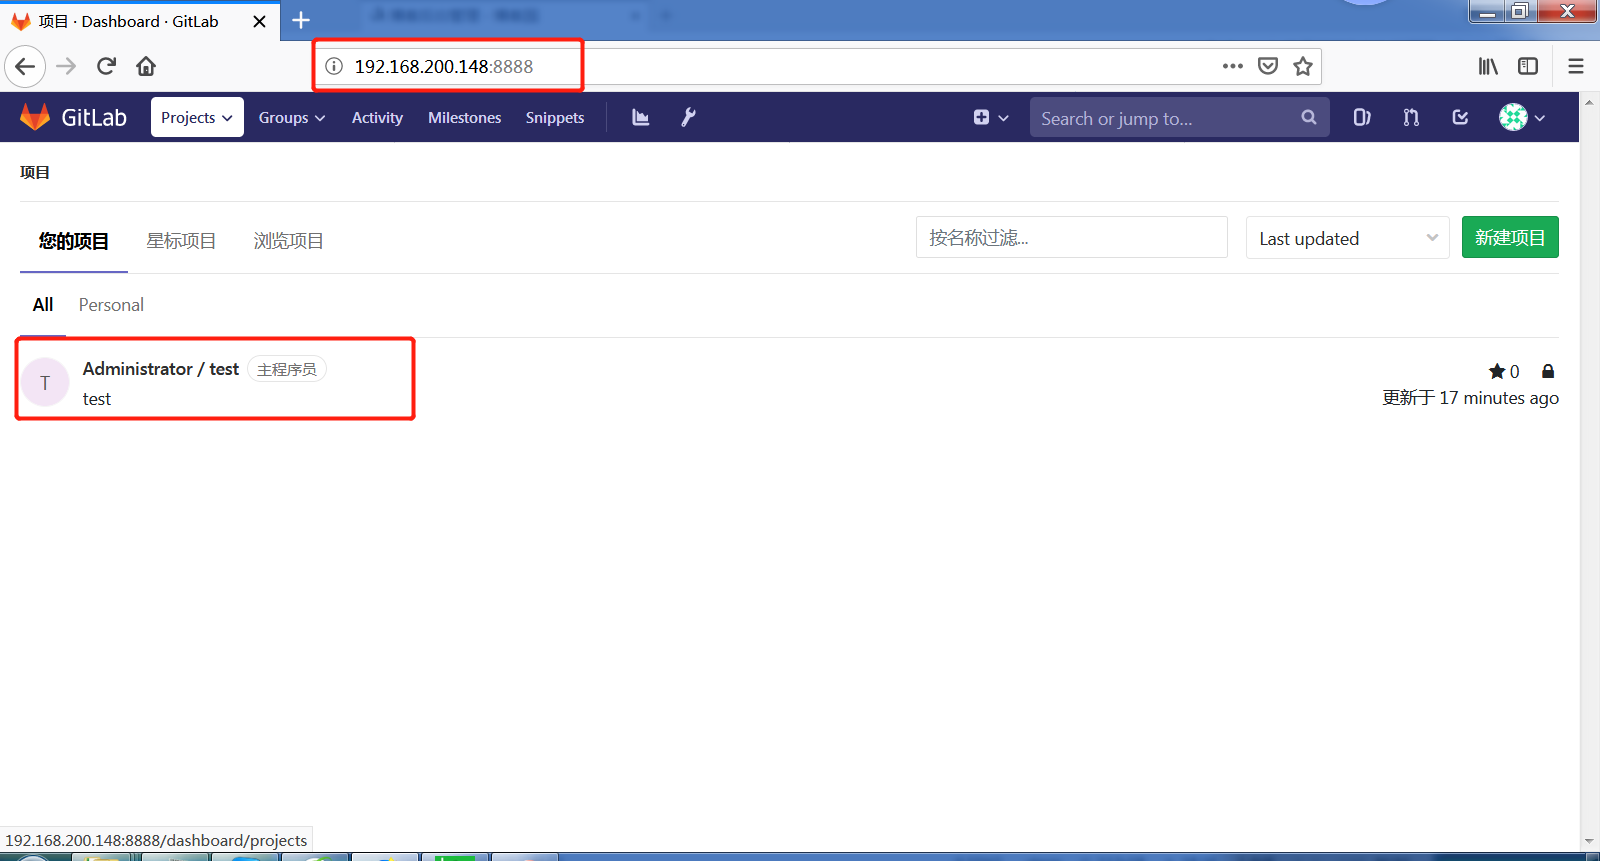
测试推送
切换到git服务器上在工作区里镜像添加
[root@git mycode]# git remote add test1 http://192.168.200.148:8888/root/test.git
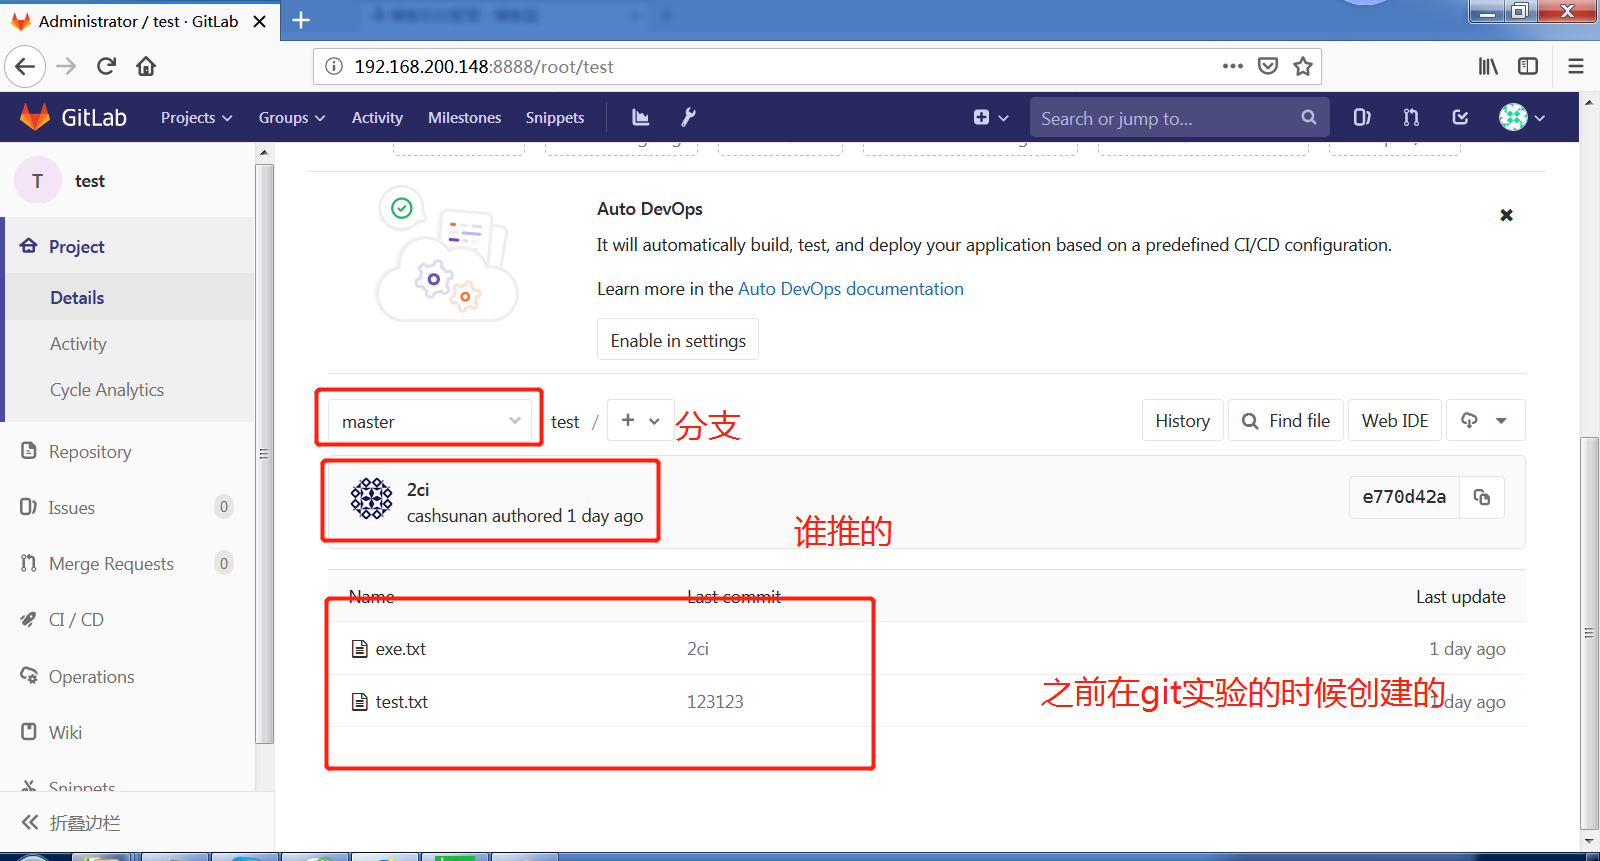
开始推送
[root@git mycode]# git push test1 master
Username for 'http://192.168.200.148:8888': root
Password for 'http://root@192.168.200.148:8888':
Counting objects: 9, done.
Compressing objects: 100% (5/5), done.
Writing objects: 100% (9/9), 679 bytes | 0 bytes/s, done.
Total 9 (delta 0), reused 0 (delta 0)
To http://192.168.200.148:8888/root/test.git
 * [new branch]      master -> master
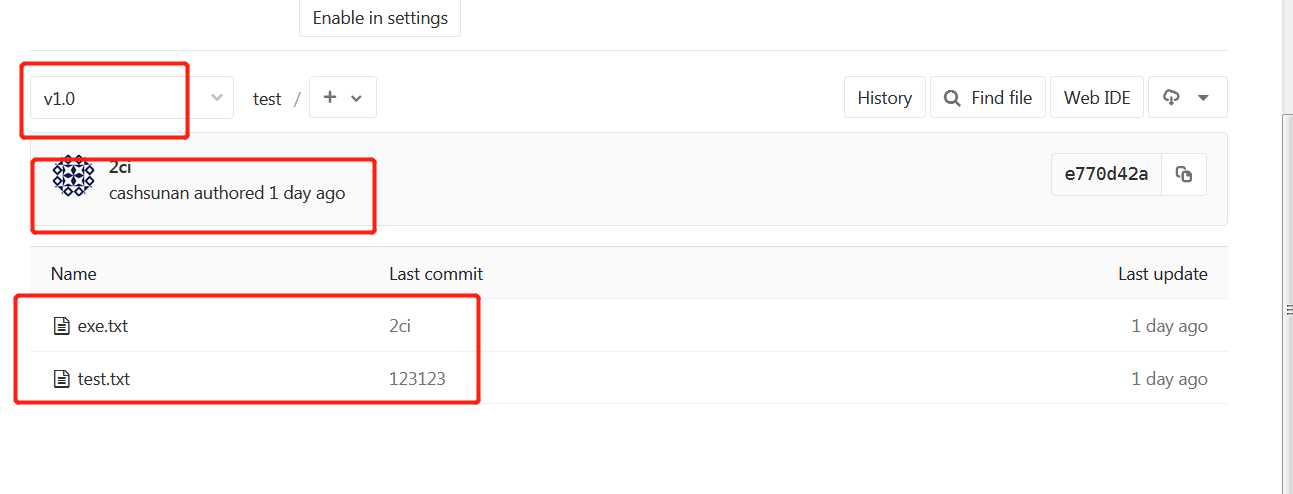
推标签(前提得有标签,建立标签和使用标签详情请看git随笔https://www.cnblogs.com/cash-su/p/10131632.html)
[root@git mycode]# git push -u test1  v1.0
Username for 'http://192.168.200.148:8888': root
Password for 'http://root@192.168.200.148:8888':
Total 0 (delta 0), reused 0 (delta 0)
To http://192.168.200.148:8888/root/test.git
 * [new tag]         v1.0 -> v1.0
克隆到本地
[root@git mycode]# git clone http://192.168.200.148:8888/root/test.git v1.0
Cloning into 'v1.0'...
Username for 'http://192.168.200.148:8888': root
Password for 'http://root@192.168.200.148:8888':
remote: Enumerating objects: 9, done.
remote: Counting objects: 100% (9/9), done.
remote: Compressing objects: 100% (5/5), done.
remote: Total 9 (delta 0), reused 0 (delta 0)
Unpacking objects: 100% (9/9), done.
Checking connectivity... done.
克隆分支到本地
首先建立一个分支
[root@git mycode]# git branch dev
[root@git mycode]# git checkout dev
Switched to branch 'dev'
[root@git mycode]# git branch
* dev
  master
[root@git mycode]# touch dix.txt
[root@git mycode]# ls
dix.txt  exe.txt  test.txt  v1.0
[root@git mycode]# git add *
[root@git mycode]# git commit -m "分支第一次提交"
[dev 08afd32] 分支第一次提交
 2 files changed, 1 insertion(+)
 create mode 100644 dix.txt
 create mode 160000 v1.0
[root@git mycode]# git push -u test1 dev
Username for 'http://192.168.200.148:8888': root
Password for 'http://root@192.168.200.148:8888':
Counting objects: 3, done.
Compressing objects: 100% (2/2), done.
Writing objects: 100% (3/3), 351 bytes | 0 bytes/s, done.
Total 3 (delta 0), reused 0 (delta 0)
remote:
remote: To create a merge request for dev, visit:
remote:   http://192.168.200.148:8888/root/test/merge_requests/new?merge_request%5Bsource_branch%5D=dev
remote:
To http://192.168.200.148:8888/root/test.git
 * [new branch]      dev -> dev
Branch dev set up to track remote branch dev from test1.
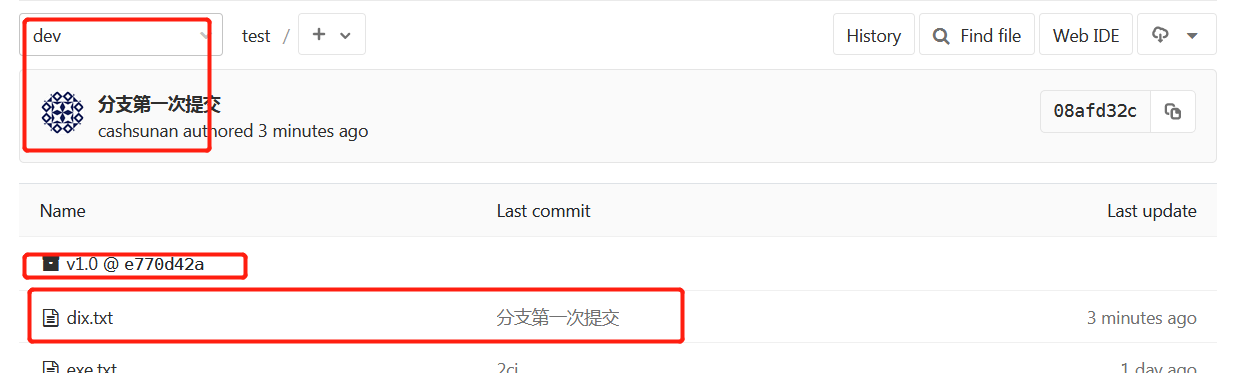
因为是在master主分支建立的分支,所以之前操作的都会有记录
现在在克隆分支
[root@git /]# mkdir -p /test
[root@git /]# cd /test/
[root@git test]# git clone -b dev http://192.168.200.148:8888/root/test.git
Cloning into 'test'...
Username for 'http://192.168.200.148:8888': root
Password for 'http://root@192.168.200.148:8888':
remote: Enumerating objects: 11, done.
remote: Counting objects: 100% (11/11), done.
remote: Compressing objects: 100% (7/7), done.
remote: Total 11 (delta 0), reused 0 (delta 0)
Unpacking objects: 100% (11/11), done.
Checking connectivity... done.
[root@git test]# ls
test
[root@git test]# cd test/
[root@git test]# ls
dix.txt  exe.txt  test.txt  v1.0
利用ssh连接与克隆
生成秘钥对
[root@git test]# ssh-keygen -t rsa -C '491537692@qq.com'
Generating public/private rsa key pair.
Enter file in which to save the key (/root/.ssh/id_rsa):
Created directory '/root/.ssh'.
Enter passphrase (empty for no passphrase):
Enter same passphrase again:
Your identification has been saved in /root/.ssh/id_rsa.
Your public key has been saved in /root/.ssh/id_rsa.pub.
The key fingerprint is:
SHA256:7Niv6b5+dyQFTSeTwv+/AjmtsyIvN+lNFGR+Q+sln2c 491537692@qq.com
The key's randomart image is:
+---[RSA 2048]----+
|           + ++..|
|          + = ++ |
|           o O . |
|       .    + B .|
|        S  .oo +E|
|       +  .+....o|
|      . o ..+o  .|
|       o B+o... .|
|       +&*++o....|
+----[SHA256]-----+
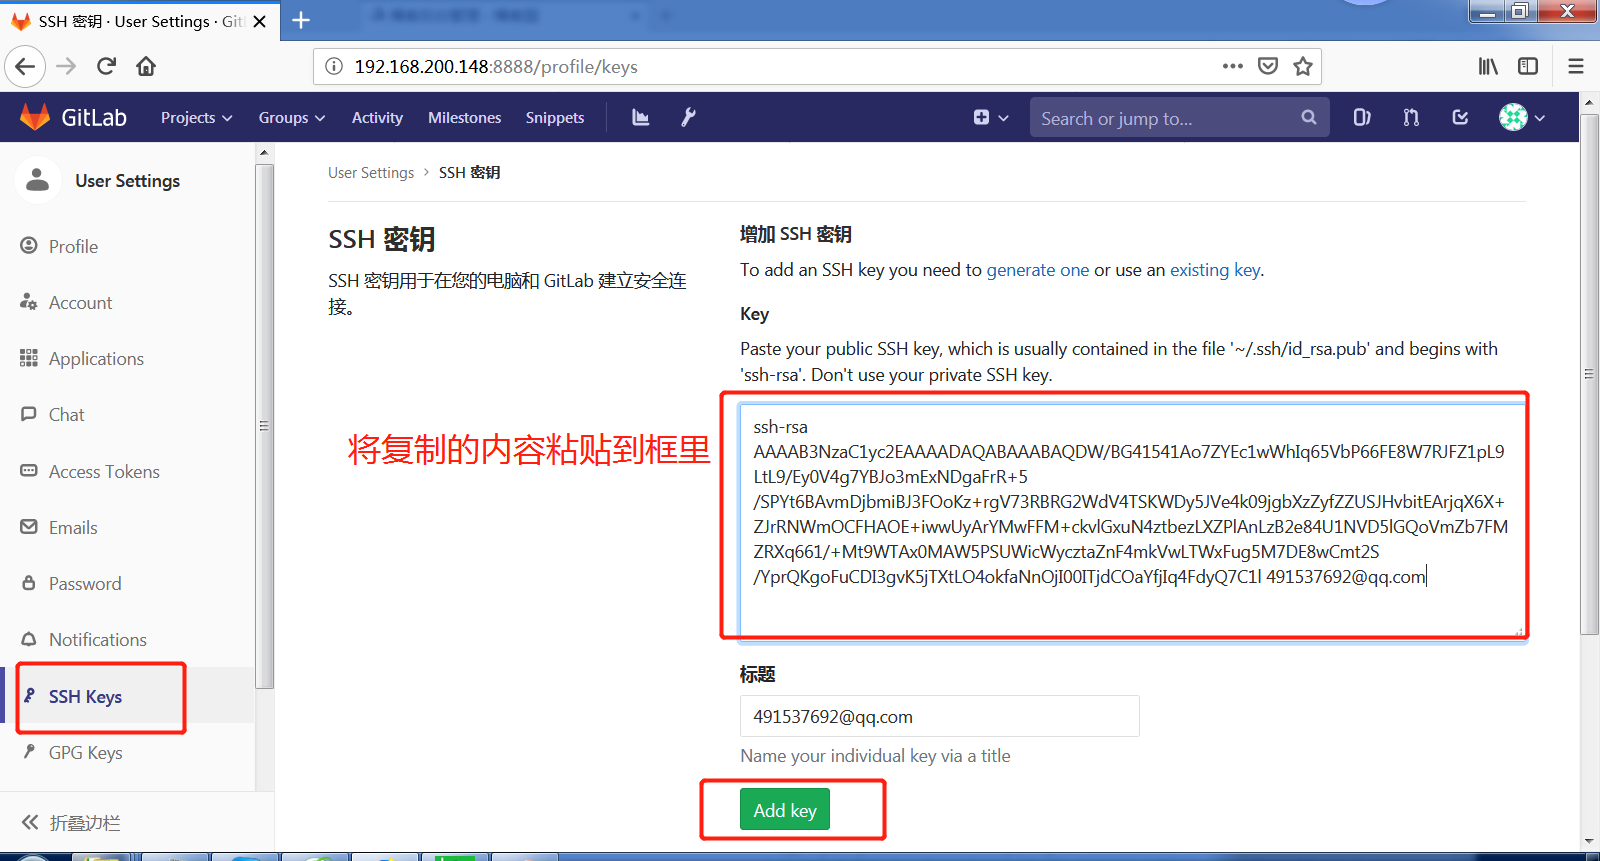
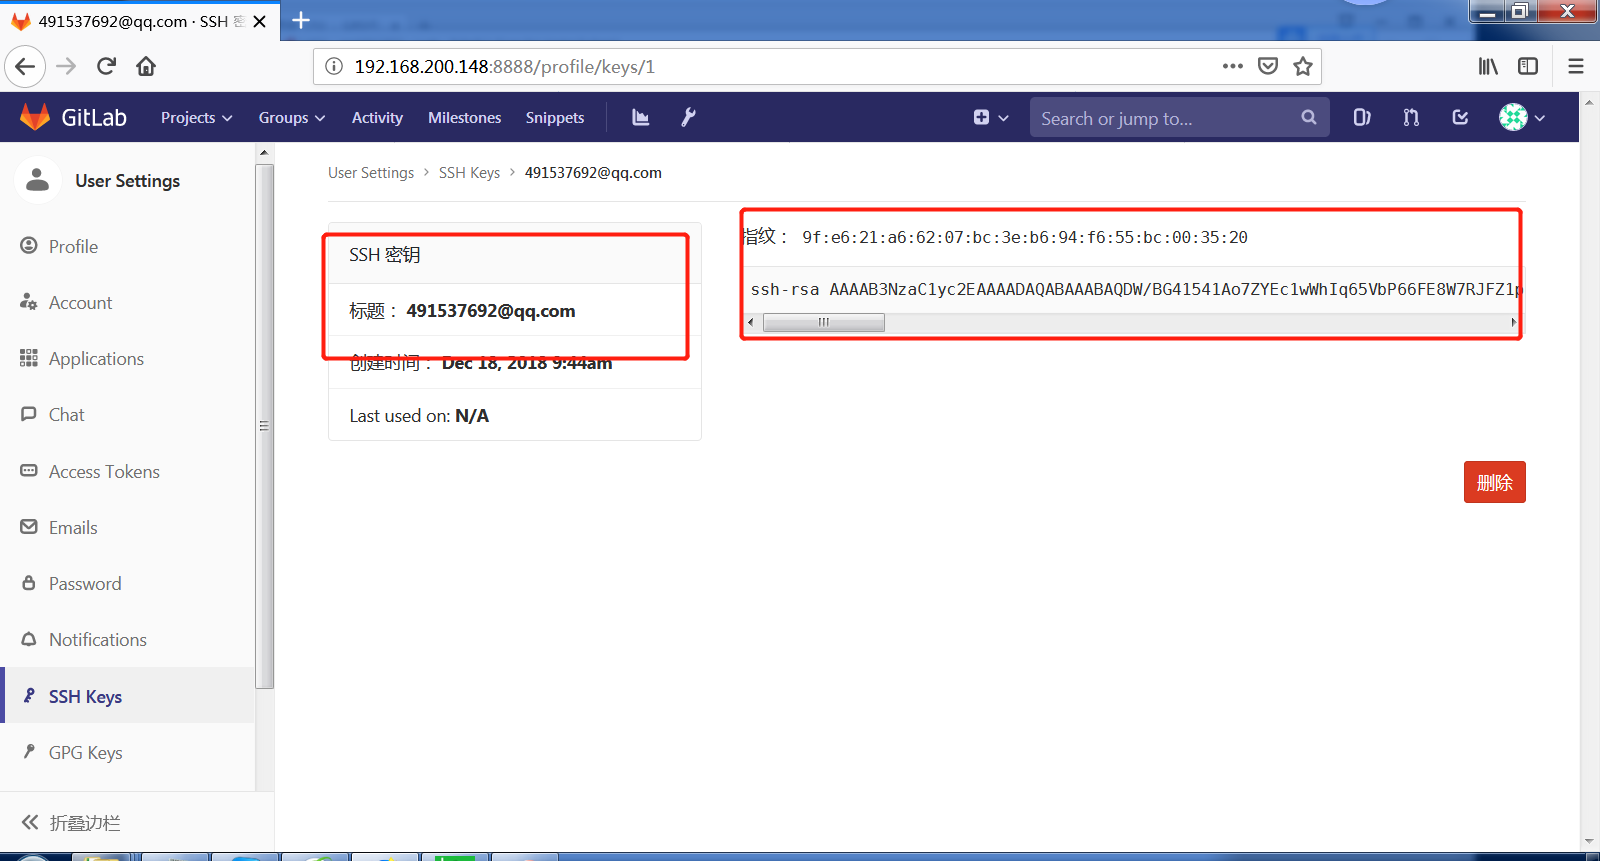
然后在浏览器上将公钥内容添加上去
[root@git test]# cd ~/.ssh/
[root@git .ssh]# ls
id_rsa  id_rsa.pub  known_hosts
[root@git .ssh]# cat id_rsa.pub
ssh-rsa AAAAB3NzaC1yc2EAAAADAQABAAABAQDW/BG41541Ao7ZYEc1wWhIq65VbP66FE8W7RJFZ1pL9LtL9/Ey0V4g7YBJo3mExNDgaFrR+5/SPYt6BAvmDjbmiBJ3FOoKz+rgV73RBRG2WdV4TSKWDy5JVe4k09jgbXzZyfZZUSJHvbitEArjqX6X+ZJrRNWmOCFHAOE+iwwUyArYMwFFM+ckvlGxuN4ztbezLXZPlAnLzB2e84U1NVD5lGQoVmZb7FMZRXq661/+Mt9WTAx0MAW5PSUWicWycztaZnF4mkVwLTWxFug5M7DE8wCmt2S/YprQKgoFuCDI3gvK5jTXtLO4okfaNnOjI00ITjdCOaYfjIq4FdyQ7C1l 491537692@qq.com
复制ssh的连接
克隆成功
[root@git .ssh]# cd ~
[root@git ~]# cd /test/
[root@git test]# ls
[root@git test]# git clone -b dev git@192.168.200.148:root/test.git
Cloning into 'test'...
remote: Enumerating objects: 11, done.
remote: Counting objects: 100% (11/11), done.
remote: Compressing objects: 100% (7/7), done.
remote: Total 11 (delta 0), reused 0 (delta 0)
Receiving objects: 100% (11/11), done.
Checking connectivity... done.
[root@git test]# ls
test
[root@git test]# cd test/
[root@git test]# ls
dix.txt  exe.txt  test.txt  v1.0
创建邮件,使用与分支合并的时候
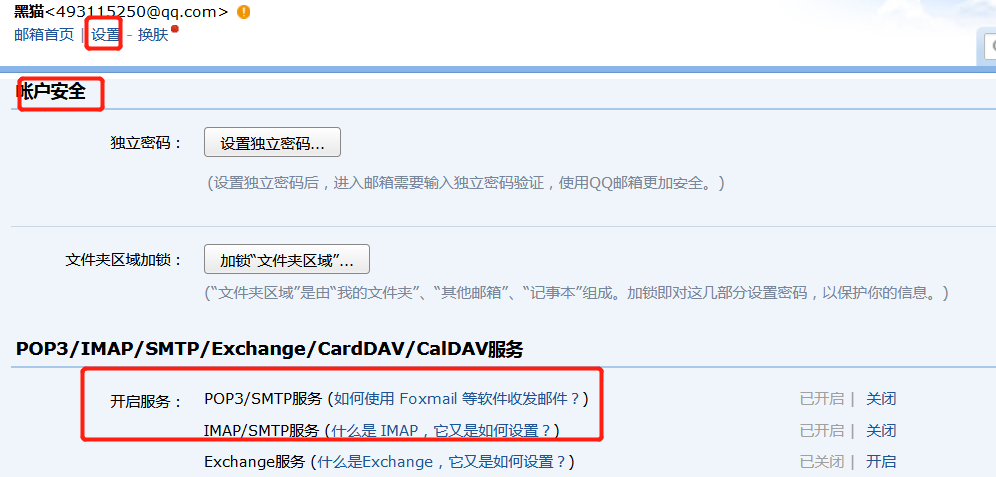
首先开启邮箱的smtp功能
开启gitlab的postfix服务需要切换服务器到git1
[root@git1 ~]# systemctl start postfix
[root@git1 ~]# systemctl enable postfix
[root@git1 ~]# systemctl status postfix
● postfix.service - Postfix Mail Transport Agent
   Loaded: loaded (/usr/lib/systemd/system/postfix.service; enabled; vendor preset: disabled)
   Active: active (running) since Sun 2018-12-16 15:04:16 CST; 2 days ago
 Main PID: 1266 (master)
   CGroup: /system.slice/postfix.service
           ├─ 1266 /usr/libexec/postfix/master -w
           ├─ 1268 qmgr -l -t unix -u
           └─27691 pickup -l -t unix -u

Dec 18 17:44:07 git1 postfix/pickup[27691]: 8610411BD74C: uid=997 from=<gitlab@192.168.200.148>
Dec 18 17:44:07 git1 postfix/cleanup[33642]: 8610411BD74C: message-id=<5c18c1668d06d_6ecc3fa4cd9a16ac4807...ail>
Dec 18 17:44:07 git1 postfix/qmgr[1268]: 8610411BD74C: from=<gitlab@192.168.200.148>, size=2746, nrcpt=1...tive)
Dec 18 17:44:08 git1 postfix/smtp[33644]: connect to example.com[2606:2800:220:1:248:1893:25c8:1946]:25: ...able
Dec 18 17:44:29 git1 postfix/smtp[33644]: connect to example.com[93.184.216.34]:25: Connection refused
Dec 18 17:44:29 git1 postfix/smtp[33644]: 8610411BD74C: to=<admin@example.com>, relay=none, delay=22, del...sed)
Dec 18 17:50:53 git1 postfix/qmgr[1268]: 8610411BD74C: from=<gitlab@192.168.200.148>, size=2746, nrcpt=1...tive)
Dec 18 17:50:53 git1 postfix/smtp[34188]: connect to example.com[2606:2800:220:1:248:1893:25c8:1946]:25: ...able
Dec 18 17:51:14 git1 postfix/smtp[34188]: connect to example.com[93.184.216.34]:25: Connection refused
Dec 18 17:51:14 git1 postfix/smtp[34188]: 8610411BD74C: to=<admin@example.com>, relay=none, delay=427, de...sed)
Hint: Some lines were ellipsized, use -l to show in
修改gitlab的配置文件
[root@git1 ~]# cp -r /etc/gitlab/gitlab.rb{,.bak}
[root@git1 ~]# vim /etc/gitlab/gitlab.rb


修改完了重编译,重启
[root@git1 ~]# gitlab-ctl reconfigure
[root@git1 ~]# gitlab-ctl restart
进入邮件控制台
[root@git1 ~]# gitlab-rails console
-------------------------------------------------------------------------------------
GitLab: 11.2.3 (06cbee3)
GitLab Shell: 8.1.1
postgresql: 9.6.8
-------------------------------------------------------------------------------------
Loading production environment (Rails 4.2.10)
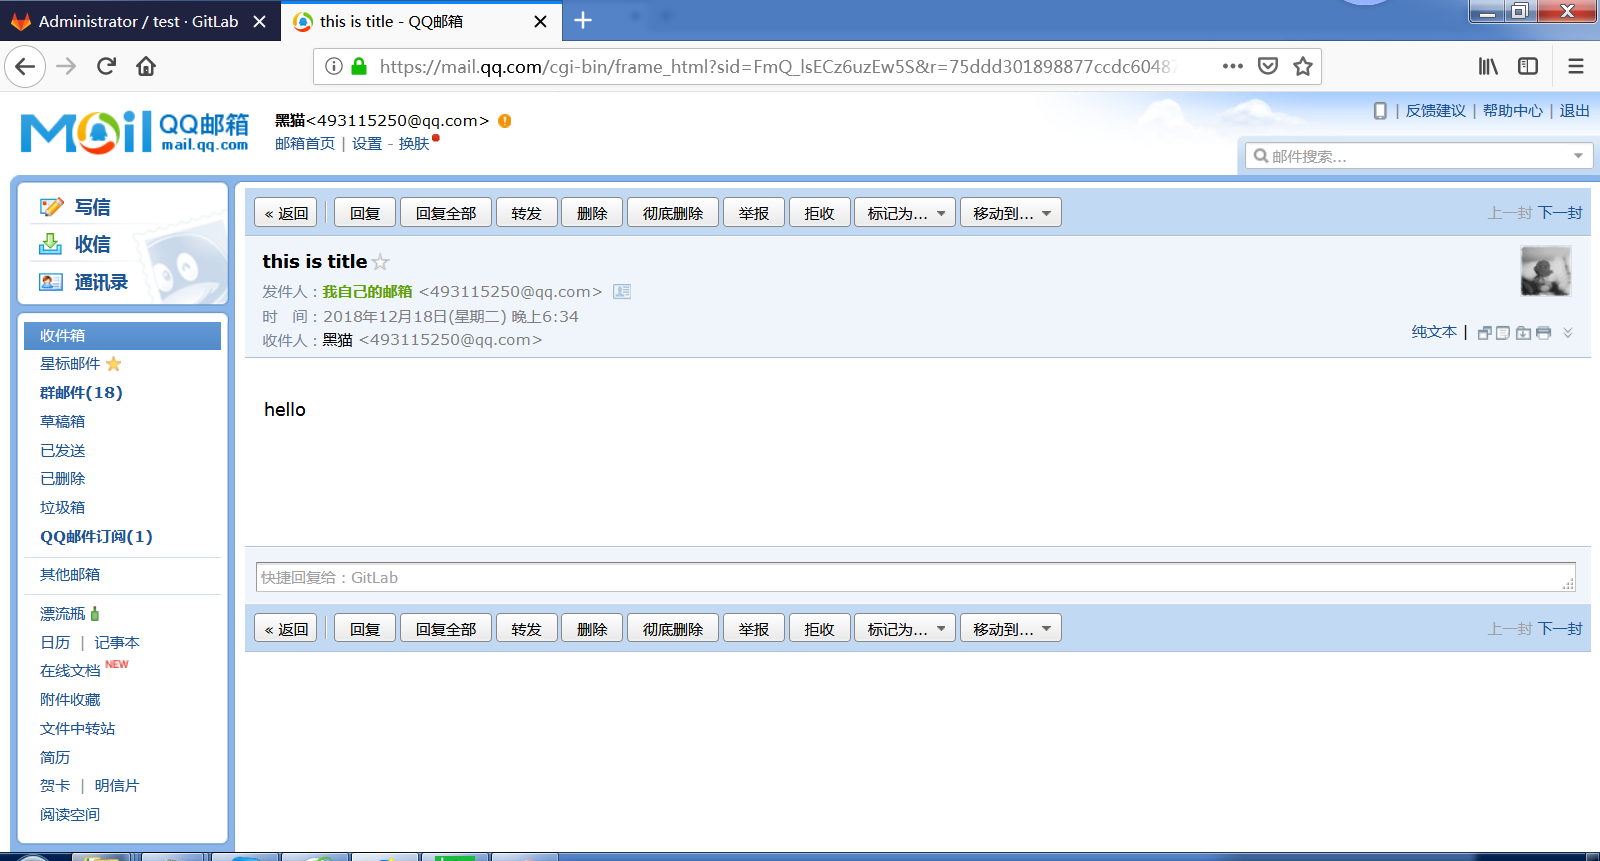
irb(main):001:0> Notify.test_email('493115250@qq.com','this is title','hello').deliver_now
Notify#test_email: processed outbound mail in 540.8ms
Sent mail to 493115250@qq.com (3359.6ms)
Date: Tue, 18 Dec 2018 18:34:20 +0800
From: GitLab <493115250@qq.com>
Reply-To: GitLab <noreply@192.168.200.148>
To: 493115250@qq.com
Message-ID: <5c18cd2c44d7a_96593f9fb05daf7c72fe@git1.mail>
Subject: this is title
Mime-Version: 1.0
Content-Type: text/html;
charset=UTF-8
Content-Transfer-Encoding: 7bit
Auto-Submitted: auto-generated
X-Auto-Response-Suppress: All
<!DOCTYPE html PUBLIC "-//W3C//DTD HTML 4.0 Transitional//EN" "http://www.w3.org/TR/REC-html40/loose.dtd">
<html><body><p>hello</p></body></html>
=> #<Mail::Message:69954716508780, Multipart: false, Headers: <Date: Tue, 18 Dec 2018 18:34:20 +0800>, <From: GitLab <493115250@qq.com>>, <Reply-To: GitLab <noreply@192.168.200.148>>, <To: 493115250@qq.com>, <Message-ID: <5c18cd2c44d7a_96593f9fb05daf7c72fe@git1.mail>>, <Subject: this is title>, <Mime-Version: 1.0>, <Content-Type: text/html; charset=UTF-8>, <Content-Transfer-Encoding: 7bit>, <Auto-Submitted: auto-generated>, <X-Auto-Response-Suppress: All>>
irb(main):002:0>
提别说明Notify.test_email('收件人','标题','内容').deliver_now

注册账号
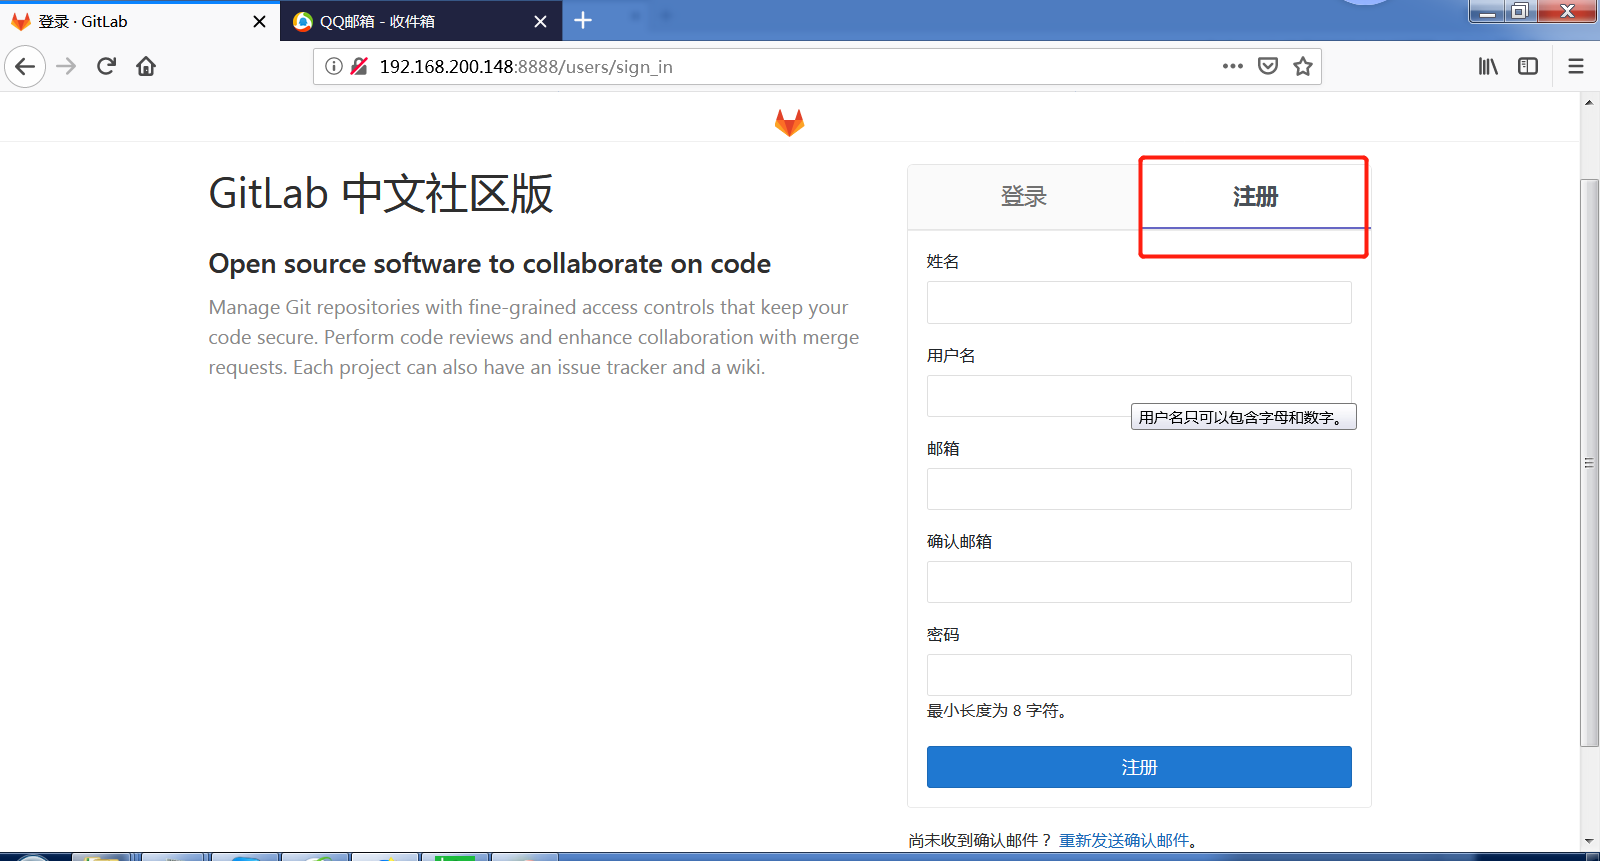
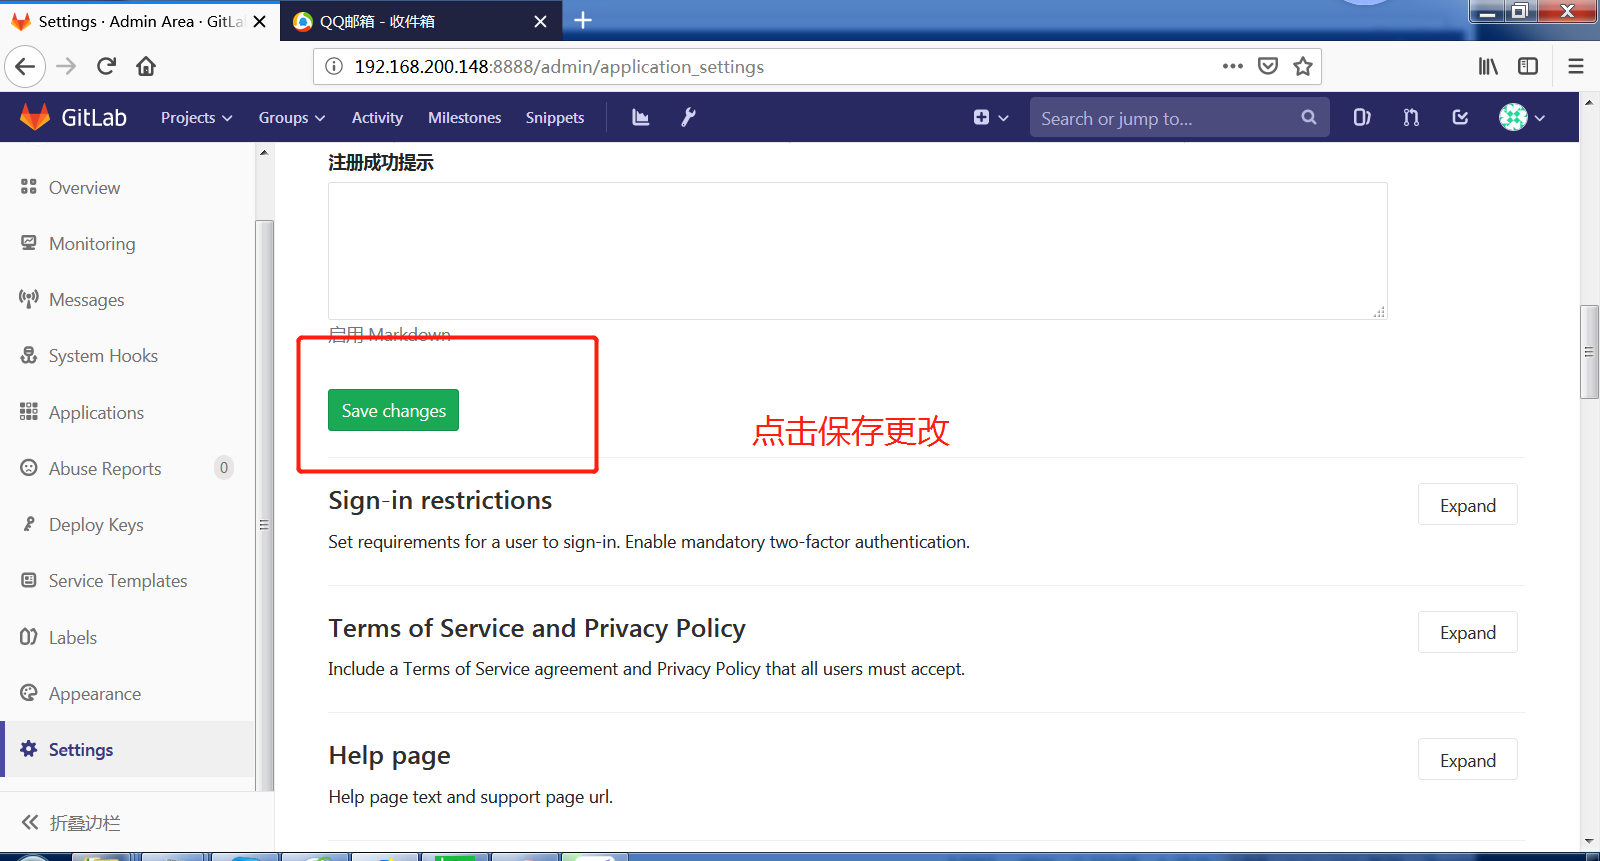
开启注册时邮箱验证功能
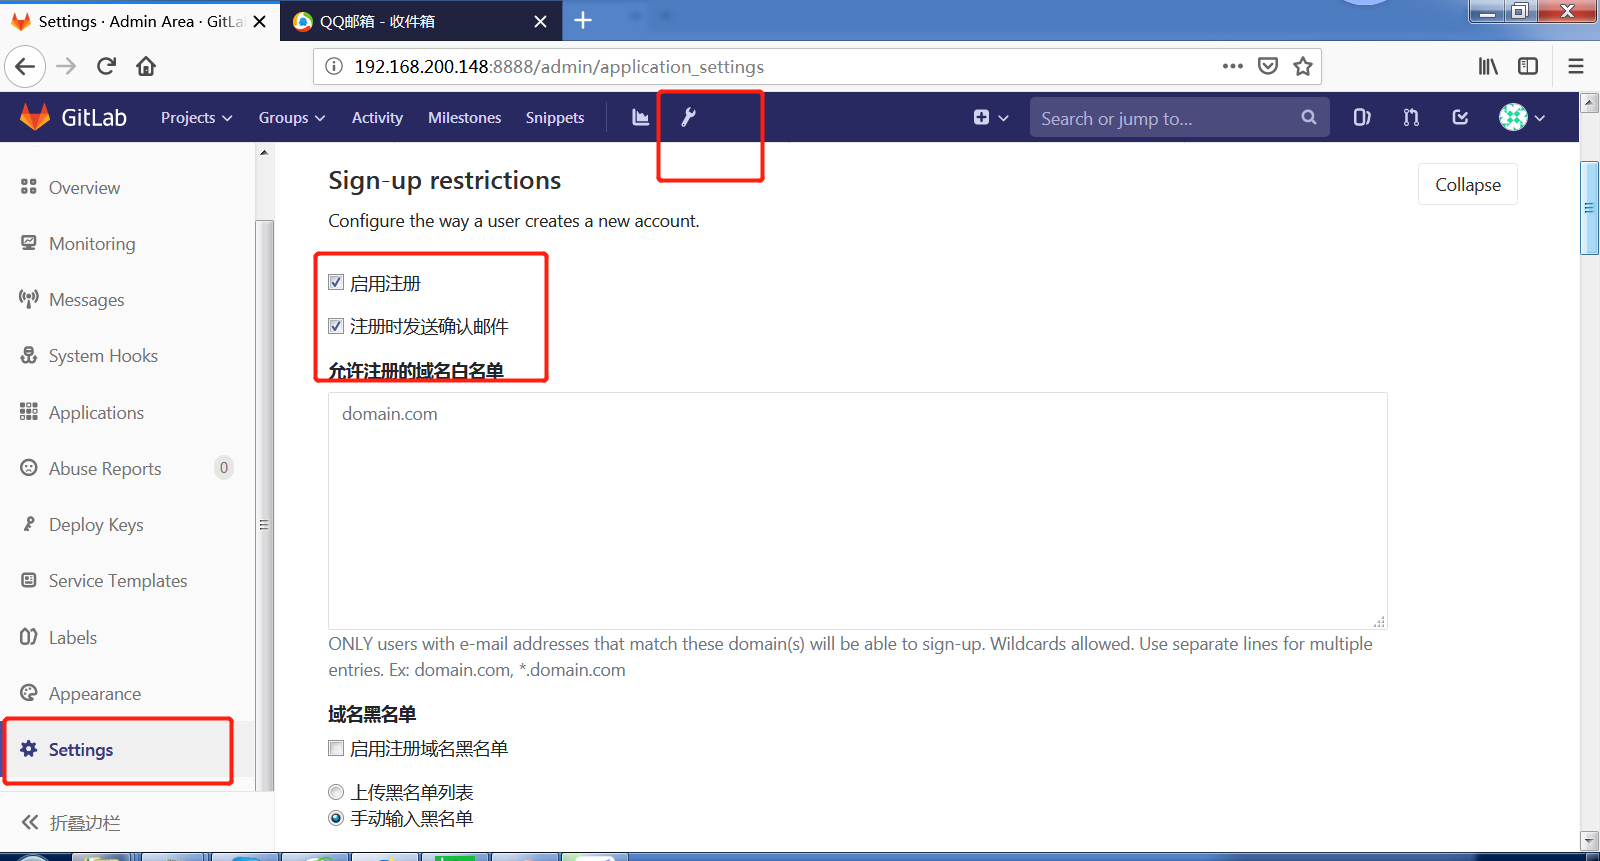
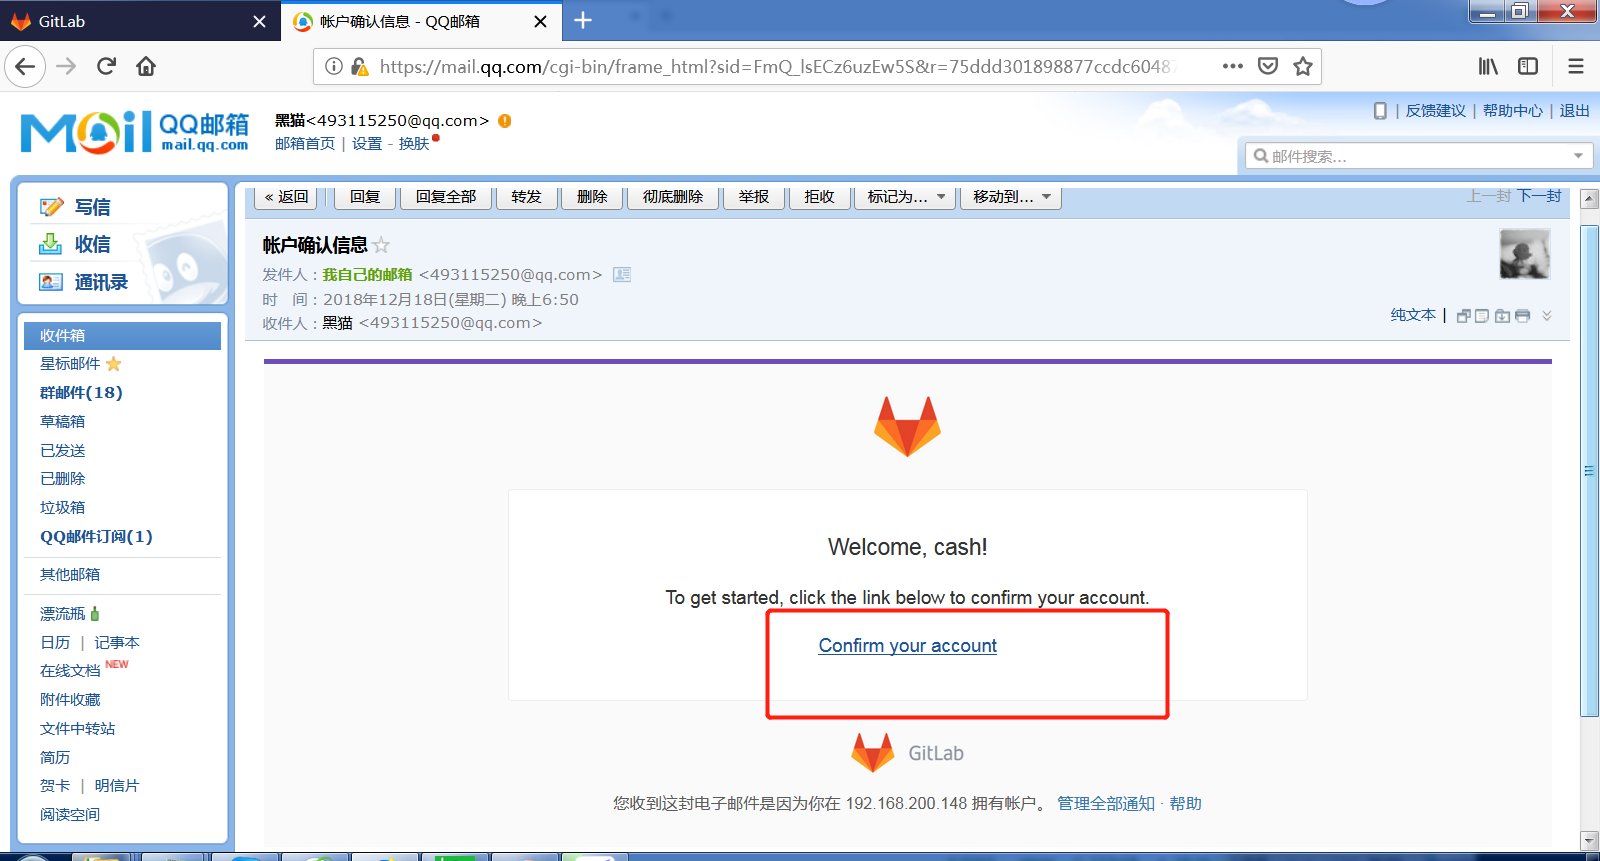
注册时会提示邮箱验证
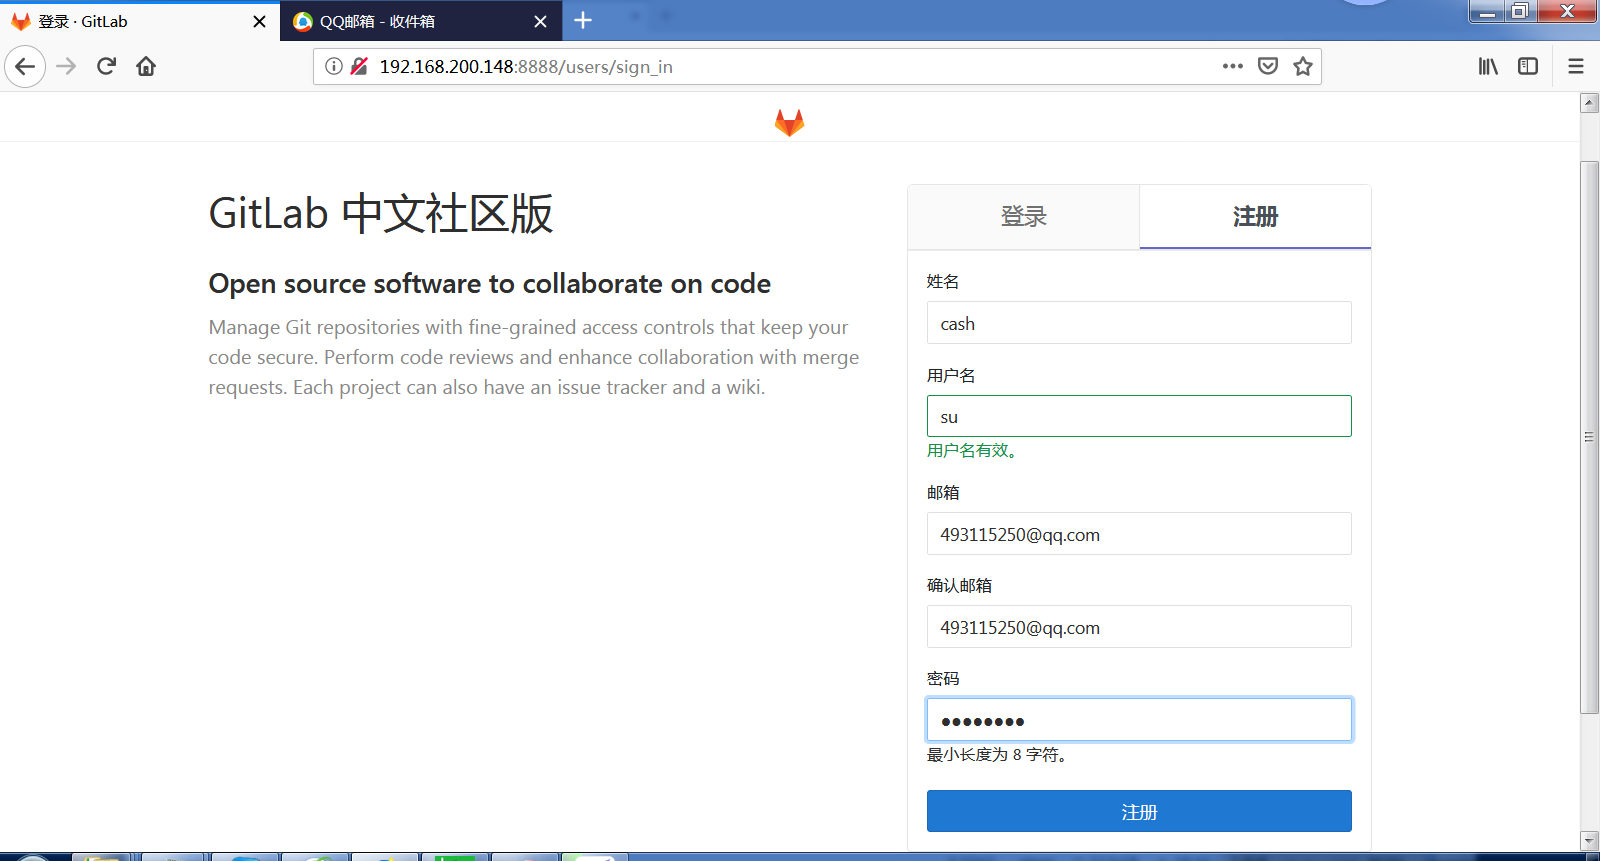


用户名时su,当时打错了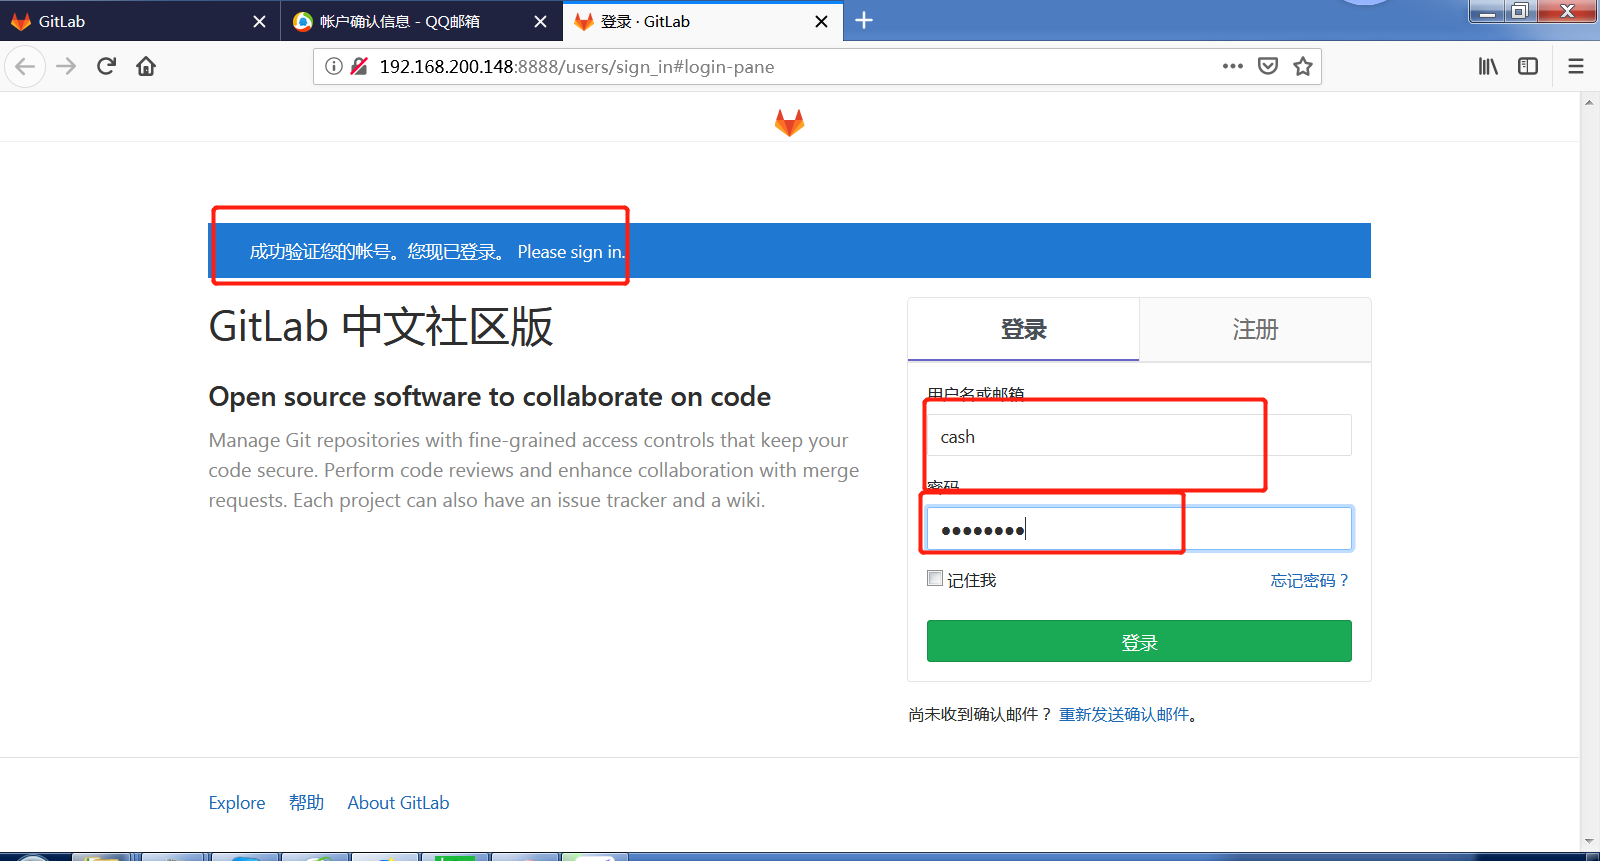
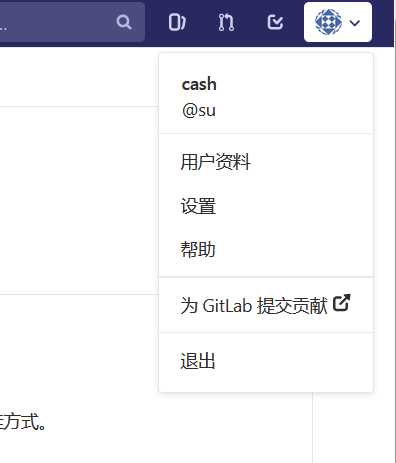
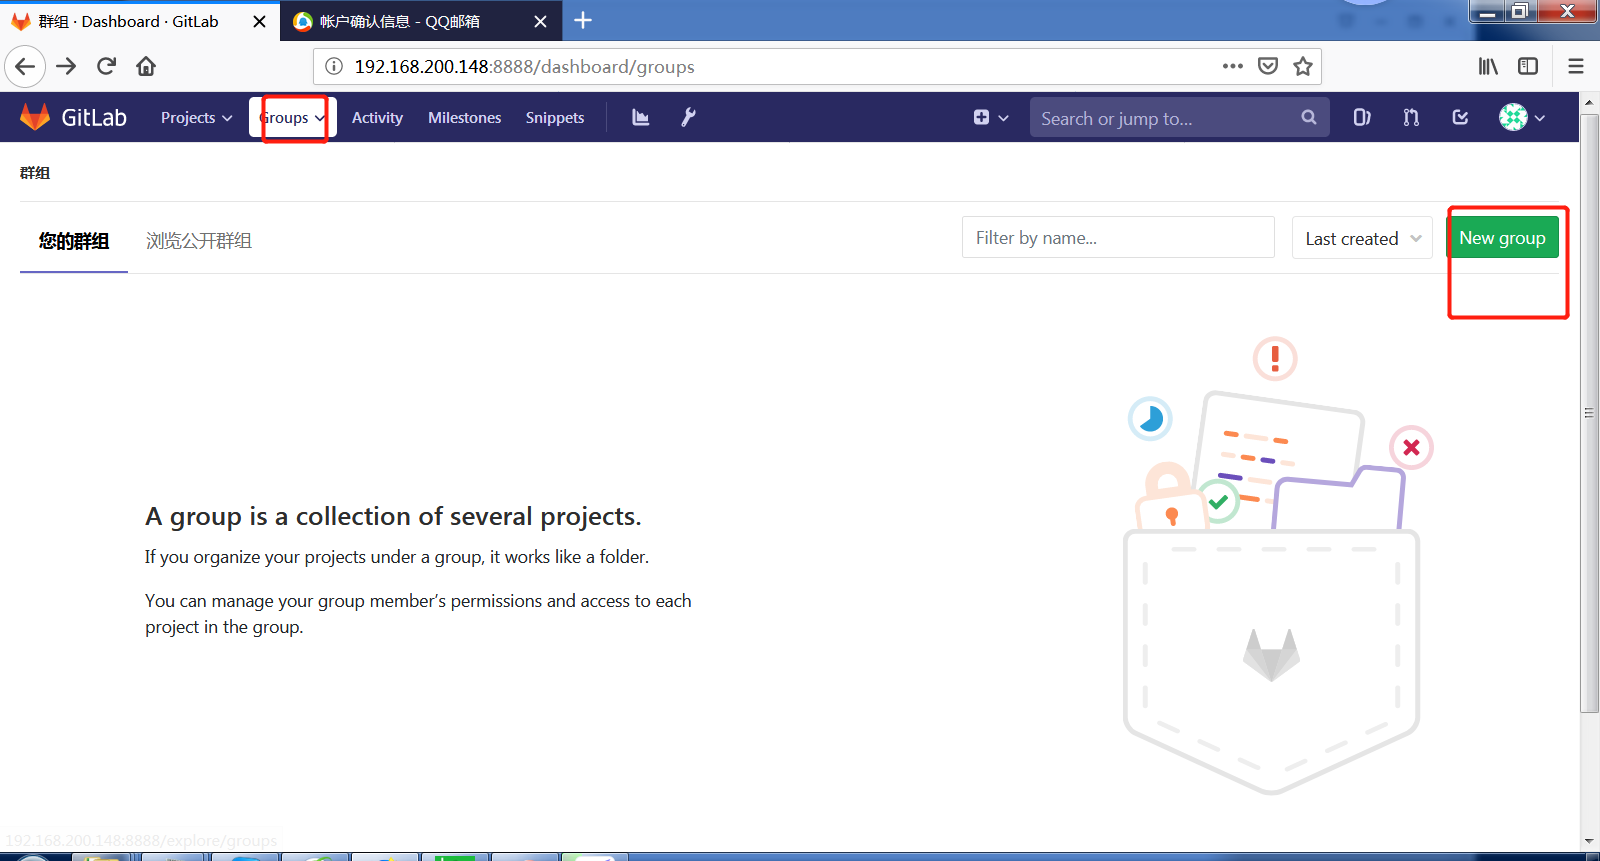
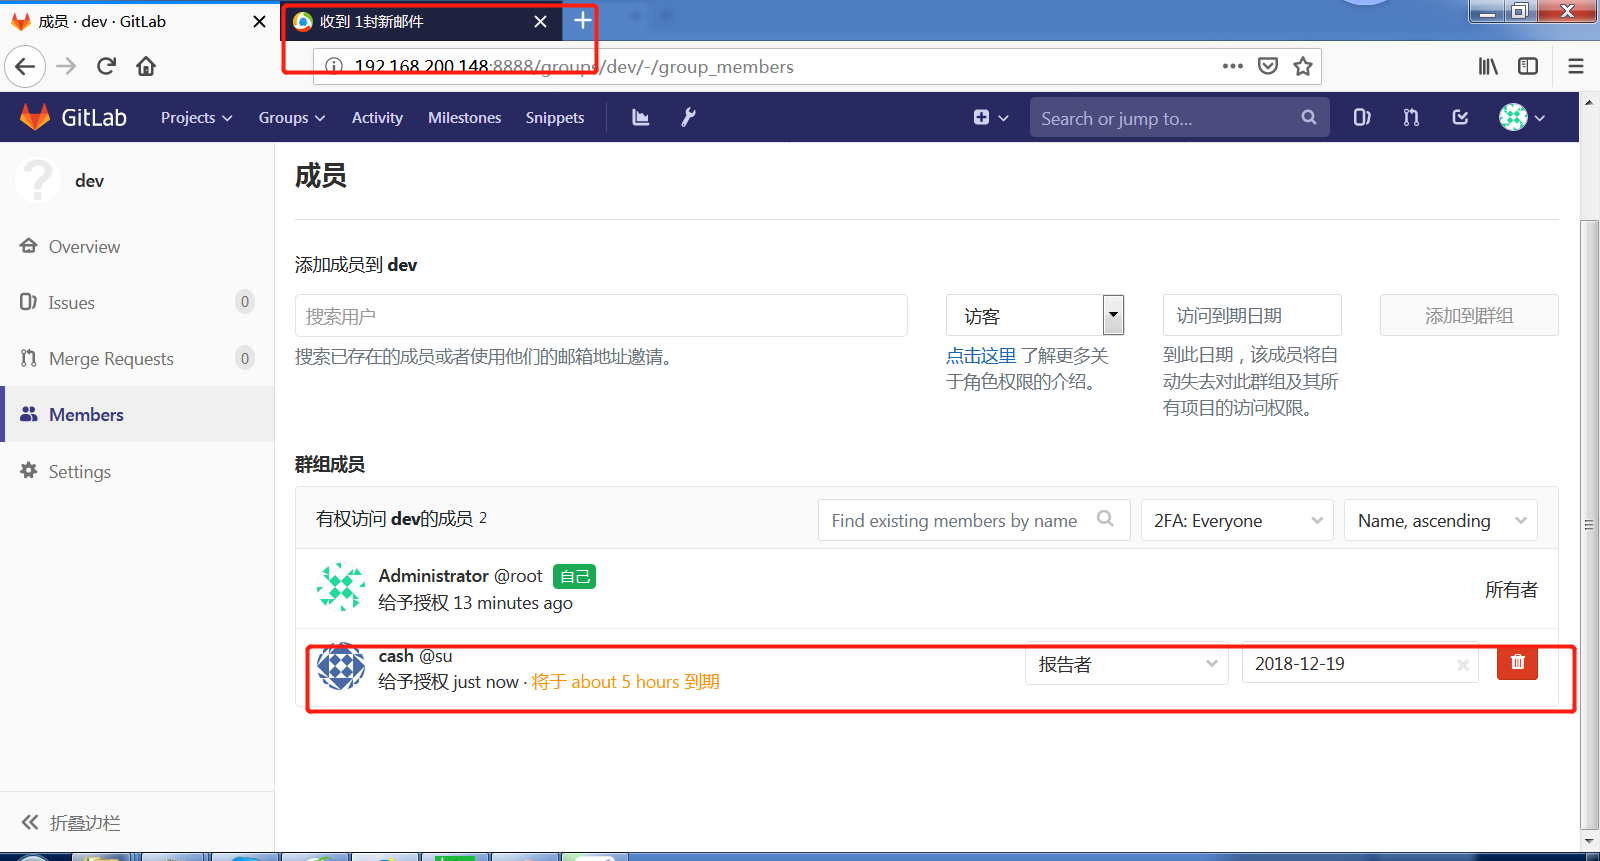
创建组用户切换root
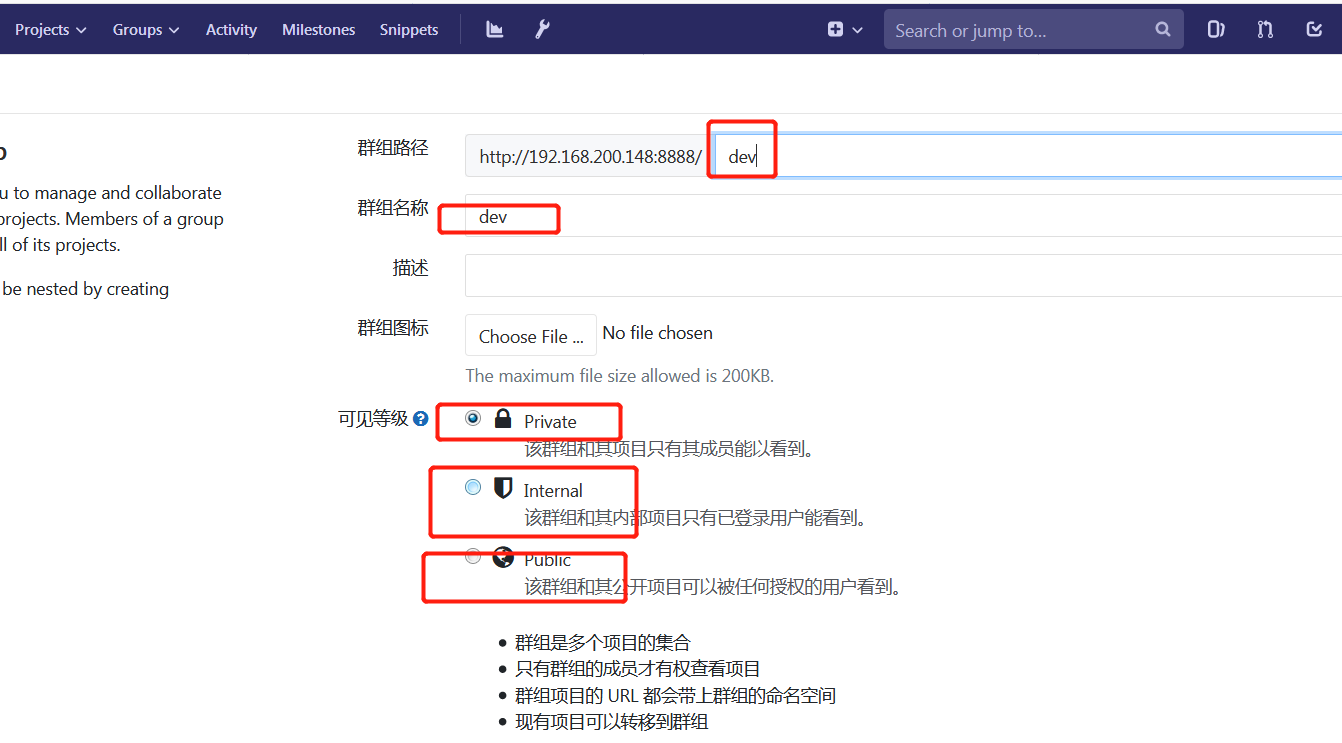

gitlab的权限
guest访客,只能发表评论,不能读写
reporter报告者
只能克隆,不能提交代码,产品测试用的
developer开发人员
可以进行代码的读写,普通程序员用的
master主程序员
可以添加项目成员,添加标签,创建和保护分支产品经理用的
owner所有者
有所有的权限,一般不用
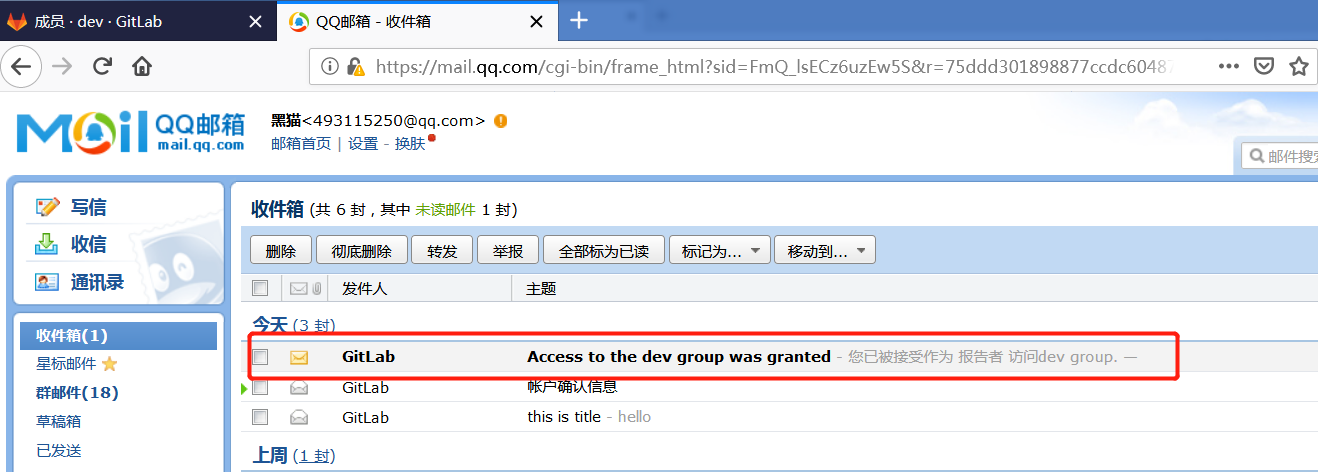
添加成功以后会自动发邮件给成员

给创建一个项目