一、准备工作
1、导入测试依赖
        <dependency>
            <groupId>org.springframework.boot</groupId>
            <artifactId>spring-boot-starter-test</artifactId>
        </dependency>
2、Controller层:
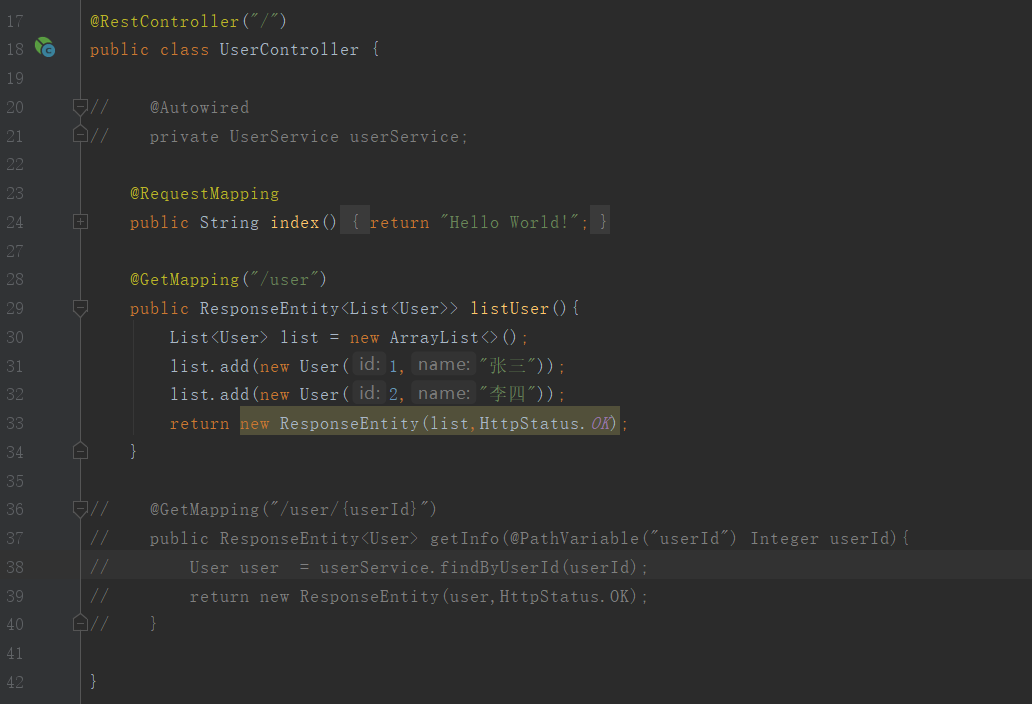
@RestController("/")
public class UserController {

    @Autowired
    private UserService userService;

    @RequestMapping
    public String index(){
        return "Hello World!";
    }

    @GetMapping("/user")
    public ResponseEntity<List<User>> listUser(){
        List<User> list = new ArrayList<>();
        list.add(new User(1,"张三"));
        list.add(new User(2,"李四"));
        return new ResponseEntity(list,HttpStatus.OK);
    }

    @GetMapping("/user/{userId}")
    public ResponseEntity<User> getInfo(@PathVariable("userId") Integer userId){
        User user  = userService.findByUserId(userId);
        return new ResponseEntity(user,HttpStatus.OK);
    }

}
3、UserService实现如下:
@Service
public class UserServiceImpl implements UserService {

    @Override
    public User findByUserId(Integer userId) {
        return  new User(userId,"用户" + userId);
    }
}
二、测试
1、创建第一个测试用例:
在类上添加@RunWith和@SpringBootTest表示是一个可以启动容器的测试类
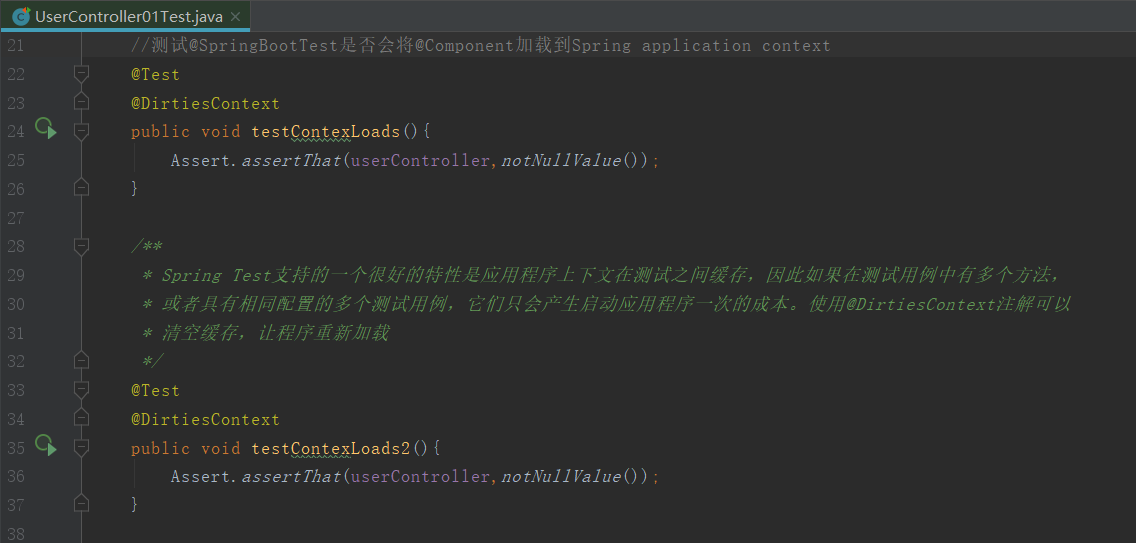
@RunWith(SpringRunner.class)
@SpringBootTest //告诉SpringBoot去寻找主配置类(例如使用@SpringBootApplication注解标注的类),并使用它来启动一个Spring application context;
public class UserController01Test {

    @Autowired
    private UserController userController;

    //测试@SpringBootTest是否会将@Component加载到Spring application context
    @Test
    public void testContexLoads(){
        Assert.assertThat(userController,notNullValue());
    }

}
2、Spring Test支持的一个很好的特性是应用程序上下文在测试之间缓存,因此如果在测试用例中有多个方法,或者具有相同配置的多个测试用例,它们只会产生启动应用程序一次的成本。使用@DirtiesContext注解可以清空缓存,让程序重新加载。
将上面代码改造如下:在两个方法上都添加@DirtiesContext注解,运行整个测试类,会发现容器加载了两次。

3、启动服务器对Controller进行测试:
这种方式是通过将TestRestTemplate注入进来,进行发送请求测试,缺点是需要启动服务器。
@RunWith(SpringRunner.class)
//SpringBootTest.WebEnvironment.RANDOM_PORT设置随机端口启动服务器(有助于避免测试环境中的冲突)
@SpringBootTest(webEnvironment = SpringBootTest.WebEnvironment.RANDOM_PORT)
public class HttpRequestTest {

    //使用@LocalServerPort将端口注入进来
    @LocalServerPort
    private int port;

    @Autowired
    private TestRestTemplate restTemplate;

    @Test
    public void greetingShouldReturnDefaultMessage() throws Exception {
        Assert.assertThat(this.restTemplate.getForObject("http://localhost:" + port + "/",String.class),
                Matchers.containsString("Hello World"));
    }
}
4、使用@AutoConfigureMockMvc注解自动注入MockMvc:
@RunWith(SpringRunner.class)
@SpringBootTest
@AutoConfigureMockMvc //不启动服务器,使用mockMvc进行测试http请求。启动了完整的Spring应用程序上下文,但没有启动服务器
public class UserController02Test {

    @Autowired
    private MockMvc mockMvc;

    /**
     * .perform() : 执行一个MockMvcRequestBuilders的请求;MockMvcRequestBuilders有.get()、.post()、.put()、.delete()等请求。
     * .andDo() : 添加一个MockMvcResultHandlers结果处理器,可以用于打印结果输出(MockMvcResultHandlers.print())。
     * .andExpect : 添加MockMvcResultMatchers验证规则,验证执行结果是否正确。
     */
    @Test
    public void shouldReturnDefaultMessage() throws Exception {
        this.mockMvc.perform(get("/"))
                .andDo(print())
                .andExpect(status().isOk())
                .andExpect(content().string(containsString("Hello World")));
    }

}
5、使用@WebMvcTest只初始化Controller层
@RunWith(SpringRunner.class)
//使用@WebMvcTest只实例化Web层,而不是整个上下文。在具有多个Controller的应用程序中,
// 甚至可以要求仅使用一个实例化,例如@WebMvcTest(UserController.class)
@WebMvcTest(UserController.class)
public class UserController03Test {

    @Autowired
    private MockMvc mockMvc;

    @Test
    public void shouldReturnDefaultMessage() throws Exception {
        this.mockMvc.perform(get("/"))
                .andDo(print())
                .andExpect(status().isOk())
                .andExpect(content().string(containsString("Hello World")));
    }

}
上面的代码会报错,因为我们使用@WebMvcTest只初始化Controller层,但是在UserController 中注入了UserService,所以报错。我们把代码注释如下,该测试就会成功了。
但是一般的Controller成都会引用到Service吧,怎么办呢,我们可以使用mockito框架的@MockBean注解进行模拟,改造后的代码如下:
@RunWith(SpringRunner.class)
//使用@WebMvcTest只实例化Web层,而不是整个上下文。在具有多个Controller的应用程序中,
// 甚至可以要求仅使用一个实例化,例如@WebMvcTest(UserController.class)
@WebMvcTest(UserController.class)
public class UserController03Test {

    @Autowired
    private MockMvc mockMvc;

    //模拟出一个userService
    @MockBean
    private UserService userService;

    @Test
    public void greetingShouldReturnMessageFromService() throws Exception {
        //模拟userService.findByUserId(1)的行为
        when(userService.findByUserId(1)).thenReturn(new User(1,"张三"));

        String result = this.mockMvc.perform(get("/user/1"))
                .andDo(print())
                .andExpect(status().isOk())
                .andExpect(content().contentType(MediaType.APPLICATION_JSON_UTF8))
                .andExpect(jsonPath("$.name").value("张三"))
                .andReturn().getResponse().getContentAsString();

        System.out.println("result : " + result);
    }

}
资料:
json-path : https://github.com/json-path/JsonPath
mockito官网:https://site.mockito.org/
spring官网用例:https://spring.io/guides/gs/testing-web/
spring mockMvc文档:https://docs.spring.io/spring-framework/docs/current/javadoc-api/org/springframework/test/web/servlet/MockMvc.html