1:加入Maven插件:
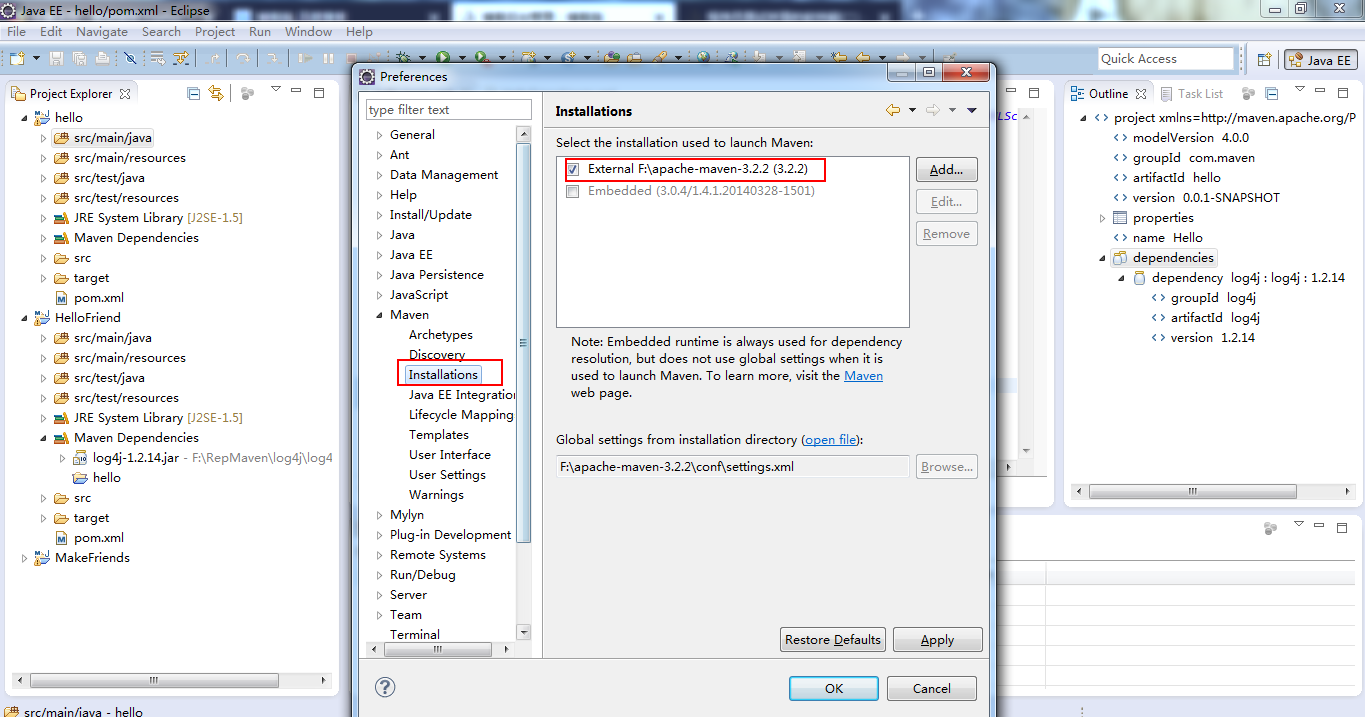
这句话的意思是:
从本地仓库找到相应的jar包
<localRepository>F:RepMaven</localRepository
2:创建一个Maven的工程


2:修改JDK的版本:
在setting.xml文件中添加
<profile>
                <id>jdk-1.7</id>
                <activation>
                    <activeByDefault>true</activeByDefault>
                    <jdk>1.7</jdk>
                </activation>
                <properties>
                    <maven.compiler.source>1.7</maven.compiler.source>
                    <maven.compiler.target>1.7</maven.compiler.target>
                    <maven.compiler.compilerVersion>1.7</maven.compiler.compilerVersion>
                </properties>
            </profile>
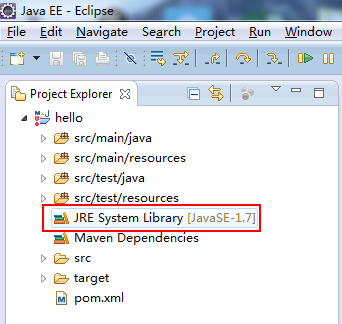
这样就变成了JDK1.7的
3:加入相应的jar包
<dependencies>
        <dependency>
            <groupId>junit</groupId>
            <artifactId>junit</artifactId>
            <version>4.11</version>
            <scope>test</scope>
        </dependency>
  </dependencies>
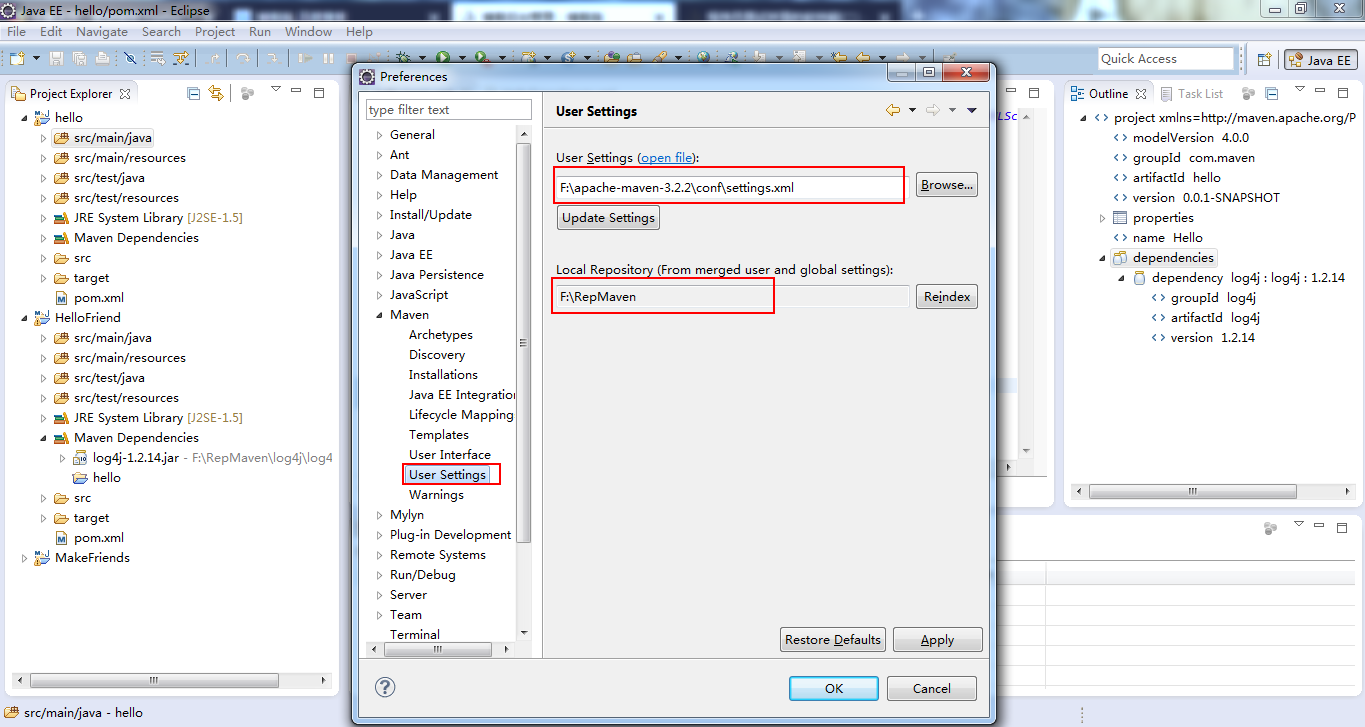
这些jar包是在本地仓库中的。

就是在user setting中的
4:加入工程
在one工程中创建一个类
package one;

public class Hello {
    public String sayHello(String name){
        return "hello  "+ name+"!";
    }
}
测试:
package one;

import org.junit.Test;
public class HelloTest {
    @Test
    public void testHello(){
        Hello hello = new Hello();
        String results = hello.sayHello("zhuopu");
        System.out.println(results);
    }
}
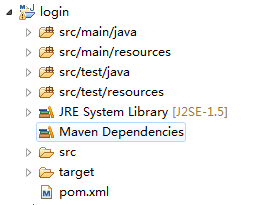
目录结构:

two工程中:
目录结构:

写入一个类:
package two;

import one.Hello;

public class HelloFriend {
    public String sayHelloToFriend(String name){
        Hello hello = new Hello();
        String str = hello.sayHello(name)+" I am "+this.getMyName();
        System.out.println(str);
        return str;
    }
    public String getMyName(){
        return "John";
    }
}
测试:
package two;

import org.junit.Test;
public class HelloFriendTest {
    @Test
    public void testHelloFriend(){
        HelloFriend helloFriend = new HelloFriend();
        String results = helloFriend.sayHelloToFriend("zhuopu");
        System.out.println(results);
    }
}
加上这个依赖后,two中就可以使用one工程中的类:
<dependency>
            <groupId>com.maven</groupId>
              <artifactId>one</artifactId>
              <version>0.0.1-SNAPSHOT</version>
        </dependency>