(formspree + vue + elementui )
原文地址:https://blog.csdn.net/aiiiszrh/article/details/122041974
<template>
  <div class="aside">
    <span href="#" style="color:#fff" target="_blank" title="预约演示" @click="appointment">预约</span>
    <el-dialog class="appointmentContent" width="560px" top="9vh" :modal="false" :close-on-click-modal="false"
      :visible.sync="appointmentVisible">
      <div class="input-content" v-if="appointmentVisible">
        <form action="https://formspree.io/2248121568@qq.com" method="post" id="content">
          <h1 class="yuyueTitle">立即预约,免费演示</h1>
          <input type="text" name="name" placeholder="姓名" class="contact-area" v-model="contactArea">
          <input type="text" name="company" placeholder="公司名称">
          <input type="text" name="position" placeholder="职位">
          <input type="text" name="phone" placeholder="联系电话">
          <input type="email" name="_replyto" placeholder="邮箱">
          <div class="commit" @click="sendMessage">点击预约</div>
        </form>
      </div>
    </el-dialog>
  </div>
</template>
<script>
export default {
  data() {
    return {
      appointmentVisible: false,
      contactArea:""
    }
  },
  methods: {
    appointment() {
      this.appointmentVisible = true
    },
    // 发送邮件
    sendMessage() {
     if(this.contactArea==''){
        this.$message.warning('您的姓名不能为空 !')
        return
      }
      var obj = $('#content').serialize() //获取id为content的form表单里面的内容
      console.log(obj)
      $.ajax({
        type: 'post', //必须post请求
        url: 'https://formspree.io/f/test', //test换成你要接收的邮箱地址
        async: true,
        data: obj,
        dataType: 'json',
        success: res => {
          alert('邮件已发送!!!') //发送成功后的操作
        },
        error: res => {
          alert('未知错误,发送失败')
        },
      })
    },
  },
}
</script>
<style lang="less" rel="stylesheet/less" scoped>
.yuyueTitle {
  text-align: center;
  color: coral;
}
.appointmentContent {
  text-align: center;
}
.input-content input {
  width: 400px;
  height: 40px;
  text-indent: 10px;
  border-radius: 6px;
  margin-top: 10px;
  border: none;
  border: 1px solid #ccc;
}
.commit {
  display: flex;
  justify-content: center;
  align-items: center;
  width: 400px;
  height: 46px;
  margin: 20px 0 50px 60px;
  border-radius: 6px;
  background: coral;
  color: #fff;
}
.aside span {
  display: block;
  margin-top: 30px;
  text-align: center;
  color: #fff;
}
</style>
formspree操作步骤:
1、在https://formspree.io/注册账号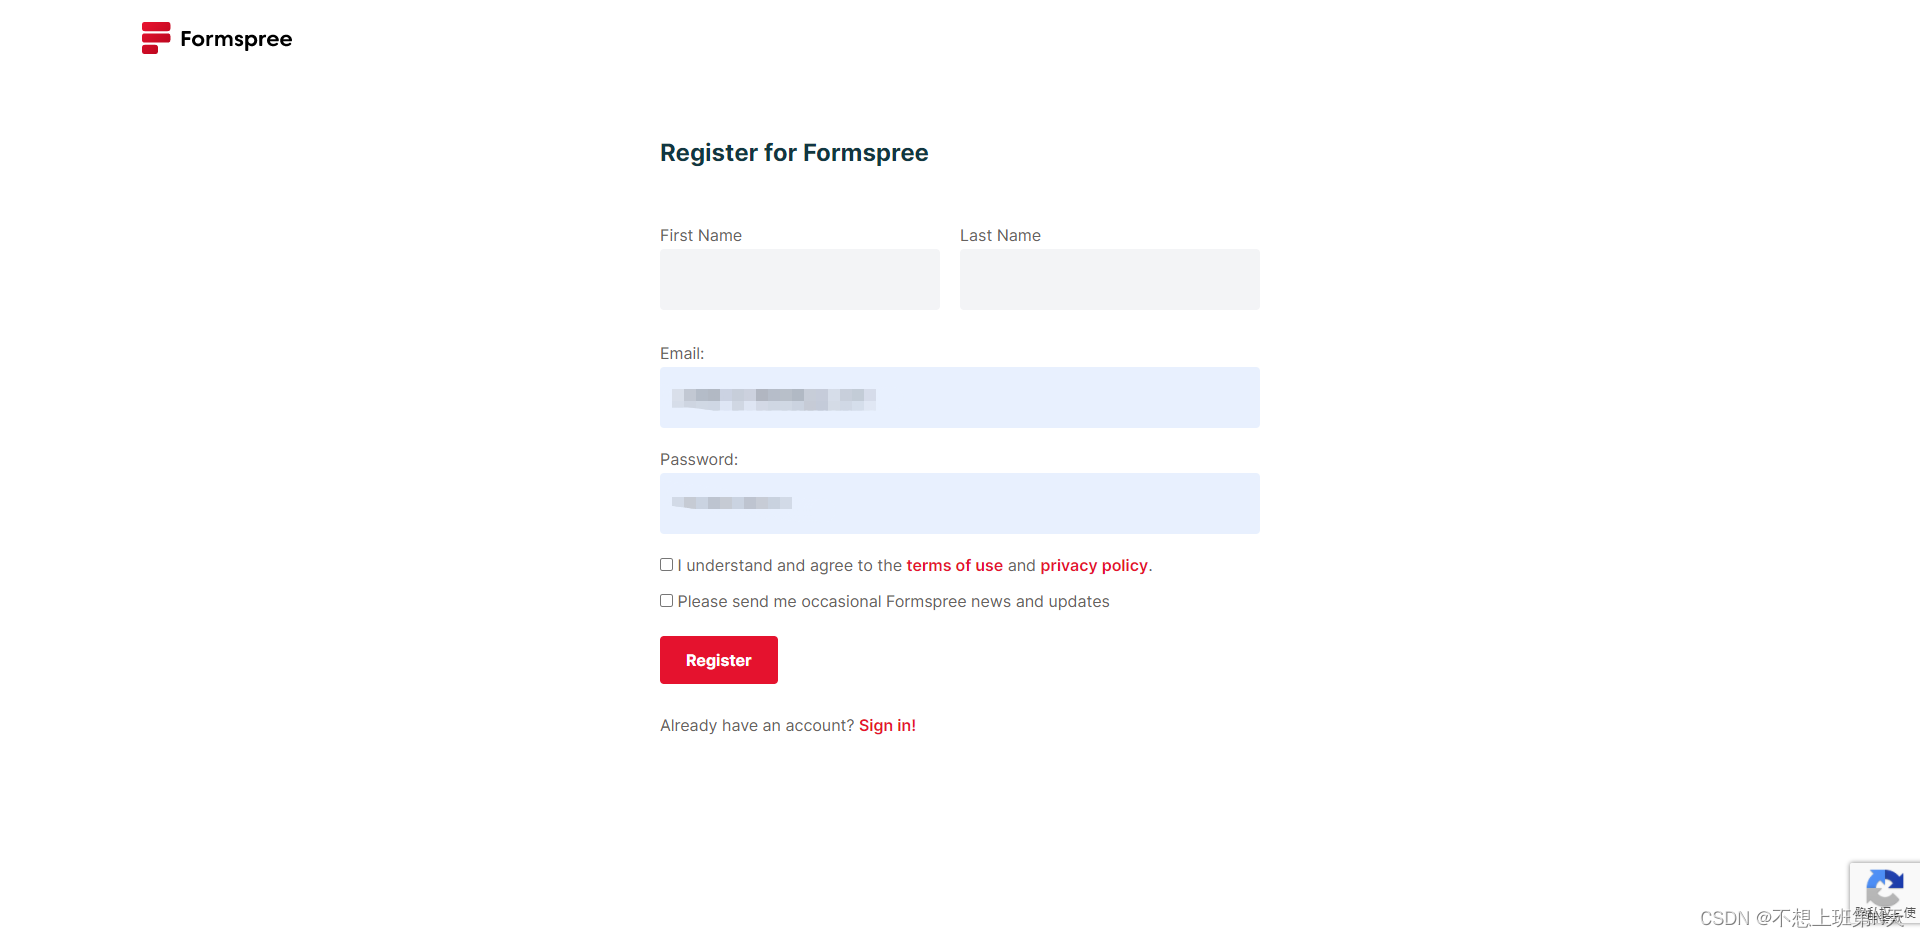
2、登录完成之后点右上角的Account来设置要接收邮件的账号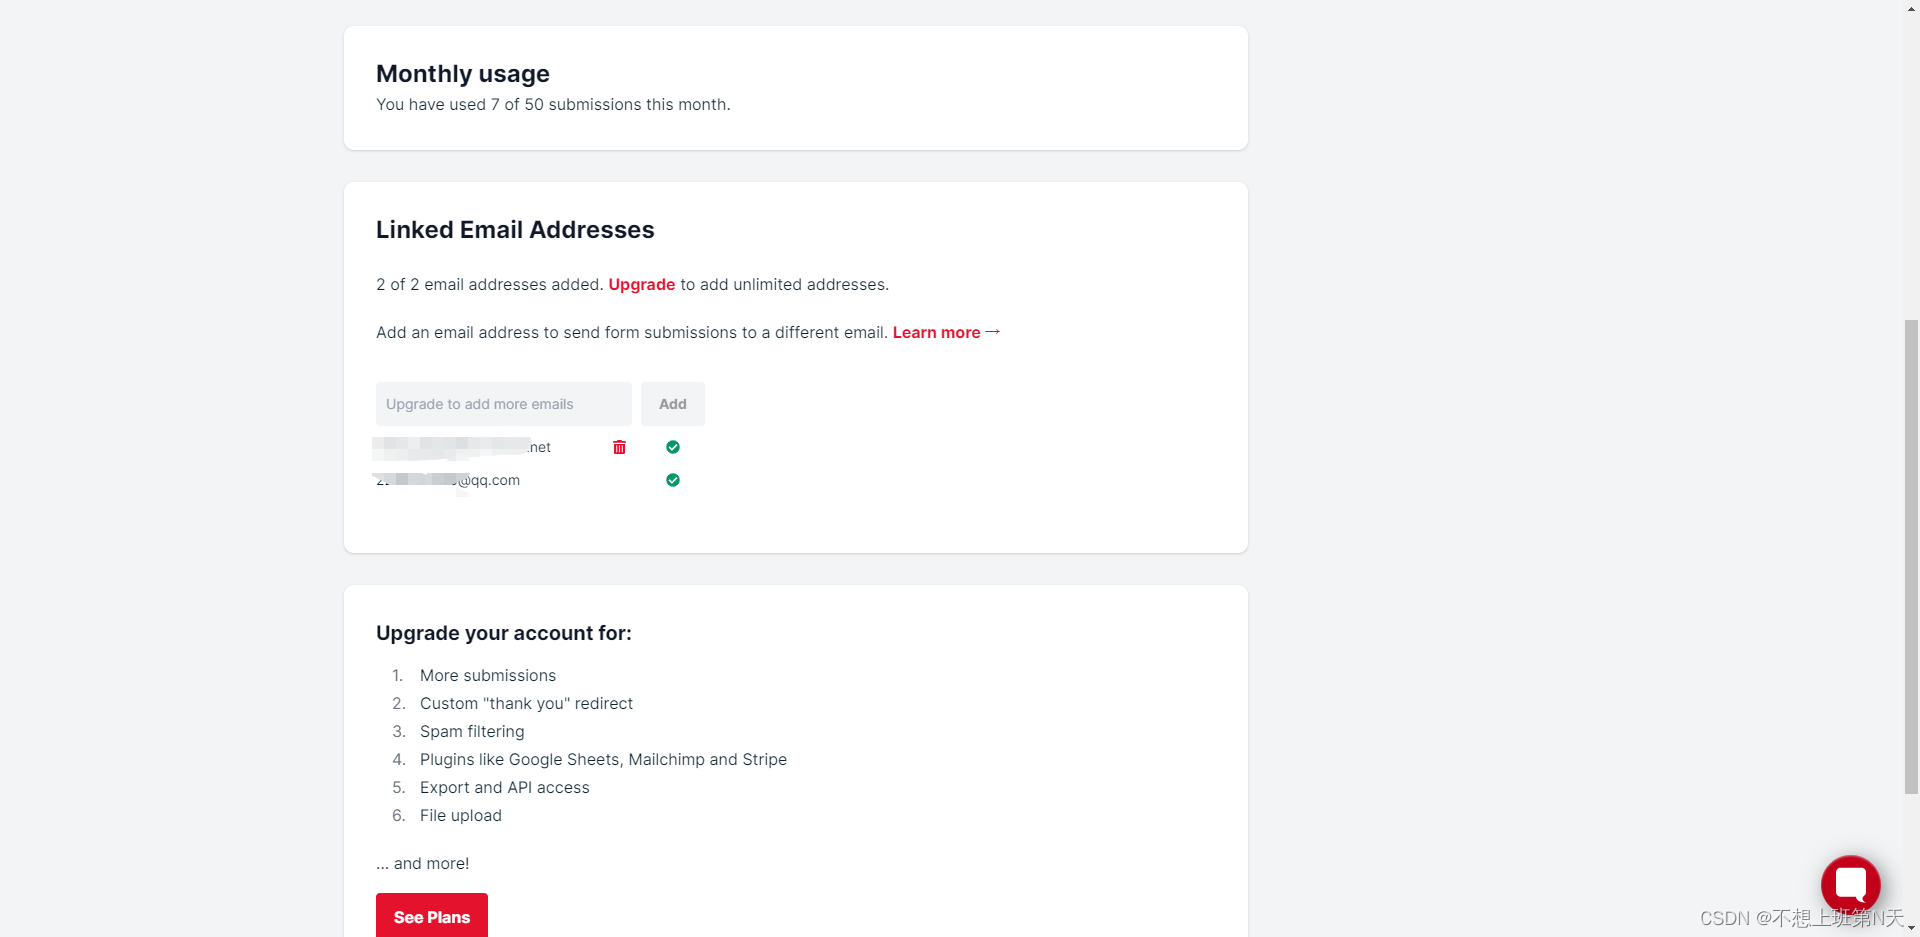
3、回到首页新建项目和新表格
4、创建表格完成就得到一个如上代码的url