从本篇开始对Spring 4.3.6版本中Cache部分做一次深度剖析。剖析过程中会对其中使用到的设计模式以及原则进行分析。相信对设计内功修炼必定大有好处。
一、环境及工具
IntelliJ IDEA 2016.2
JDK 1.8
MacOS
二、测试用代码
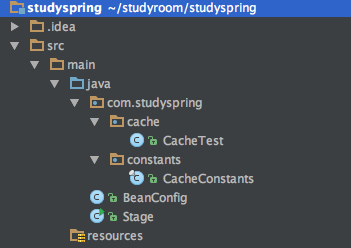
目录整体结构是这个样子:

BeanConfig 类,注册CacheManager以及扫描包下的Bean。
import com.studyspring.constants.CacheConstants;
import org.springframework.cache.CacheManager;
import org.springframework.cache.annotation.EnableCaching;
import org.springframework.cache.concurrent.ConcurrentMapCacheManager;
import org.springframework.context.annotation.Bean;
import org.springframework.context.annotation.ComponentScan;
import org.springframework.context.annotation.Configuration;

import java.util.ArrayList;
import java.util.List;

/**
 * Created by zhangmingbo on 2/23/17.
 */

@EnableCaching
@Configuration
@ComponentScan(basePackages = "com.studyspring")
public class BeanConfig {

    @Bean
    public CacheManager cacheManager() {
        ConcurrentMapCacheManager cacheManager = new ConcurrentMapCacheManager();
        cacheManager.setCacheNames(getCacheNames());
        return cacheManager;
    }

    public List<String> getCacheNames() {
        List<String> cacheNames = new ArrayList<String>();
        cacheNames.add(CacheConstants.CACHE_RANDOM);

        return cacheNames;
    }

}
Stage类,顾名思义,作为main方法所在类作为测试等入口。
import com.studyspring.cache.CacheTest;
import org.springframework.context.ApplicationContext;
import org.springframework.context.annotation.AnnotationConfigApplicationContext;

/**
 * Created by zhangmingbo on 2/23/17.
 */
public class Stage {

    public Stage() {
    }

    public static void main(String[] args) {

        ApplicationContext applicationContext = new AnnotationConfigApplicationContext(BeanConfig.class);

        CacheTest cacheTest = applicationContext.getBean(CacheTest.class);

        for (int i = 0; i < 5; i++) {
            System.out.println(cacheTest.getRandomInt());
        }
    }
}
CacheTest业务类
package com.studyspring.cache;

import com.studyspring.constants.CacheConstants;
import org.springframework.cache.annotation.Cacheable;
import org.springframework.stereotype.Component;

/**
 * Created by zhangmingbo on 2/23/17.
 */

@Component
public class CacheTest {


    @Cacheable(cacheNames = CacheConstants.CACHE_RANDOM)
    public Double getRandomInt() {
        System.out.println("Call Random");
        return Math.random() * 100;
    }

}
以上三个类是最主要的几个类,后面也许还会增加,根据需要来。
三、生成类图
IntelliJ IDEA 提供了方便的类图生成工具。下面将介绍如何一步一步生成Cache源码需要的类图。
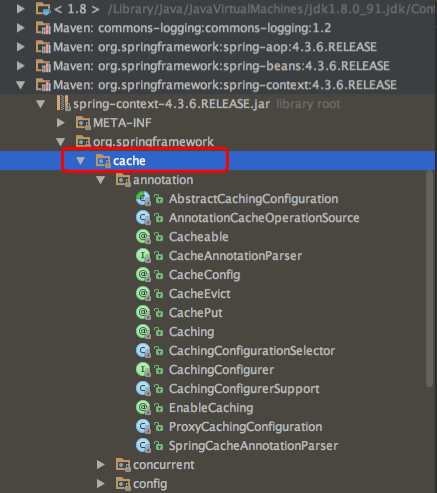
第一步,关联到源码,展开Spring-context下面的cache节点。

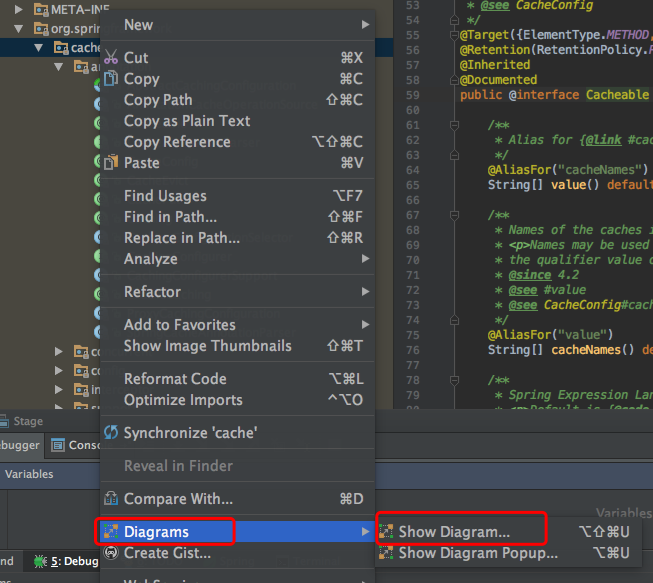
第二步,鼠标右键选择菜单中Show Diagram选项

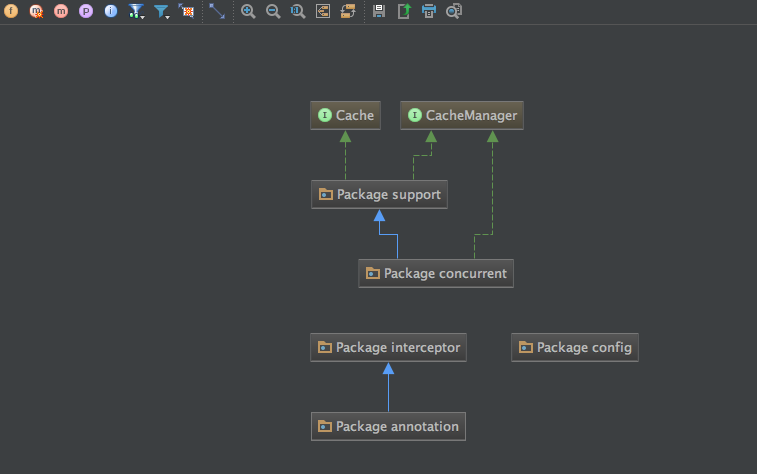
选中后将会出现下面这张萌萌哒的图,这个工具做得真心好看。

第三步,熟悉常用功能
展开Package:选中Package,点击键盘e
折叠Package:选中Package,点击键盘c
查看源码:Command + 向下箭头
还有许多其它功能可以慢慢摸索。
四、一张完整的类图
