前提条件ovirt引擎装好了,下面的环境vdsm和engine是装在同一台服务器上
1.创建NAT网络配置文件/etc/libvirt/qemu/networks/nat.xml,内容如下
cd /etc/libvirt/qemu/networks
cp default.xml nat.xml
vim nat.xml

2.通过libvirt/virsh创建NAT网络
[root@engine networks]# virsh
Welcome to virsh, the virtualization interactive terminal.
Type: 'help' for help with commands
'quit' to quit
virsh # connect qemu:///system
Please enter your authentication name: vdsm@ovirt
Please enter your password:shibboleth
virsh # net-list
Name State Autostart Persistent
----------------------------------------------------------
;vdsmdummy; active no no
nat active no no
virsh # net-define /etc/libvirt/qemu/networks/nat.xml
virsh # net-autostart nat1
Network nat1 marked as autostarted
virsh # net-start nat1
Network nat1 started
virsh # net-list --all
Name State Autostart Persistent
----------------------------------------------------------
;vdsmdummy; active no no
default inactive no yes
nat active no no
nat1 active yes yes
yum install -y vdsm-hook-extnet
[root@engine packages]# engine-config -s CustomDeviceProperties='{type=interfac e;prop={extnet=^[a-zA-Z0-9_ ---]+$}}'
Please select a version:
1. 4.1
2. 4.2
3. 4.3
3
engine-config -g CustomDeviceProperties
systemctl restart ovirt-engine
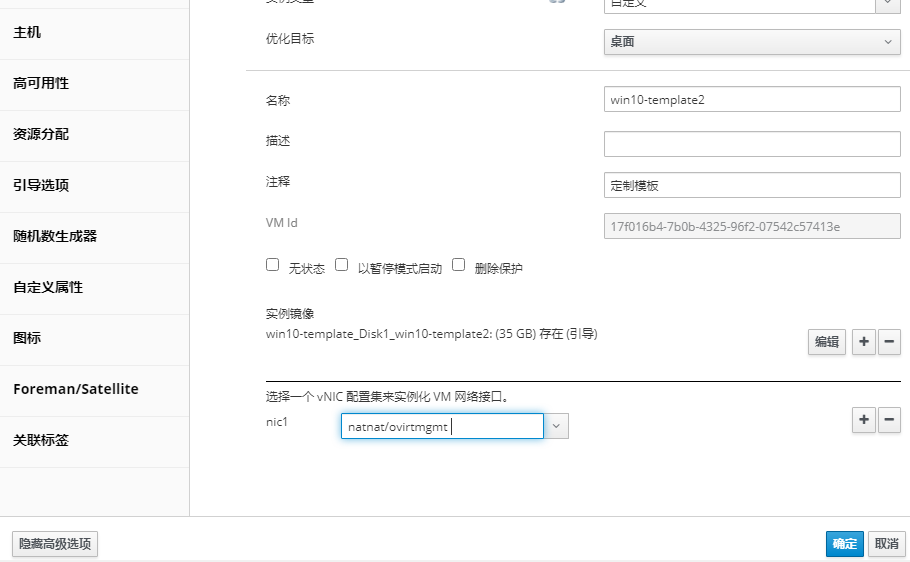
点击vnic配置集,然后新建


编辑虚拟机,重新选择vnic,选择刚刚新建的
开机测试,实验完成