通过总线机制实现自动刷新客户端配置
方案示意图
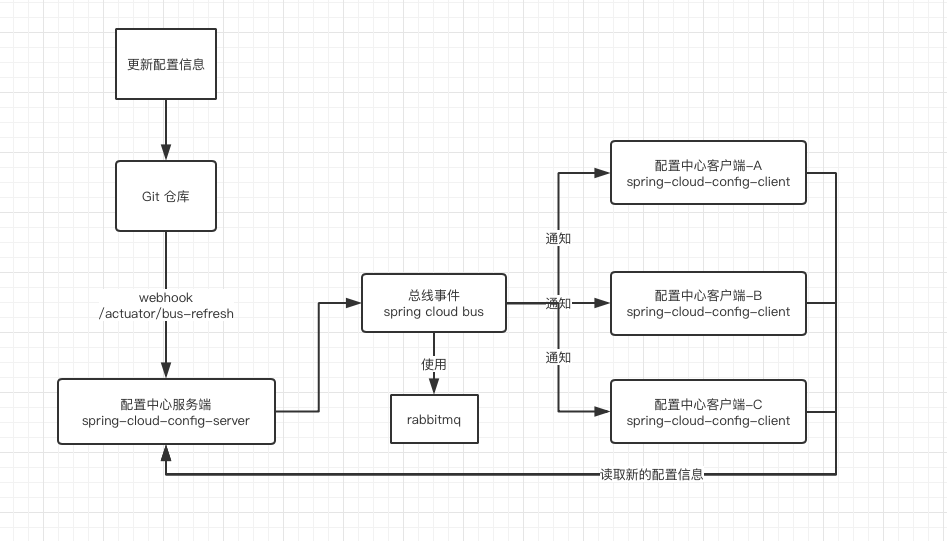
利用Git服务的webhook通知功能,在每次更新配置之后,Git服务器会用POST方式调用配置中心的/actuator/bus-refresh接口,配置中心的总线服务会将此事件广播给加入总线的所有客户端,客户端收到事件后会从新读取配置中心的内容。
增加POM依赖
配置中心的服务端(spring-cloud-config-server)和客户端(spring-cloud-config-client)都加入Spring Cloud Bus引用包:
<dependency>
    <groupId>org.springframework.cloud</groupId>
    <artifactId>spring-cloud-starter-bus-amqp</artifactId>
</dependency>
启动Rabbitmq
docker pull rabbitmq:3-management

docker run -d --hostname my-rabbit --name rabbit -p 5672:5672 -p 15672:15672 rabbitmq:3-management
可以访问127.0.0.1:15672/登录rabbitmq管理监控后台,用户名密码都是guest/guest。
修改配置信息
配置中心的服务端(spring-cloud-config-server)和客户端(spring-cloud-config-client)都需要修改配置文件的内容:
spring-cloud-config-server项目的application.properties增加:
# 开启消息跟踪
spring.cloud.bus.trace.enabled=true
spring.rabbitmq.host=127.0.0.1
spring.rabbitmq.port=5672
spring.rabbitmq.username=guest
spring.rabbitmq.password=guest

#显示的暴露接入点
management.endpoints.web.exposure.include=*
spring-cloud-config-client项目的application.properties增加:
# 开启消息跟踪
spring.cloud.bus.trace.enabled=true
spring.rabbitmq.host=127.0.0.1
spring.rabbitmq.port=5672
spring.rabbitmq.username=guest
spring.rabbitmq.password=guest

#显示的暴露接入点
management.endpoints.web.exposure.include=*
spring-cloud-config-client项目的bootstrap.properties增加(否则会报错:A component required a bean named 'configServerRetryInterceptor' that could):
spring.cloud.config.fail-fast=true
配置Git的Webhook
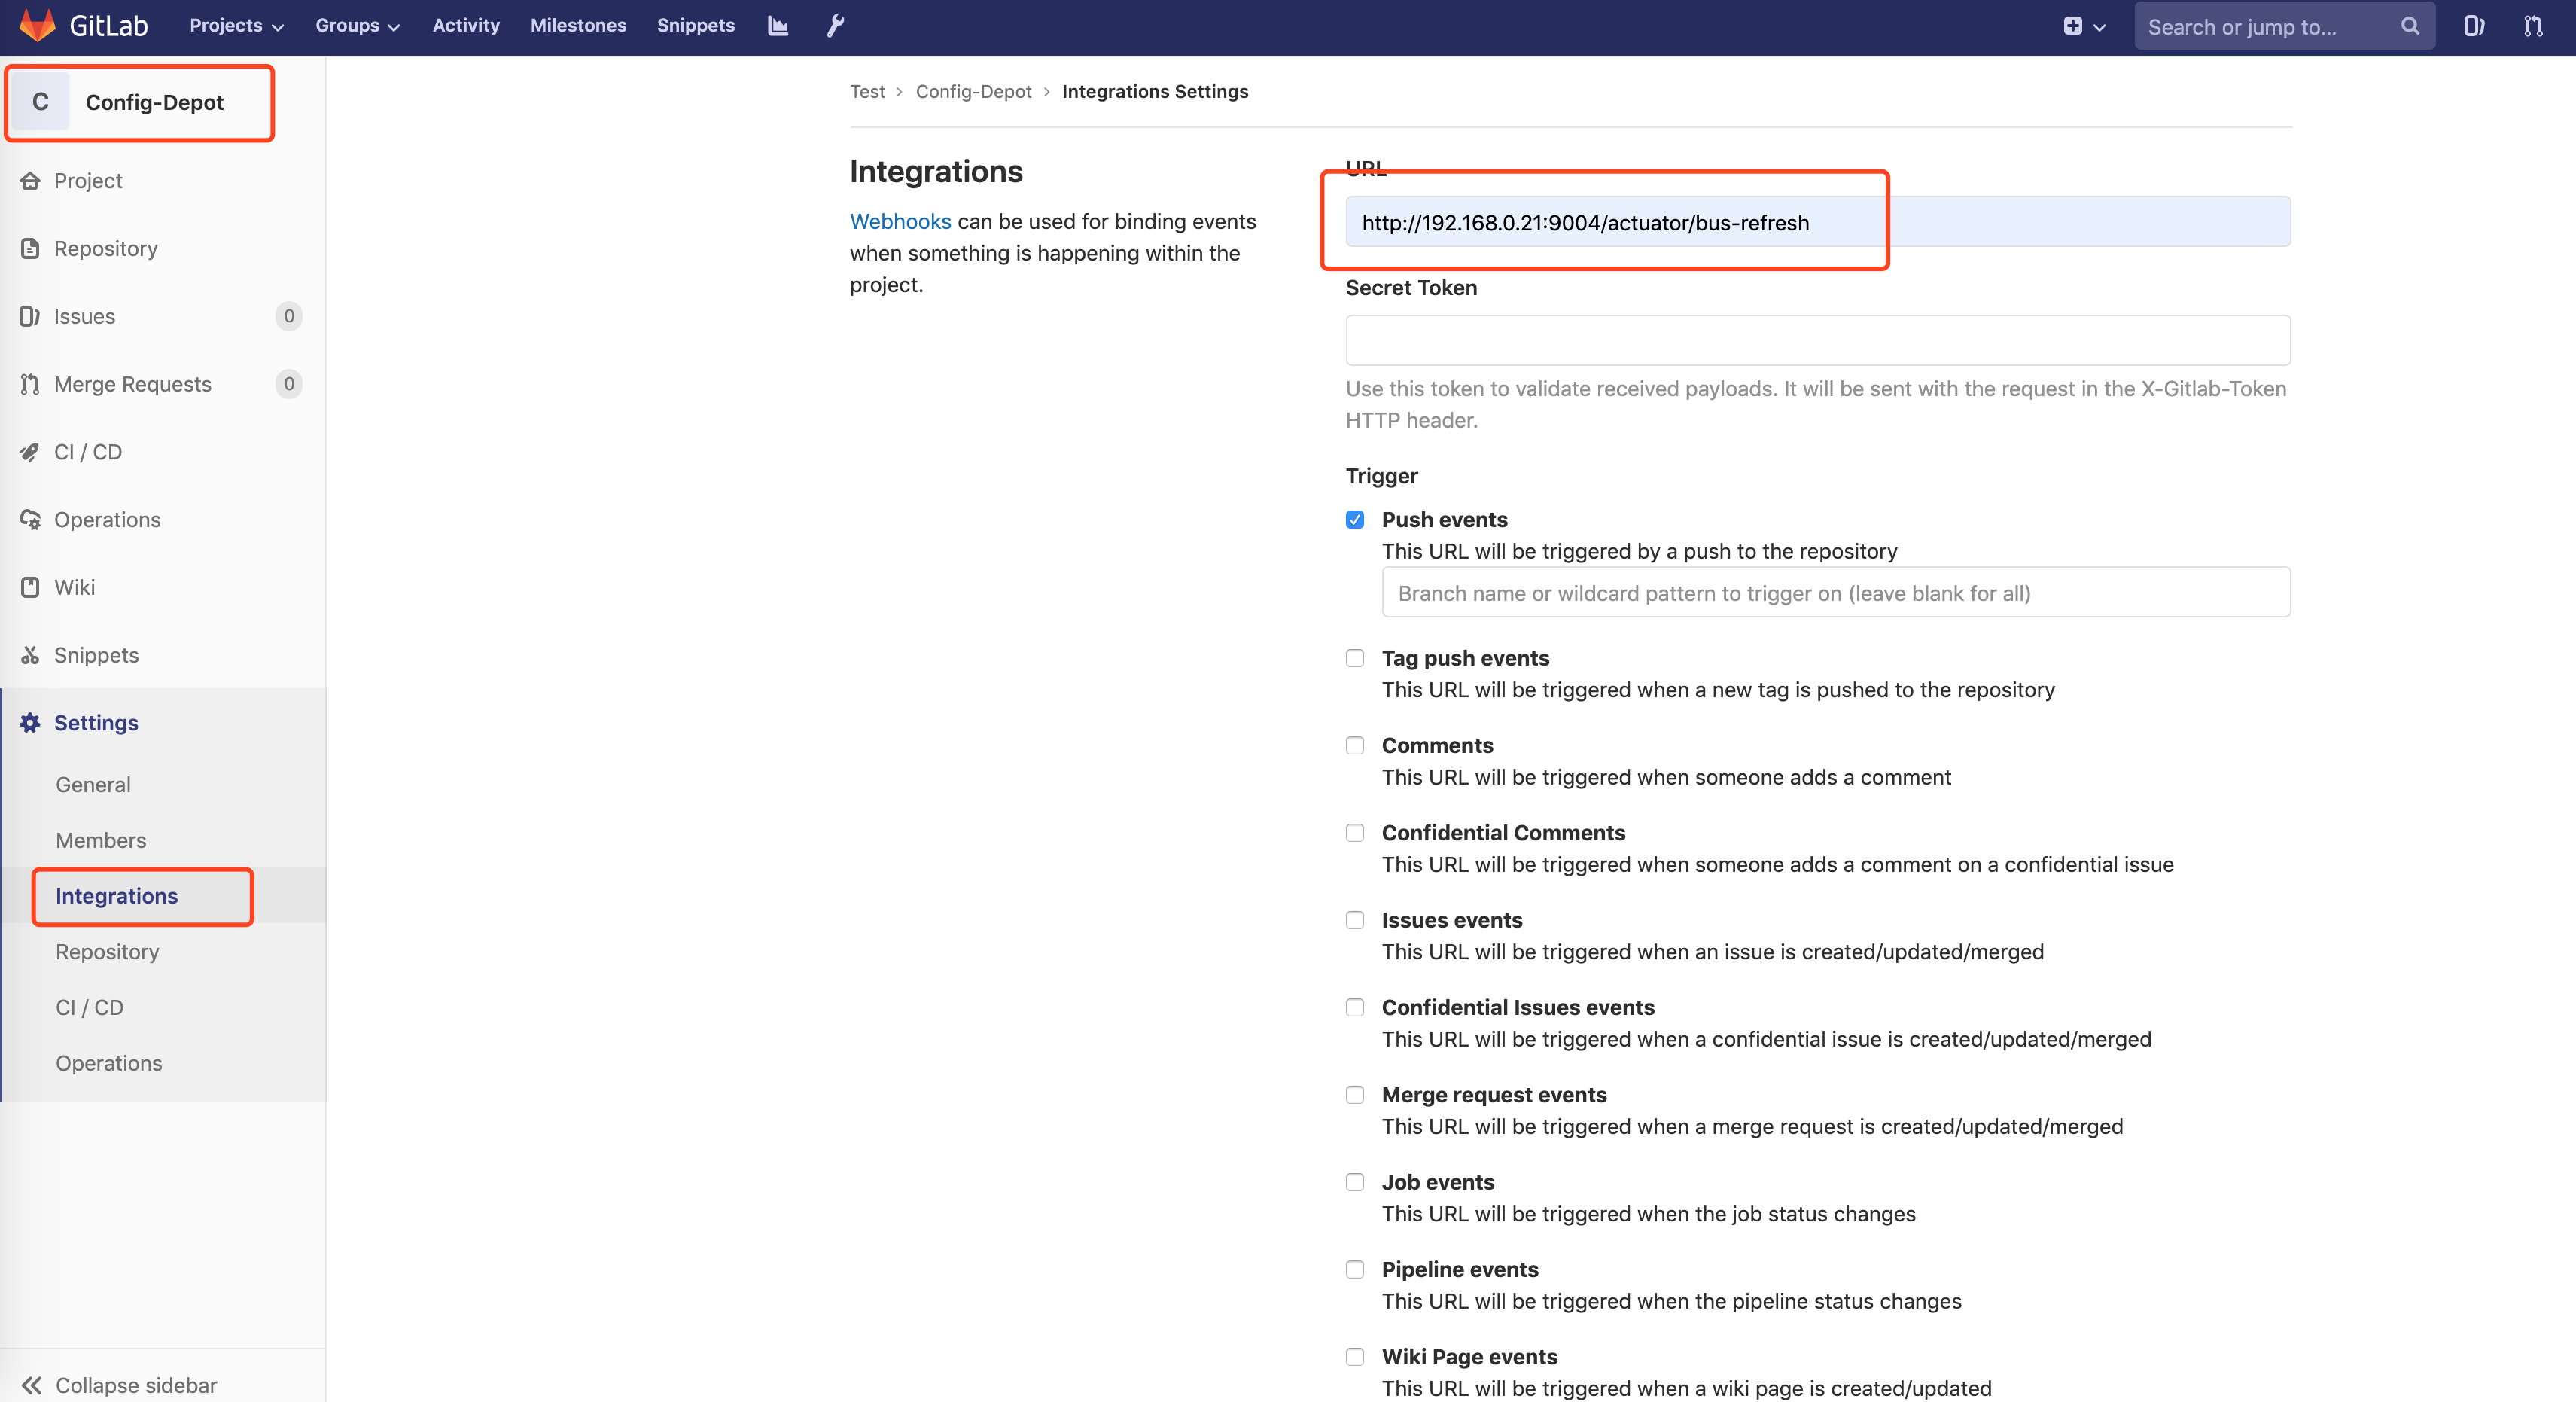
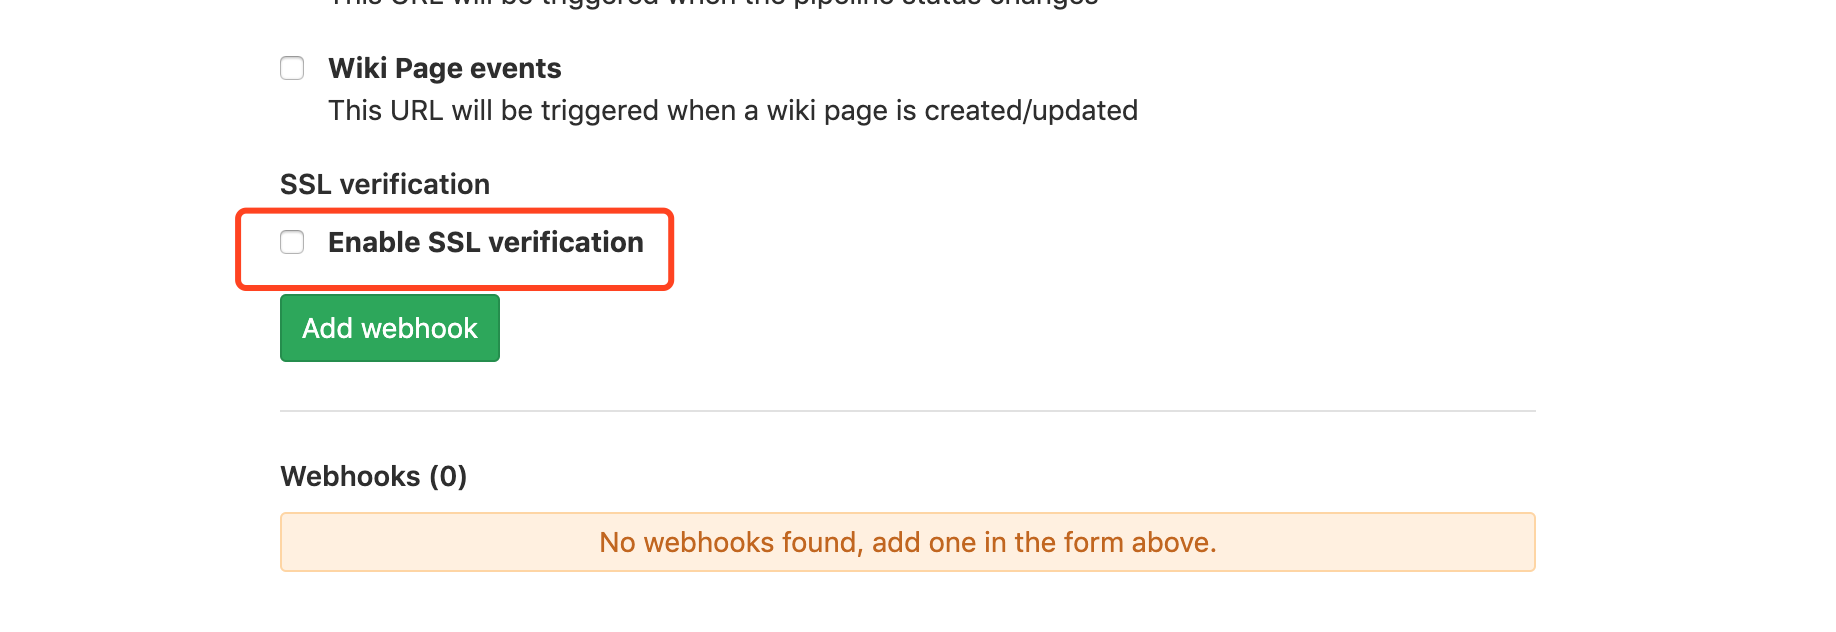
192.168.0.21:9004/actuator/bus-refresh是我一个配置中心的地址,如果有多个配置中心可以写多个webhook,在页面上测试中如果返回204就说明成功了。
将Webhook的POST请求中的body清空
Git在进行webhood post请求的同时默认会在body加上这么一串载荷(payload),Spring Boot 无法并行化,所以在配置中心服务端(spring-cloud-config-server)新建下面两个类:
此代码参考了:spring_cloud config 配置中心及利用Github实现自动化热加载配置
import javax.servlet.ReadListener;
import javax.servlet.ServletInputStream;
import javax.servlet.http.HttpServletRequest;
import javax.servlet.http.HttpServletRequestWrapper;
import java.io.ByteArrayInputStream;
import java.io.IOException;

//清空请求中的Body
public class EmptyRequestWrapper extends HttpServletRequestWrapper{

	public EmptyRequestWrapper(HttpServletRequest request) {
		super(request);
	}

	@Override
	public ServletInputStream getInputStream() throws IOException {
		byte[] bytes = new byte[0];
		ByteArrayInputStream byteArrayInputStream = new ByteArrayInputStream(bytes);

		return new ServletInputStream() {
			@Override
			public boolean isFinished() {
				return byteArrayInputStream.read() == -1 ? true:false;
			}

			@Override
			public boolean isReady() {
				return false;
			}

			@Override
			public void setReadListener(ReadListener readListener) {

			}

			@Override
			public int read() throws IOException {
				return byteArrayInputStream.read();
			}
		};
	}
}
import org.springframework.core.annotation.Order;

import javax.servlet.*;
import javax.servlet.annotation.WebFilter;
import javax.servlet.http.HttpServletRequest;
import java.io.IOException;

@WebFilter(filterName = "bodyFilter", urlPatterns = "/*")
@Order(1)
//Git在进行webhood post请求的同时默认会在body加上这么一串载荷(payload),Spring Boot 无法并行化。
public class BusRefreshFilter implements Filter {

	@Override
	public void init(FilterConfig filterConfig) throws ServletException {

	}

	@Override
	public void doFilter(ServletRequest servletRequest, ServletResponse servletResponse, FilterChain filterChain) throws IOException, ServletException {
		HttpServletRequest httpServletRequest = (HttpServletRequest)servletRequest;

		String url = new String(httpServletRequest.getRequestURI());

		//只过滤/actuator/bus-refresh请求
		if (!url.endsWith("/bus-refresh")) {
			filterChain.doFilter(servletRequest, servletResponse);
			return;
		}

		//使用HttpServletRequest包装原始请求达到修改post请求中body内容的目的
		EmptyRequestWrapper requestWrapper = new EmptyRequestWrapper(httpServletRequest);

		filterChain.doFilter(requestWrapper, servletResponse);
	}

	@Override
	public void destroy() {

	}
}
最后在启动类上添加@ServletComponentScan注解
@SpringBootApplication
//启动配置中心
@EnableConfigServer
//启动服务发现
@EnableDiscoveryClient
@ServletComponentScan
public class SpringCloudConfigServerApplication {

	public static void main(String[] args) {
		SpringApplication.run(SpringCloudConfigServerApplication.class, args);
	}

}
测试自动刷新自动
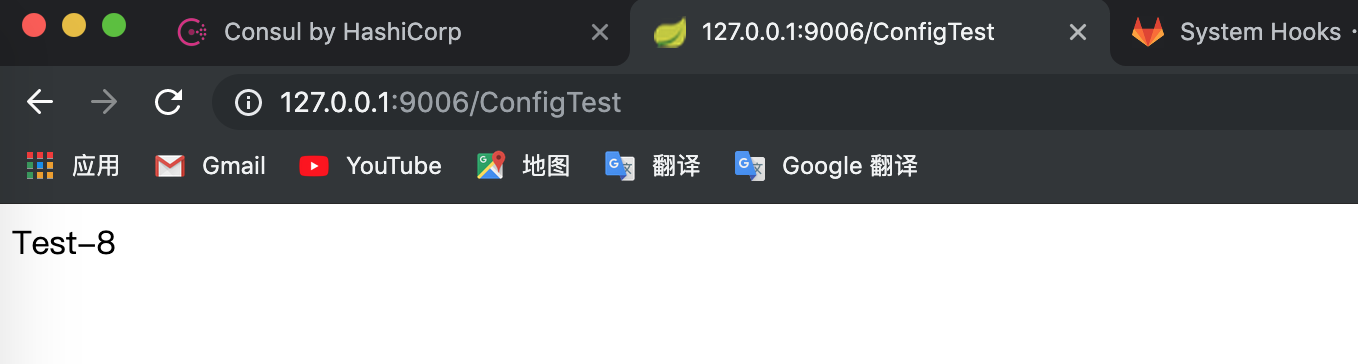
访问客户端程序127.0.0.1:9006/ConfigTest,得到当前结果Test-8,访问配置中心也是Test-8:

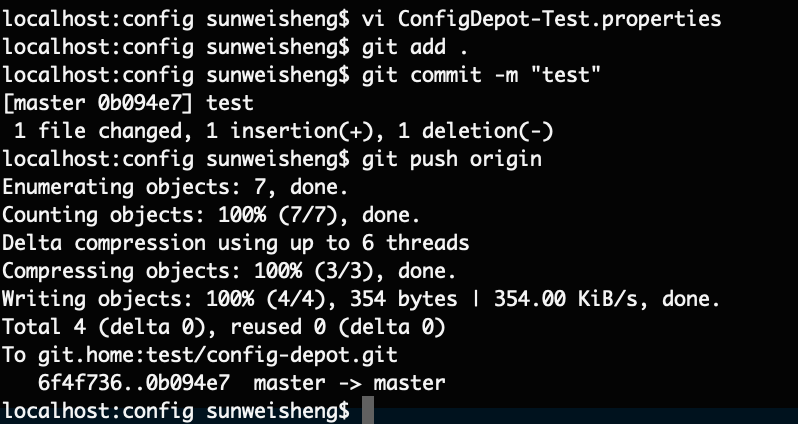
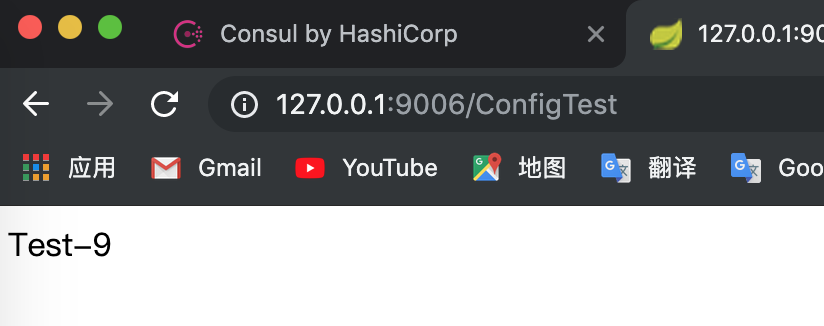
我们更新Git参考将配置内容改为Test-9:
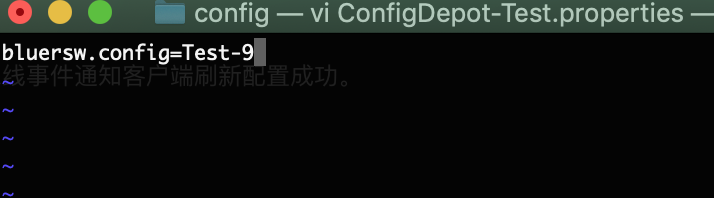
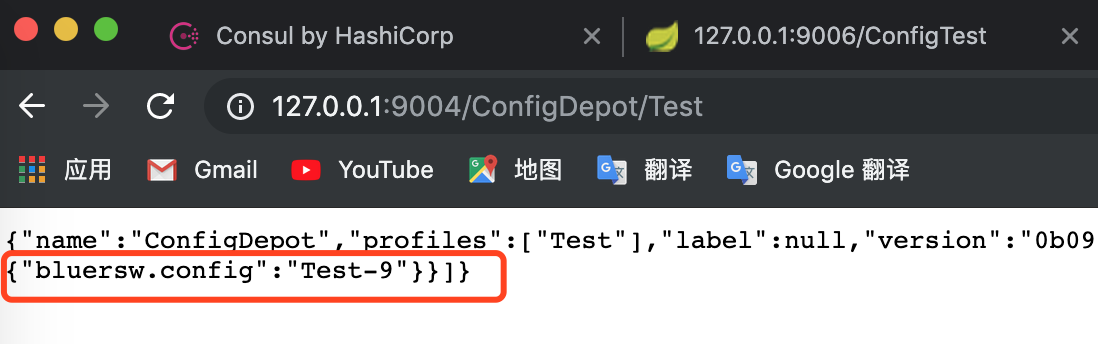
查看配置中心127.0.0.1:9004/ConfigDepot/Test,内容已经改为Test-9,再刷新客户端程序127.0.0.1:9006/ConfigTest,这时配置内容已经成功改成了Test-9,总线事件通知客户端刷新配置成功。
从配置中心服务端和客户端的日志也可看出刷新配置信息的过程:


源码
Github仓库:https://github.com/sunweisheng/spring-cloud-example