原理
字符画是计算每个像素上的灰度值并与预定好的字符列表进行替换。
1:灰度值能够明确知道每个像素的明暗度;
2:计算出图片上每个像素上的灰度值(值范围在 0 ~ 255);
3:有一个字符列表,灰度值虽然最大为 255,但并字符列表的元素个数不一定要256个;
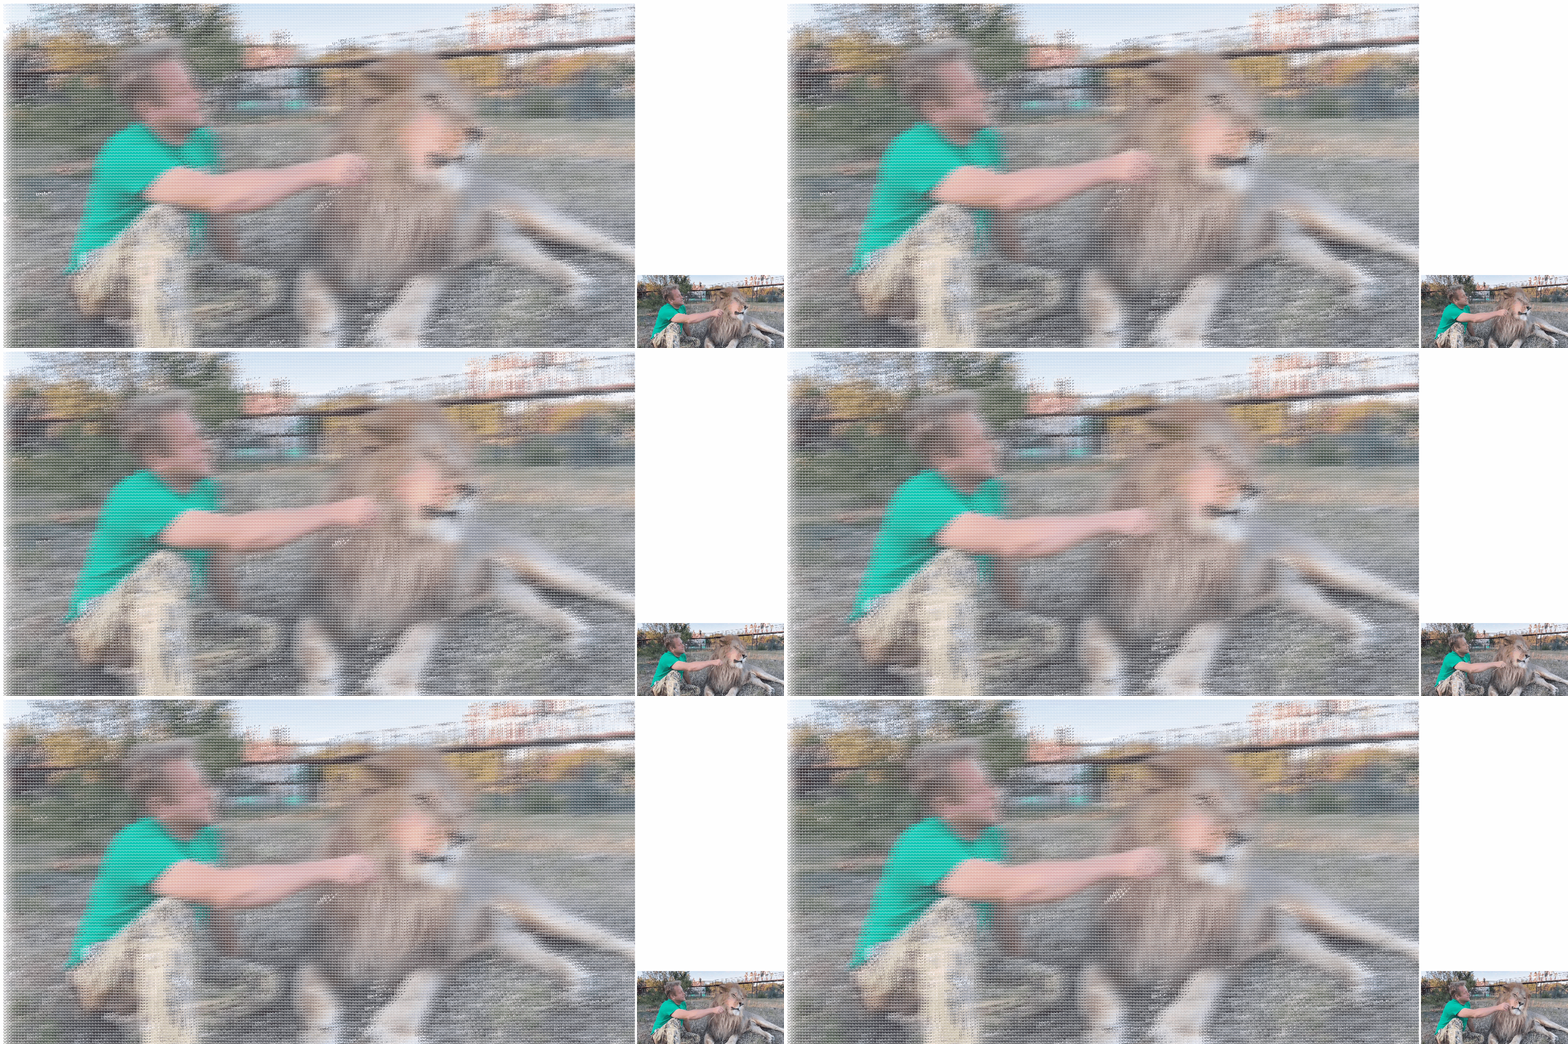
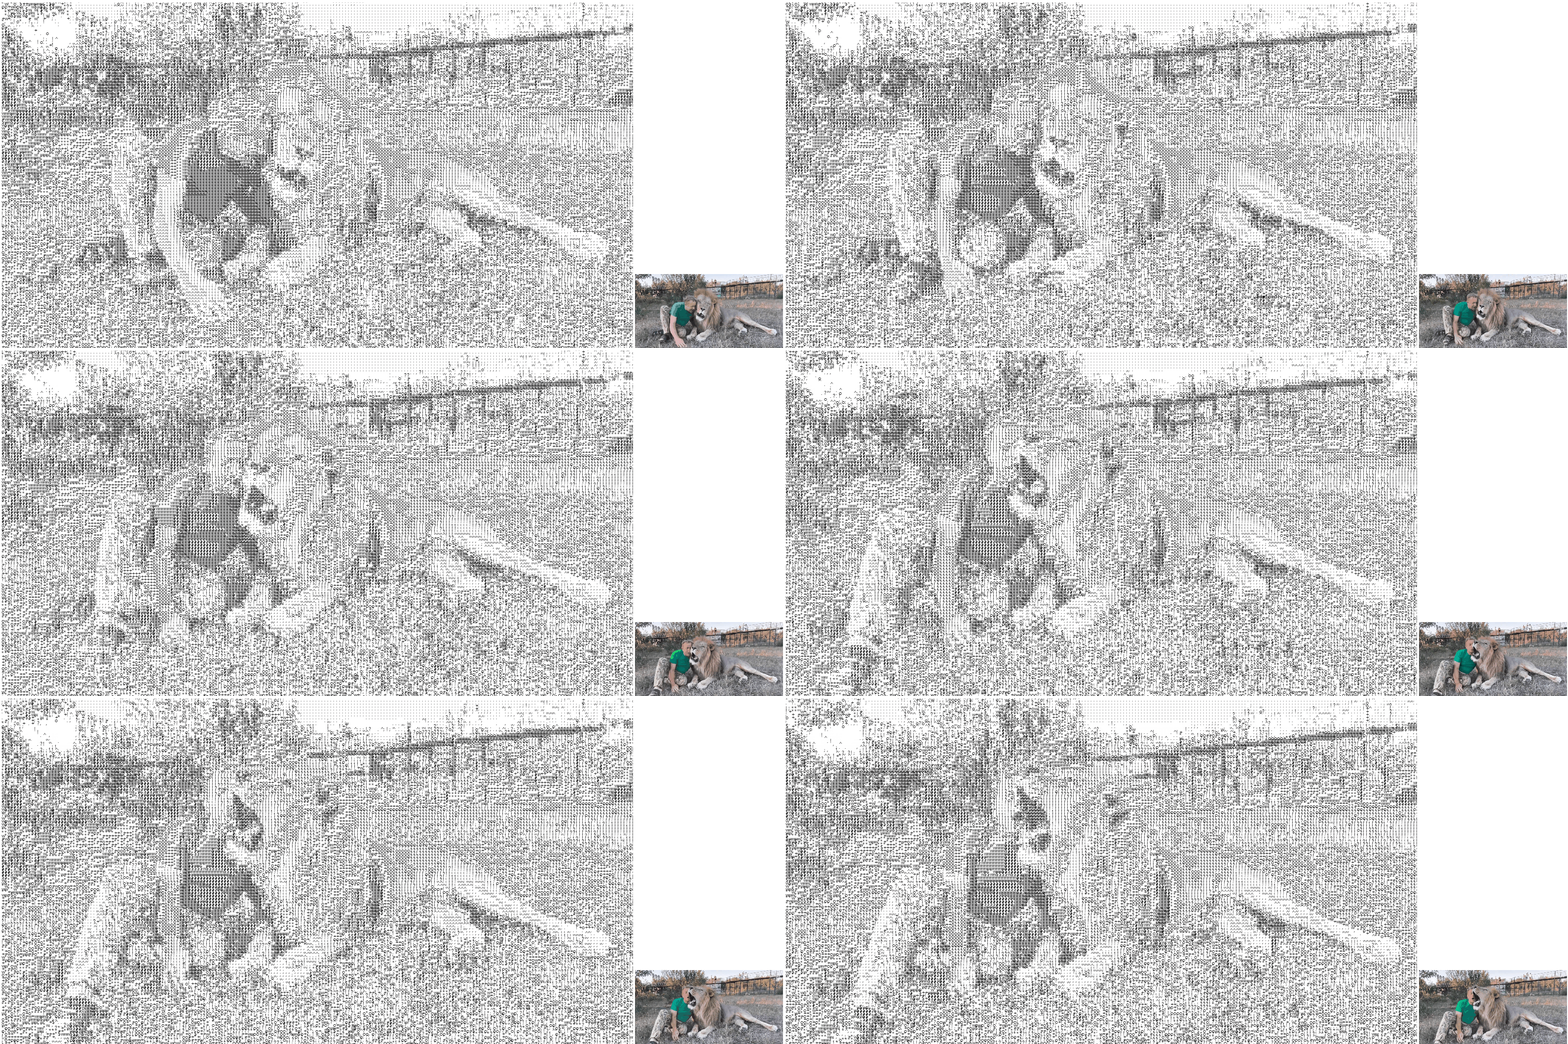
效果


整理
既然使用JS实现,那么就需要考虑JS的限制,比如,JS不能访问本地文件等等。
从本地中选择一个视频文件使用JS实现计算视频文件的每一帧画面的每一像素的灰度值与定义好的字符列表进行替换,到输出到页面上。可以具体拆分为:
1:输入,JS因为安全限制,所以不能直接读取本地文件,所以需要一个 type 为 file 的 input,来选择读取一个视频文件;
2:处理视频,读取到视频文件后如何能够处理视频文件,而处理视频文件就需要得到视频的每一帧画面。
①:首先得到视频的每一帧画面,使用 canvas 的 drawImage 方法( drawImage 方法的第一个参数可以是video或者img,而 video 是输出当前播放的画面,可以利用这个);
②:得到了视频的每一帧画面后,使用 canvas 的 getImageData 方法,来得到画面的像素信息。
3:输出,将得到的像素信息进行计算得到灰度值在字符列表的映射字符,并输出到canvas,使用 canvas 的 fillText 方法。
以上需要 input、canvas、video 标签。
在 drawImage 时有个致命问题,这个虽然能得到当前播放的画面,但不能实时的得到视频的每一帧。这里我不断的去 drawImage 就可以解决。代码就为:
1 setInterval(function(){
2   ctx.drawImage(videoDom, 0, 0, width, height);
3 }, 10)
代码实现
先看看 HTML
<!DOCTYPE html>
<html lang="en">
<head>
    <meta charset="UTF-8">
    <meta name="viewport" content="width=device-width, initial-scale=1.0">
    <title>字符画</title>
</head>
<body>
    <input id="file" type="file" />
    <canvas id="show" ></canvas>
    <video controls id="video"></video>
</body>
</html>
input 作用为选择一个视频;
video 作用为播放视频;
canvas 作用为处理视频并输出字符视频。
JS代码实现
 1 <script>
 2
 3
 4     const fileDom = document.getElementById('file');
 5     const videoDom = document.getElementById('video');
 6     const canvasDom = document.getElementById('show');
 7     const ctx = canvasDom.getContext("2d");
 8
 9     let t;
10     let asciiList = ['#', '&', '@', '%', '$', 'w', '*', '+', 'o', '?', '!', ';', '^', ',', '.', ' ']  // 预定义好的字符列表
11
12
13     // 监听 input 的change事件,将得到的 视频文件能够在 video 中播放
14     fileDom.addEventListener('change', function(e){
15
16         let file = e.target.files[0]  // 获取选择的视频的文件对象
17         videoDom.src = URL.createObjectURL(file)  // 使用 URL.createObjectURL() 创建文件对象的路径并设置给video
18
19     })
20
21     //监听 canplay 事件,确保视频能够播放
22     videoDom.addEventListener('canplay', function() {
23
24
25         videoDom.addEventListener('play', function(){
26
27             // 设置 canvas 的大小 跟 视频大小一样
28             canvasDom.width = videoDom.videoWidth
29             canvasDom.height = videoDom.videoHeight
30
31
32             t = setInterval(function(){
33
34                 // drawImage 得到当前 video 播放的画面, 大小为 canvas 的大小, 配合 setInterval,就能够实时的获取,没有setInterval 就只能得到一帧的画面
35                 ctx.drawImage(videoDom, 0, 0, canvasDom.width, canvasDom.height);
36
37                 // getImageData 得到当前 canvas 上的画面的像素信息, imgData的data 为 一维数组,每 4 个为一个像素点信息
38                 let imgData = ctx.getImageData(0, 0, canvasDom.width, canvasDom.height);
39
40                 let width = imgData.width;
41                 let height = imgData.height;
42                 let data = imgData.data;
43
44                 // 在绘制前清空画布,避免重复绘制
45                 ctx.clearRect(0, 0, width, height);
46
47                 // 循环 每个像素点,区间为 canvas 大小
48                 for(let h = 0; h<height; h+=6){  // +=6 为 横向密度,也可以 ++,但是会卡
49                     for(let w = 0; w<width; w+=6){  // +=6 为 竖向密度,也可以 ++,但是会卡
50                         let rgba = (width * h + w) * 4  // *4 为 每4个元素为一个像素点, rgba 为 每个像素点信息的第一个位置
51
52                         // 根据 rgb 值进行计算灰度值并得到字符
53                         let ascii = getAscii(data[rgba], data[rgba + 1], data[rgba + 2], data[rgba + 3])
54
55                         // 将字符画到 canvas 上
56                         ctx.fillText(ascii, w, h)
57                     }
58                 }
59
60             }, 10)
61         })
62     })
63
64     videoDom.addEventListener('pause', function () {
65         clearInterval(t)
66     })
67
68     function getAscii(r, g, b, a) {
69         let gary = .299 * r + .587 * g + .114 * b;  // 计算灰度值
70         // 字符列表并非为 256个,所以需要进行计算映射,避免数组越界
71         let i = gary % asciiList.length === 0 ? parseInt(gary / asciiList.length) - 1 : parseInt(gary/ asciiList.length);
72         return asciiList[i];
73     }
74
75
76
77
78
79
80
81
82 </script>
代码封装
-
代码:Img2ASCII.js
地址:https://gitee.com/liaoblog/Img2ASCII
具体参数说明可看注释

 1 class Img2ASCII {
 2
 3     /**
 4      *
 5      * @param {String} ctxStr canvas 标签的ID,必填
 6      * @param {Object} options 参数选项, 不是必填
 7      *
 8      * options :
 9      *  mode:int 模式,模式不同显示效果不同,有 1, 2,
10      *  rate:int 显示速率,值越大,帧数越少,
11      *  asciiList:Array 字符列表
12      *  x:int 输出横向密度,值越小越精确,也越卡
13      *  y:int 输出竖向密度,值越小越精确,也越卡
14      *  isFillColor:boolean 是否输出颜色
15      */
16     constructor(ctxStr, options = {}){
17         this.ctxDom = document.getElementById(ctxStr)
18         this.ctx = document.getElementById(ctxStr).getContext("2d")
19         this.mode = options.mode?options.mode:1 // 模式,模式不同显示效果不同
20         this.rate = options.rate?options.rate:10 // 显示速率
21         this.asciiList = options.asciiList?options.asciiList:['#', '&', '@', '%', '$', 'w', '*', '+', 'o', '?', '!', ';', '^', ',', '.', ' ']
22         this.x = options.x?options.x:6
23         this.y = options.y?options.y:6
24         this.isFillColor = options.isFillColor?true:false
25
26     }
27
28     start(video, width = 300, height = 150) {
29         const that = this
30         this.stop()
31         this.ctxDom.width = width
32         this.ctxDom.height = height
33         this.flag = setInterval(function(){
34             that.ctx.drawImage(video, 0, 0, width, height);
35             let data = that.ctx.getImageData(0, 0, width, height);
36             that.draw(data)
37         }, this.rate)
38
39     }
40
41     stop() {
42         clearInterval(this.flag)
43     }
44
45     draw(imgData) {
46
47         let width = imgData.width;
48         let height = imgData.height;
49         let data = imgData.data;
50         this.ctx.clearRect(0, 0, width, height);
51
52         for(let h = 0; h<height; h+=this.y){
53             for(let w = 0; w<width; w+=this.x){
54                 let rgba = (width * h + w) * 4
55                 let ascii = this.getAscii(data[rgba], data[rgba + 1], data[rgba + 2], data[rgba + 3])
56                 if(this.isFillColor) this.ctx.fillStyle = `rgba(${data[rgba]},${data[rgba + 1]},${data[rgba + 2]},${data[rgba + 3]})`
57                 this.ctx.fillText(ascii, w, h)
58             }
59         }
60
61     }
62
63     getAscii(r, g, b, a) {
64         let gary = .299 * r + .587 * g + .114 * b;
65         if(this.mode == 2) gary+=500
66         let i = gary % this.asciiList.length === 0 ? parseInt(gary / this.asciiList.length) - 1 : parseInt(gary/ this.asciiList.length);
67         return this.asciiList[i];
68     }
69
70
71 }
-
代码使用
1:引入 Img2ASCII.js
1 <script src="./Img2ASCII.js"></script>
2:实例化
1 let img2ASCII = new Img2ASCII('show');
3:生成
1 img2ASCII.start(videoDom, videoDom.videoWidth, videoDom.videoHeight)
-
完整使用代码

 1 <!DOCTYPE html>
 2 <html lang="en">
 3 <head>
 4     <meta charset="UTF-8">
 5     <meta name="viewport" content="width=device-width, initial-scale=1.0">
 6     <title>字符画</title>
 7 </head>
 8 <body>
 9     <input id="file" type="file" />
10     <canvas id="show" ></canvas>
11     <video width="300px" controls id="video"></video>
12 </body>
13 </html>
14 <script src="./Img2ASCII.js"></script>
15 <script>
16
17
18     const fileDom = document.getElementById('file');
19     const videoDom = document.getElementById('video');
20
21     let img2ASCII = new Img2ASCII('show');
22
23     fileDom.addEventListener('change', function(e){
24
25         let file = e.target.files[0]  // 获取选择的视频的文件对象
26         videoDom.src = URL.createObjectURL(file)  // 使用 URL.createObjectURL() 创建文件对象的路径并设置给video
27     })
28
29     videoDom.addEventListener('canplay', function() {
30
31         videoDom.addEventListener('play', function(){
32
33             img2ASCII.start(videoDom, videoDom.videoWidth, videoDom.videoHeight)
34         })
35     })
36
37     videoDom.addEventListener('pause', function () {
38         img2ASCII.stop()
39     })
40
41
42 </script>
参考
https://blog.csdn.net/weixin_34224941/article/details/88039482
