https://auth0.com/blog/developing-jsf-applications-with-spring-boot/
TL;DR Spring Boot was initially conceived with microservices applications in mind. But, as it excelled as a starting point for applications based on the Spring framework, many have started to wondering how to integrate JavaServer Faces (JSF) with Spring Boot. In this article we are going to put all the moving pieces together, and build a small application that enable users to list and persist products to a database.
What is JavaServer Faces (JSF)
JavaServer Faces (JSF) is a Java specification that promotes component-based user interface development for web applications. Views, on JSF, are described through XML files called view templates and usually rely on server-side sessions to store the state of UI components. For example, let's say that we wanted to show an HTML table of products. To do so, we would need an XML file with the following content:
<html xmlns="http://www.w3.org/1999/xhtml"
      xmlns:ui="http://xmlns.jcp.org/jsf/facelets"
      xmlns:h="http://xmlns.jcp.org/jsf/html"
      xmlns:f="http://xmlns.jcp.org/jsf/core">
<ui:composition template="base-layout.xhtml">
    <ui:define name="content">
        <h:form id="form">
            <h:dataTable id="table" var="product" value="#{productListController.products}">
                <h:column>
                    <f:facet name="header">Name</f:facet>
                    <h:outputText value="#{product.name}" />
                </h:column>
                <h:column>
                    <f:facet name="header">Action</f:facet>
                    <h:commandButton id="delete" action="#{productListController.delete(product)}" label="Delete" />
                </h:column>
            </h:dataTable>
        </h:form>
    </ui:define>
</ui:composition>
</html>
In this case, the view would be rendered by using the h:dataTable component, with the help of a backing bean called productListController, which would generate the HTML response for the requester. After rendering the webpage,JSF would retain the state of the view on the server-side to allow future interaction.
Integrating JSF with Spring Boot
For starters, we will fork and clone the GitHub repo specially created for this article. We could also use the Spring Initilizr webpage, which is easy and intuitive. But, as the application that we will build will have some other dependencies (like HSQLDB and Flyway), it will be easier to start with the fork.
JSF Dependencies
After forking the repository, open your preferred IDE (Eclipse, IntelliJ IDEA, Netbeans, etc) and import the initial project as a Maven project. Having the application properly imported on our IDE, the first thing we will do is to add a few dependencies. Let's open the pom.xml file and add the following elements nested in the <dependecies/> element:
<dependency>
    <groupId>org.apache.myfaces.core</groupId>
    <artifactId>myfaces-impl</artifactId>
    <version>2.2.12</version>
</dependency>
<dependency>
    <groupId>org.apache.myfaces.core</groupId>
    <artifactId>myfaces-api</artifactId>
    <version>2.2.12</version>
</dependency>
<dependency>
    <groupId>org.apache.tomcat.embed</groupId>
    <artifactId>tomcat-embed-jasper</artifactId>
</dependency>
<dependency>
    <groupId>org.ocpsoft.rewrite</groupId>
    <artifactId>rewrite-servlet</artifactId>
    <version>3.4.1.Final</version>
</dependency>
<dependency>
    <groupId>org.ocpsoft.rewrite</groupId>
    <artifactId>rewrite-integration-faces</artifactId>
    <version>3.4.1.Final</version>
</dependency>
<dependency>
    <groupId>org.ocpsoft.rewrite</groupId>
    <artifactId>rewrite-config-prettyfaces</artifactId>
    <version>3.4.1.Final</version>
</dependency>
<dependency>
    <groupId>org.primefaces</groupId>
    <artifactId>primefaces</artifactId>
    <version>6.1</version>
</dependency>
From top to bottom, let's demystify what these dependencies are. The first two dependencies, myfaces-api and myfaces-impl, are the JSF interface specification (-api) and implementation (-impl). The third dependency,tomcat-embed-jasper, is needed so the JVM can parse and execute JSF view on runtime.
After that there are three dependencies with org.ocpsoft.rewrite as the value of groupId. These dependencies are related to Rewrite, an open-source routing and URL rewriting solution for Servlet and Java Web Frameworks. Using JSFwithout a tool like Rewrite would lead us to ugly and non RESTful-friendlyURLs that heavily use query parameters to navigate. Therefore we will useRewrite to achieve intuitive, bookmarkable, and pretty URLs.
The last dependency added, primefaces, is an open source UI framework forJSF that features over a hundred components, like data tables, drag & drop, overlay dialogs, and etc. This framework will help us to create beautiful user interfaces easily.
While we have the pom.xml file opened, let's change the build process by adding the following line to it:
<build>
  <outputDirectory>src/main/webapp/WEB-INF/classes</outputDirectory>
  <!-- plugins... -->
</build>
This configuration is important because Rewrite isn't prepared to scan for configurations on non-classical web applications (i.e. on embedded applications like Spring Boot). So we need to tweak the build process a little to help Rewritefulfill its purpose.
JSF Configuration
Next, we will create two XML files. The first one, called web.xml, is quite popular among seasoned Java web developers. Usually, on a regular Spring Boot application, we wouldn't need this file. But, since we are going to use JSF, we need to configure the FacesServlet servlet and a couple of listeners. Let's create this file under a new directory called src/main/webapp/WEB-INF/ and add the following content:
The first two elements in this file are responsible for setting FacesServlet up and configuring it. The servlet-mapping element instructs this servlet to handle requests to *.jsf URLs and deal with them in the context of JSF. The last two elements, the listener elements, are responsible for integrating JSF into the Spring context.
The second XML file that we need is called faces-config.xml. Let's create this file under the src/main/webapp/WEB-INF/ folder with the following content:
All this file does is to register an ELResolver (i.e. an Expression Language resolver) that delegates to the WebApplicationContext context of Spring the responsibility to resolve name references. With it we can use Spring managed beans in the JSF context.
As the last step to configure JSF with Spring Boot, we need to update theApplication class of our project to create two more beans. This is done by configuring this class as follows:
package com.auth0.samples.bootfaces;
import org.ocpsoft.rewrite.servlet.RewriteFilter;
import org.springframework.boot.SpringApplication;
import org.springframework.boot.autoconfigure.EnableAutoConfiguration;
import org.springframework.boot.web.servlet.FilterRegistrationBean;
import org.springframework.boot.web.servlet.ServletRegistrationBean;
import org.springframework.boot.web.support.SpringBootServletInitializer;
import org.springframework.context.annotation.Bean;
import org.springframework.context.annotation.ComponentScan;
import javax.faces.webapp.FacesServlet;
import javax.servlet.DispatcherType;
import java.util.EnumSet;
Having both XML files created, the dependencies properly imported, and theApplication class configured, we are ready to start developing JSF applications on Spring Boot.
Creating a JSF App on Spring Boot
As we are going to develop a simple application that lists and persists products, we are going to start by creating the Product entity. For starters, create theProduct.java file in the com.auth0.samples.bootfaces package. This entity will have the following code:
package com.auth0.samples.bootfaces;
import lombok.Data;
import javax.persistence.Column;
import javax.persistence.Entity;
import javax.persistence.GeneratedValue;
import javax.persistence.GenerationType;
import javax.persistence.Id;
import java.math.BigDecimal;
This is a very simple Product entity, with only three properties:
id, which holds the entity's primary keyname, which holds the name of the product- and
price, which holds its price
You probably noted that your IDE started complaining about the @Dataannotation. This annotation comes from the lombok library, which we still need to import into our application. Project Lombok aims on reducing the boilerplate code that is repeated in many parts of a Java application, like getters and setters. In the entity above, we used @Data to take out the burden of defining a lot of accessor methods for the entity's properties. There are many other features that Lombok brings to the table, take a look at its docs.
To import it, add the following element as a child of dependecies in thepom.xml file:
<dependency>
    <groupId>org.projectlombok</groupId>
    <artifactId>lombok</artifactId>
    <version>1.16.16</version>
</dependency>
Now, we are going to create the application.properties file, that Spring Boot uses, to configure HSQLDB connection String, and Spring Data to disable the auto-create feature of Hibernate. Note that Hibernate is a transitive dependency of Spring Data, and by default it reads classes annotated with Entity and tries to create tables for them. But, as mentioned before, in our application we are going to use Flyway. The application.properties file must be created in thesrc/main/webapp/ folder with the following content:
spring.datasource.url=jdbc:hsqldb:file:data/products
spring.jpa.hibernate.ddl-auto=none
The first property configures HSQLDB to persist data to the data folder of the root directory of our application, and the second one is the property that disables the Hibernate auto-create feature. Since we have disabled this feature, we now need to add a Flyway script to create the product table. Let's do that by creating a file called V1__products.sql in the src/main/resources/db/migration/folder. This file will contain the following script:
create table product (
  id identity not null,
  name varchar (255) not null,
  price double not null
);
Now that we have finished defining the Product entity and a table to persist it on HSQLDB, we can now extend the JpaRepository Spring Boot interface to provide a managed bean to communicate with the database. To achieve this, let's create an interface called ProductRepository, in thecom.auth0.samples.bootfaces package, with the following content:
package com.auth0.samples.bootfaces;

import org.springframework.data.jpa.repository.JpaRepository;

public interface ProductRepository extends JpaRepository<Product, Long> {
}
One might wonder, is the code above correct or useful? The answer is yes!JpaRepository interface comes with some predefined methods that allows developers to findAll instances of an entity (Product in this situation),getOne entity by its id, delete entities, and save new ones. All without having to define a single method on the interface that extends this one.
We are now ready to work on the front-end code. To enable users to create products through our application, we will need to create three elements:
- A template that contains the base layout of our JSF application.
- A JSF interface (
xhtmlfile) that contains the form to create new products. - A Spring controller to work as a backing bean to the form interface.
Building the JSF Interface to Create Products
To start, let's create the template of our application. This template will be quite simple. First, create a file called layout.xhtml in the src/main/webapp/ folder, and then add the following code to it:
Defining a view on JSF is almost like defining a regular HTML file, but with a few different elements, as we can see above. These elements come fromnamespaces defined on JSF and related frameworks (like PrimeFaces). The most important elements in the layout above are the p:toolbar element and theui:insert element. The first one is a component provided by PrimeFaces, and we use it to define a navigation menu in our template. This menu will enable users to go to a view that allows them to create products, and another view that allows them to list the products already created.
The second element, ui:insert, defines the exact place of the template that will allow subviews to define their contents. A template can have multipleui:insert elements, if they are defined with different names, but ours will have just one.
Note, JSF uses a technology called Facelets to define templates. You can read all about it in the JavaEE 7 tutorial on Oracle's website.
After defining our template, let's create the Spring controller that will support the interface that we will create next. Let's create a class calledProductController in the com.auth0.samples.bootfaces package and add the following code:
package com.auth0.samples.bootfaces;
import org.ocpsoft.rewrite.annotation.Join;
import org.ocpsoft.rewrite.el.ELBeanName;
import org.springframework.beans.factory.annotation.Autowired;
import org.springframework.context.annotation.Scope;
import org.springframework.stereotype.Component;
This class has only two methods: save, which will be called by a JSF button to save a new product; and getProduct, that will be used by the interface to tie the inputs on the form to an instance of Product. This instance is created at the same time that ProductController instance is, and a new one is created right after the user saves a new product. Also note that the save method redirects toproduct-list.xhtml, the interface that lists products persisted in our database.
What is even more important to talk about is the four annotations that this class has:
@Scopeis a Spring annotation that defines that a single instance of this class will exist per user.@Componentdefines this class as a Spring component and names it asproductController—name that will be used in the form's interface.@ELBeanNameis an annotation provided by Rewrite that configures the name of the bean on its scope.@Join—another annotation provided by Rewrite—configures the/productURL to respond with the contents ofproduct-form.xhtml.
Lastly, let's create the form that will use the controller above. We will create a file called product-form.xhtml in the src/main/webapp/ folder, with the following content:
This file uses the ui:composition element to explicitly define layout.xhtml as the template for this view. After that it uses ui:define to inform that this view must be rendered in the content area of the template. And then it starts defining the form to create new products. This form is composed of onep:inputText where the user can define the name of the product, and ap:inputNumber element where the user can define the price of the new product. This last element was specifically created to handle numerical properties, as it blocks non-numerical characters and adds a mask to the input.
Lastly, the view defines a h:commandButton that renders an HTML button in the view that triggers the save method of the ProductController component. In this view we can see that we tie the new product and the behavior defined in the ProductController component through the productController name, which was defined in the @Component and @ELBeanName annotations of this component.
If we run our application now, through our IDE or through the mvn spring-boot:run command, we will be able to reach it in a browser going tohttp://localhost:8080/product. We will also be able to create new products through the form that is shown to us, but we won't be able to list the products created. Let's tackle that feature now.
Building the JSF Interface for Products' List
To enable our users to see a list of created products, we will first define a backing bean that will handle the logic behind the interface. This backing bean will be called ProductListController, and we will create it in thecom.auth0.samples.bootfaces package with the following code:
package com.auth0.samples.bootfaces;
import org.ocpsoft.rewrite.annotation.Join;
import org.ocpsoft.rewrite.annotation.RequestAction;
import org.ocpsoft.rewrite.el.ELBeanName;
import org.ocpsoft.rewrite.faces.annotation.Deferred;
import org.ocpsoft.rewrite.faces.annotation.IgnorePostback;
import org.springframework.beans.factory.annotation.Autowired;
import org.springframework.context.annotation.Scope;
import org.springframework.stereotype.Component;
import java.util.List;
Similar to ProductController, this class has four annotations:
@Scope (value = "session")defines that there will be only a single instance of this class per user.@Componentdefines this class as a Spring component and names it asproductList.@ELBeanNameconfigures the name of the bean on Rewrite scope.@Joinconfigures that the/URL will respond with the/product-list.jsfinterface.
Note that this controller has a method called loadData that is annotated with@Deferred, @RequestAction, and @IgnorePostback. These annotations are needed to load the collection of products before rendering the interface. We could also load this collection in the getProducts, but this would make the process of rendering slow, as this method will be called a lot of times in the JSFlifecycle.
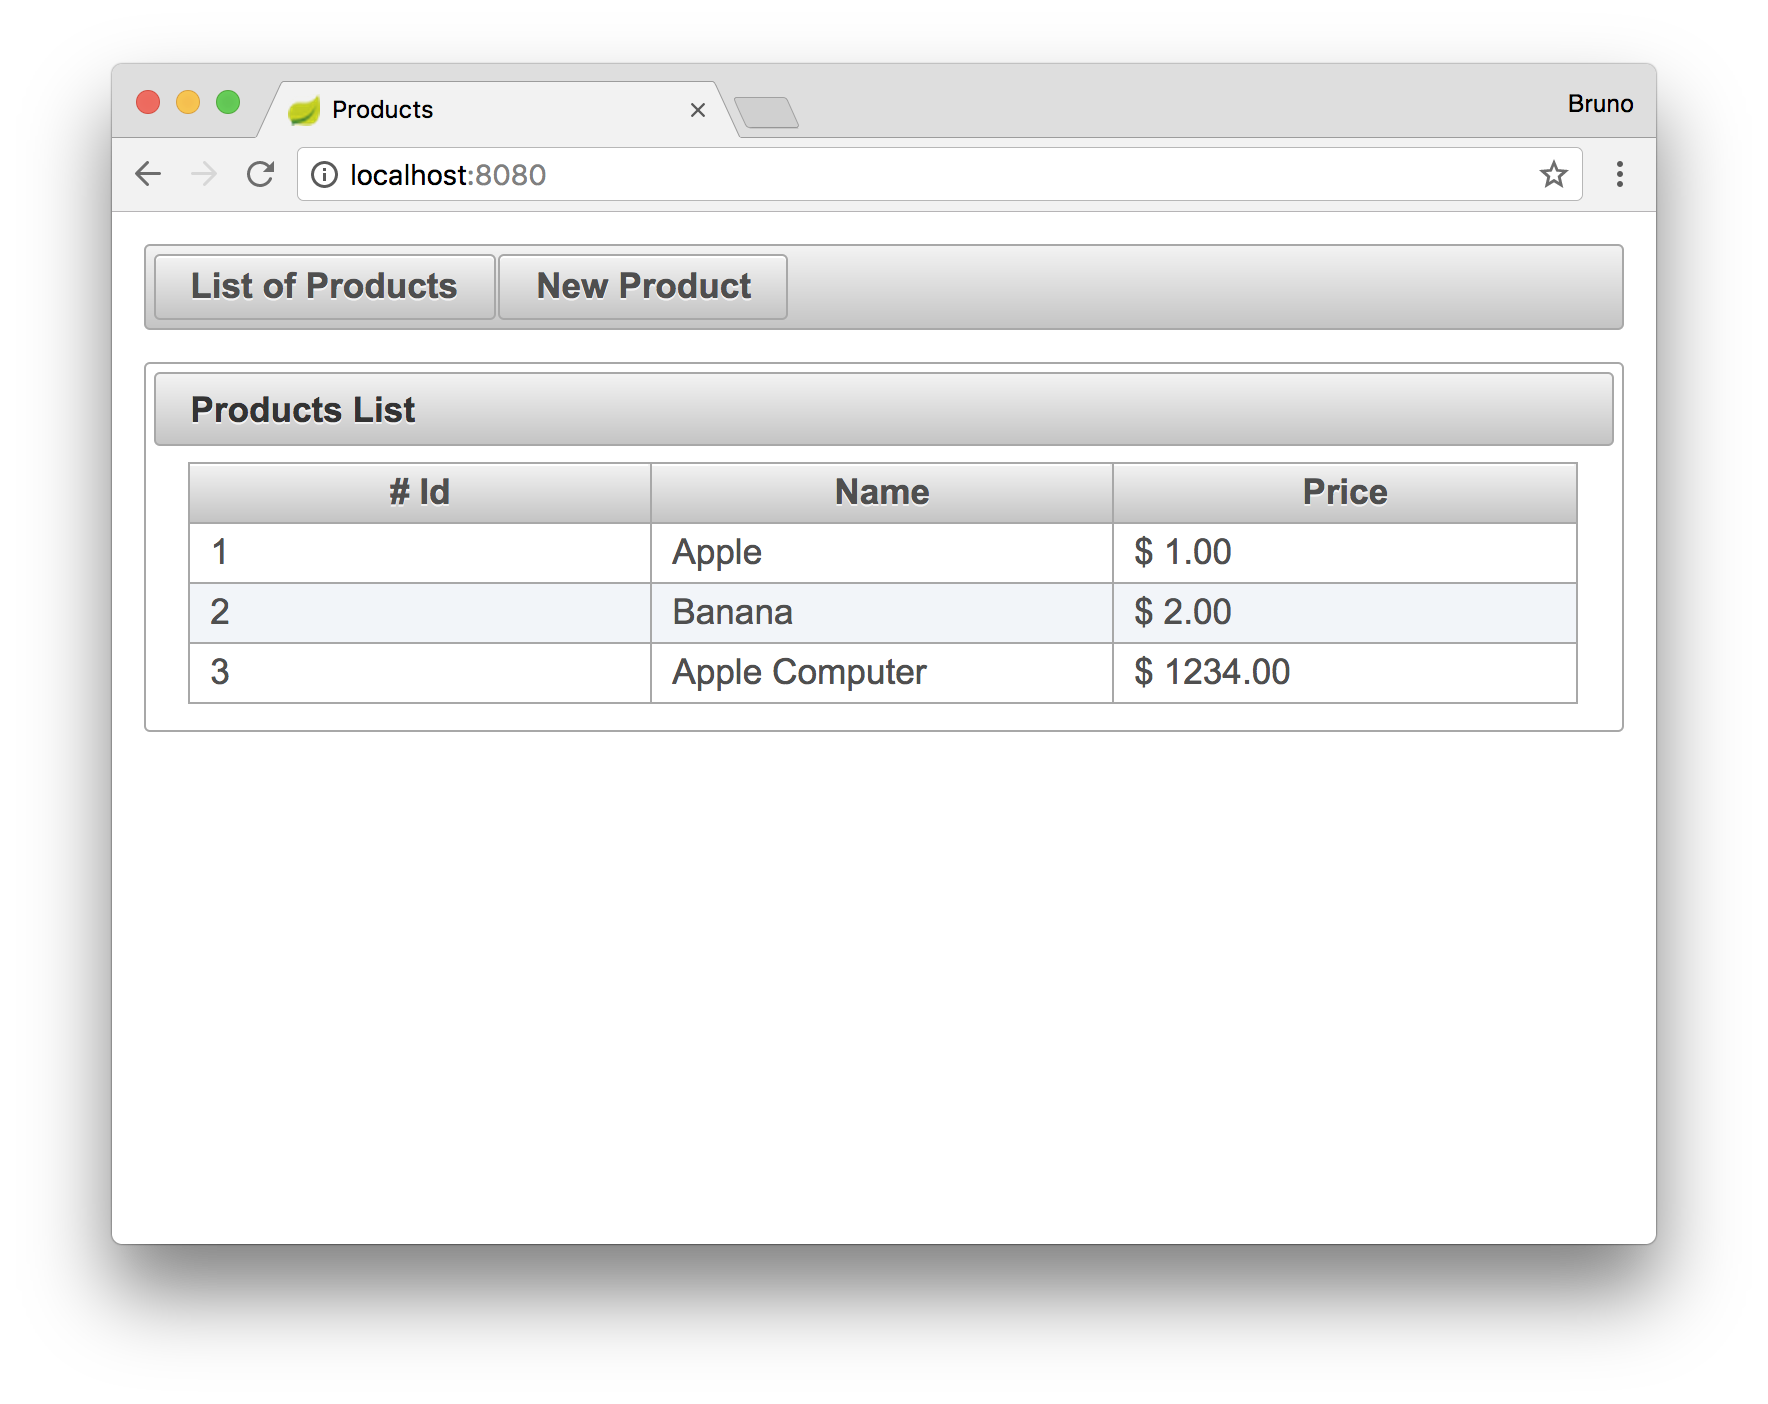
And to finish, as the companion of the backing bean defined above, we will create the interface that lists products. This interface will reside in the product-list.xhtml file, in the src/main/webapp/ folder, and will contain the following code:
The interface created above renders the collection of product with the help of the p:dataTable component provided by PrimeFaces. This component receives a collection of objects, through the value property, from a backing bean(ProductListController in this case), and iterate over it creating the rows of an HTML table. The columns of this table are defined with the p:column element, also provided by PrimeFaces. Note that in this interface we used an element called f:convertNumber to properly format the price of the products.
Running the application, and reaching the http://localhost:8080 URL, will show us the following screen.
Aside: Securing Spring Boot Applications with Auth0
One of the most complex features to implement in an application is user authentication and identity management. Security for authentication and identity is an entire glossary unto itself.
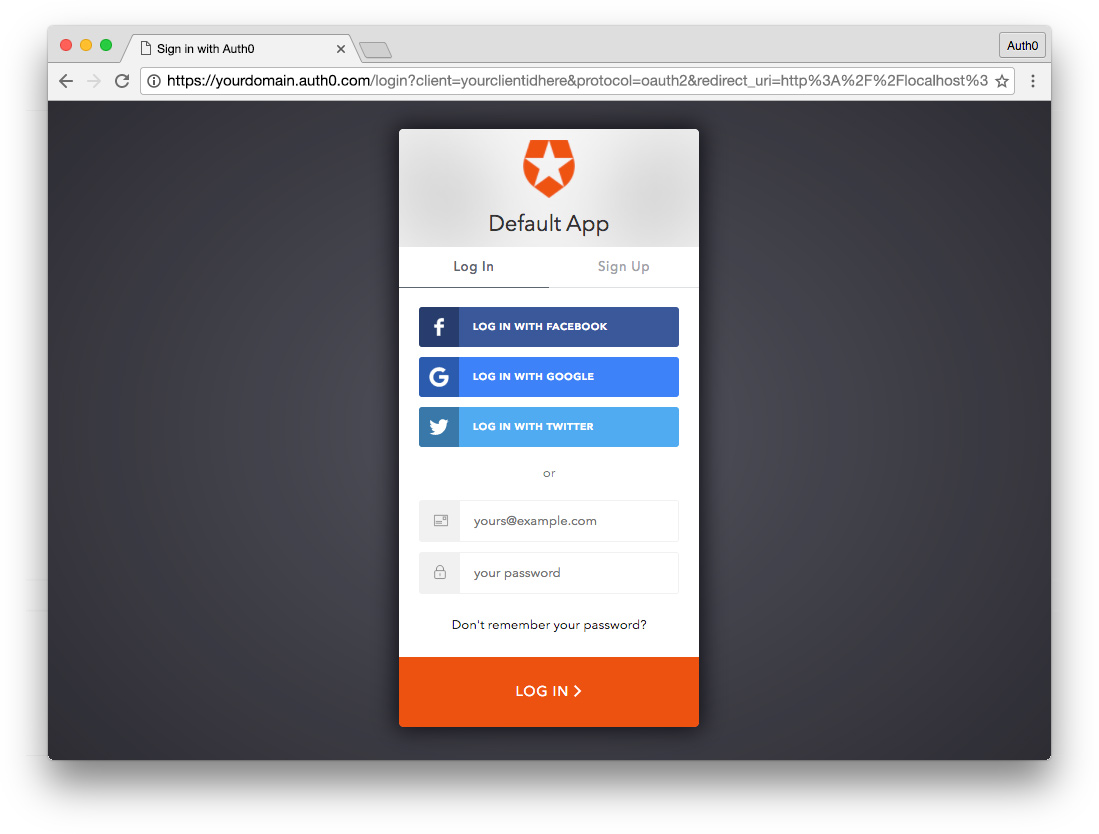
If you need to implement a robust, highly customizable identity and access management system quickly and easily for your Spring Boot application, Auth0 can help. Take a look at Securing Spring Boot with JWTs to properly secure your application.
Conclusion
Spring Boot enables developers to be highly productive through convention over configuration. In this article we showed that combining this framework with JSFis easy and empowers developers, makes them even more productive. JSF has been around for many years now, and there is a very good community and a lot of content written on the web that can help on the development of enterprise applications.
But, one problem that plagues developers quite often, is scalability. As JSFapplications usually heavily depend on server-side sessions, developers struggle to scale these applications properly. In the next article, I'm going to address this issue by using Spring Session, a Spring module that helps managing users' session information.