一、Kong安装
1.创建网络
sudo docker network create kong-net
2.创建数据库(采用postgres)
sudo docker run -d --name kong-database
--network=kong-net
-p 5432:5432
-e "POSTGRES_USER=kong"
-e "POSTGRES_DB=kong"
-e "POSTGRES_PASSWORD=kong"
postgres:9.6
3.数据库管理工具(非必须)
sudo docker run -d -p 5433:80 --name pgadmin4
--network=kong-net
-e PGADMIN_DEFAULT_EMAIL=admin@123.com
-e PGADMIN_DEFAULT_PASSWORD=123456
dpage/pgadmin4
4.初始化Kong数据库
sudo docker run --rm
--network=kong-net
-e "KONG_DATABASE=postgres"
-e "KONG_PG_HOST=kong-database"
-e "KONG_PG_PASSWORD=kong"
-e "KONG_CASSANDRA_CONTACT_POINTS=kong-database"
kong:latest kong migrations bootstrap
5.创建Kong
sudo docker run -d --name kong
--network=kong-net
-e "KONG_DATABASE=postgres"
-e "KONG_PG_HOST=kong-database"
-e "KONG_PG_PASSWORD=kong"
-e "KONG_CASSANDRA_CONTACT_POINTS=kong-database"
-e "KONG_PROXY_ACCESS_LOG=/dev/stdout"
-e "KONG_ADMIN_ACCESS_LOG=/dev/stdout"
-e "KONG_PROXY_ERROR_LOG=/dev/stderr"
-e "KONG_ADMIN_ERROR_LOG=/dev/stderr"
-e "KONG_ADMIN_LISTEN=0.0.0.0:8001, 0.0.0.0:8444 ssl"
-p 8000:8000
-p 8443:8443
-p 8001:8001
-p 8444:8444
kong:latest
6.初始化Konga数据库(推荐的Kong管理后台,实力允许可以进行二开!)
sudo docker run --rm --network=kong-net pantsel/konga -c prepare -a postgres -u postgresql://kong:kong@kong-database:5432/konga_db
7.创建Konga
sudo docker run -p 1337:1337
 --network=kong-net
 -e "DB_ADAPTER=postgres"
 -e "DB_HOST=kong-database"
 -e "DB_USER=kong"
 -e "DB_PASSWORD=kong"
 -e "DB_DATABASE=konga_db"
 -e "KONGA_HOOK_TIMEOUT=120000"
 -e "NODE_ENV=production"
 --name konga
 pantsel/konga
8.万事大吉
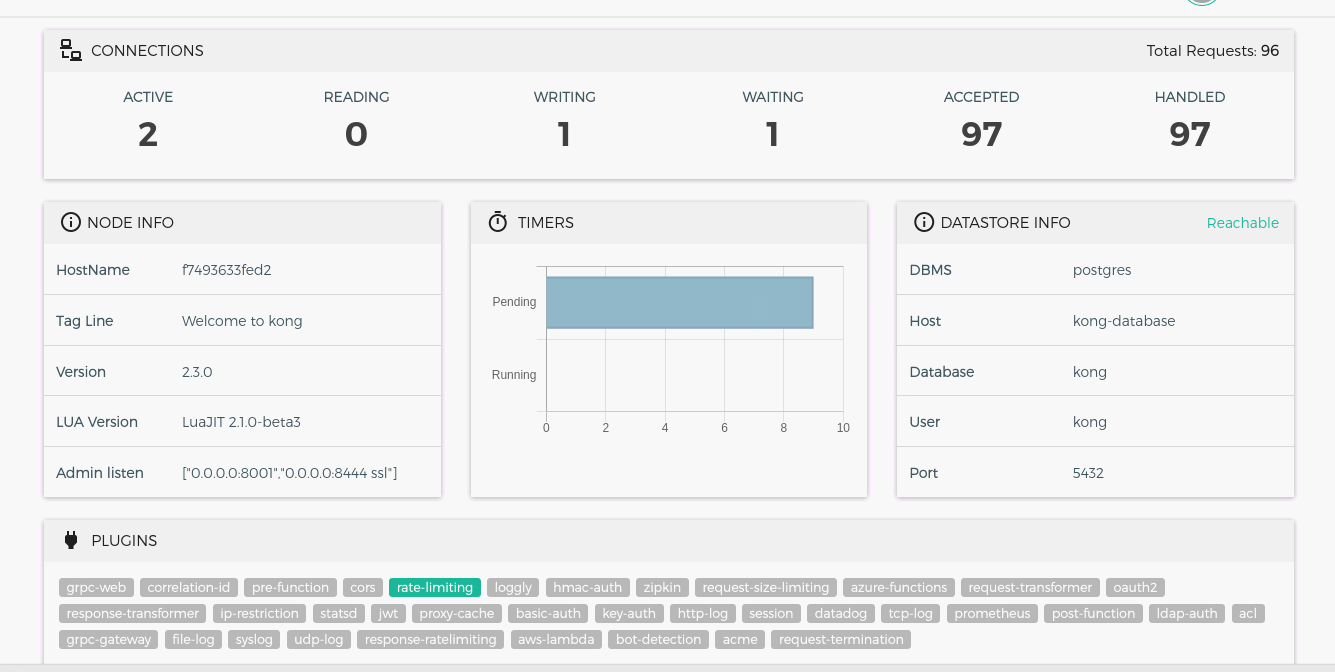
登录http://localhost:1337进入Konga,配置 Kong's admin API的连接,然后激活此链接,炫酷的面板,大吉大利!!!


二、服务初体验
1.添加服务
curl -i -X POST http://localhost:8001/services
     --data name=example_service
     --data url='http://mockbin.org'
http://mockbin.org ,点进入你就知道是干啥的了!以下验证此服务
curl -i http://localhost:8001/services/example_service
2.添加路由
curl -i -X POST http://localhost:8001/services/example_service/routes
--data 'paths[]=/mock'
 --data 'name=mocking'
以下验证此服务
curl -i -X GET http://localhost:8000/mock
3.添加限流
curl -i -X POST http://localhost:8001/plugins
--data "name=rate-limiting"
--data "config.minute=5"
--data "config.policy=local"
以下验证此服务,每分钟只能请求5次
curl -i -X GET http://localhost:8000/mock/request
超过5次,
{
  "message":"API rate limit exceeded"
}
如下图

4.代理缓存
curl -i -X POST http://localhost:8001/plugins
--data name=proxy-cache
--data config.content_type="application/json"
--data config.cache_ttl=30
--data config.strategy=memory
注意抓取请求头的变化(与教程有点出入,不太好使!)
curl -i -X GET http://localhost:8000/mock/request
删除缓存
curl -i -X DELETE http://localhost:8001/proxy-cache
5.身份验证
curl -X POST http://localhost:8001/routes/mocking/plugins
--data name=key-auth
再次访问服务,HTTP/1.1 401 Unauthorized

设置使用者
curl -i -X POST -d "username=consumer&custom_id=consumer" http://localhost:8001/consumers/
创建凭据,对于此示例,将密钥设置为apikey。如果未输入任何密钥,则Kong将自动生成密钥。
curl -i -X POST http://localhost:8001/consumers/consumer/key-auth -d 'key=apikey'
返回结果如下:
{
	"created_at": 1611110699,
	"id": "6695bd72-16e6-490d-b983-c141c39b5da8",
	"tags": null,
	"ttl": null,
	"key": "apikey",
	"consumer": {
		"id": "cbdec9e6-70aa-4166-9289-e1fe5737ab6e"
	}
}
再次访问服务,返回正常
curl -i http://localhost:8000/mock/request -H 'apikey:apikey'
6.禁用插件(可选)
curl -X GET http://localhost:8001/routes/mocking/plugins/
以下是返回的数据
{
	"next": null,
	"data": [{
		"created_at": 1611109944,
		"id": "e488b6e6-6183-499c-b430-0aa676245ee5",
		"tags": null,
		"enabled": true,
		"protocols": ["grpc", "grpcs", "http", "https"],
		"name": "key-auth",
		"consumer": null,
		"service": null,
		"route": {
			"id": "ed6baf5a-5d32-4550-91d8-661fc3539e44"
		},
		"config": {
			"key_in_query": true,
			"key_names": ["apikey"],
			"key_in_header": true,
			"run_on_preflight": true,
			"anonymous": null,
			"hide_credentials": false,
			"key_in_body": false
		}
	}]
}
禁用此插件
curl -X PATCH http://localhost:8001/routes/mocking/plugins/e488b6e6-6183-499c-b430-0aa676245ee5
 --data "enabled=false"
7.负载均衡
配置上游服务
curl -X POST http://localhost:8001/upstreams
 --data name=upstream
以前配置的服务指向上游
curl -X PATCH http://localhost:8001/services/example_service
--data host='upstream'
向上游添加目标,此处玩脱了容器卡住多次也不能添加成功
curl -X POST http://localhost:8001/upstreams/upstream/targets
--data target='mockbin.org:80'

curl -X POST http://localhost:8001/upstreams/upstream/targets
--data target='httpbin.org:80'
浏览器中访问 http://localhost:8000/mock 进行验证