http://www.jianshu.com/p/dd0db1b13cfc ---参考网址
文档:https://www.v2ex.com/p/7v9TEc53
api地址:https://www.v2ex.com/api/topics/hot.json
一、postman请求
1、get请求
1、URL:https://api.douban.com/v2/book/search?

2、点击url右侧的params,并输入参数

3、点击send按钮发送请求,在下面可以看到返回的response,响应的状态码,与响应时间

获取资源,一切api都是资源,一般都是获取资源,创建资源(用v2ex没有鉴权,以后有机会说)--返回的是json的字符串
怎么查看返回类型是json呢,在header里面查看Content-Type →application/json;charset=UTF-8
历史和集合
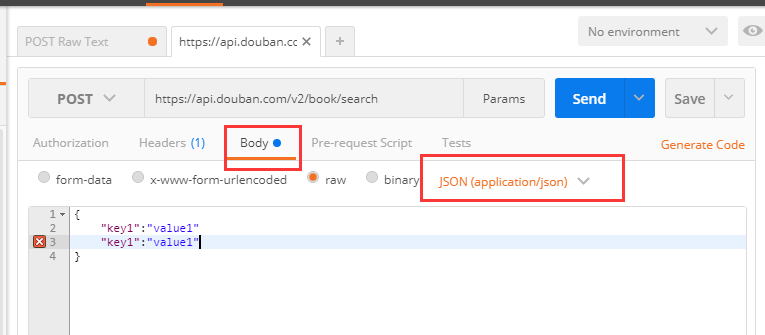
2、post请求
选取请求的方法为POST,并输入接口地址,因为post请求大多是json形式,所以可以打开Body选项,并选择JSON(application/json)形式,输入请求的json,同样其余的操作跟GET接口一样。
Header里面设置为:application/json
Body:raw[{},{},{}]数组集合之类的
3、添加cookie
- 添加cookie
- 在响应中查看cookie
在view-show postman consol-打印出cookie
在test加入代码

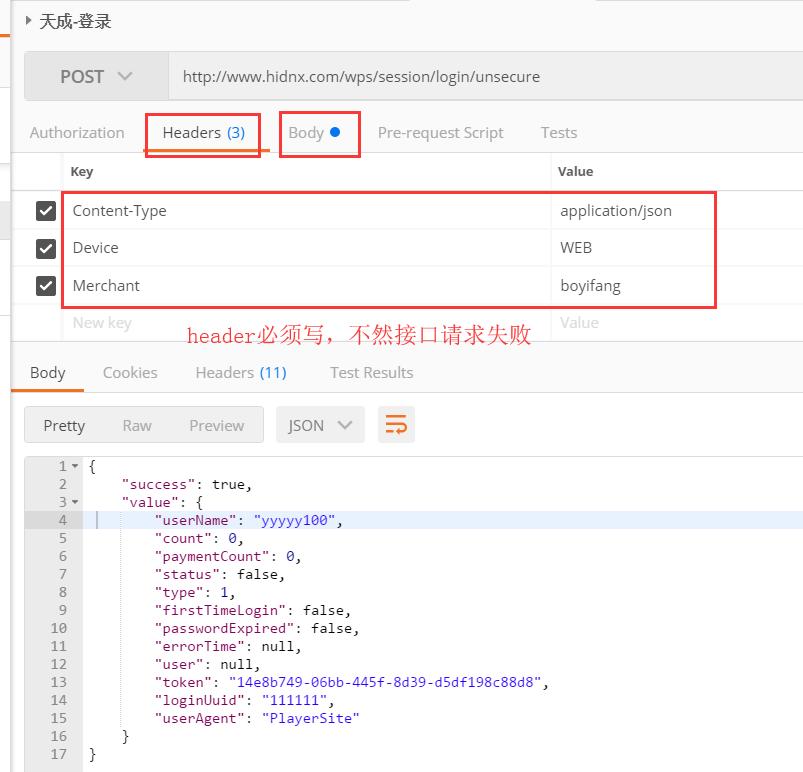
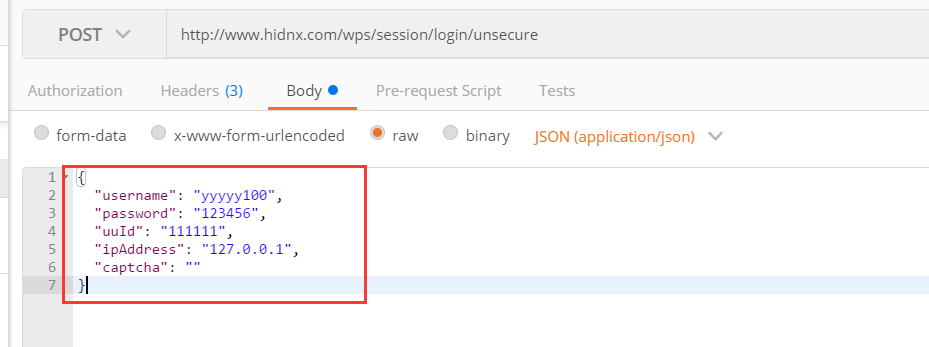
4、添加header
接口信息:
http://www.hidnx.com/wps/session/login/unsecure
POST /wps/session/login/unsecure HTTP/1.1
Host: www.hidnx.com
Device: WEB
Merchant: boyifang
Content-Type: application/json
Cache-Control: no-cache
Postman-Token: dd1975ee-9292-c9d6-1cd6-2a362e529fb1

{
  "username": "yyyyy100",
  "password": "123456",
  "uuId": "111111",
  "ipAddress": "127.0.0.1",
  "captcha": ""
二、postman鉴权
https://postman-echo.com/basic-auth
1、Basic Buth
输入用户名和密码

2、基于token的鉴权
访问的令牌或是权限
获取token——放在headers
以后发送每个请求的时候都带上token,表示已经登录了
三、变量的设置
环境变量有效范围仅仅在于你所选取的环境,全局变量对所有的环境都试用。
Environment:环境变量
Global:全局变量-错误信息提示设置为全局变量
Local:本地变量-一般在sandbox中定义
Data:测试数据中导入的变量-即参数化
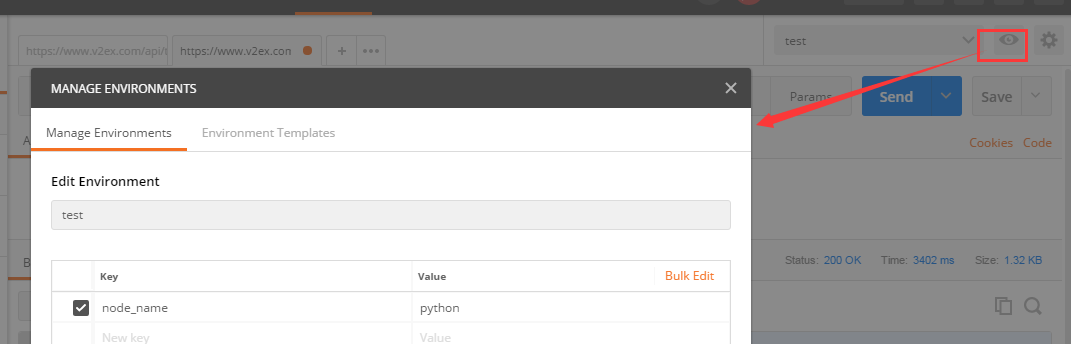
1、环境变量
api可能需要在不同的环境中运行,所以api请求的服务器地址不能写死,希望是可以配置的,创建环境变量有多种方式。
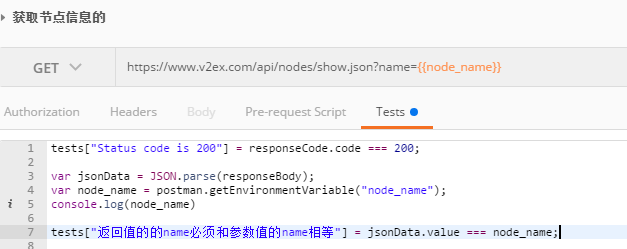
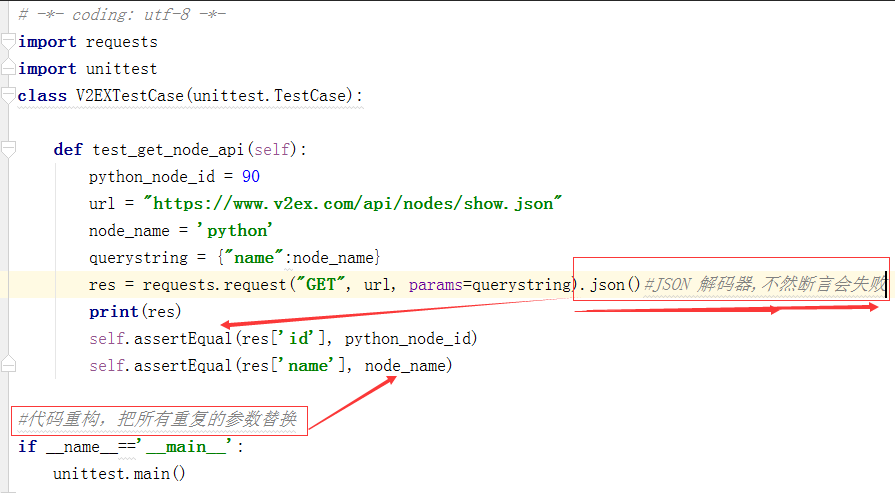
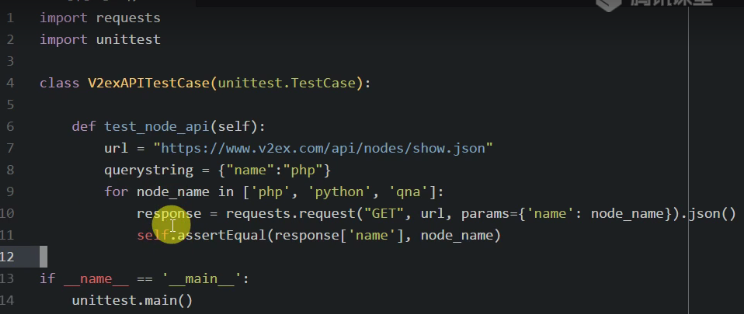
演示:https://www.v2ex.com/api/nodes/show.json?name=python
node_name:php/python/qna
设置环境变量——然后选择test
2、全局变量
在environment里面不用选择,也起作用的
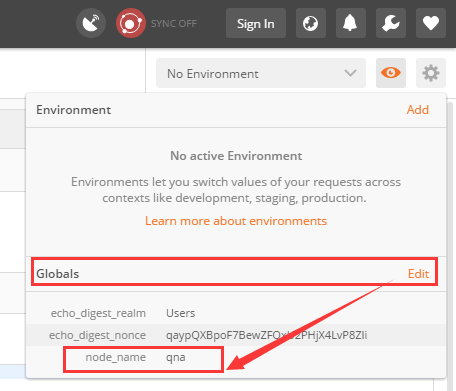
环境变量课覆盖全局变量
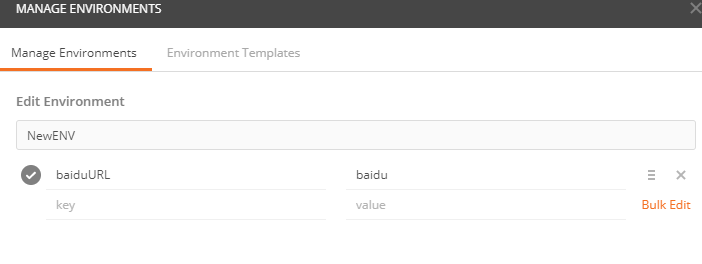
1、手工预先创建环境变量
URL:https://www.baidu.com/
右上角设置按钮-manage environment-添加以下环境变量-右上角选择NewENV-把URL修改为:https://www.{{baiduURL}}.com/-send
2、代码自动创建环境变量
方法:postman.setEnvironmentVariable("key", "value");
在某个请求发起之后创建:
在Tests标签里面添加如下:

变量引用
变量的引用:在需要的地方加上{{变量名}}便可
N个api:
api.xxxx.info/tasks
api.xxxx.info/tasks/task_id
引用变量:{{itest_domain}}/tasks
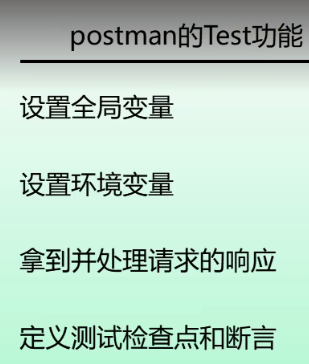
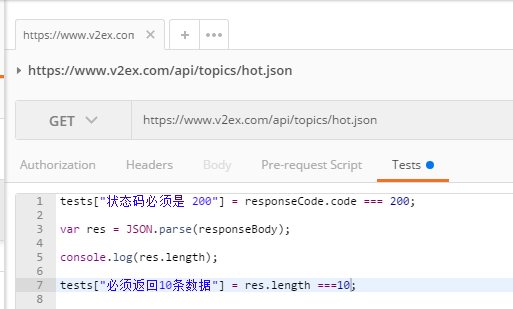
四、postman断言(检查点)
- 断言状态码:200
- 返回十条内容:(因为是别人的网站,这个数据是动态的,具体的内容我们不能断言,如果是自己的环境,数据可以自己造,然后可以断言内容)
全局变量:有些测试时需要登录的,里面的cookie和token类似的都需要保存,所以放在全局变量
环境变量:ip地址的改变
tests[ “检查点的名称” ] =responseBody(表达式) === “包含的字符串”
tests[ “响应时间小于200ms” ] =responseTime(表达式) === responseTime < 200;
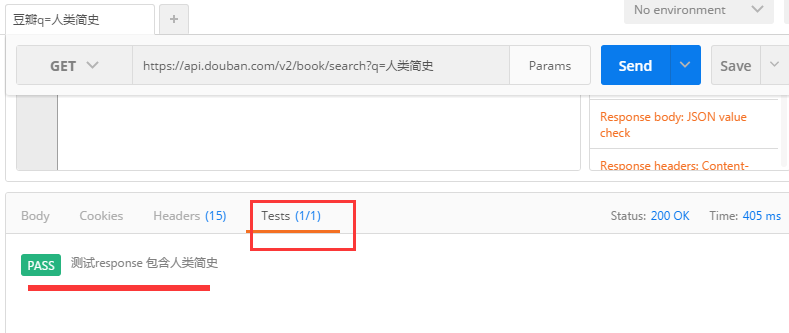
1、点击tests按钮,可以看到右侧有个snippets栏,里面就是postman内置的测试脚本,辅助对接口进行测试

2、选择其中的一个脚本,修改其中的参数,再次点击send,这时response的tests出现了一个1/1,说明执行一个测试并且通过测试,绿色pass说明验证通过
四、collection的作用
容器
- 组织业务逻辑(很多模块)
- 导入导出
- 其他功能:监控和mock server
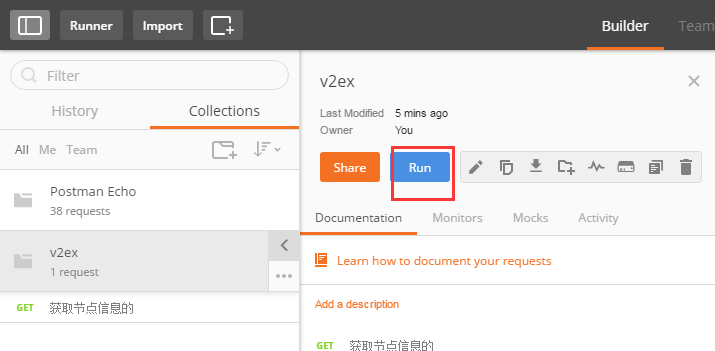
找到顶层功能区,找到runner按键,并点击

选中刚才新建的api集合,点击start,可以在右侧看到运行的结果
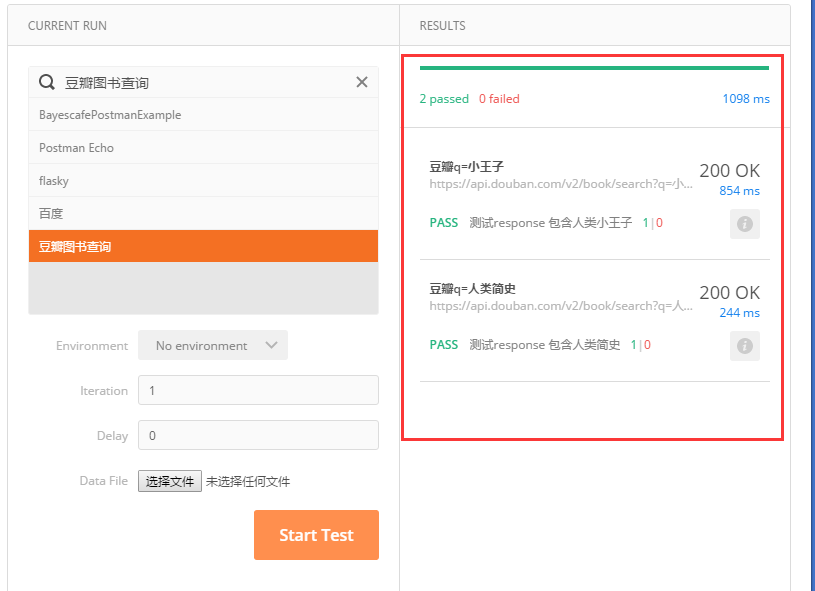
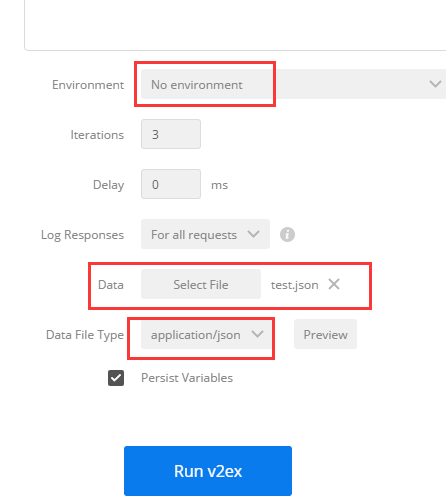
2、数据驱动测试
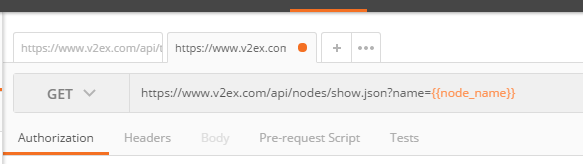
https://www.v2ex.com/api/nodes/show.json?name={{node_name}}
如果查询的数据都不一样的话-要构造不同的测试数据
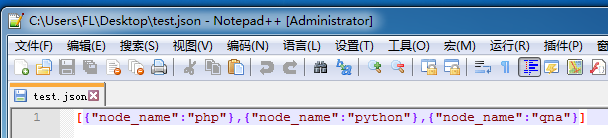
准备测试数据:test.json——点击集合的run
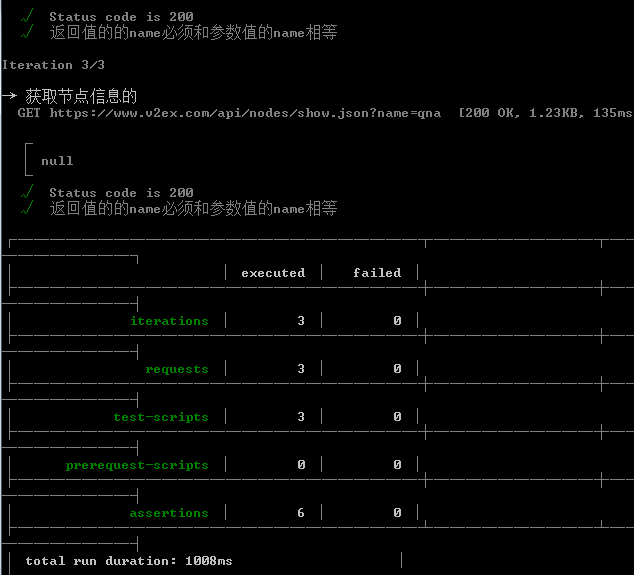
运行结果如下:
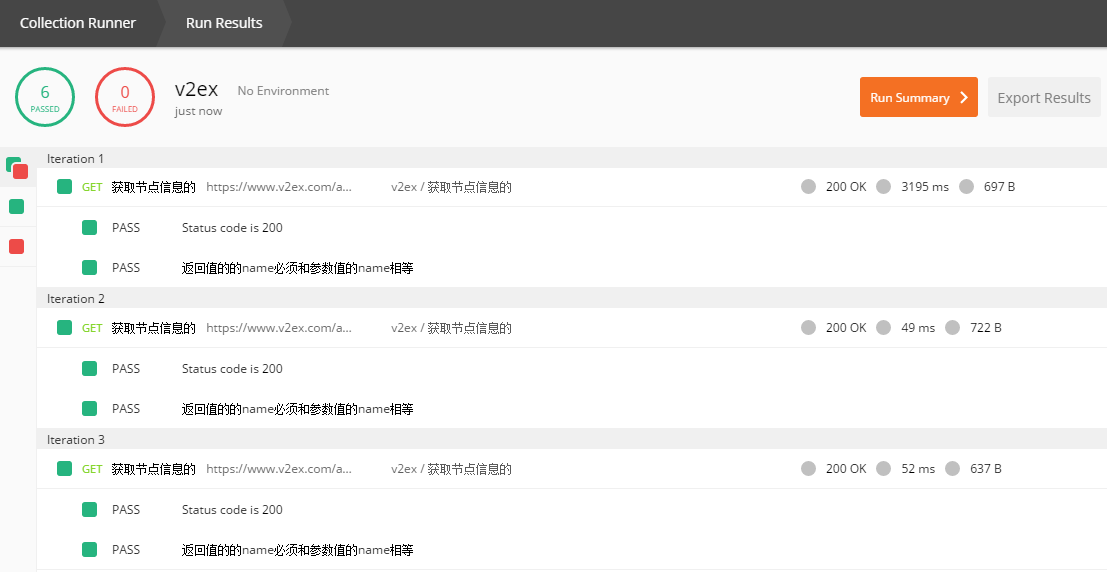
断言
tests["Status code is 200"] = responseCode.code === 200;

var jsonData = JSON.parse(responseBody);
var node_name = postman.getEnvironmentVariable("node_name");
console.log(node_name)

tests["返回值的的name必须和参数值的name相等"] = jsonData.name ===data.node_name;  从文件中获取数据,进行断言
四、命令行运行接口(cmder)
- 导出collection
- 安装nodejs和npm(cnpm)
- 安装Newman-验证是否安装成功:Newman -h
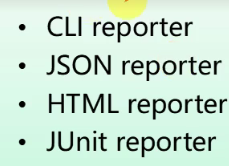
- 生成测试报告
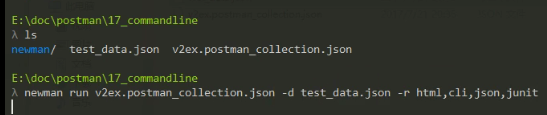
- 在命令行运行集合:
1 cd E:postman_docconmmandline  //要保存的报告的目录和测试集合/测试数据所在的目录下面
2 newman run test_jkn.postman_collection.json -r html//-d 表示测试数据 -r 表示测试报告的形式,如下的四种格式

cd 到目录下 E:postman_docconmmandline
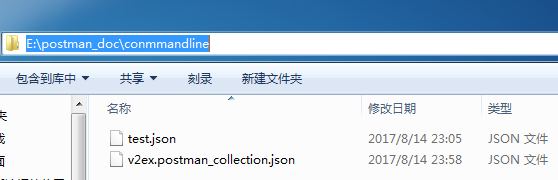
1、首先下载刚才创建的集合,点击download,并保存到指定路径

2、安装postman命令行运行工具newman
(http://jingyan.baidu.com/article/2d5afd69e243cc85a2e28efa.html) Windows环境下的NodeJS+NPM+Bower安装配
- 首先首先,下载安装node.js,并配置好环境
- 然后安装Newman插件 npm install -g newman -g表示全局
- 校验是否安装成功,运行:newman --version
- 执行脚本
newman run <collection-file-source> [options]

内置脚本说明
1. 清除一个全局变量
     Clear a global variable
    对应脚本:
    postman.clearGlobalVariable("variable_key");
    参数:需要清除的变量的key

  2.清除一个环境变量
    Clear an environment variable
    对应脚本:
    postman.clearEnvironmentVariable("variable_key");
    参数:需要清除的环境变量的key

  3.response包含内容
    Response body:Contains string
    对应脚本:
    tests["Body matches string"] =responseBody.has("string_you_want_to_search");
    参数:预期内容

  4.将xml格式的response转换成son格式
    Response body:Convert XML body to a JSON Object
    对应脚本:
    var jsonObject = xml2Json(responseBody);
    参数:(默认不需要设置参数,为接口的response)需要转换的xml

  5.response等于预期内容
    Response body:Is equal to a string
    对应脚本:
    tests["Body is correct"] = responseBody === "response_body_string";
    参数:预期response

  6.json解析key的值进行校验
    Response body:JSON value check
    对应脚本:
    tests["Args key contains argument passed as url parameter"] = 'test' in responseJSON.args
    参数:test替换被测的值,args替换被测的key

  7.检查response的header信息是否有被测字段
    Response headers:Content-Type header check
    对应脚本:
    tests["Content-Type is present"] = postman.getResponseHeader("Content-Type");
    参数:预期header

  8.响应时间判断
    Response time is less than 200ms
    对应脚本:
    tests["Response time is less than 200ms"] = responseTime < 200;
    参数:响应时间

    9.设置全局变量
      Set an global variable
      对应脚本:
      postman.setGlobalVariable("variable_key", "variable_value");
      参数:全局变量的键值

    10.设置环境变量
      Set an environment variable
      对应脚本:
      postman.setEnvironmentVariable("variable_key", "variable_value");
      参数:环境变量的键值

    11.判断状态码
      Status code:Code is 200
      对应脚本:
      tests["Status code is 200"] = responseCode.code != 400;
      参数:状态码

    12.检查code name 是否包含内容
      Status code:Code name has string
      对应脚本:
      tests["Status code name has string"] = responseCode.name.has("Created");
      参数:预期code name包含字符串

    13.成功的post请求
      Status code:Successful POST request
      对应脚本:
      tests["Successful POST request"] = responseCode.code === 201 || responseCode.code === 202;

     14.微小验证器
       Use Tiny Validator for JSON data
       对应脚本:
        var schema = {
         "items": {
         "type": "boolean"
             }
         };
        var data1 = [true, false];
        var data2 = [true, 123];
        console.log(tv4.error);
        tests["Valid Data1"] = tv4.validate(data1, schema);
        tests["Valid Data2"] = tv4.validate(data2, schema);
        参数:可以修改items里面的键值对来对应验证json的参数
用requests库
先安装 pip install tequests
[01]: /api/site/stats.json
[02]: /api/site/info.json
[03]: /api/nodes/all.json
[04]: /api/nodes/show.json?id=1
[05]: /api/topics/latest.json
[06]: /api/topics/show.json?id=1 (broken)
[07]: /api/topics/show.json?username=Livid
[08]: /api/topics/show.json?node_id=1
[09]: /api/topics/create.json (POST,未测试)
[10]: /api/replies/show.json?topic_id=1
[11]: /api/members/show.json?username=Livid